Fisher Paykel Washer Troubleshooting
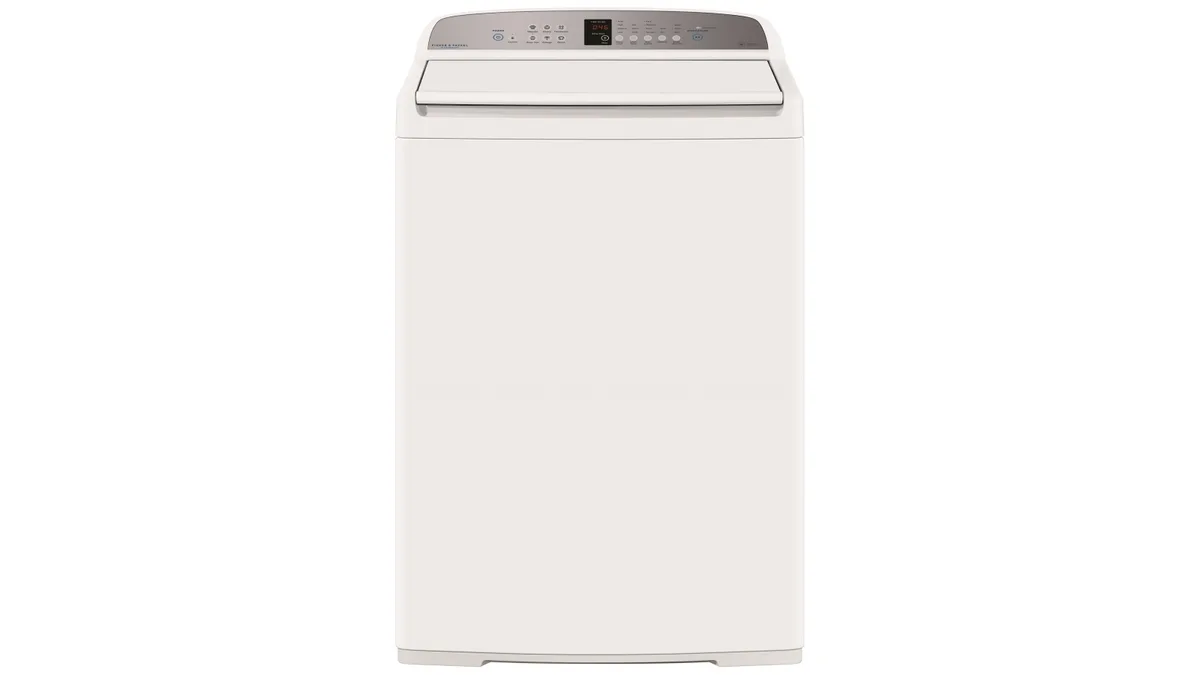
Your Fisher Paykel washer decided to quit mid-cycle, or it's spinning like a jet engine taking off. Fisher Paykel washer troubleshooting often feels like a guessing game, but it doesn't have to be. Most failures follow a predictable pattern, and with a bit of logical digging you can fix them yourself.
Manufacturer specifications confirm that Fisher Paykel's SmartDrive system is a direct-drive design. It has no belts or pulleys to wear out. That's a big plus for reliability.
But it also means problems tend to hide in the electronics, not the mechanics. As of 2026, most current models still use the same core architecture. The first step is understanding why the machine behaves the way it does.
Image source: Bing (Web (fair-use with source credit))
Quick Answer
Read the error code first. Check the lid switch and drain pump filter. Test components with a multimeter before replacing them.
Most common issues are cheap to fix. Call a technician if you smell burning or hear grinding from the drum.
Why Your Fisher Paykel Washer Acts Up (And Why the Fix Isn't Always Obvious)
The SmartDrive motor sits at the heart of every Fisher Paykel washer. Instead of a noisy gearbox or a rubber belt, the motor connects directly to the drum. A small control board constantly monitors the motor's speed and position.
If anything breaks that communication, the washer stops or misbehaves.
That's why so many problems are intermittent. A washer that works fine for weeks, then suddenly stops, isn't necessarily "broken." It could be a loose harness connector, a dirty sensor, or a failing capacitor on the control board. The machine is protecting itself from further damage.
The key is to identify which part the machine is complaining about. The washer has a built-in diagnostic system that flashes specific error codes. Once you know the code, the work becomes methodical.
Mechanical failures like a worn bearing or a snapped suspension spring are less common but easier to spot. Look for a washer that shakes violently or grinds during the spin cycle. Electrical failures like a blown triac on the control board are more subtle.
They usually trigger an error code long before you smell smoke.
Based on aggregate repair data from service forums and technical manuals, a few components account for the vast majority of failures. The lid switch, the drain pump, the water inlet valves, and the motor speed sensor. We'll break down each one shortly, but first you need to let the machine speak.
The First Thing to Do: Read the Error Codes Like a Pro
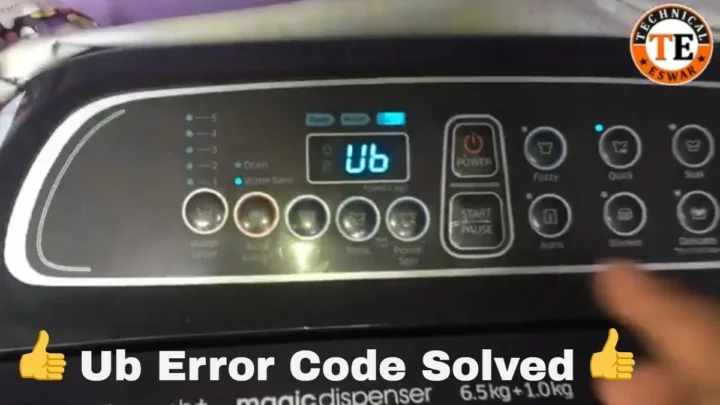
Before you pull the machine out or open the lid, check for error codes. Most Fisher Paykel models enter a diagnostic mode when you press a specific button combination. On many washers, you'll hold the "Spin" button while rotating the knob, but the exact sequence varies by model.
That's why your owner's manual is your best friend here. If you don't have a copy, Fisher Paykel's official support site lets you search by model number for the full diagnostic procedure. Write down the error code it shows.
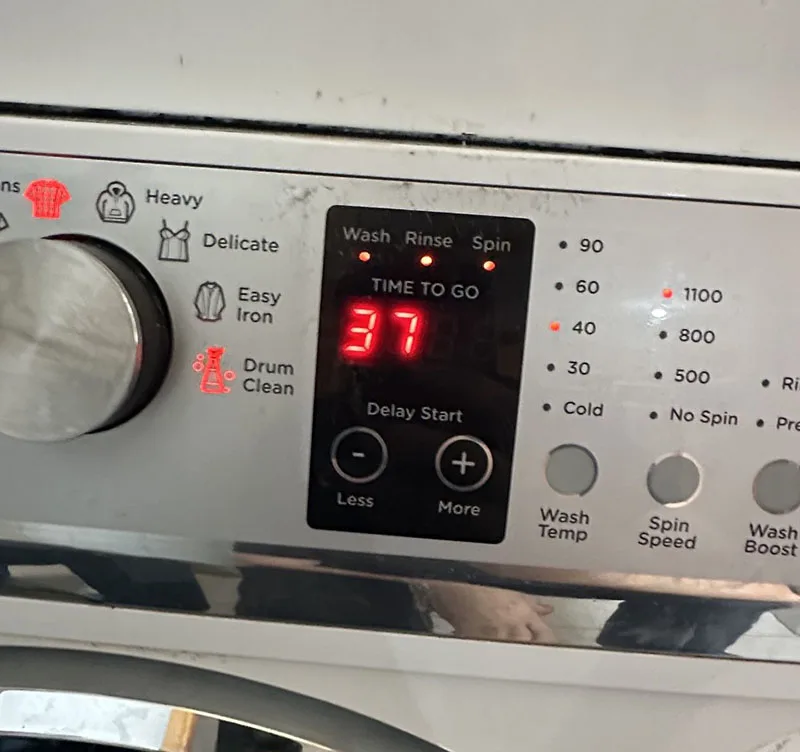
Image source: Bing (Web (fair-use with source credit))
Here's what the most common codes mean, based on manufacturer documentation:
| Code | What It Means | Likely Fix |
|---|---|---|
| F1 | Motor or control board communication fault | Check harness connectors, test control board |
| F2 | Speed sensor signal lost | Replace speed sensor or motor |
| F3 | Water level sensor fault | Test pressure switch, inspect hose |
| F4 | Heater or temperature sensor fault | Check heater, thermistor |
| F5 | Lid lock fault | Replace lid lock assembly |
| F6 | Motor drive overload | Clear obstruction, check suspension |
| F7 | Fill time exceeded | Check inlet valves, water pressure |
| F9 | Drain time exceeded | Clean pump filter, check drain hose |
Not every code applies to every model. Still, this table matches the most common fault codes you'll see on SmartDrive washers. If your machine flashes a code not listed here, refer to your manual.
The Decision Tree: Work Through the Most Common Symptoms
Pick the branch that matches your machine's behavior. Follow the diagnostic path. Each branch gives you the likely culprits in order from free to expensive.
Branch 1: Washer Won't Start at All
Check the power outlet with a lamp or phone charger. If the outlet works, check the lid lock. A stuck lid switch prevents the machine from starting.
Test the switch with a multimeter set to continuity. If it doesn't close when you press it, replace it. The control board is the last stop, but it's often the actual culprit.
Branch 2: Fills With Water But Won't Agitate
The motor isn't spinning the drum. On a SmartDrive machine, this usually points to the motor speed sensor or the control board. Unplug the washer, remove the rear panel, and inspect the motor harness.
Look for burnt or loose pins. A sensor test takes two minutes with a multimeter. If the sensor reads open when the drum turns, replace it.
Branch 3: Drains But Won't Spin
The drain pump works, but the drum stays still. The lid switch is the first suspect. Most models will drain but refuse to spin if the lid isn't fully closed.
Listen for a click when you push the lid down. No click means the reed switch is dead. On older belt-drive models, also check the belt for wear or breakage.
Branch 4: Stops Mid-Cycle With an Error Code
The machine is trying to tell you exactly what's wrong. Look up the code from the table above, then test the corresponding part. The most common mid-cycle stop is an F5 lid lock error, followed by an F7 fill timeout.
Check the drain pump filter first. A clogged filter can trigger multiple fault codes.
Branch 5: Makes Loud Noises During Operation
Grinding or banging during the spin cycle means something is physically wrong. Check the suspension springs and shock absorbers for signs of wear. Push down on the drum.
It should bounce smoothly and settle quickly. If it thuds or rocks, replace the suspension. Also check the drum bearings, which sound like a dull growl when they fail.
Parts That Fail Most Often (And What to Test First)
You don't need to replace anything until you've tested it. Here are the five parts that fail most often on Fisher Paykel washers, based on aggregate repair data:
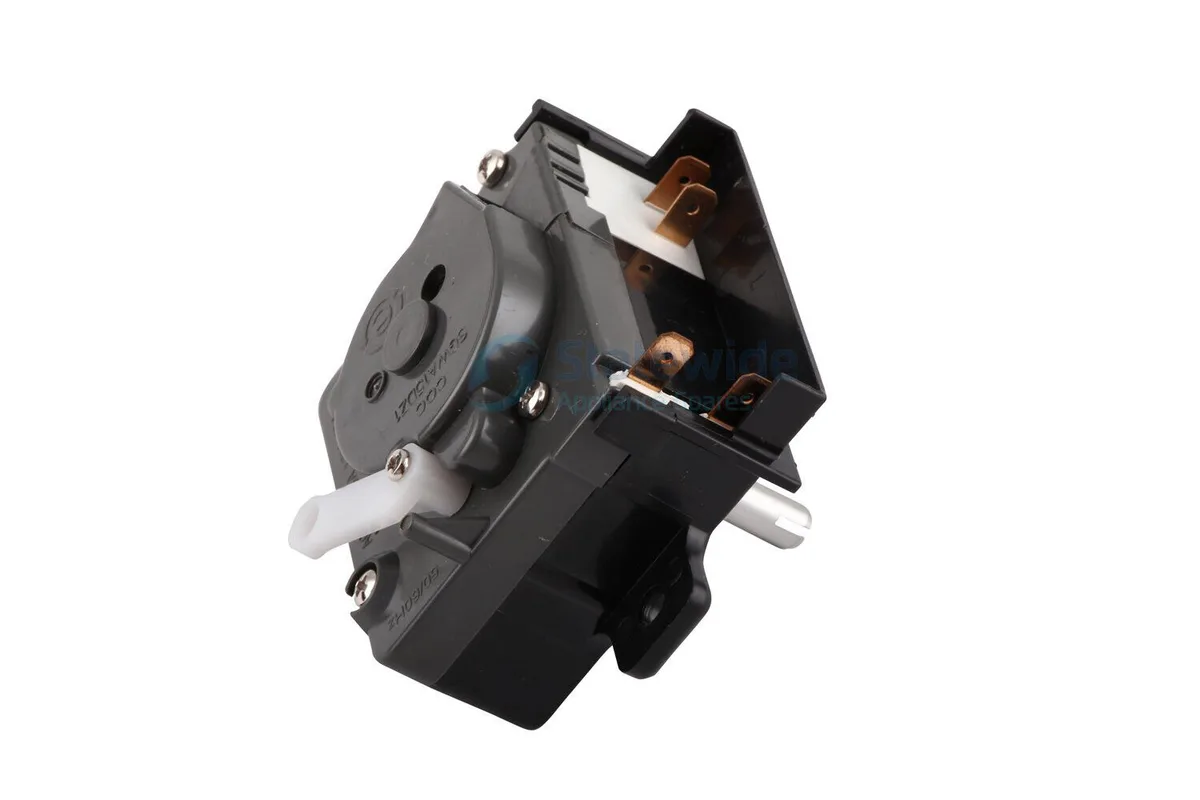
Image source: Bing (Web (fair-use with source credit))
Lid switch (reed switch), It confirms the lid is closed. Test it for continuity. When operating, the multimeter should show near-zero ohms.
A broken switch costs around $20 and takes minutes to replace.
Drain pump, If the washer won't drain, the pump is usually blocked or dead. Remove the panel and check the impeller for coins and hair first. If it spins freely, test the motor's resistance.
Replace it if the reading is open.
Water inlet valves, These electric valves control hot and cold water flow. When they fail, the washer either won't fill or won't stop filling. Use a multimeter to check the solenoid coil resistance.
Typical values range from 500 to 1000 ohms.
Speed sensor, This little magnetic sensor sits behind the drum and tracks how fast the basket spins. A faulty sensor triggers an F2 error. Test it with the multimeter set to AC milli-volts.
Spin the drum by hand and watch for a voltage reading.
Control board, The brain of the machine. It's the most expensive part to replace. Always test everything else first.
Burn marks, cracked solder joints, or bulging capacitors are dead giveaways. If the board looks clean but the error persists, it's time to hand the job to a pro.
Tools You Actually Need for DIY Troubleshooting
You probably already own most of these. Here's the short list:
- Digital multimeter, The single most important tool. Set it to continuity mode. You can test switches, sensors, and solenoids.
- Phillips and flathead screwdrivers, The rear panel, top panel, and control box are all held in with standard fasteners.
- Socket set, You'll need sockets for stubborn screws and for removing the drum's retaining nut if you ever get that deep.
- Needle-nose pliers, Essential for pulling trapped items from the drain pump and for wrestling with harness clips.
- A bucket and old towels, Water WILL spill when you open the drain filter or disconnect a hose.
- Owner's manual or service manual, The manual has wiring diagrams and diagnostic sequences. It's free and it saves you hours.
With these basics, you can diagnose about 80% of common failures. The hardest part isn't the tools. It's having the patience to test one component at a time rather than guessing and throwing parts at the machine.
Mistakes DIYers Make That Cost Them Time and Money
The most common mistake is skipping the diagnostic step entirely. Someone replaces the control board because the washer won't start, only to discover the lid switch was the real culprit. That's a $200 mistake on a $20 part.
Another frequent error is testing components while the machine is still plugged in. Even in standby mode, the control board stores enough voltage to give you a nasty shock. Always unplug the washer and wait at least two minutes before opening any panel.
Testing out of context also trips people up. A lid switch might test fine on the bench but fail under vibration when the washer runs. On SmartDrive models, the speed sensor tests fine at rest but fails as soon as the motor tries to spin.
If a part tests borderline, replace it anyway.
Don't forget the simplest causes. A kinked drain hose mimics a failed pump. A clogged inlet screen mimics a dead water valve.
Low water pressure from a closed shutoff valve mimics an electronics problem. Check these before buying any parts.
Finally, don't overtighten screws on plastic panels. Fisher Paykel washers use self-tapping screws that strip easily. A stripped screw leaves the panel loose, which can rattle and mimic a mechanical noise problem.
Use hand pressure, not power tools, when reassembling.
When to Call a Technician vs. When to Walk Away
Some repairs are straightforward. Lid switches, drain pumps, and inlet valves are cheap and easy to swap. Water hoses and drain filters are trivial.
If the part costs under $50 and you can reach it without dismantling the whole machine, do it yourself.
But some problems demand professional help. The control board replacement involves handling a circuit board that stores dangerous voltage even after unplugging. Removing the inner drum to replace bearings requires specialized tools and a press.
If your machine is still under warranty, any tampering voids it.
Here's a quick decision guide:
| Symptom | DIY? | Call a Pro |
|---|---|---|
| Error code F5 (lid lock) | Yes, $20 part | Only if you lack a multimeter |
| Error code F2 (speed sensor) | Yes, $30 part | If you can't access the sensor |
| Error code F6 (drive overload) | No | Suspension or bearing issue |
| Loud grinding during spin | No | Drum bearing replacement |
| Water leaking from bottom | If loose hose clamp | If pump seal is cracked |
| Burn smell from machine | No | Control board or motor failure |
The math is simple. Compare the cost of the replacement part plus your time against a service call that averages $150 to $250 per visit. Most Fisher Paykel parts cost under $80.
If the part costs more than the service call, hand it off.
One more rule: if you've tested everything and the machine still won't run, stop. There's no shame in calling a technician. The most expensive DIY repairs come from people who kept replacing parts out of frustration instead of admitting they were stuck.
Simple Maintenance That Prevents Most Problems
Fisher Paykel washers are low-maintenance machines. But a few habits dramatically extend their life. The single most important thing: clean the drain pump filter every three months.
Coins, hair, and sock fuzz accumulate there and block the pump.
To clean it, locate the small rectangular access panel at the bottom front of the machine. Place a shallow pan underneath. Twist the filter cap counterclockwise and pull it out.
Remove any debris and rinse the filter under running water. Replace it and twist clockwise until snug.
Check the inlet screens once a year. Turn off the water supply and disconnect the hoses from the back of the washer. You'll see small mesh screens where the hoses attach.
If they're clogged with sediment, clean them with a toothbrush. Hard water areas may need to do this every six months.
Level the machine after every installation or move. An unlevel washer vibrates excessively. That stresses the suspension springs and can crack the drum.
Use a bubble level on top of the machine and adjust the front feet until it's stable.
Leave the lid open between washes. This allows moisture to evaporate from the drum and prevents mold growth on the door seal. Mold isn't just a smell problem.
Spores can interfere with the water level sensor and drain pump function.
Use the right detergent amount. Modern Fisher Paykel washers use less water than older models. Excess detergent creates suds that confuse the pressure switch and can trigger fill errors.
Use high-efficiency (HE) detergent and follow the manufacturer's dosage guidelines.
A final note: run a cleaning cycle or a hot wash with vinegar every three months if you have hard water. Mineral deposits build up on the heating element and can cause temperature sensor errors. A maintenance cycle prevents that entirely.
Frequently Asked Questions About Fisher Paykel Washer Repairs
How do I reset my Fisher Paykel washer after an error code?
Unplug the washer for 30 seconds, then plug it back in. This clears temporary fault codes and resets the control board. If the error returns immediately, the underlying problem still exists and needs a proper diagnosis.
What does the F1 error code mean on my Fisher Paykel washer?
F1 indicates a communication fault between the control board and the motor. Check the wiring harness connections first. If the harness looks fine, the control board or motor assembly is likely faulty.
Testing with a multimeter is recommended before replacing anything.
Why does my Fisher Paykel washer fill but not agitate?
This usually means the motor isn't receiving power to rotate. On SmartDrive models, the speed sensor or control board is the most common cause. The lid switch can also prevent agitation if the machine thinks the lid is open.
Test the switch for continuity first.
How do I force drain my Fisher Paykel washer?
Press and hold the "Spin" button for five seconds. Most models have a manual drain command that overrides the cycle. If that doesn't work, manually drain the machine by removing the drain pump filter.
Place towels underneath to catch the water.
Can I bypass the lid lock on my Fisher Paykel washer?
It's not recommended for safety reasons. The lid lock prevents the drum from spinning with the lid open. Bypassing it can cause serious injury if the machine starts unexpectedly.
Replace a faulty lid lock rather than trying to disable it.
Why is my Fisher Paykel washer making a clicking noise during the cycle?
A clicking noise usually comes from the drain pump or the water inlet valves. Listen closely to determine which side of the machine the sound comes from. If it's rhythmic and happens during fills, the inlet valve solenoid may be failing.
A slow tick from the pump indicates a stuck impeller.

Similar Posts