How to Clean a DSLR Camera
Few things ruin a great shot faster than a dust spot floating across a blue sky. You've probably wondered how to clean a DSLR camera without damaging the most expensive component inside it. The sensor is delicate, and the wrong move can cost you hundreds in repairs.
Manufacturer specifications indicate that the low-pass filter coating on most modern sensors is scratch-resistant but not scratch-proof. A single dry swab or a wrong tool can leave permanent marks. Understanding the right technique is the first step to keeping your gear safe.
Image source: Web (Bing) / circuitdiagram.co (Web image (fair-use with source credit))
Why Cleaning Your DSLR Camera Is Riskier Than You Think
The sensor sits behind a delicate low-pass filter. That filter has an anti-static coating designed to repel dust. But it's also easy to scratch, smear, or strip if you use the wrong approach.
Static electricity is another hidden problem. Dry swabs or brushes can generate a charge that actually pulls more dust onto the sensor. According to Canon's official support documentation, improper cleaning is one of the most common causes of camera damage.
Many people grab canned air first. That's a mistake. The propellant can spray liquid onto the sensor, leaving residue that's harder to remove than dust.
If you change lenses frequently, especially for landscape photography, you're more likely to get dirt inside.
The risks are real. But the right process keeps your camera safe.
Quick Answer
Lock the mirror up. Use a blower first. If dust remains, use a sensor swab with one or two drops of solution.
Swipe once left to right. Wait for it to dry. Test at f/16.
Repeat if needed. Never use canned air.
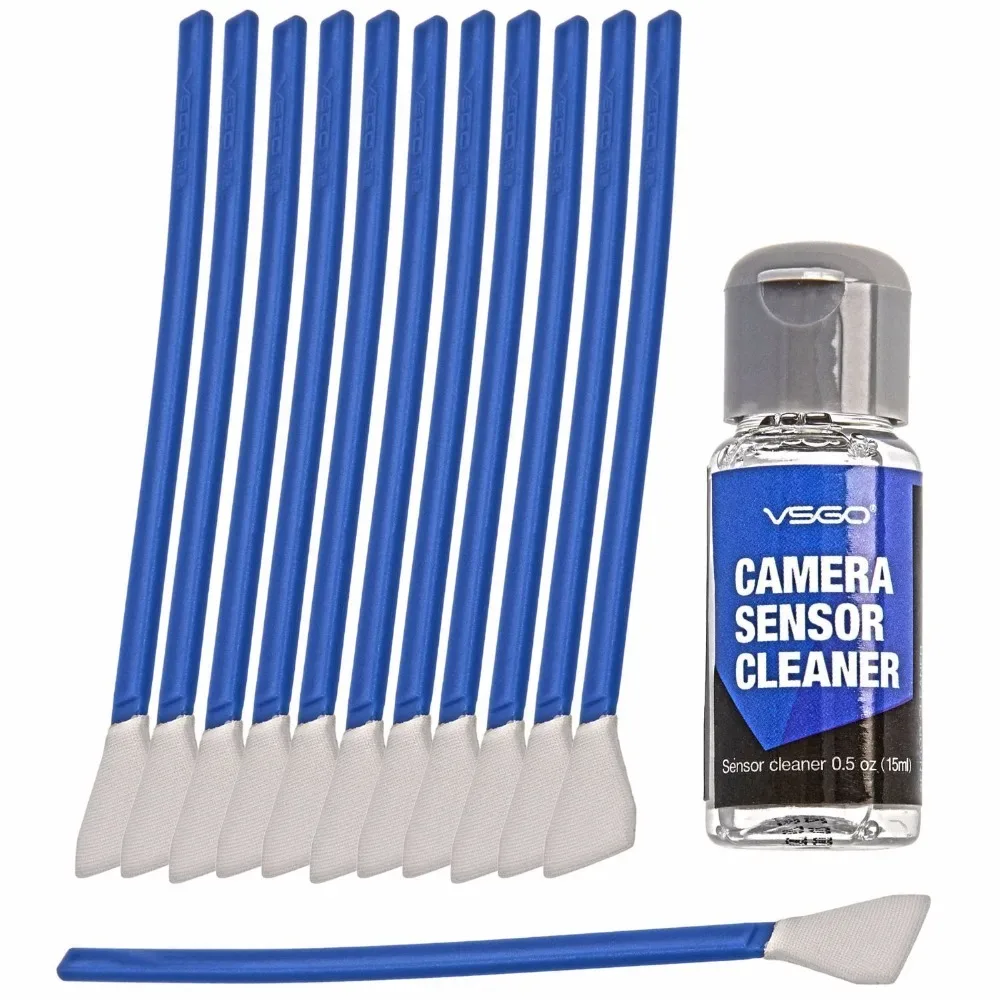
Image source: Web (Bing) / healthycamera.blogspot.com (Web image (fair-use with source credit))
The Right Way to Clean Your Sensor (Step by Step)
Follow these steps in order. Do not skip the preparation.
| Step | Action | Tool Needed |
|---|---|---|
| 1 | Charge the battery fully | Camera battery |
| 2 | Enter sensor cleaning mode (mirror lock-up) | Camera menu |
| 3 | Remove the lens | None |
| 4 | Use a blower to dislodge loose dust | Anti-static blower |
| 5 | Inspect with a loupe | Sensor loupe with LED |
| 6 | Wet clean if spots remain | Sensor swab + solution |
Start with a fully charged battery. If the battery dies mid-clean, the shutter closes and can trap the swab inside. Enter the cleaning mode from your camera's menu.
The mirror flips up, exposing the sensor.
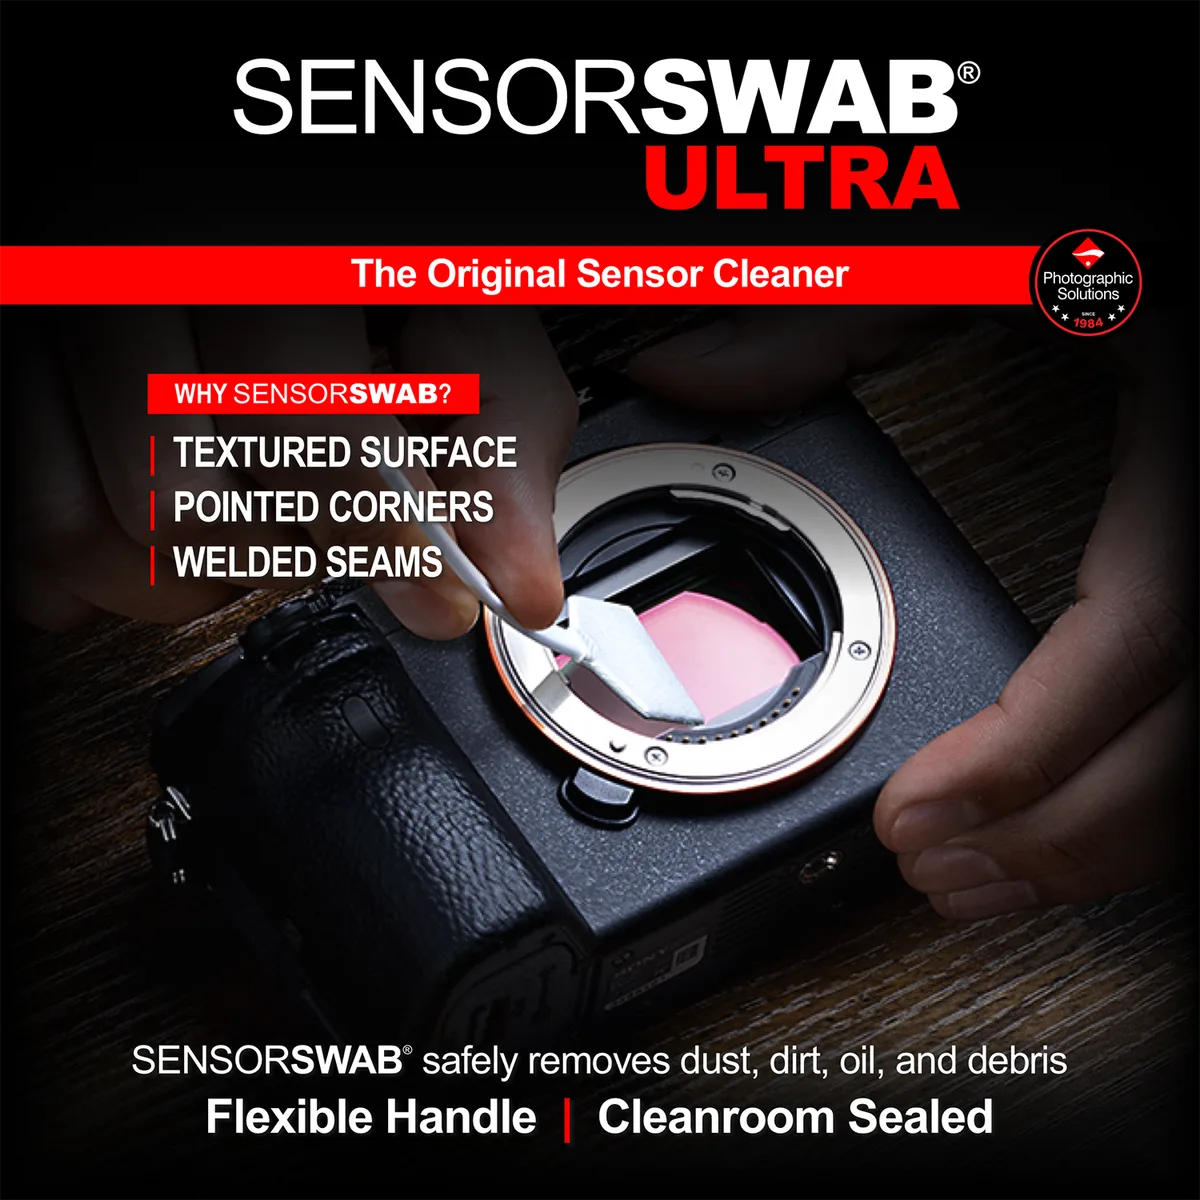
Image source: Web (Bing) / photosol.com (Web image (fair-use with source credit))
Use the blower first. Hold the camera with the sensor facing down so dust falls out. Squeeze the blower a few times.
Do not touch the sensor with the tip.
If dust remains, move to a wet clean. Put one or two drops of solution on a fresh swab. Swipe across the sensor in one smooth motion, left to right.
Do not go back and forth. Let it dry for 30 to 60 seconds. Inspect again.
Repeat with a new swab if needed.
If you change lenses quickly, like when photographing birds in flight, proper technique matters even more. Fewer cleanings mean less wear on the sensor coating.
A Few Things You Absolutely Should Not Do
Some common mistakes cause permanent damage. Avoid these at all costs.
- Canned air or compressed air. The propellant leaves residue and can freeze the sensor.
- Household cotton swabs. They leave fibers and lint behind.
- Blowing with your mouth. Saliva and moisture will land on the sensor.
- Touching the sensor with your finger. Oils are very hard to remove.
- Using a dry swab without solution. This creates micro-scratches on the coating.
- Reusing a swab. Each swab is single-use. Once you touch the sensor, discard it.
If you shoot in low light, you might not notice dust right away. It shows up in bright areas later. Clean before you head out for a night shoot.
When to Stop and Call a Professional
Sometimes the best thing you can do is put the tools down. If you see oil spots instead of dry dust, stop. Oil from the shutter mechanism often requires a professional disassembly.
If you've tried a wet clean two or three times and spots remain, don't keep scrubbing. You risk damaging the coating. A professional cleaning costs between $30 and $100 depending on your location and camera model.
That's cheap compared to a new sensor.
Another sign to stop: if you're nervous or shaky. The process requires a steady hand. If you're not confident, your local camera shop or an authorized service center can do it safely.
If you're shopping for a new body, consider one that's well-suited for your shooting style. Some cameras have better sealing and built-in cleaning systems that reduce how often you need to open the sensor.
Frequently Asked Questions
How often should I clean my DSLR sensor?
It depends on how often you change lenses and where you shoot. Most photographers clean every one to three months. If you see dust spots at f/16 or smaller, it's time to clean.
Can I use a lens pen to clean the sensor?
No. Lens pens are designed for glass lenses, not sensor filters. The tip can leave residue and scratch the coating.
Stick to dedicated sensor swabs and solution.
Is the built-in sensor cleaning enough?
The built-in vibration shake helps with loose dust, but it won't remove sticky dust or oil spots. It's a good first step, but not a replacement for manual cleaning.
What if I see a scratch on my sensor?
Stop and do not clean further. A scratch on the low-pass filter usually requires professional replacement. You may still be able to shoot, but spots will be permanent.
Contact a service center.
How much does a professional sensor cleaning cost?
Expect to pay between $30 and $100. Many camera shops offer same-day service. Some manufacturers include one free cleaning with a new camera purchase.
Check your warranty.

Similar Posts