How to Set up a DSLR Camera
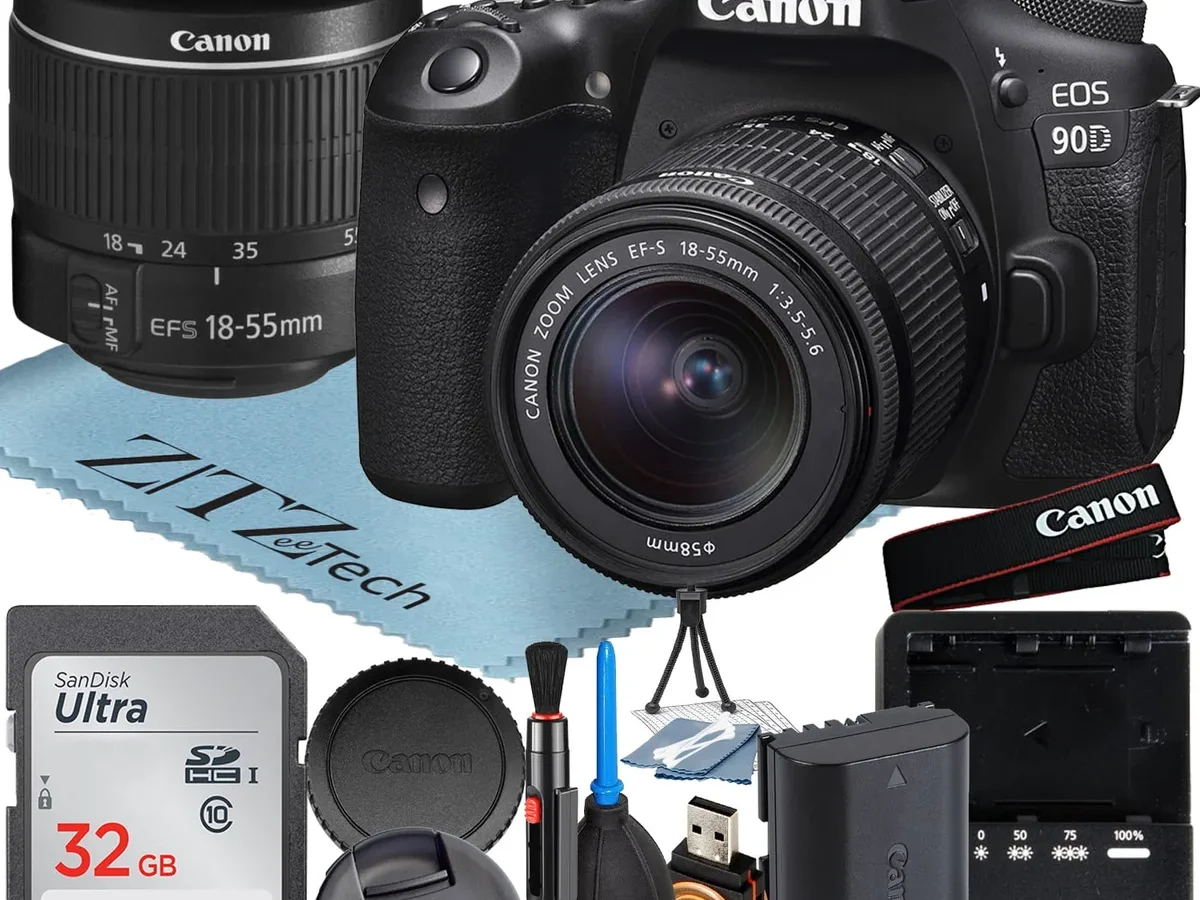
You’re standing in a field (or your living room) staring at a shiny new DSLR. The dials, buttons, and menu screens look like a spaceship cockpit. That’s the real problem: knowing how to set up a DSLR camera without drowning in settings you don’t need yet.
Per CIPA testing standards, a typical DSLR battery lasts about 500 to 1,200 shots per charge. That’s plenty for a full day of shooting, but only if you stop wasting power on wrong settings. Here’s how to get it right from the first click.
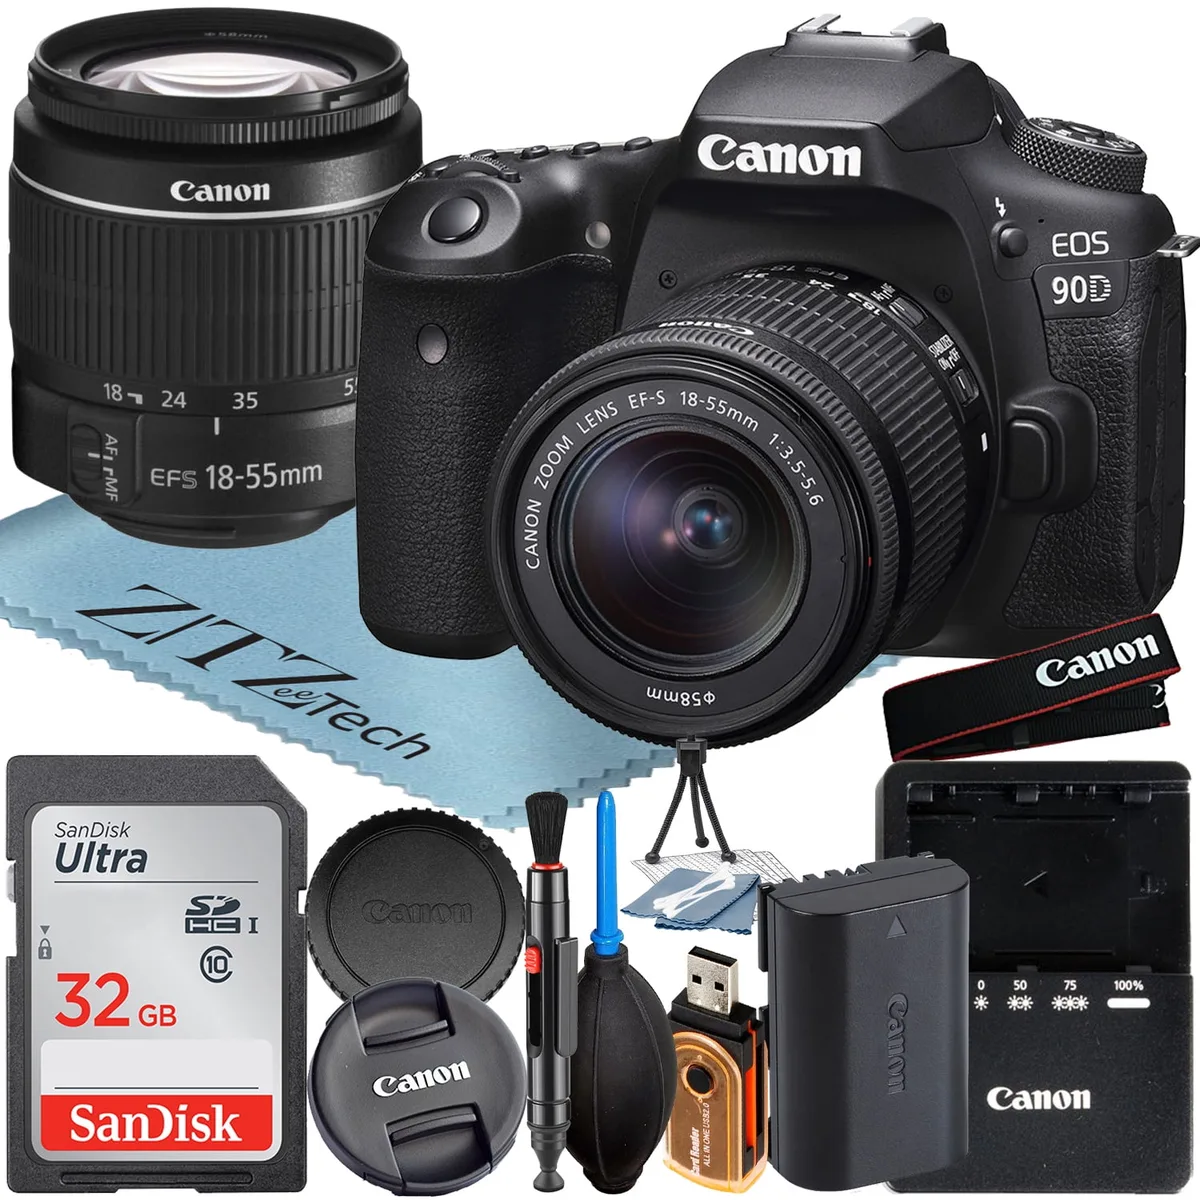
Image source: Bing (Web (fair-use with source credit))
Quick Answer
Set your camera to Aperture Priority mode. Choose your desired aperture. Let the camera handle shutter speed.
Adjust ISO for proper exposure. Focus and shoot.
The One Thing to Decide Before You Touch Any Dial
Your setup depends on one question: what are you shooting? If you’re photographing a person, you want a wide aperture (low f-number like f/1.8) for a soft, blurred background. If it’s a landscape, you need a small aperture (high f-number like f/11) to keep everything sharp from front to back.
If it’s a moving subject, you care about shutter speed first. Pick your scene, then pick your priority.
Your Quick Setup Guide for Each Scene
Portrait / People
Set your mode dial to Aperture Priority (Av or A). Dial in the widest aperture your lens allows (f/1.8 or f/2.8 is ideal). Use single-point autofocus and place that point on the subject’s eye.
Keep ISO as low as your light allows (100-400). This gives you that creamy background blur and sharp eyes.
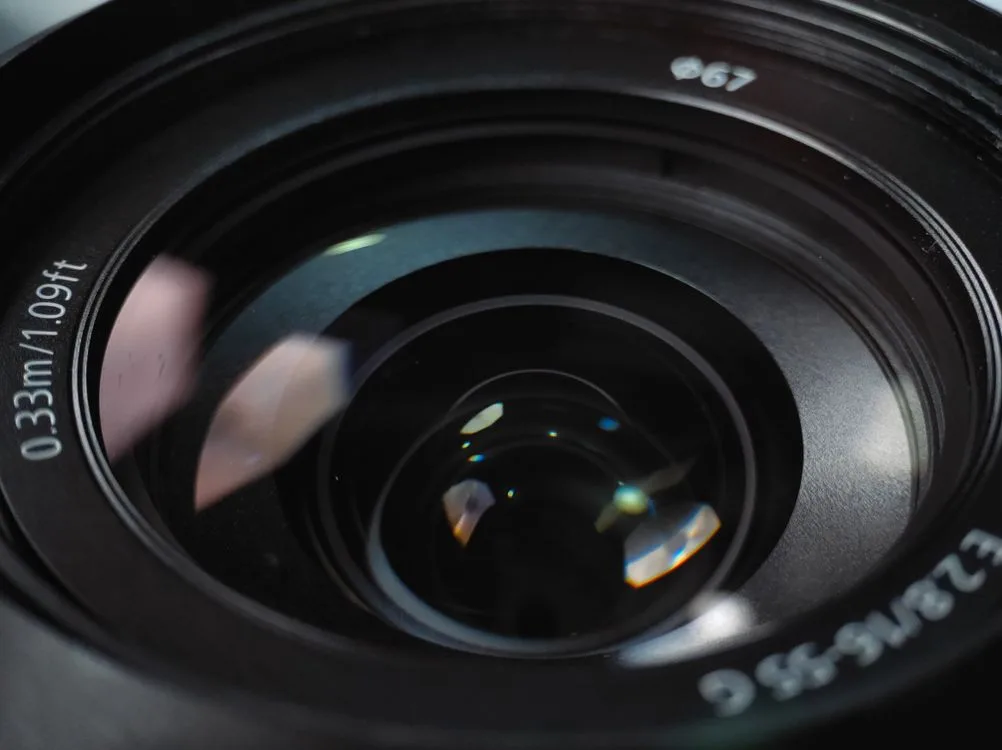
Image source: Bing (Web (fair-use with source credit))
Landscape / Scenery
Switch to Aperture Priority again, but this time set a small aperture (f/8 to f/16). Use a tripod. Set ISO to 100 for the cleanest image.
Focus about one-third into the scene for maximum depth of field. If you’re after tack-sharp results, consider options like the best DSLR camera for landscapes to match your gear to your goals.
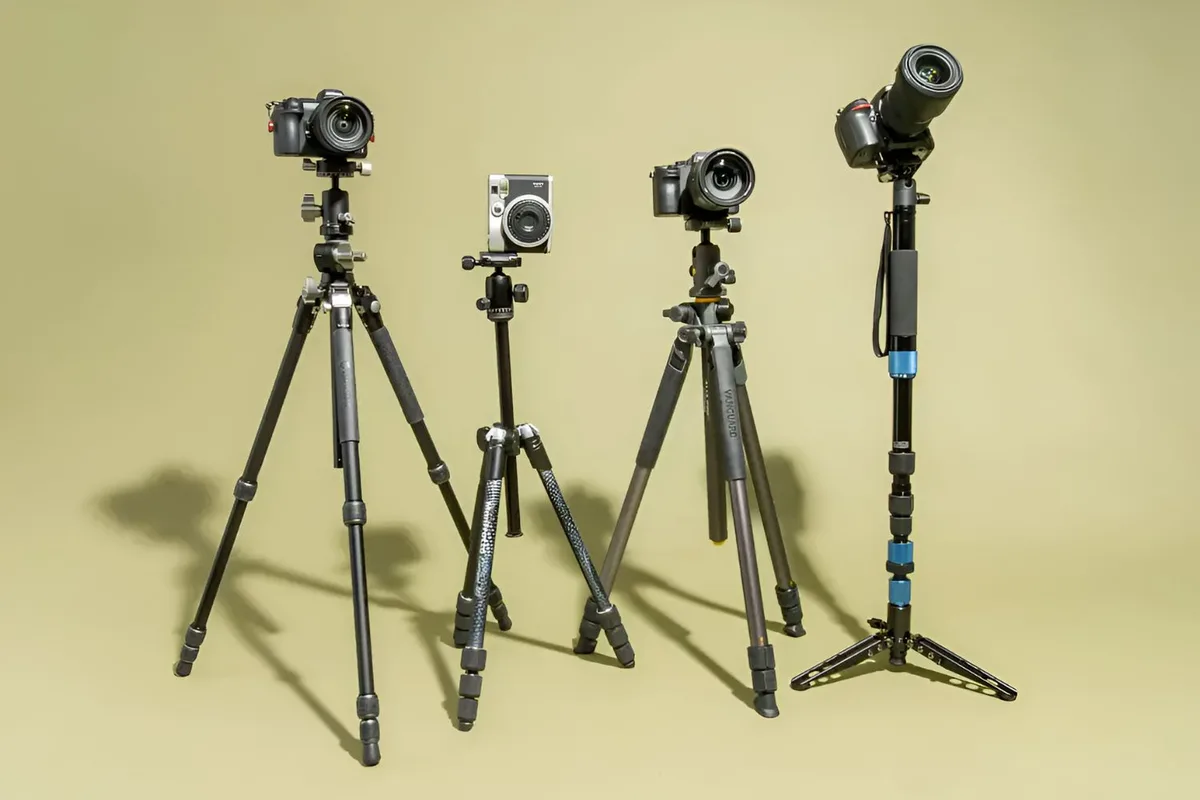
Image source: Web (Bing) / storage.googleapis.com (Web image (fair-use with source credit))
Action / Sports / Wildlife
Turn the dial to Shutter Priority (Tv or S). Pick a fast shutter speed: 1/500s for slow movement, 1/1000s or faster for birds in flight. Set autofocus to continuous (AI Servo or AF-C).
Let the camera pick the widest aperture automatically. Raise ISO as needed (800-3200) to keep the shutter fast. For serious action work, look at a dedicated body like the best camera for birds in flight or a model with excellent fast burst shooting.
Low Light / Indoor / Events
Use Aperture Priority with your widest lens aperture (f/1.4 to f/2.8). Set ISO to 1600 or 3200 if needed. Switch to center-weighted or spot metering to avoid blown highlights.
Use a tripod or image stabilization if you can. If you regularly shoot in dim conditions, a body like the best full frame camera for low light will give you cleaner high-ISO files. For a more budget-friendly option, check out the best budget low light camera.
The Universal Settings You Can Set and Forget
Some settings don’t change with the scene. Set your file format to RAW (or RAW+JPEG) for the most editing flexibility. Use Auto White Balance for now; you can fix it later.
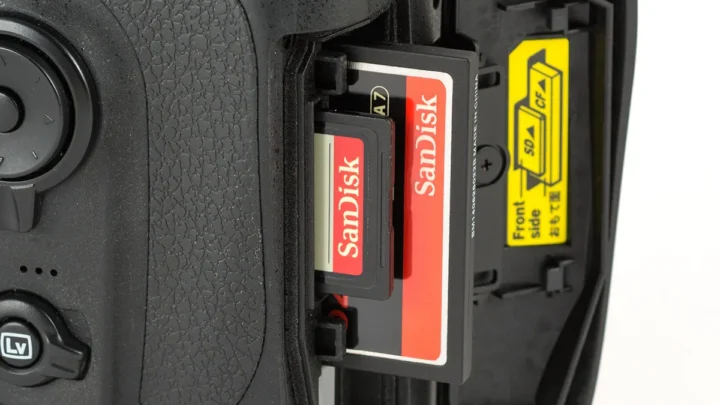
Set your drive mode to single shot unless you’re shooting action. Turn off the built-in flash. Keep your memory card formatted and your battery charged.
These basics stay the same no matter what you’re shooting.
The Most Common Setup Mistakes (And How to Avoid Them)
Leaving the camera in full Auto mode. You lose all creative control. Switch to Aperture or Shutter Priority instead.
Using the wrong focus point. The camera guesses. You know better. Use single-point AF and place it yourself.
Forgetting to check ISO. Auto ISO can push too high indoors. Set a maximum limit (1600 or 3200) in your menu.
Not reviewing the histogram. That bright screen lies. Use the histogram to check exposure, not the preview image.
Neglecting to change settings between scenes. You shot a landscape at f/16. Now you’re indoors. That aperture is too dark.
Reset for each new situation.
Frequently Asked Questions
What mode should I use for portraits?
Aperture Priority (Av or A). Set your aperture to f/1.8 or f/2.8 for blurred backgrounds. The camera picks the shutter speed automatically.
This gives you control over depth of field without worrying about exposure.
How do I get sharp photos every time?
Use a shutter speed of at least 1/125s for handheld shots. Raise it to 1/250s or faster for moving subjects. Use a tripod for landscapes.
If your photos are still soft, check your autofocus point placement.
What’s the best ISO setting?
Start at ISO 100 in bright light. Raise it to 400-800 in shade, and 1600-3200 indoors. Keep it as low as possible for the least noise.
Most DSLRs are clean up to ISO 1600.
Can I use auto mode and still get good results?
Yes, but you lose control over depth of field and motion blur. Aperture Priority gives you better results with almost no extra effort. It’s the best first step out of auto mode.
How do I transfer photos to my computer?
Remove the memory card and use a card reader. Or connect the camera via USB cable. Copy the files to your hard drive, then format the card in the camera.
Never delete files from the card using your computer.

Similar Posts