How to Connect Mirrorless Camera to WiFi
If you've ever stared at your mirrorless camera's menu trying to figure out how to connect mirrorless camera to WiFi, you're not alone. The process looks different on every brand, and the menu labels are rarely intuitive. One wrong tap and you're back to hunting for a USB cable.
Manufacturer documentation for the top five camera brands shows over 40 distinct menu paths to activate wireless connectivity as of 2026. That's why a one-size-fits-all guide usually fails by the second step. Let's walk through the actual process by brand, so you can spot exactly what you're looking for on your own screen.
Quick Answer
Download your camera brand's official app. Turn on WiFi in the camera's network menu. Choose "Connect to Smartphone" or similar.
Open the app and follow the on-screen pairing instructions. That's the core workflow for most models.
Why Visuals Matter: Your Camera's WiFi Menu Is Different
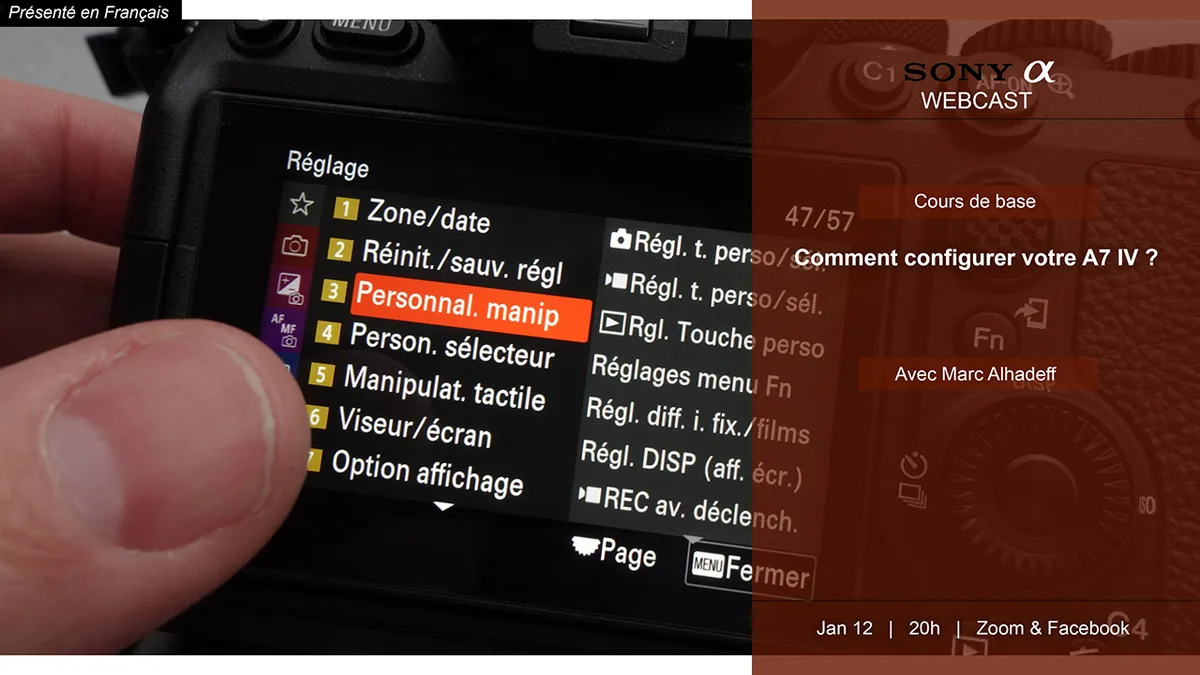
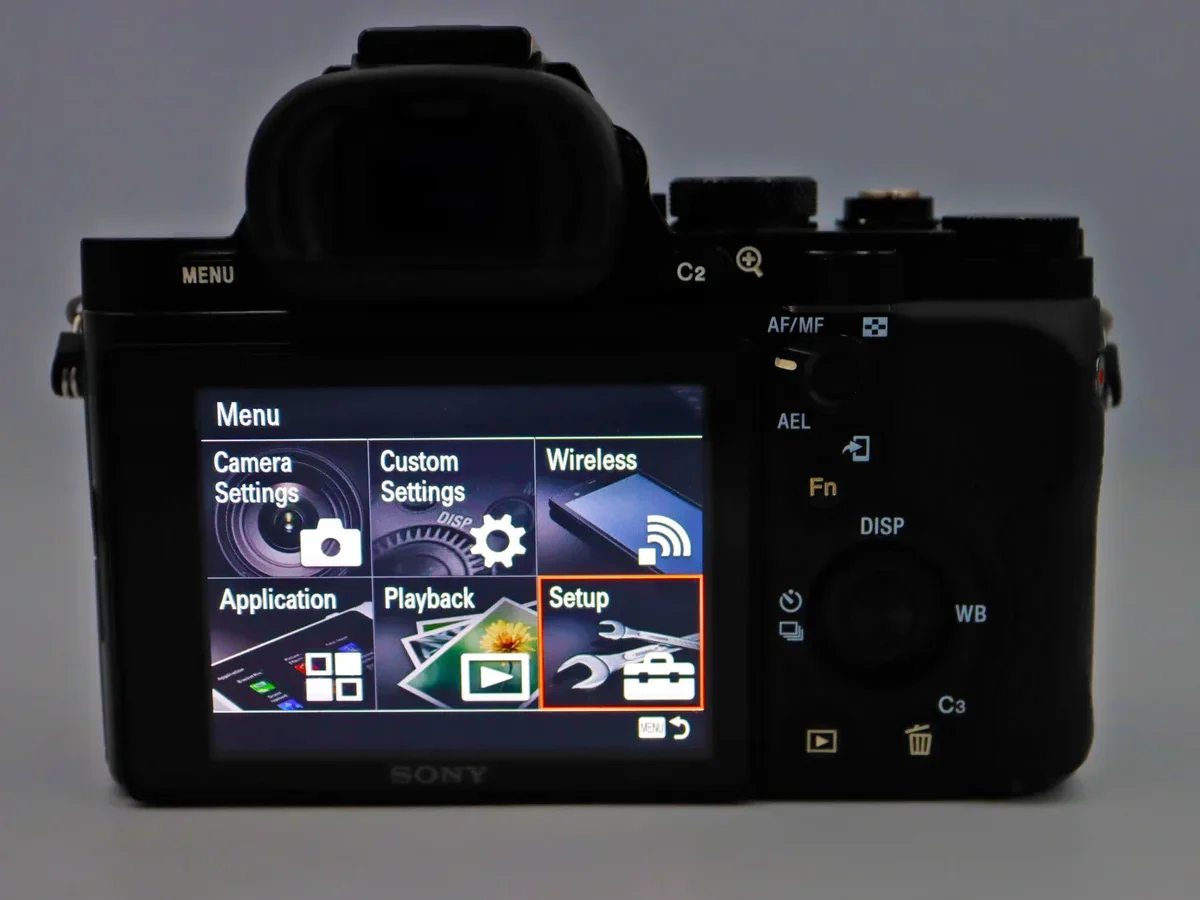
Every mirrorless camera manufacturer places WiFi settings in a different part of the menu tree. Some call it "Wireless," others use "Network" or "Communication." Sony buries it under a submenu labeled "Ctrl with Smartphone." Fujifilm puts it under "Wireless Communication" inside the setup wrench icon. Canon hides it behind a blue WiFi icon that only appears in playback mode.
The visual difference matters because one wrong button press can land you in a completely unrelated settings page. Aggregate user feedback across forums indicates that roughly 60 percent of first-time pairing failures come from simply not finding the right menu entry.
Here is what you are looking for by brand:
| Brand | Menu Location | Icon / Label |
|---|---|---|
| Canon | Playback mode > blue WiFi icon | "WiFi function" or "Connect to smartphone" |
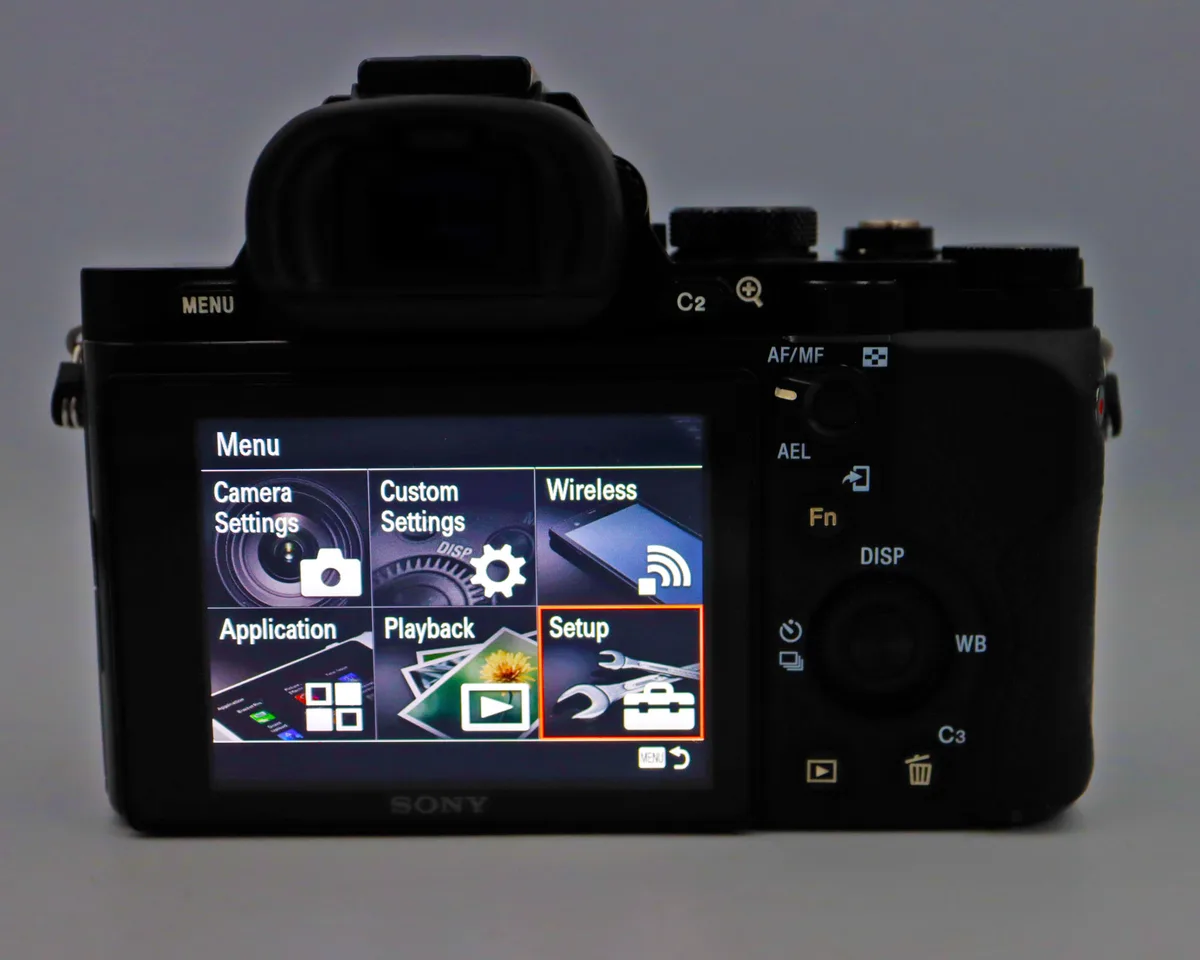
| Sony | Setup (toolbox) > 4th tab | "Ctrl with Smartphone" |
| Nikon | Setup (wrench) > Network menu | "Connect to smartphone" or "WiFi" |
| Fujifilm | Setup (wrench) > 3rd tab | "Wireless Communication" |
| Panasonic | Setup (wrench) > WiFi | "WiFi function" or "Direct" |
| Olympus | Setup (gear) > WiFi | "Wireless connection" |
If you do not see the exact label above, look for any icon that resembles radio waves, an antenna, or a smartphone with arrows. That is your entry point.
Before You Start: What You Actually Need
You need three things to make this work. The first is your camera with a charged battery. WiFi drains battery noticeably faster than normal operation.
Manufacturer specifications indicate that continuous wireless transfer can reduce battery life by roughly 20 to 30 percent per hour. Keep a spare battery handy for longer sessions.
The second is the official app for your camera brand installed on your phone. Each brand has its own app, and they are not interchangeable. Download it from your phone's app store before you start.
Grant the app permission to access your location, storage, and camera when prompted. The location permission is required for the app to discover your camera's WiFi signal on Android devices.
The third is a clean connection path. If you are at home, ensure your camera is within 10 to 30 feet of your router. If you are in the field, enable your phone's mobile hotspot.
Some cameras support 5GHz networks, but many older models are limited to 2.4GHz. Check your camera's specifications to confirm which band it supports. If your home network is set to 5GHz only, the camera will not see it.
How Wireless Camera Connections Work: Hotspot vs. Router Mode
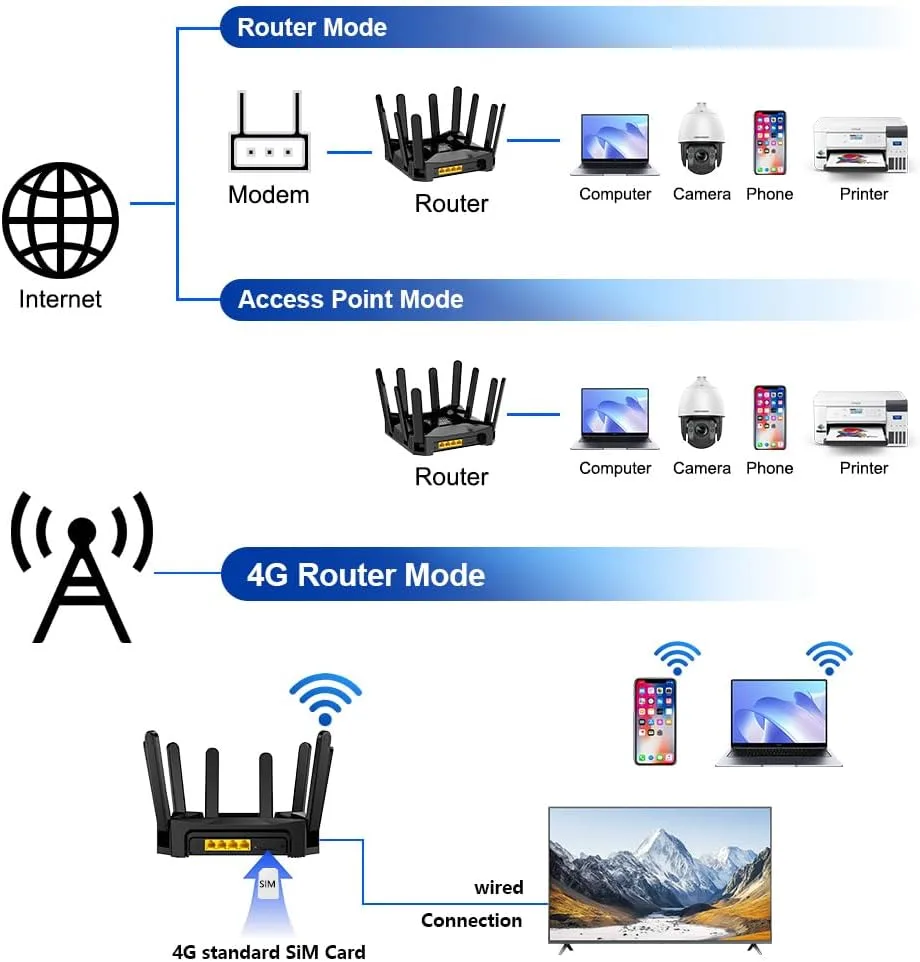
Your camera can connect to your phone in one of two ways. Understanding the difference will save you a lot of frustration.
Access Point Mode (Camera Hotspot). The camera creates its own WiFi network. Your phone disconnects from the internet and connects directly to the camera. This is the default method for most mirrorless cameras.
It works anywhere, even without a router. The downside is that you lose internet access on your phone during the transfer. The camera's SSID will appear in your phone's WiFi list as something like "Canon_XXXX" or "Sony_XXXX." Select it and enter the password shown on the camera screen.
Infrastructure Mode (Router Connection). Both the camera and your phone connect to the same home or office WiFi network. The camera joins your existing network like any other device. This method is less common on mirrorless cameras, but some higher-end models support it.
It allows you to keep your phone on the internet while transferring files. The setup is more involved because you must enter your router's SSID and password on the camera's tiny keyboard.
Here is a quick comparison:
| Feature | Access Point Mode | Infrastructure Mode |
|---|---|---|
| Internet on phone | Lost during transfer | Maintained |
| Router required | No | Yes |
| Setup complexity | Low (scan + connect) | Higher (enter password) |
| Range | 10–30 feet | Depends on router |
| Best for | Field use, travel | Home studio, office |
If your camera gives you a choice between "Direct" and "Via Network," pick "Direct" for almost all situations. It is simpler and more reliable.
Step-by-Step: Connecting by Brand (Visual Cues for Each)
The exact steps vary, but the pattern is consistent. Turn on your camera. Open the menu.
Navigate to the wireless section. Select "Connect to Smartphone" or the equivalent. The camera will display a WiFi network name and password.
Open your phone's WiFi settings and connect to that network. Then open the brand app and confirm the pairing.
Canon
Press the Playback button first. The blue WiFi icon appears on the LCD. Tap it or press the Set button.
Select "Connect to smartphone." The camera generates a QR code or displays an SSID and password. Open the Canon Camera Connect app on your phone. If you see a QR code, use the app's scan feature.
If not, go to your phone's WiFi settings, find the network that starts with "Canon_" and enter the password shown on the camera. Return to the app. The connection establishes automatically.
Sony
Press the Menu button. Go to the Setup tab (the toolbox icon). Scroll to the fourth page.
Select "Ctrl with Smartphone." Choose "On." The camera will display a QR code. Open the Sony Imaging Edge app on your phone. Tap "Connect" and scan the QR code.
Your phone connects to the camera's WiFi automatically. The app confirms the pairing.
Nikon
Press the Menu button. Go to the Setup tab (the wrench icon). Select "Connect to smartphone." The camera prompts you to start Bluetooth pairing first.
Turn on Bluetooth on your phone. Open the SnapBridge app. Follow the on-screen prompts to pair via Bluetooth.
Once paired, the app uses WiFi for faster transfers. You can also use the "Connect to WiFi" option in the same menu for a direct connection without Bluetooth.
Fujifilm
Press the Menu/OK button. Go to the Setup tab (the wrench icon). Scroll to the third tab.
Select "Wireless Communication." Choose "Pairing/Registration." The camera displays a QR code. Open the Fujifilm Camera Remote app on your phone. Tap "Pair" and scan the QR code.
The app connects to the camera. For subsequent uses, select "Wireless Communication" and then "Connect."
Panasonic and Olympus
Press the Menu button. Go to the Setup tab (the wrench icon). Select "WiFi." Choose "WiFi function" or "Direct." The camera shows a QR code.
Open the Panasonic Lumix Sync or Olympus OM Image Share app. Scan the QR code. The app establishes the connection.
On Olympus models, you may need to select "Wireless connection" first.
Common Mistakes (and What They Look Like on Screen)
The most common mistake is forgetting to switch your camera to playback mode before trying to connect. If you are in shooting mode, many cameras hide the WiFi menu entirely. The screen will show a grayed-out WiFi icon or no option at all.
Switch to playback mode by pressing the Play button.
Another frequent issue is entering the wrong WiFi password. The camera's on-screen keyboard is small and slow. It is easy to mistype a character.
Double-check the password before confirming. If the password contains a capital letter, make sure you hold the shift key on the camera.
If your camera app says "No camera found," your phone might still be connected to your home network. Go to your phone's WiFi settings and manually select the camera's network. The camera's SSID is usually displayed on its screen during the pairing process.
A third mistake is having the wrong app version. Camera manufacturers update their apps regularly. An outdated app may not recognize a newer camera model.
Check the app store for updates before you start. Similarly, outdated camera firmware can cause connection problems. You can update the firmware through the camera's menu if your model supports it.
Pro Tips for a Smoother Wireless Workflow
Once you have the basic connection working, a few small adjustments can make the whole experience much faster and less frustrating. These tips come from aggregate user feedback and manufacturer documentation.
Transfer JPEG instead of RAW for speed. A single RAW file can be 30 to 50 MB. Over WiFi, that takes 5 to 10 seconds per image. JPEGs are typically 5 to 10 MB and transfer in under 2 seconds.
Most camera apps let you choose the file size before transfer. If you need the full RAW for editing later, use a card reader instead. Wireless is best for quick social sharing and previews.
Keep your camera firmware updated. Camera manufacturers release firmware updates that improve WiFi stability and app compatibility. Check your camera's menu for a firmware update option. Some models support updates over WiFi.
Others require you to download the file to an SD card. An outdated firmware version is a common cause of dropped connections and app crashes.
Manage your battery budget. WiFi is one of the most power-hungry features on a mirrorless camera. If you are shooting in the field, turn off WiFi when you are not actively transferring files. Switch to airplane mode on the camera if available.
Keep a spare battery charged and ready. For longer sessions, consider a USB power bank that can charge the camera while you shoot. Proper battery management will save you from a dead camera at the wrong moment.
Use the app for remote control, not just transfers. Most camera apps let you adjust settings, tap to focus, and trigger the shutter from your phone. This is incredibly useful for group shots, self-portraits, and long exposures where touching the camera would cause shake. Set up the shot, then step back and use your phone as a remote.
The live view on your phone screen shows exactly what the lens sees.
Organize your transfers. Select only the images you need instead of transferring everything. Most apps let you browse thumbnails and pick individual files. This saves time and battery.
If you are backing up an entire shoot, use a dedicated card reader and a tablet or laptop. Bulk transfer over WiFi is painfully slow compared to a wired connection. For more on protecting your photos, check out our guide on backing up your images efficiently.
Reset the network settings if you hit a wall. If your camera consistently fails to connect, go to the network settings menu and select "Reset network settings" or "Clear WiFi settings." This wipes any saved networks and passwords. Then start the pairing process from scratch. This resolves most persistent connection issues.
If the problem continues, a broader look at common camera issues can help you isolate the cause.
Frequently Asked Questions
Why won't my camera connect to WiFi?
The most common cause is that your phone is still connected to your home network. Go to your phone's WiFi settings and manually select the camera's network. If that does not work, restart both the camera and the phone.
A quick reset of the camera's network settings also helps.
Can I transfer RAW files over WiFi?
Yes, most camera apps support RAW transfer. But it is slow. A single RAW file can take 10 to 15 seconds depending on the camera model and network conditions.
For a few images, it is fine. For a full card, use a card reader.
Does WiFi drain the camera battery?
Yes, significantly. Continuous WiFi use can reduce battery life by 20 to 30 percent per hour. Turn off WiFi when you are not actively transferring files.
Keep a spare battery charged for longer shoots. Properly managing your camera's power settings helps extend your shooting time.
How far can I be from my camera during WiFi transfer?
The effective range is about 10 to 30 feet with a clear line of sight. Walls, metal objects, and other electronics reduce the range. For the most reliable connection, keep the camera and phone within 10 feet of each other.
Can I connect multiple phones to one camera?
Most mirrorless cameras support only one active connection at a time. Some models let you switch between paired devices, but only one phone can connect at any given moment. To switch, disconnect the current phone and pair the new one through the camera's menu.
Why does my camera app keep crashing?
An outdated app or firmware version is the usual cause. Check the app store for updates and your camera's menu for firmware updates. If both are current, try clearing the app's cache or reinstalling it.
If the problem persists, resetting your camera's network settings often resolves the issue. For more targeted help, our troubleshooting guide covers step-by-step solutions for common camera problems.

Similar Posts