How to Download Photos From Cellular Trail Camera
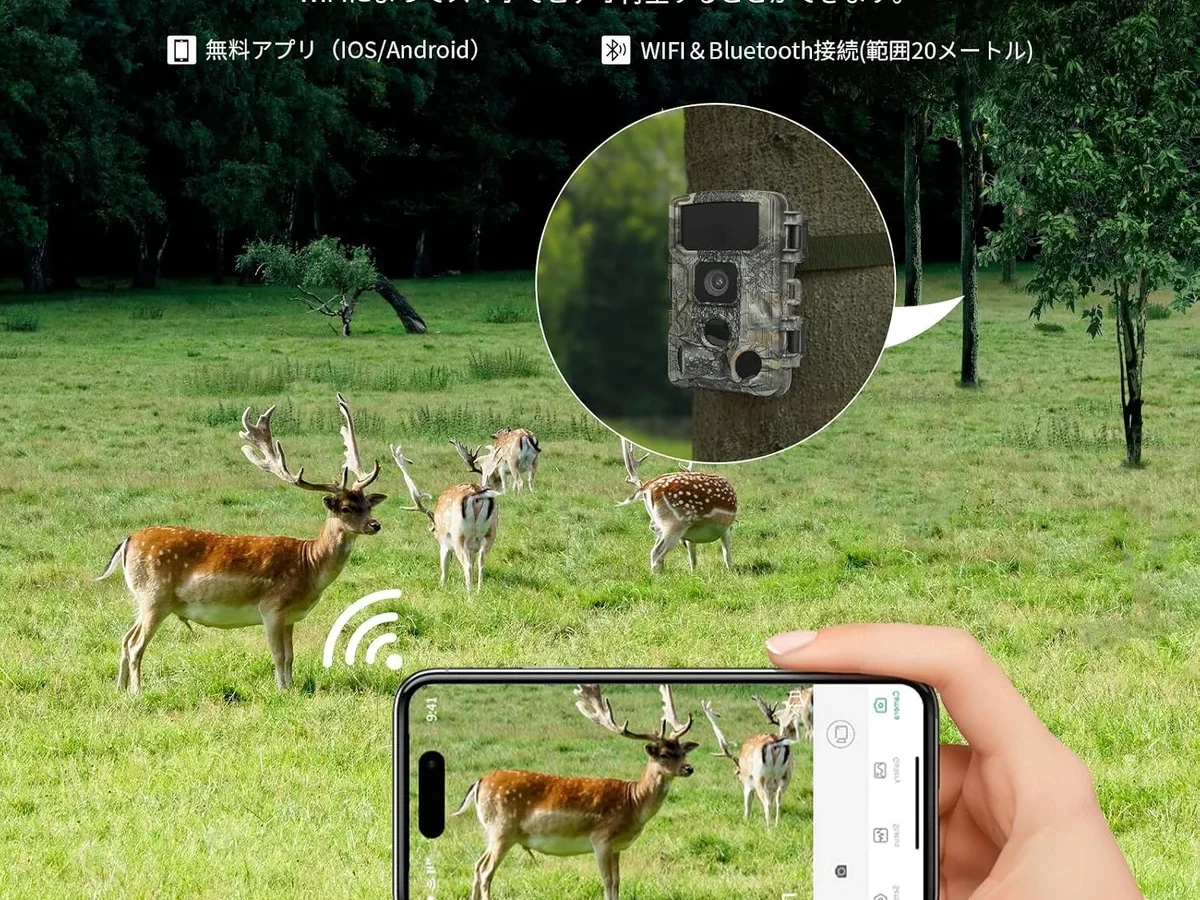
Your phone buzzes. A cellular trail camera just sent a photo of a buck walking through a food plot. The thrill is real.
But then you tap the notification and stare at a thumbnail. How do you actually save that photo to your phone so you can zoom in, share it, or keep it? Knowing how to download photos from cellular trail camera is just as important as setting the camera up in the first place.
Most modern cellular trail cameras send photos over 4G LTE networks. As of 2026, the process is almost always handled through a dedicated app from the camera manufacturer. But the steps vary by brand, and the wrong move can leave you staring at a frozen loading screen.
Let us walk through how it actually works, step by step.
Quick Answer
Open the camera's app. Go to the gallery. Tap the photo you want.
Press the download or save icon. Most apps save the photo to your phone's camera roll. Some require you to confirm the download first.
Check your app's settings for auto-save. That is the fastest way to get your photos.
How Cellular Trail Cameras Actually Send You Photos
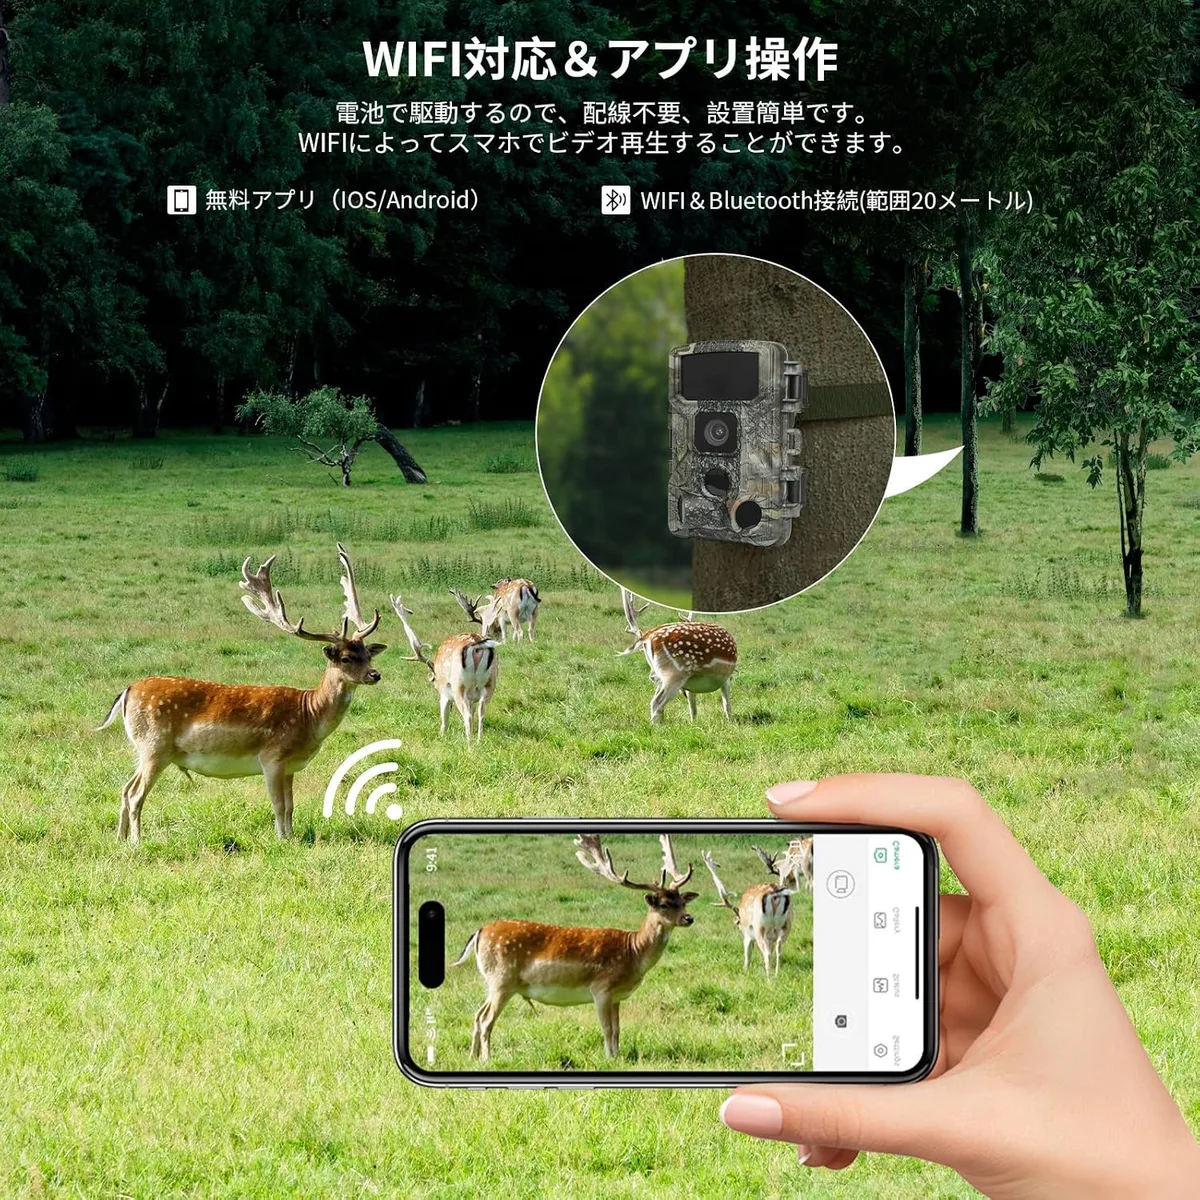
Understanding the pipeline helps you fix problems when they happen. The camera takes a photo. It compresses the image and sends it over a cellular network to the manufacturer's cloud server.
The server pushes a notification to your phone. When you open the app, it downloads the thumbnail and full-resolution image from the cloud.
The camera does not send photos directly to your phone. It goes through the cloud. That means you need an active cellular plan and a data connection.
Most plans include a set number of photos per month. Free plans typically cap you at 100 to 300 images. Paid plans range from $5 to $30 per month for higher limits.
This also means you are not physically accessing the SD card when you download over cellular. The photo you see in the app is a copy. The original remains on the camera's SD card.
That matters for troubleshooting later.
What happens when you tap "download"?
The app requests the full-resolution file from the cloud. It downloads to your phone's local storage. A 12-megapixel image is about 2 to 5 MB.
On a good cellular connection, that takes a few seconds. On a weak signal, it can take 30 seconds or more.
Some apps offer a "save to camera roll" option. That adds the image to your phone's native gallery. That is the step most people are looking for.
How to Download Photos Step by Step
The exact steps depend on the brand and app you use. But the general workflow is the same across all major brands. Here is the decision tree for what you are using.
Step 1: Identify your brand and app
You need the correct app. Here are the most common ones:
- Reveal (Reveal app)
- Spartan (Spartan Camera app)
- Moultrie Mobile (Moultrie Mobile app)
- Spypoint (Spypoint app)
- Tactacam (Tactacam Reveal app)
- Browning (Browning Trail Cameras app)
If you are not sure which app you need, check the camera's manual. The app store listing will show the brand name.
Step 2: Open the app and log in
Enter your email and password. If you forgot your password, use the "forgot password" link. Most apps send a reset link to your email.
Do not create a new account unless you are setting up a new camera. That is a common mistake.
Step 3: Navigate to the photo gallery
Once logged in, you will see a list of your cameras. Tap the camera you want to view. The app shows a grid of recent photos.
Some apps organize them by date or time. Tap on a photo to open it in full screen.
Step 4: Download the photo
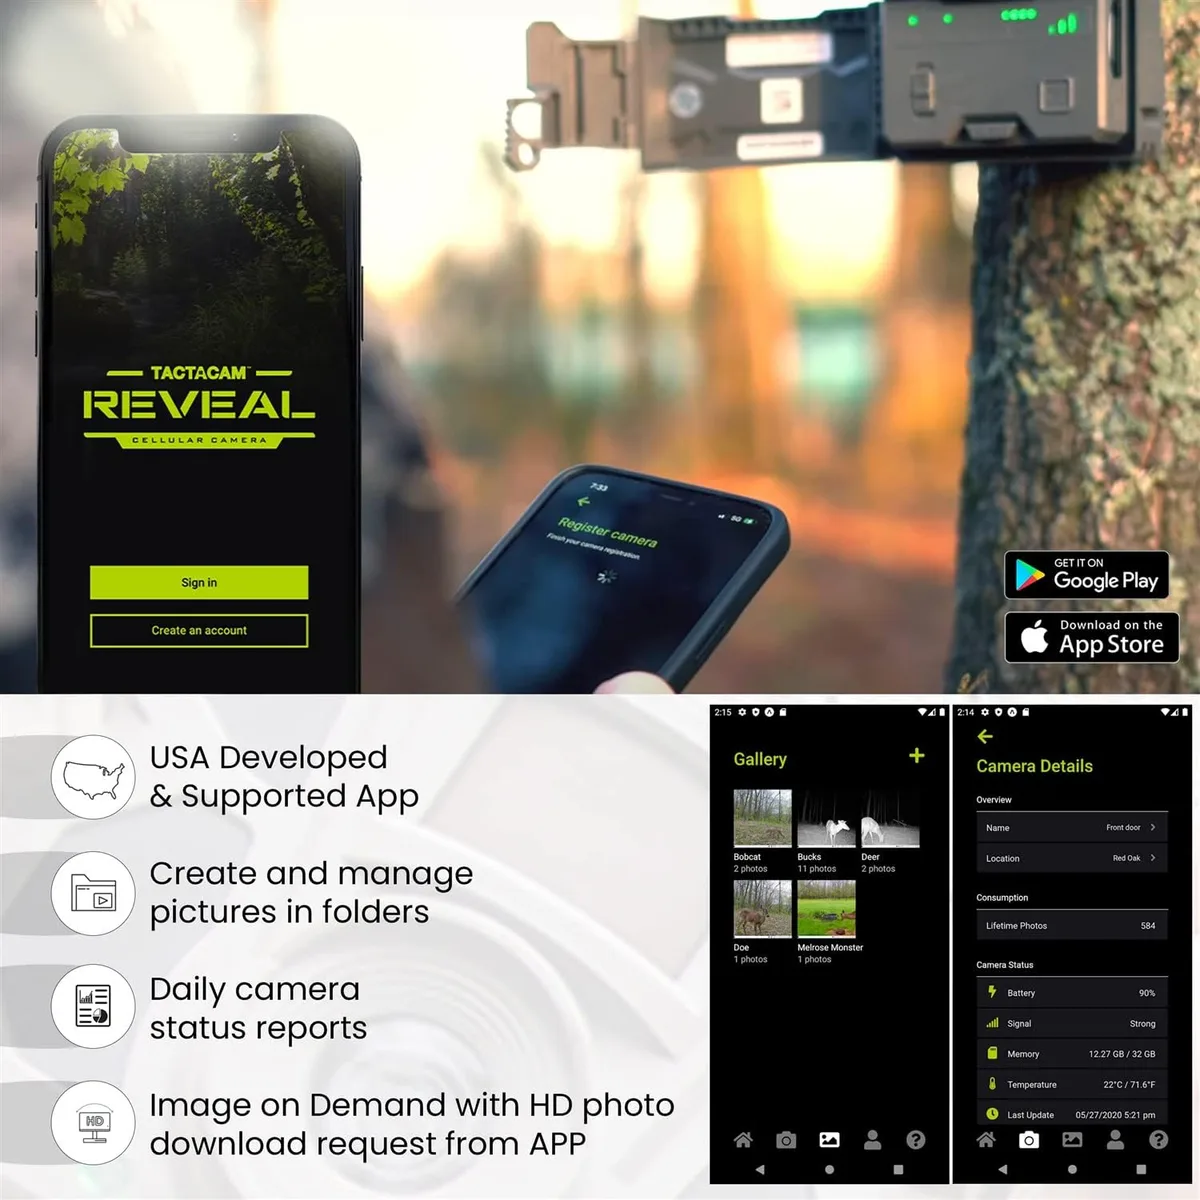
Look for a download icon. It is usually a downward arrow or a symbol that says "save." Tap it. The app saves the photo to your phone's camera roll.
Some apps show a preview and ask you to confirm. Others save automatically.
For multiple photos, look for a "select" or "batch" mode. Tap the checkmark on each photo. Then tap the download button.
The app saves them all.
Step 5: Check your phone's gallery
Open your phone's photo app. The downloaded images should appear there. If they do not, check the app's settings.
Some apps have an "auto-save" option you need to turn on. Others save to a specific folder.
Brand-specific notes
- Reveal: Tap the photo. Tap the share icon. Choose "Save Image." For batch, tap "Select" in the top right, choose photos, then tap "Download."
- Spypoint: Tap the photo. Tap the three dots. Choose "Save to phone." For batch, go to the gallery, tap "Select," choose photos, then tap "Download."
- Moultrie Mobile: Tap the photo. Tap the download icon. The app saves it automatically. Batch mode is available in the gallery.
- Tactacam: Tap the photo. Tap the download icon. It saves to your camera roll. Some versions do not have a batch option.
If you are having trouble with the app itself, look into troubleshooting the camera's connectivity. The same principles apply to getting the app to sync properly.
The Most Common Download Problems and How to Fix Them
Things go wrong. Here are the most frequent issues and how to solve them.
Problem: The app says "loading" but never finishes
This usually means the photo is still in the cloud. The app is having trouble pulling it down. Check your phone's internet connection.
Turn off Wi-Fi and use cellular data. Or switch from cellular to Wi-Fi if you have a weak signal. If that does not work, close the app and reopen it.
Force close it in your phone's settings if needed.
Problem: The photo is blurry or very low resolution
You are likely viewing the thumbnail, not the full image. The app shows a small preview first. Tap "download" or "view full image" to get the high-resolution version.
The thumbnail is only for quick browsing.
Problem: Photos are not appearing in the app at all
Check the camera's cellular plan. If your plan expired or ran out of photos, new images will not be sent. Log into the app and check your account status.
You may need to renew or upgrade. Also check the camera's signal strength. If it has no bars, it cannot send anything.
Problem: The photo saves but is not in my camera roll
Some apps save to a folder inside the app, not to your phone's main gallery. Open the app's settings and look for "save location" or "auto-save to camera roll." Turn that on. On some Android phones, the app may need permission to access storage.
Grant that permission in your phone's settings.
Problem: I cannot download video clips
Video files are larger and take longer to download. Make sure you have a strong signal. Some apps require you to tap the video and then tap "download" separately from photos.
If the video never downloads, check your plan. Some plans do not include video downloads.
Problem: The SD card is full and photos are not sending
The camera needs space on the SD card to store new photos before sending them. If the card is full, the camera stops taking pictures. Replace the SD card or format it in the camera.
Then trigger a test photo to see if it sends.
A good rule is to check your SD card every few months, especially during heavy use. Routine maintenance prevents problems.
Which Brand's App Works Best for You?
Not all apps are created equal. Some make downloading easy. Others hide the option.
Here is a quick comparison based on aggregate user feedback and manufacturer specs.
| App | Batch Download | Auto-Save to Camera Roll | Desktop Portal | Best For |
|---|---|---|---|---|
| Reveal | Yes | Yes (toggle) | Yes | Easy use and sharing |
| Spypoint | Yes | Yes (toggle) | Yes | Budget plans |
| Moultrie Mobile | Yes | Yes (auto) | Yes | Fast downloads |
| Tactacam | No (some versions) | Yes (auto) | No | Simple setup |
| Browning | Yes | Yes (toggle) | Yes | Multi-camera management |
Reveal
Reveal is the most user-friendly for downloading. The batch option is easy to find. The auto-save toggle works well.
It also has a desktop portal where you can view and download photos from a computer. That is useful for managing a large collection.
Spypoint
Spypoint offers good value. The app is straightforward. Batch download is available.
The main downside is that the app sometimes lags with many photos. But for the price, it works well.
Moultrie Mobile
Moultrie Mobile saves photos automatically to your camera roll. That is the most convenient option. You do not have to do anything.
If you want to skip the manual step, this is the best choice.
Tactacam
Tactacam is simple. It auto-saves photos. But some versions do not support batch download.
If you have many photos, you will need to tap each one individually. That is a pain with hundreds of images.
Browning
Browning's app is solid. It has batch download and a desktop portal. The interface is a bit dated, but it works reliably.
Good for people who manage multiple cameras.
If you are deciding between brands, consider how many photos you take. If you only get a few dozen a month, any app works. If you get hundreds, batch download and auto-save are essential.
When to Pull the SD Card Instead
Cellular downloads are convenient. They are not always the best option. Sometimes you need to pull the SD card and transfer files directly.
Here is when that makes sense.
When cellular download falls short
The cellular method gives you a compressed copy. The original file on the SD card is higher quality. If you plan to print photos or edit them extensively, pull the card.
The cloud version is good enough for phone screens and social media. It is not good enough for wall prints.
Signal issues are another reason. If your camera is in a dead zone, photos never reach the cloud. You have to retrieve the card.
This is common in deep woods or valleys. Check your camera's signal strength in the app. If it shows one bar or less, plan to visit the camera regularly.
How to pull the SD card
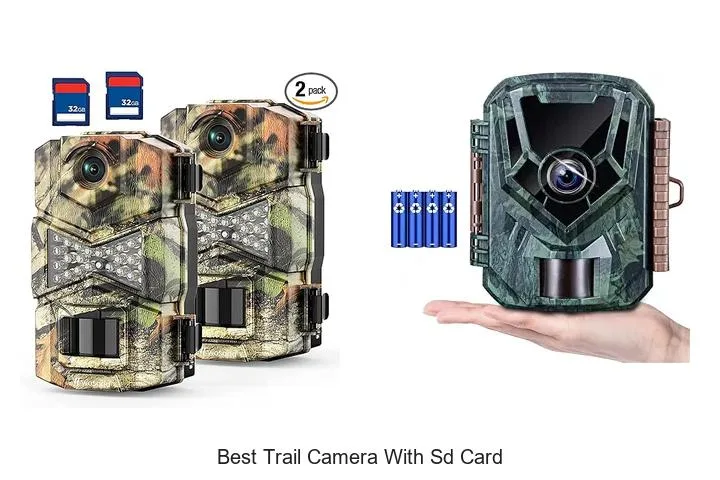
Turn off the camera or remove the batteries first. Opening the compartment while the camera is active can corrupt files. Slide the SD card out.
Use a card reader to connect it to your phone or computer. Most modern phones with USB-C support a direct card reader connection.
If you are working with a laptop, the process is similar to transferring files directly. The files appear as a folder on your desktop. Copy them to your hard drive.
Then format the card in the camera before reinserting it. A fresh format prevents file conflicts.
Combining both methods
The smartest approach uses both. Let the cellular app send you low-resolution previews. You decide which photos are worth keeping.
Then make a single trip to pull the card and grab the full-resolution originals. This saves fuel and time. You only visit the camera when you know there is something worth retrieving.
If you ever lose photos due to a corrupted card, there are file recovery options. The same principles apply to trail camera SD cards as to any other storage medium.
Frequently Asked Questions
Can I download photos without a cellular subscription?
No. The camera needs an active plan to send photos to the cloud. Without a subscription, the camera stores images on the SD card.
You must retrieve the card manually. Some cameras offer a free tier with a limited number of photos per month. Check your plan details before you assume free service.
Why are my photos blurry in the app?
You are viewing the thumbnail. The app shows a small preview to save data. Tap the photo and select "download" or "view full image." That pulls the full-resolution file from the cloud.
If the full image is still blurry, check your camera's resolution settings. Set it to the highest available megapixel count.
How do I save video clips from a cellular trail camera?
Open the video in the app. Tap the download icon. Video files are larger than photos.
They take longer to download. Some apps require a stronger signal. If the download fails, try again on Wi-Fi.
Check your plan too. Some subscriptions do not include video downloads.
Can I download photos to a computer instead of a phone?
Yes. Most manufacturers offer a desktop portal. Log in with your account on a web browser.
You can view and download all your photos there. This is useful for managing a large collection. The desktop version also lets you organize photos into folders.
Check your app's website for the portal link.
How long does it take for a photo to appear in the app?
It depends on signal strength and the camera's transmission schedule. Cameras set to "instant" send photos within seconds. Cameras on a scheduled mode send them in batches.
In weak signal areas, it can take 10 to 15 minutes. If a photo does not appear after an hour, check the camera's cellular connection.
Do I need to keep my phone's internet on to receive photos?
Yes. The app needs a data connection to pull photos from the cloud. Wi-Fi or cellular data both work.
If you are offline, photos queue up. They appear when you reconnect. The camera continues to send images to the cloud regardless of your phone's status.

Similar Posts

































[…] A card reader is always the most reliable option. For wireless setups, check out our guide on cellular trail camera photo downloads to see how app-based transfer […]