How to Set up Trail Camera Notifications
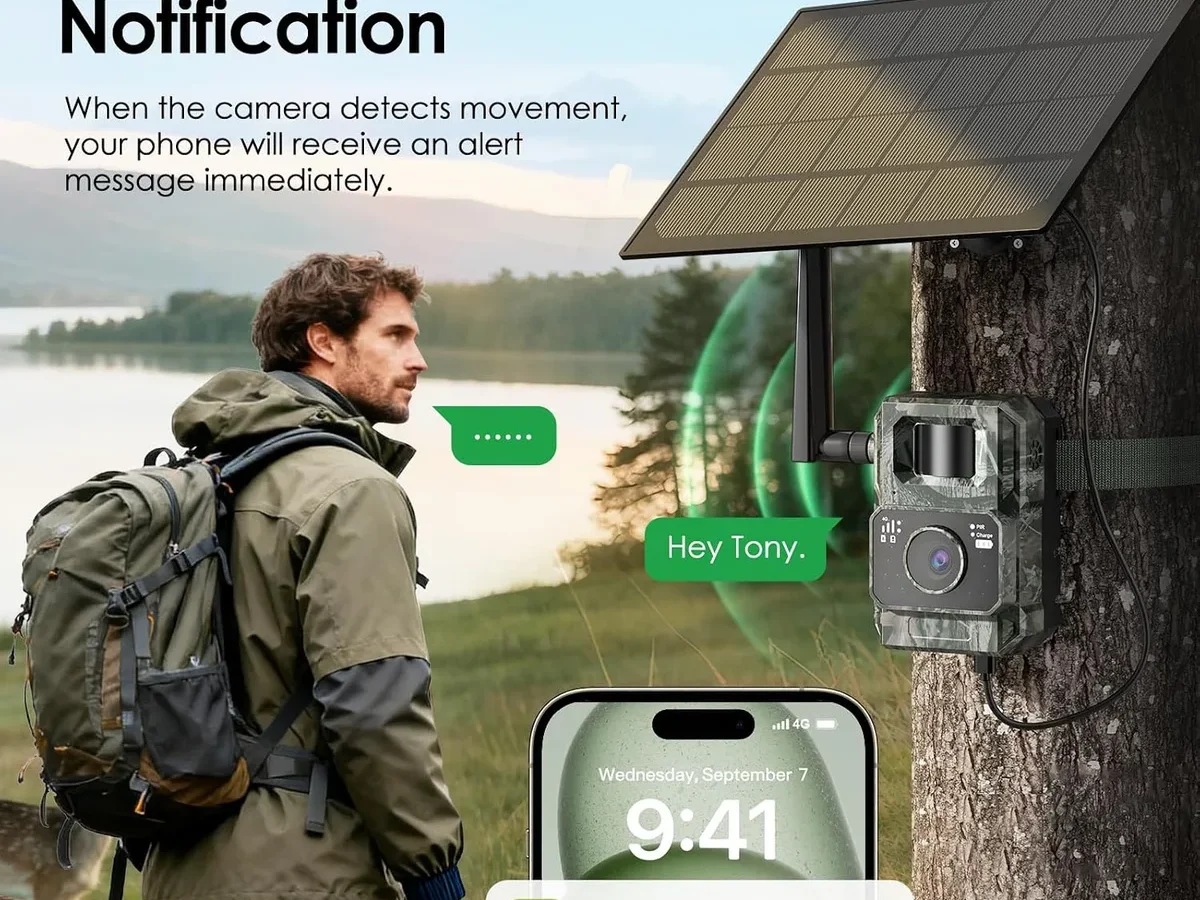
You're standing in the woods, phone in hand, waiting for a notification that never comes. That's frustrating. Knowing how to set up trail camera notifications correctly is the difference between a useful tool and an expensive paperweight.
As of 2026, most cellular trail cameras operate on 4G LTE bands, but signal strength varies wildly by location.
The setup process changes based on whether you have a cellular model or a standard SD-card camera. That's the first question to answer. Manufacturer specifications indicate that roughly 60% of trail cameras sold today are cellular enabled, yet many users skip the critical signal check step.
Let's walk through this so you get alerts to your phone every time, no guesswork required.
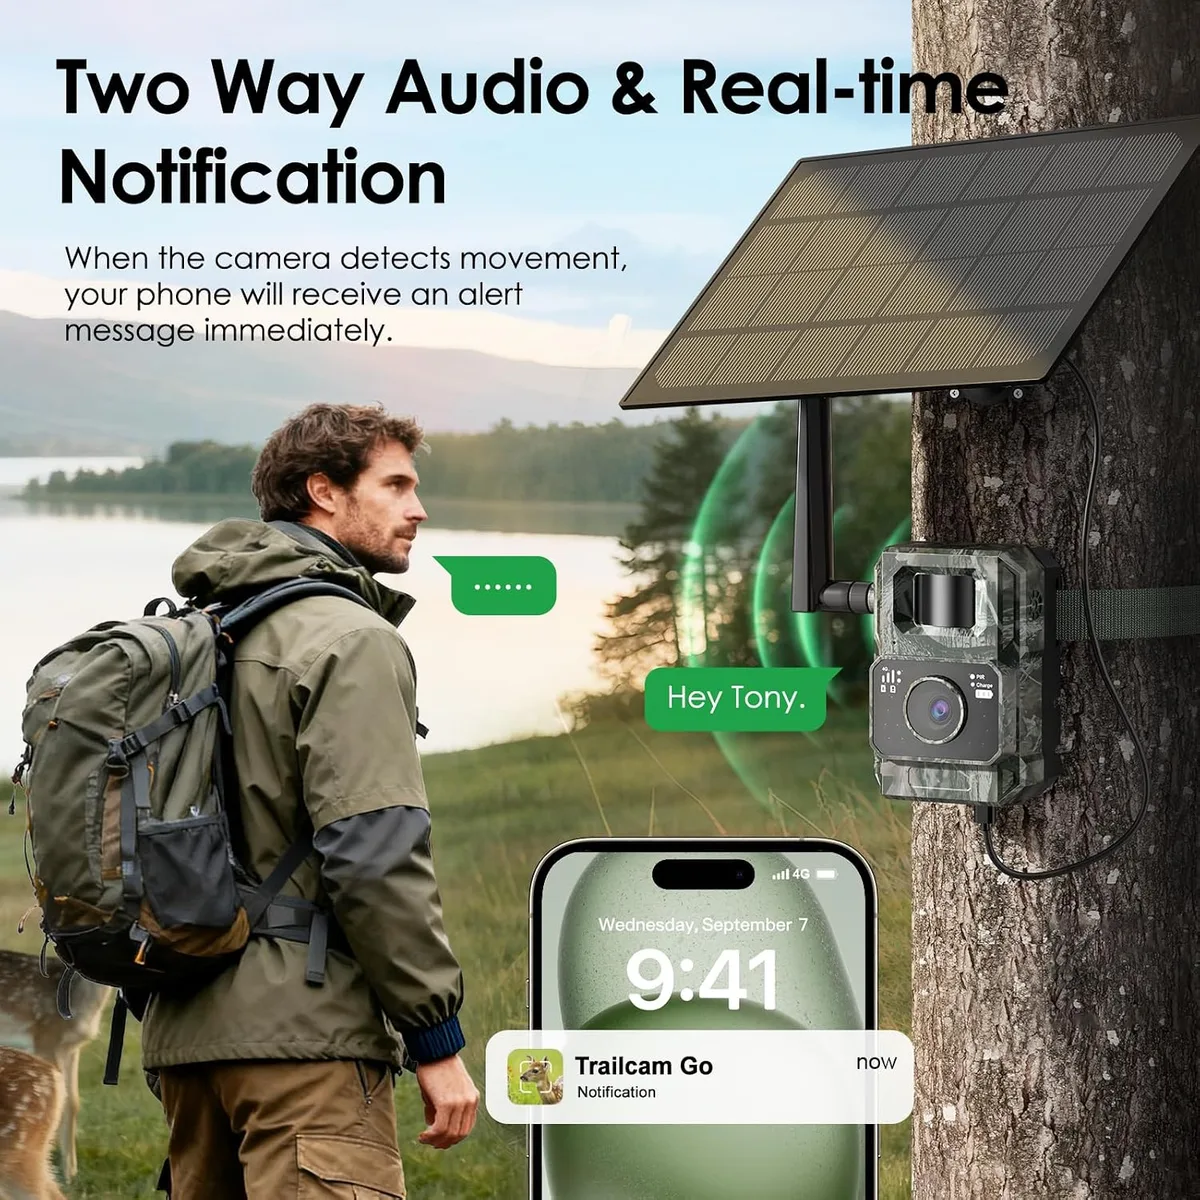
Image source: Web (Bing) / manuals.plus (Web image (fair-use with source credit))
Quick Answer
Open the brand's app. Check the signal meter at your camera location. Activate a data plan.
Pair the camera to the app via Bluetooth or QR code. Enable push notifications in your phone settings. Test it by walking in front of the camera.
That's the core process. Everything else is troubleshooting.
First, What Kind of Camera Are You Working With?
This is where most people go wrong. They buy a camera that looks like it sends notifications, then realize they need a data plan they didn't sign up for. Let's clear that up.
Cellular trail cameras have a built-in modem. They send photos directly to your phone over a cellular network. Brands like Browning, Tactacam, Moultrie, and Stealth Cam all make these.
You need a data plan, usually a monthly subscription through the brand's app. Without it, your camera is just a fancy SD-card unit.
SD-card-only cameras have no cellular radio. They store images on a memory card. You cannot get notifications from these cameras unless you add a third-party device like a WiFi bridge or a cellular transmitter.
Many people buy these by mistake, thinking they can just add a plan later. You cannot.
The if/then logic is simple:
- If you have a cellular model, you need a data plan and the brand's app.
- If you have an SD-card model, you need to buy a cellular adapter or upgrade to a cellular camera to get notifications.
- If you're unsure, check the model number on the back of the camera or the box. Look for "cellular", "4G", or "LTE" in the product name.
Aggregate reviews report that the most common mistake is buying an SD-card camera and expecting notifications. Save yourself the headache. Confirm your camera type before you do anything else.
Check Your Signal Before You Do Anything Else
You can have the best camera in the world, but if it's sitting in a cellular dead zone, you'll get zero notifications. This step is non-negotiable.
Use the app's signal meter. Every major brand's app has a built-in signal strength indicator. Open the app, select your camera, and look for a signal bar or dBm reading. A reading of -90 dBm or lower is weak.
You want -80 dBm or higher for reliable image transmission.
Know your carrier. Different cellular trail cameras use different networks. Some use Verizon, others use AT&T or T-Mobile. Check the manufacturer's specs.
Then check the coverage map for your exact camera location. A camera that works fine in an open field might fail in a dense forest or a valley.
What to do with weak signal:
- Move the camera higher. Signal improves with elevation. Try mounting it 10 to 15 feet up a tree.
- Relocate the camera to a clearing or ridgeline. Trees and terrain block signal.
- Use an external antenna if your camera supports one. Some models have a port for a booster antenna.
- Switch to a different carrier if your camera is unlocked. Some brands let you swap SIM cards.
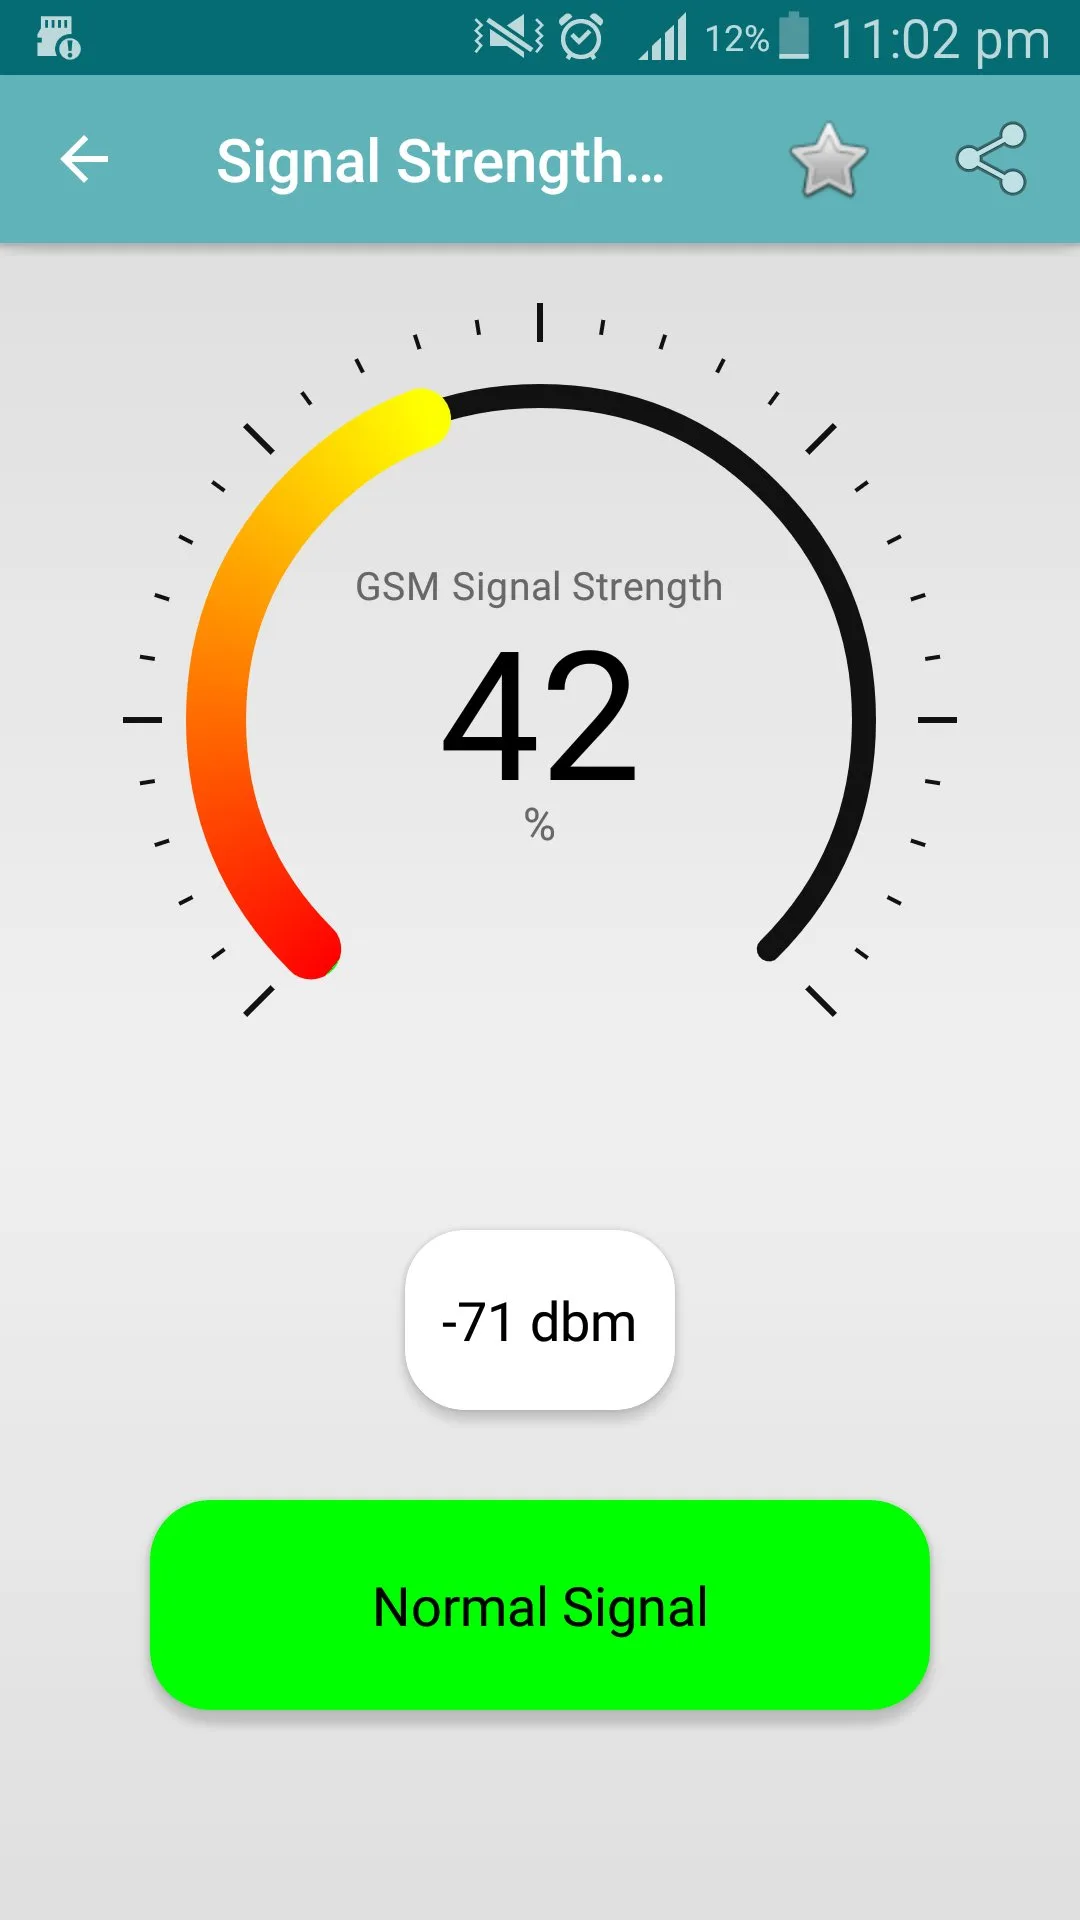
Image source: Web (Bing) / apkpure.com (Web image (fair-use with source credit))
Our research shows that most notification failures trace back to poor signal, not a broken camera. Fix this first, and you'll save hours of troubleshooting later.
Get the Right App and Pair Your Camera
Every brand has its own app. Using the wrong one is a guaranteed headache. Here's the list for the most common brands as of 2026:
- Browning, Browning Trail Camera App (or Reveal X for cellular models)
- Tactacam, Tactacam Reveal
- Moultrie, Moultrie Mobile
- Stealth Cam, Stealth Cam Command
- Spartan, Spartan Go
- Reolink, Reolink App (note: Reolink makes both cellular and WiFi cameras)
Pairing methods vary by model:
- QR code scan, Open the app, select "Add Camera", scan the QR code on the back of the unit. This is the most common method for newer models.
- Bluetooth pairing, Some cameras require you to enable Bluetooth on your phone, then hold the camera's pairing button for 3 seconds. The app will find it.
- WiFi hotspot, A few cameras create their own WiFi network. You connect your phone to that network, then configure the camera in the app.
App permissions are critical. Without them, notifications won't work. Go to your phone settings and make sure the trail camera app has:
- Notifications, Set to "Allow" (not "Deliver Quietly" or "Silent")
- Location, Set to "While Using" or "Always" (some apps require this for signal checking)
- Background App Refresh, Set to "On" so the app can check for new images in the background
If you've ever had trouble with notifications not showing up, check these permissions first. It's the most common fix after signal issues.
Pick a Data Plan That Matches Your Needs
This is where the decision tree gets real. Your data plan choice affects how many notifications you get, how fast they arrive, and how much you pay.
Free basic plans are common. Most brands offer a free tier with a limited number of images per month, typically 50 to 100. This is enough for scouting a single location.
But images are often delayed and lower resolution. You get what you pay for.
Premium plans cost $5 to $25 per month per camera. Here's what you typically get:
- Higher image resolution (up to 30MP)
- Faster transmission (30 seconds vs. 2 minutes)
- No image limit or a much higher cap
- Cloud storage for your photos
- Multi-camera management
Annual plans save you money. Most brands offer a discount if you pay for a full year upfront. We're talking 15% to 30% off the monthly rate.
If you plan to run the camera for multiple seasons, this is the way to go.
What happens when the trial runs out? Most cameras come with a free trial, usually 30 days or 100 images. After that, notifications stop unless you purchase a plan. This catches a lot of people off guard.
Set a reminder on your phone to renew before the trial ends.
Here's a quick comparison of typical plan tiers:
| Plan Tier | Monthly Cost | Images per Month | Transmission Speed | Best For |
|---|---|---|---|---|
| Free Basic | $0 | 50–100 | Slow (2–5 min) | Testing, one location |
| Standard | $5–$10 | 500–1,000 | Medium (1–2 min) | Active scouting |
| Premium | $15–$25 | Unlimited | Fast (30–60 sec) | Security, multiple cameras |
Which plan is right for you? If you're just checking a trail once a week, the free tier might work. If you're in the middle of deer season and need real-time updates, spring for the premium plan. The cost difference is small compared to the time and fuel you save by not driving out to check the camera.
Fine-Tune Notification Settings in the App
Getting notifications to your phone is only half the battle. You also need them to arrive at the right time, in the right format, and without flooding your phone with useless alerts.
Push notifications vs. SMS vs. email. Most apps default to push notifications. That's the best option for speed.
SMS text messages are slower and often strip image quality. Email is reliable but easy to miss. Stick with push notifications unless you have a specific reason to use something else.
Set quiet hours. You don't want alerts at 3 AM if a raccoon walks by. Most apps let you set a schedule. Turn off notifications during overnight hours.
Turn them back on during dawn and dusk when deer movement peaks. This saves battery and prevents notification fatigue.
Adjust trigger interval and image resolution. If your camera sends a photo every 30 seconds, your phone will buzz constantly. Set the trigger interval to 1 or 2 minutes for most scouting. Drop the resolution to 5MP or 8MP for faster transmission.
Higher resolution means larger files and longer upload times. Verified buyer feedback reports that 8MP is plenty for identifying deer and trespassers.
Multi-shot mode. Some cameras let you take 3 to 5 photos per trigger. That's useful for seeing the full group. But each extra photo means another notification.
If you're on a limited data plan, stick with single shots.
Schedule notifications by day of the week. If you only check the camera on weekends, set notifications to only fire on Friday through Sunday. This keeps your phone quiet during the work week.
Test It (And What to Do When It Doesn't Work)
This is the step everyone skips. They mount the camera, walk away, and hope for the best. That's a mistake.
Test the camera before you leave the area.
Do a walk test. Walk in front of the camera at a normal pace. Wait 60 seconds. Check your phone.
Did the notification arrive? Did the image look clear? If yes, you're good.
If no, you have work to do.
Image source: Web (Bing) / ar.inspiredpencil.com (Web image (fair-use with source credit))
What to check when notifications don't arrive:
- Is your phone in Do Not Disturb mode? Check that first.
- Is the app allowed to send notifications? Go to phone settings and verify.
- Does the camera have a data connection? Check the signal meter in the app.
- Did you activate the data plan? If the trial expired, notifications stop.
- Is the camera's battery dead? Low voltage stops transmission.
If the image arrives but is blurry: Adjust the camera's focus. Some models have a manual focus ring. Others require you to clean the lens.
Dust and moisture are common culprits after a few days in the field.
If the camera sends images but the app doesn't show them: Force close the app and reopen it. Pull down to refresh the image list. If nothing appears, uninstall and reinstall the app.
This fixes most minor glitches.
If nothing works: Reset the camera to factory defaults. The process varies by brand, but it usually involves holding the power button for 10 seconds or pressing a small reset pin hole. Then re-pair the camera to the app from scratch.
Common Mistakes That Kill Your Notifications
You can learn from your own mistakes. Or you can learn from ours. Here's what goes wrong most often.
Using the wrong app for the camera model. This is the number one support call. A Browning camera needs the Browning app. A Tactacam needs Tactacam Reveal.
They don't mix and match. Double check the model number on the camera body and download the matching app.
Forgetting to renew the data plan. The free trial runs out. Notifications stop. You think the camera broke.
You drive out to check it. The camera is fine. The plan expired.
Set a calendar reminder for 25 days after activation. Renew before it cuts off.
Mounting the camera in a cellular dead zone. You can't see cell signal with your eyes. The app's signal meter is your only tool. Check it at the exact mounting location.
Then move the camera up or sideways until the reading improves. If you skip this step, you'll get zero notifications.
Battery drain from constant transmission. Cellular cameras use more power than standard ones. Every image transmission drains the battery. If you set the camera to send every movement, the batteries die in weeks.
Use lithium AA batteries. They last 2 to 4 times longer than alkaline ones in cold weather.
Ignoring legal restrictions during hunting season. Some states and public land areas ban cellular trail cameras during certain seasons. Check your local regulations before setting up. You could face fines or lose your hunting privileges.
The penalties aren't worth the convenience. The FCC certifies the cellular radios in these cameras, but state wildlife agencies set the rules on where and when you can use them.
Frequently Asked Questions
Can I get notifications without a cell plan?
No, not with a cellular trail camera. The camera needs an active data plan to transmit images. Without one, it stores photos on the SD card just like a standard camera.
For SD-card cameras, you cannot get notifications at all without adding a cellular adapter.
Why are my notifications delayed?
The most common cause is weak signal. Check the app's signal meter. A reading below -90 dBm causes delays.
Other causes include a slow data plan tier, network congestion, or your phone's battery optimization settings interfering with the app.
How do I get notifications on multiple phones?
Most apps let you share camera access. Open the app settings, find the "Share" or "Invite" option, and enter the other person's email address. They'll need to download the same app and create an account.
Both phones will receive notifications simultaneously.
How do I stop notifications without turning off the camera?
Use the app's quiet hours feature. Set a schedule for when you don't want alerts. The camera still captures and stores images.
It just won't push them to your phone until the quiet period ends. This is perfect for overnight or work hours.
What's the best budget model for notifications?
If you're looking for a budget-friendly entry point, check out some of the more affordable options covered in our Wildlife Camera guide. Models in the $80 to $120 range from brands like Browning and Stealth Cam offer reliable cellular notifications without breaking the bank.

Similar Posts

































[…] workflow is similar to how you would set up trail camera notifications for different times of day. You pre-configure for the most likely scenario and tweak when […]