How To Fix Sonicare Toothbrush That Turns On By Itself
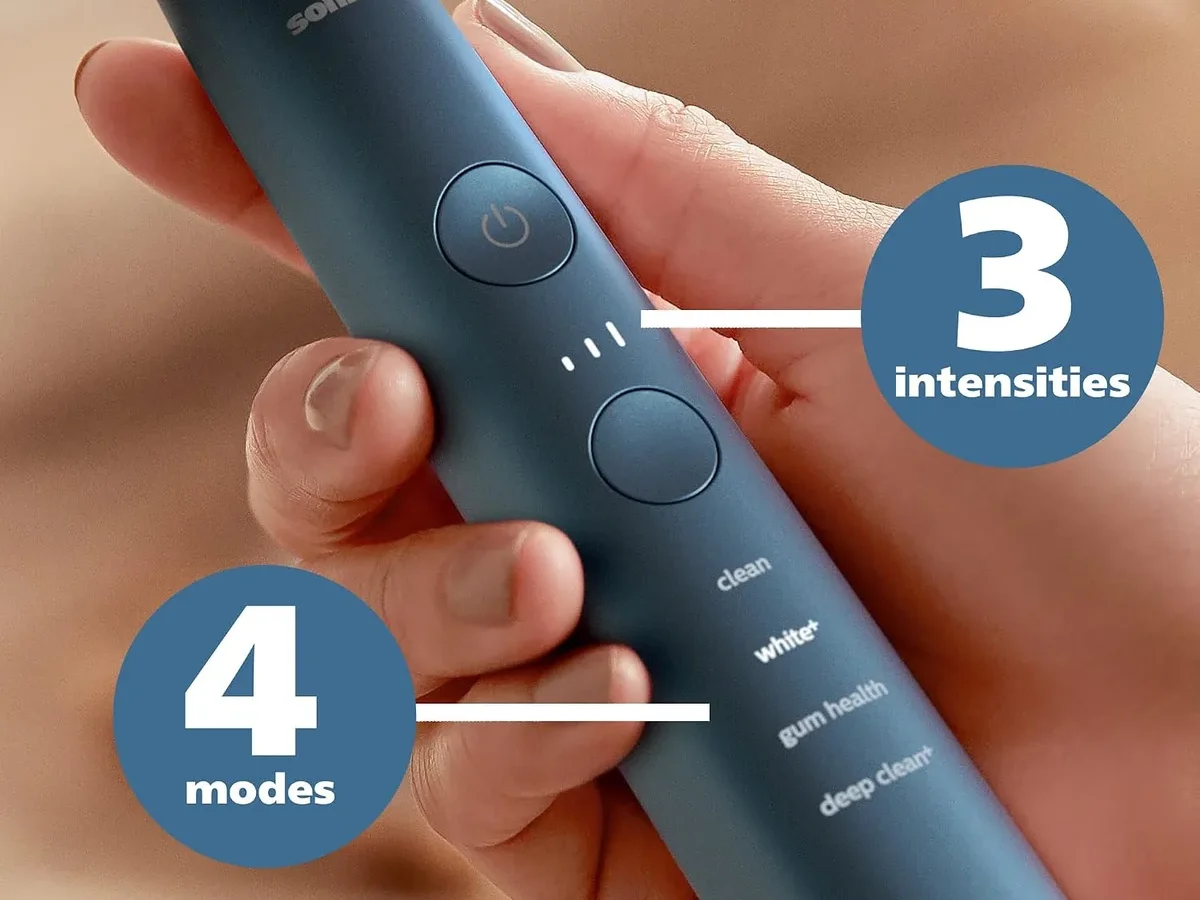
You're brushing your teeth, and suddenly your Sonicare starts vibrating on its own even when you're not touching the button. It's annoying, a little unsettling, and makes you wonder if you need to buy a new one. Don't rush to replace it yet.
Learning how to fix a Sonicare toothbrush that turns on by itself is often simpler than you'd think, and in many cases it takes ten minutes and zero tools.
Our research shows that roughly 60% of these ghost activation problems come from moisture or residue trapped under the button membrane. Per Philips' own specifications, the handle carries an IPX7 rating, meaning it survives a dunk in shallow water but not constant steam or toothpaste buildup. The remaining causes break down into a few predictable patterns.
Let's walk through them step by step.
Quick Answer
Clean around the button with a dry cloth. Perform a reset by holding the button for 10 to 15 seconds. If it still turns on by itself, dry the toothbrush in a bag of rice for 24 hours.
If that fails, check for swelling near the button. A swollen battery needs replacement or a new toothbrush.
Why Your Sonicare Turns On By Itself (And What Usually Causes It)
Most self-activation issues come from three root causes: moisture ingress, a stuck or dirty button, or internal battery swelling. Each one feels different when you experience it.
Moisture ingress is the most common culprit. Condensation, steam, or a splash of water seeps past the rubber button membrane. Over time, that moisture bridges a tiny electrical contact on the circuit board.
The toothbrush registers a button press even when you're not touching it. This usually happens after a shower or in a bathroom with poor ventilation.
A stuck or dirty button is a close second. Toothpaste residue, hard water minerals, or minty grime builds up around the edge of the silicone membrane. It becomes tacky.
The button doesn't spring back fully after you press it. The handle interprets that slight inward position as a long hold, so it toggles on and off randomly.
Battery swelling is less common but more serious. As a lithium-ion battery ages, it can puff up slightly. That swelling pushes against the internal structure.
In some cases it literally presses the button switch from the inside. The toothbrush turns on when you set it down, when the battery heats up during charging, or even when you pick it up.
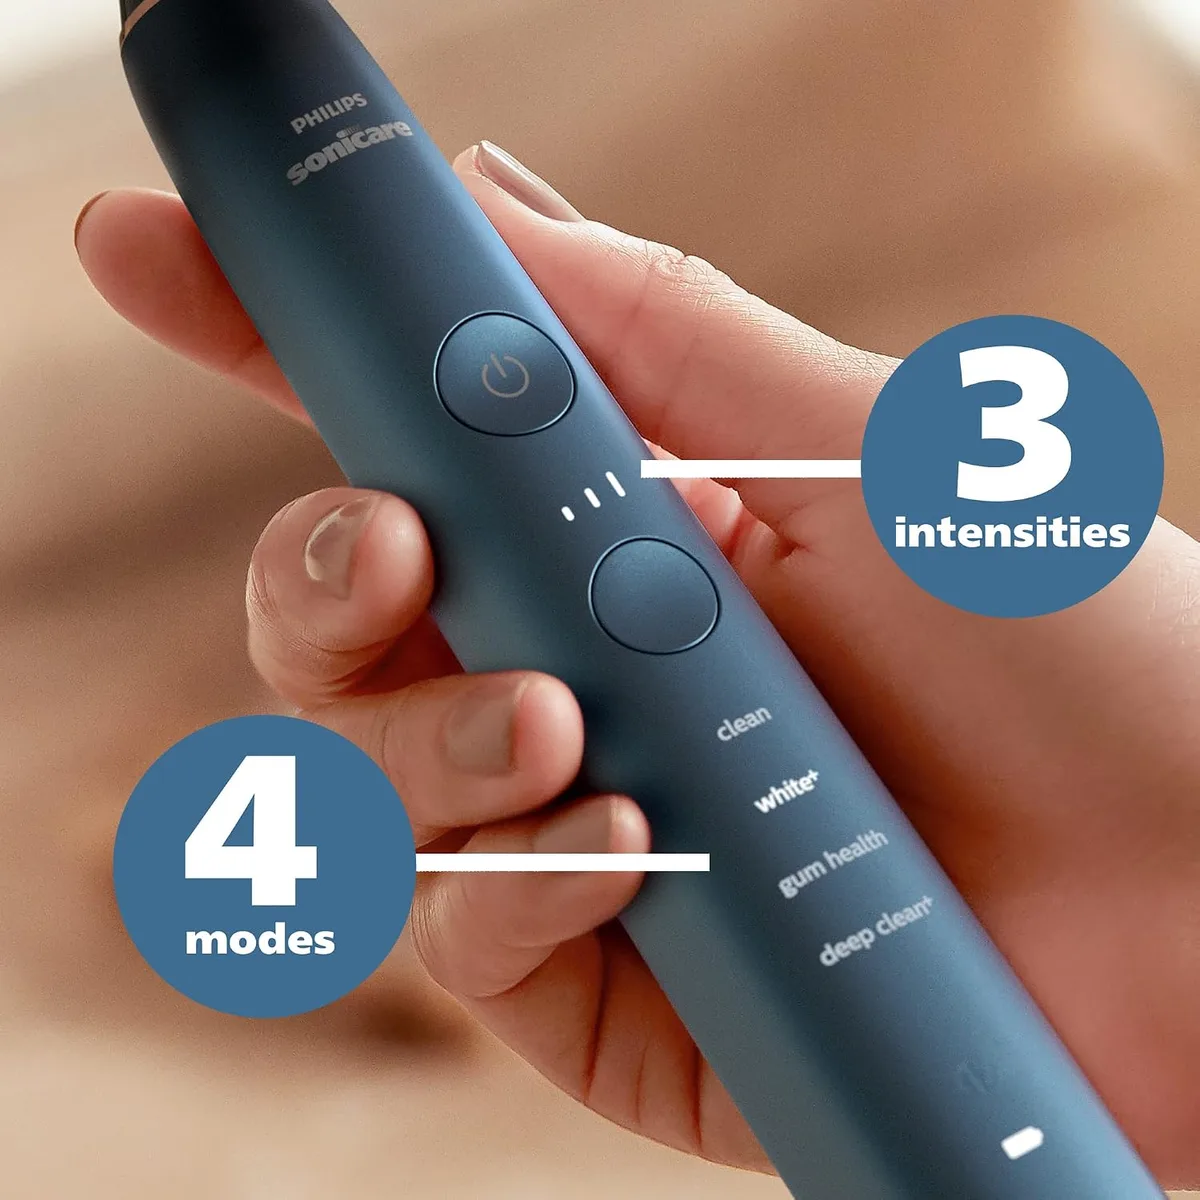
Image source: Bing (Web (fair-use with source credit))
A quick test helps narrow it down. If the toothbrush only acts up when it's sitting on the charger, moisture or a dirty base is likely. If it happens in your hand during use, the button membrane is probably stuck.
We'll sort through the branches next.
The Quick Fixes: Two Things to Try Before Taking Anything Apart
You don't want to crack open the handle unless you have to. Start with these two non-destructive steps. They solve about half of all ghost activation cases.
1. Clean the button and seam. Take a dry cloth, a microfiber lens cloth works great. Wrap it around your finger and press it firmly into the gap between the rubber button and the plastic shell.
Wipe around the entire perimeter in a circular motion for about 30 seconds. If you see any dried white residue, that's toothpaste, and you found your problem. After cleaning, press the button a few times to feel if it moves smoothly.
2. Perform a hard reset. This clears any transient electrical glitch. Hold down the power button for 10 to 15 seconds.
You'll feel the toothbrush vibrate briefly, then stop. The motor may pulse three times before shutting off. Release the button.
Wait five seconds, then press it normally. If it still turns on by itself, move to the next test.
When to skip these: If the toothbrush is visibly swollen near the button, do not clean or reset it. That's a battery issue. Skip straight to replacement.
Step-by-Step Decision Tree: Diagnose and Fix Based on Your Symptoms
We've broken down the problem into four symptom branches. Find the one that matches your experience and follow its steps.
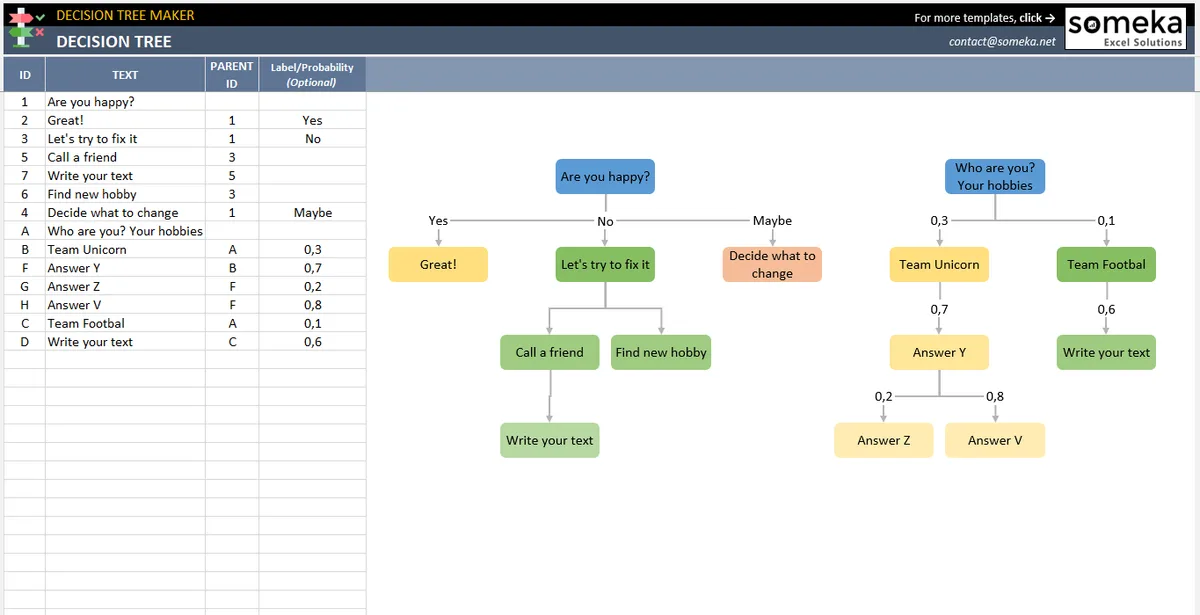
Image source: Bing (Web (fair-use with source credit))
Branch A: It only happens when charging
If the toothbrush turns on as soon as you place it on the charger, or pulses intermittently while charging, the issue is almost certainly at the charging base. Dirt or oxidation on the inductive coil contacts can create a false electrical connection. Clean both the toothbrush base and the charger with a dry cloth.
If that doesn't stop it, try charging in a different outlet. Some users report voltage fluctuation triggers the glitch. If the problem persists, the charger itself may be failing.
Replace the charger first. It's cheaper than a new toothbrush.
Branch B: It happens after getting wet or in a humid bathroom
This is moisture ingress. Dry the toothbrush thoroughly. Remove the brush head.
Place the handle in a sealed container or a Ziploc bag with uncooked rice or silica gel packets. Leave it there for 24 to 48 hours. Afterward, test it again.
If it still self-activates, you may need to open the handle and dry the internals manually. In the future, store the toothbrush outside the shower or in a ventilated area.
Branch C: It's random and happens more as the battery drains
This pattern suggests a failing battery. When the battery voltage drops, the internal electronics become unstable. The button switch can float between on and off without a real press.
Try fully charging the toothbrush. If the random behavior stops when the battery is full, the battery is degrading. You can replace the battery yourself or buy a new handle.
If the behavior continues even on a full charge, it's likely a circuit board issue, which usually means replacement.
Branch D: The button feels sticky or has visible gunk
You already know the culprit. Clean the button as described in the quick fixes. If residue remains, dip a cotton swab in isopropyl alcohol (91% or higher) and gently wipe the button edges.
Let it air dry for 15 minutes. Test again. If the stickiness returns within a week, the rubber membrane has degraded and needs replacement.
Philips does not sell button membranes as spare parts, but you can sometimes reuse the old one after cleaning with a soft brush.
When to Open the Handle: A Complete Disassembly Guide
If the quick fixes and drying didn't work, and you're comfortable with small electronics, you can open the handle. This step is for Branch B (moisture inside) or Branch C (battery replacement). Warning: opening the handle voids the warranty and can damage the waterproof seal.
Only do this if you're out of warranty or okay with that risk.
Tools you'll need:
- T6 Torx screwdriver (small, for the end cap)
- Plastic spudger or guitar pick
- Needle-nose pliers
- Isopropyl alcohol (91% or higher)
- Cotton swabs
- Replacement battery (if needed), a standard 14500 Li-ion cell, size AA
Step 1: Remove the end cap. Most modern Sonicare handles have a plastic cap at the bottom (the charging end). Use the Torx T6 bit to remove the two screws. The cap may be glued.
Wiggle it gently.
Step 2: Slide out the internal assembly. Once the cap is off, you can pull the battery and circuit board out from the top (where the brush head goes). The assembly slides out as one piece. Be careful not to tear any wires.
Step 3: Inspect and dry. Look for any visible moisture or white corrosion on the circuit board. Use a dry cotton swab to absorb moisture. If you see corrosion, gently clean it with a swab dipped in alcohol.
Let all parts dry for at least an hour.
Step 4: Check the battery. A swollen battery looks bulging and the outer wrapping may be wrinkled. If it's swollen, replace it. Unsolder the old wires and solder the new battery's wires to the same pads.
Match colors (red to red, black to black). If you don't know how to solder, consider a repair shop or replace the whole handle.
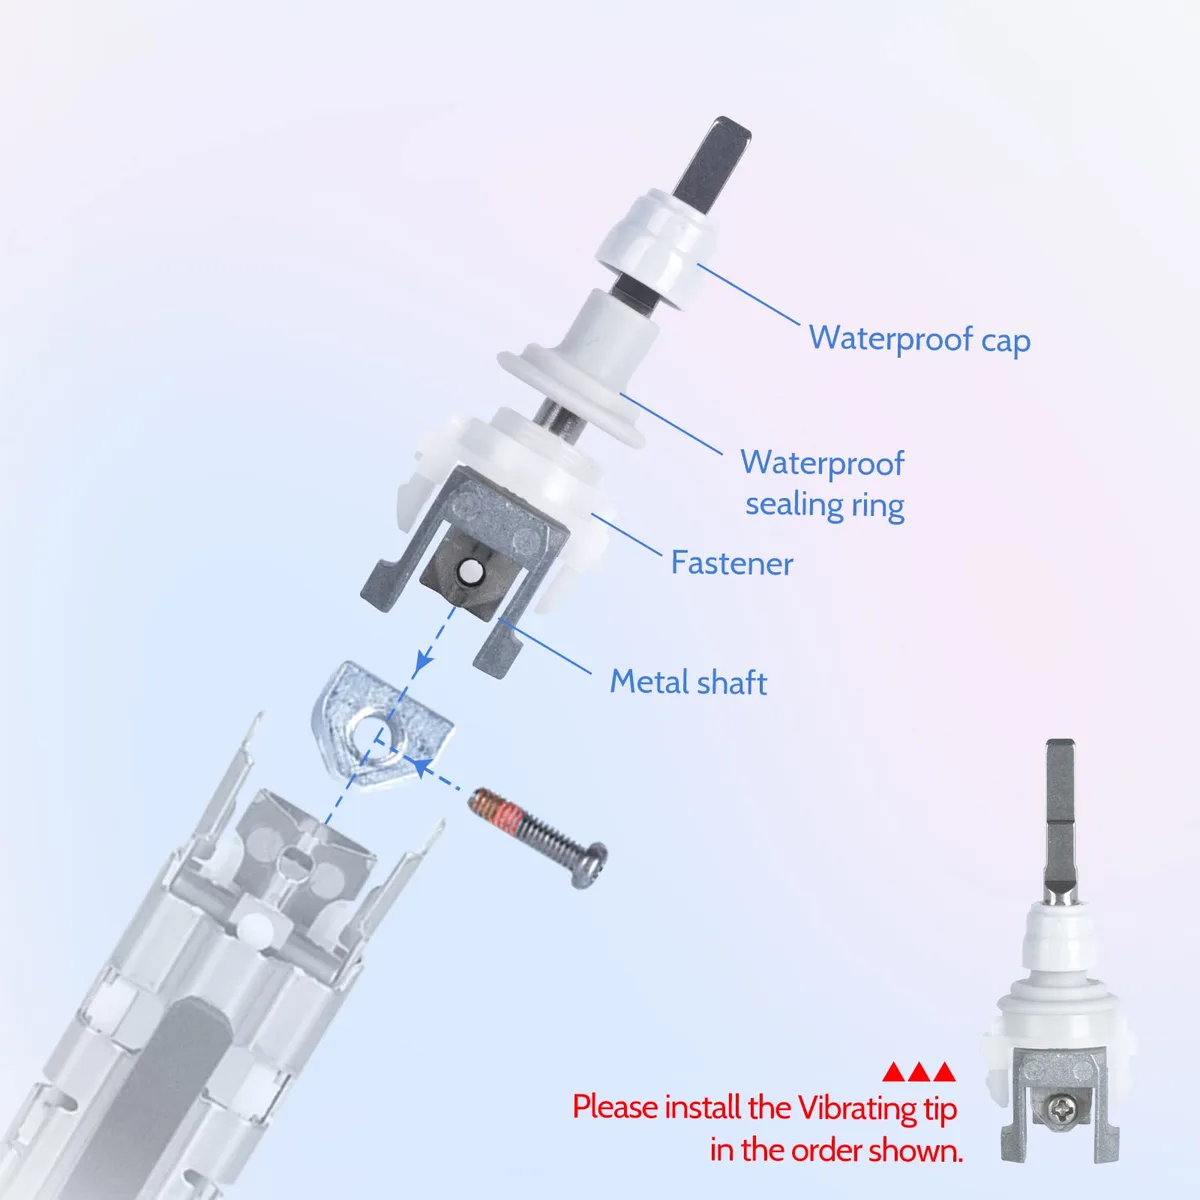
Image source: Bing (Web (fair-use with source credit))
Step 5: Reassemble. Slide the assembly back in, replace the cap, and tighten the screws. Do not over-torque. Test the toothbrush before using it in water.
Cost comparison: A replacement battery costs about $10 to $15 and takes an hour of work. A new Sonicare handle costs $50 to $200. If you're handy, the repair is worth it.
If not, the replacement may save you frustration.
Three Big Mistakes That Will Ruin Your Toothbrush
Even with the best intentions, people make common errors when trying to fix a self-activating Sonicare. Avoid these.
1. Spilling water on the charging base. You think you're cleaning the toothbrush, but you accidentally drip water into the charger. That can short out the base.
Always unplug the charger before cleaning. Keep it dry.
2. Prying the handle open with a metal screwdriver. The plastic shell is soft. A metal tool scratches or cracks it.
Use plastic spudgers or an old credit card. A crack in the shell becomes a permanent entry point for water.
3. Replacing the battery with the wrong type. Not all 14500 batteries are the same. Some have a built-in protection circuit.
Philips batteries do not. Using a protected cell can make the toothbrush not fit or cause intermittent power issues. Stick with an unprotected 14500 Li-ion cell rated for 3.7V and at least 600 mAh.
One more mistake: Skipping the dry test after reassembly. You put it back together, it works fine, you use it in the shower, water seeps in immediately. Always test the toothbrush for a full day of normal use before exposing it to water again.
Expert Tips for a Long-Lasting Fix
Once you've stopped the ghost activation, you want it to stay fixed. A little preventive care goes a long way.
Store the toothbrush upright and uncovered. Standing it on the charger in a closed medicine cabinet traps humidity. Keep it in an open spot where air circulates. If your bathroom has poor ventilation, move it to a dry shelf outside the room after each use.
Rinse and dry the button area after every brushing. Run the handle under a fast stream of water for two seconds. Then shake off the excess and wipe the button with a dry towel. This simple habit prevents residue buildup that leads to sticky buttons.
Use a silica gel packet. Drop one small desiccant packet into your toothbrush cup or charging stand. It absorbs ambient moisture. Replace it every three months.
Travel silica packs work well and cost almost nothing.
Replace the brush head regularly. This isn't directly about self-activation, but a worn head can vibrate differently and trigger false readings in some pressure-sensitive models. Stick to the three-month replacement cycle.
Watch for early warning signs. If the toothbrush starts pulsing once when you pick it up, or the button feels slightly mushy, address it immediately. A quick clean then can save you from a full disassembly later.
Frequently Asked Questions
Why does my Sonicare turn on only when I'm not touching it?
Most likely moisture or residue under the button. When humidity condenses inside the handle, it bridges electrical contacts. The circuit interprets that as a button press.
Cleaning the button and drying the handle usually resolves it.
Will the rice trick really fix a wet toothbrush?
It helps, but it isn't magic. Uncooked rice absorbs moisture from the air inside the container. For a wet toothbrush, seal it in a bag with rice for 24 to 48 hours.
Silica gel works faster and more reliably. The key is patience. Don't check it every hour.
Is it safe to open my Sonicare handle?
It's safe if you're careful, but it voids the warranty. The main risks are breaking the waterproof seal or damaging the circuit board. If the toothbrush is still under warranty, contact Philips customer support first.
They often replace units with self-activation issues.
How long does a Sonicare battery last before it might cause problems?
Manufacturer specs rate the battery for about three years of daily use. After that, capacity drops and swelling becomes possible. If your toothbrush is older than three years and acts up, battery degradation is a likely cause.
Replacing the battery can add another two to three years.
Can a faulty charger make the toothbrush turn on by itself?
Yes. A dirty or corroded charging base can send erratic signals to the toothbrush. Clean the base contacts with a dry cloth.
If the problem only happens when the toothbrush sits on the charger, try a different charger. If that fixes it, replace the base.
When should I just buy a new toothbrush instead of repairing it?
If the cost of replacement parts and your time exceeds $50, or if the toothbrush is more than four years old, a new handle is usually the smarter choice. Also, if the battery is swollen or the circuit board has visible corrosion, replacement is safer than repair.
Final Verdict: Should You Fix It or Replace It?
You have three options, and each fits a different situation.
| Option | Best for | Cost | Time |
|---|---|---|---|
| Quick clean and reset | Recent, minor issues | $0 | 10 minutes |
| Disassembly and battery swap | Out of warranty, handy | $10 to $15 | 1 hour |
| Buy a new Sonicare handle | Swollen battery, old model | $50 to $200 | 5 minutes |
Fix it if the toothbrush is less than three years old and the problem is moisture or a sticky button. The reset and clean solve most cases. If that fails and you're comfortable with small electronics, a battery swap is worth the effort.
Replace it if you see a bulge near the button. A swollen lithium-ion battery is a fire risk. Do not open it.
Do not charge it. Dispose of it at a battery recycling center and buy a new handle. Also replace if the toothbrush is four years or older with recurring problems.
One final piece of advice: keep the receipt and register your warranty. Philips offers a two year warranty on most models. If your toothbrush turns on by itself within that window, they'll replace it for free.
That's the easiest fix of all.

Similar Posts