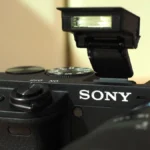
How to Manually Focus a DSLR Camera
Your autofocus keeps hunting in low light and you're missing every shot. You're trying to nail a macro shot and the lens won't stop searching. Or maybe you just picked up a vintage lens.
Knowing how to manually focus a DSLR camera is the fix for all three situations.
Manufacturer specs show that most DSLR viewfinders offer 0.8x to 0.94x magnification. That's enough for precise manual focus with the right technique. Without a clear workflow, you're just guessing.
That's why we've laid out the step-by-step approach below. It works for every scenario, from astrophotography to street shooting.
Quick Answer
Switch to manual focus mode on your lens. Use the viewfinder or Live View. Turn the focus ring until sharp.
Use peaking or magnification for precision. Lock focus and shoot.
Why Manual Focus? (And When to Use It)
Autofocus is great, but it has limits. In low light, the system hunts. Macro shots demand precision that AF can't always deliver.
Vintage lenses don't have autofocus at all.
Here's where manual focus shines:
Low light and nighttime. AF sensors struggle when there's not enough contrast. On a tripod, you can take your time and dial in focus manually. Many photographers rely on this technique for wide open spaces at dawn or dusk.
Street photography. Pre-focus on a spot and wait for the subject. It's faster than AF in many cases. Zone focusing lets you shoot without looking through the viewfinder.
It's a key skill for candid city scenes.
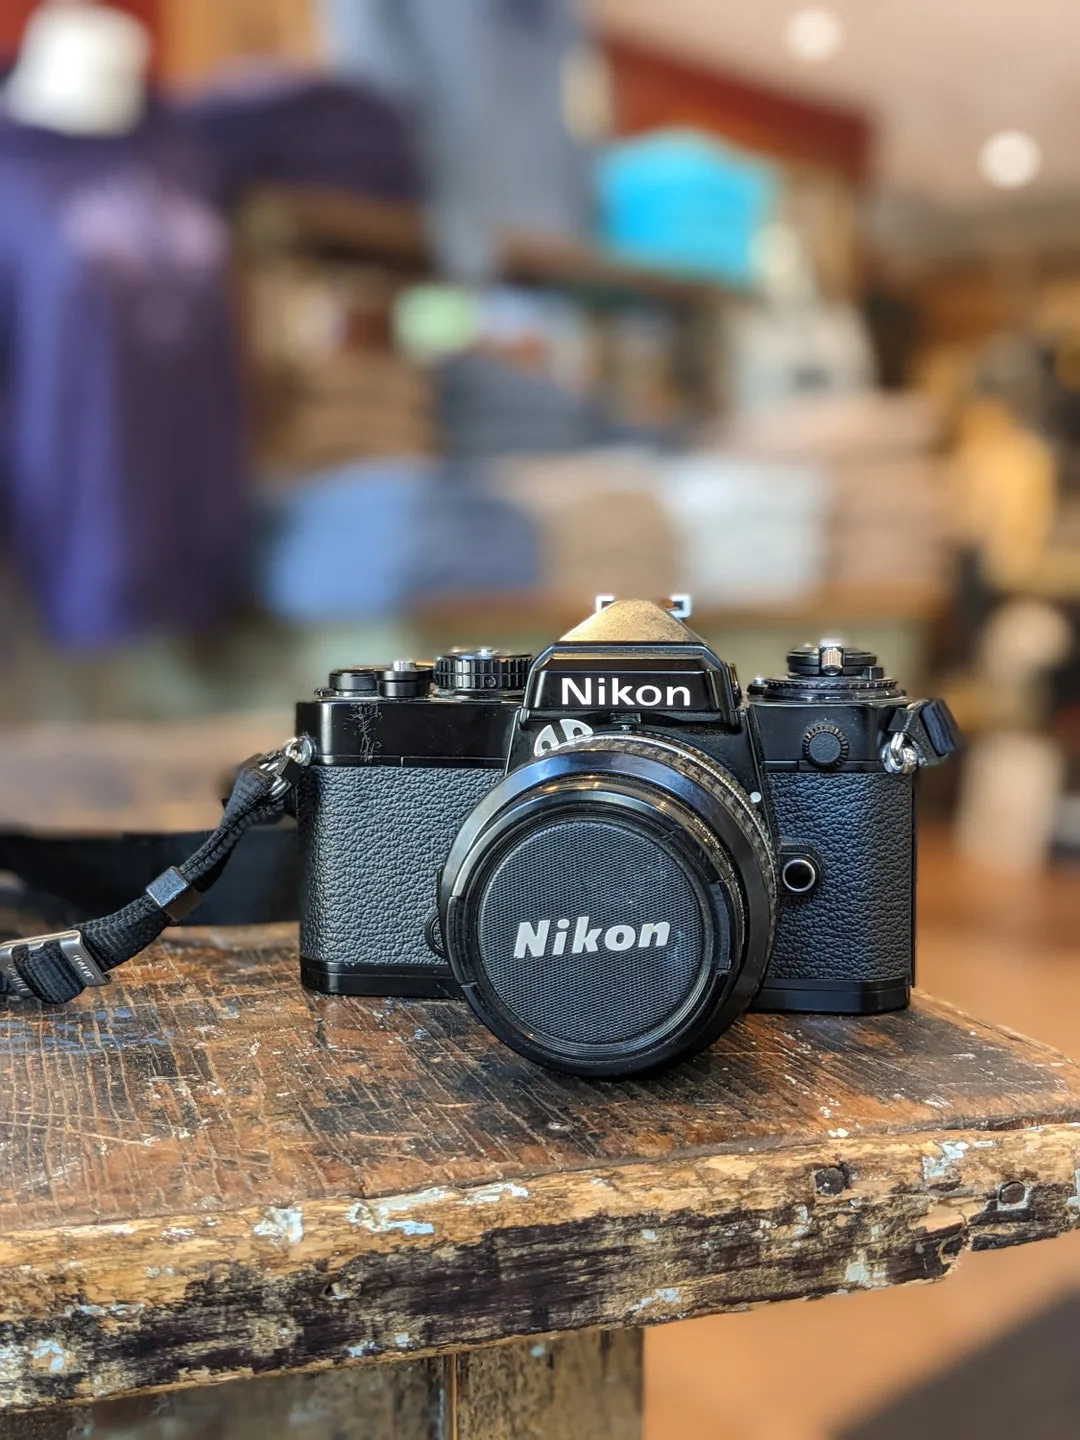
Vintage lenses. Old glass has character that modern lenses lack. But they're all manual focus. Adapting them to a DSLR is straightforward.
They're great for city architecture.
Macro and close-up work. Depth of field shrinks to millimeters. A tiny ring adjustment can be the difference between a keeper and a blur. Manual focus gives you complete control.
Video work. AF can pulse and hunt during recording. Manual focus gives smooth, intentional pulls. It's also useful for after dark shooting.
How to Manually Focus: The 3-Step Decision Tree
Manual focus isn't random. It's a decision tree with three branches. Follow these steps in order.
Step 1: Viewfinder or Live View?
Your first decision is how you'll see the scene. The optical viewfinder works fast and uses no battery. Live View on the LCD shows a magnified, real-time preview.
For tripod work, choose Live View. For handheld speed, use the viewfinder. Astrophotography almost always requires Live View.
Step 2: Which Focus Aid?
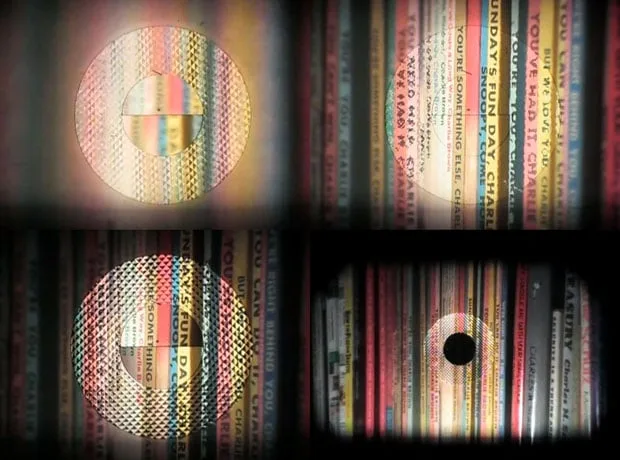
If you're using the viewfinder, look for the focus confirmation dot or arrows. Some cameras have a split prism or microprism ring in the center. If you're using Live View, enable focus peaking and magnification.
Peaking highlights edges in color. Magnification zooms in 5x or 10x. Both are available in most standard DSLR bodies as of 2026.
Step 3: Fine-Tune and Lock
Turn the focus ring slowly. Watch the peaking edges or the split prism alignment. When it's sharp, stop.
Recompose if needed. Take the shot and check the rear screen. Adjust and reshoot for critical sharpness.
5 Common Manual Focus Mistakes (And How to Fix Them)
Most photographers think manual focus is just turning the ring until it looks right. That approach leads to missed shots. Here are the five most common errors.
Mistake 1: Not adjusting the diopter. If the viewfinder looks blurry even after focusing, the diopter is wrong. Turn the dial near the viewfinder until the scene is crisp. This is step one of any manual focus session.
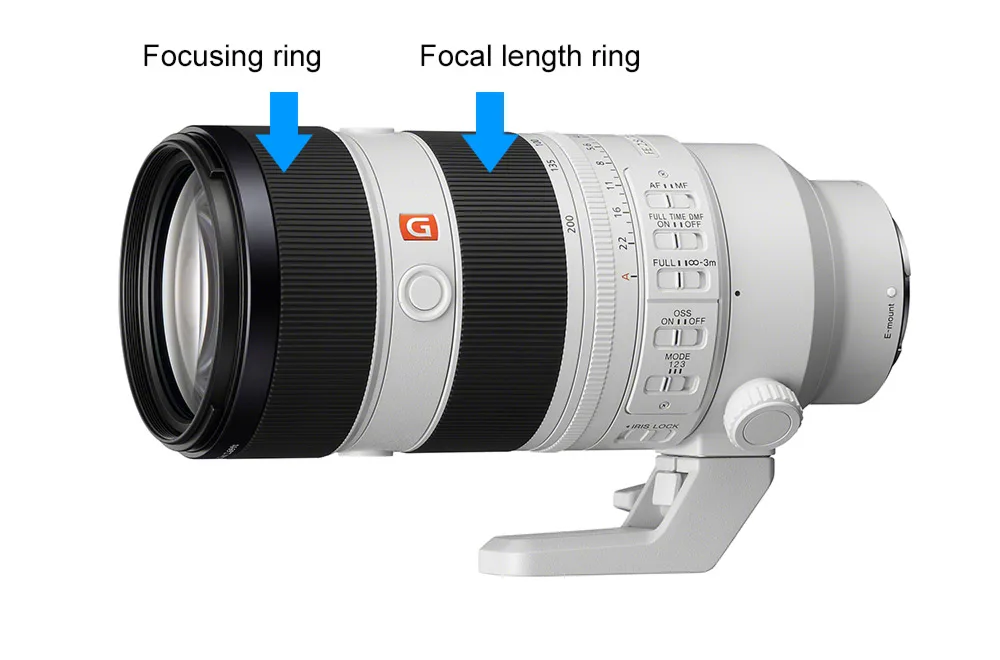
Mistake 2: Relying on focus-by-wire. Some modern lenses use electronic focus-by-wire. The response can lag or feel inconsistent. Use a lens with mechanical focus coupling for better control.
Mechanical focus rings offer more predictable feedback.
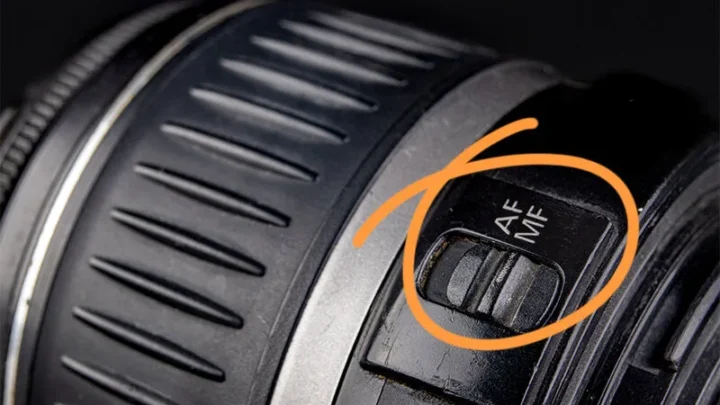
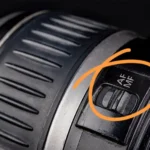
Mistake 3: Forgetting to switch to MF. If the lens is still in AF mode, the camera may fight your input. Flip the switch on the lens or body first. Then turn the ring.
Mistake 4: Chimping too early. Taking a shot and checking the LCD is fine. But don't assume the rear screen is accurate. Zoom in to check critical sharpness.
The small screen hides blur.
Mistake 5: Using the wrong focus aid. Peaking works great for high contrast scenes. But it can fail on dim conditions. Switch to magnification for precise work.
Match the aid to the situation.
Frequently Asked Questions
Do I need a special lens for manual focus?
No, any lens with a focus ring works. But vintage manual lenses with mechanical focus coupling give better feedback. Modern focus-by-wire lenses can feel vague and unresponsive.
For the best experience, use a lens designed for manual focus.
Can I damage my lens by forcing the focus ring?
Yes, you can strip the helicoid gears inside. Never force a ring that feels stuck. Some lenses have a focus clutch that must be disengaged first.
Check the lens manual if you're unsure.
Why does my viewfinder look blurry even when the lens is in focus?
Your diopter is off. Adjust the small dial next to the viewfinder until the scene appears sharp. This corrects the viewfinder to your eyesight.
Do this before you start focusing.
Is manual focus better than autofocus?
It depends on the situation. Manual focus is better for low light, macro, and video. Autofocus is faster for action and everyday use.
Use the right tool for the job. Most photographers use both.
Can I use focus peaking on any DSLR?
Not all DSLRs have focus peaking. It's more common on newer bodies and mirrorless cameras. Check your camera's menu.
If it's not available, use magnification or the focus confirmation dot instead. Both work well.

Similar Posts