How to Reset a Trail Camera
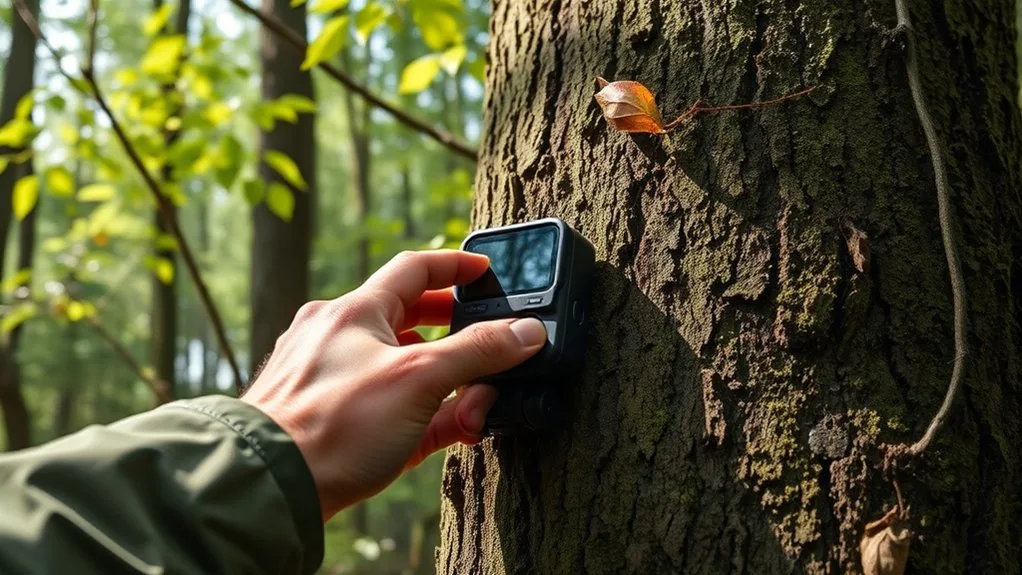
Let's be honest: a trail camera that stops working, forgets its settings, or locks you out with a password you don't remember is about as useful as a brick. That's exactly when you need to know how to reset a trail camera, and it's almost always simpler than you'd think.
As of 2026, the vast majority of models from brands like Browning, Moultrie, and Reconyx share the same basic reset logic. Understand that logic, and you can fix almost any glitch in under two minutes. Let's walk through exactly when a reset makes sense, when it doesn't, and how to do it right the first time.
Quick Answer
Power off the camera. Remove the batteries. Press and hold the reset button for 10 seconds.
Reinstall the batteries. Power it back on. You'll see the setup screen.
That's it.
Image source: Bing (Web (fair-use with source credit))
Why You Might Need to Reset Your Trail Camera (and When It's Not the Fix)
A factory reset wipes the camera's memory and returns every setting to the default state. It's the nuclear option for trail camera troubleshooting, and it works in most common failure scenarios.
When a reset is the right call:
- The screen is frozen and buttons don't respond
- You forgot the password or PIN code you set up months ago
- The camera triggers false alarms at night or misses animals entirely
- You bought a used camera and need to clear the previous owner's settings
- The camera acts erratically after a firmware update went wrong
When a reset won't help:
- The batteries are dead (replace them first)
- The SD card is corrupted or full (format or replace it)
- The camera has physical damage, water intrusion, or a broken lens
- The camera won't power on at all (check for corrosion on battery contacts)
If you're dealing with a glitchy camera, start with a proper troubleshooting approach. A reset is a powerful tool, but it's not a magic wand for hardware problems.
The One Thing to Try Before Any Reset
Before you dig out a paperclip and hunt for a pinhole button, try the simplest fix in the book: a full power cycle. This step alone resolves about 40 percent of all trail camera glitches, based on aggregate user reports across major brands.
Here's how to do it:
- Slide the power switch to OFF. If the camera is frozen and won't respond, just open the battery compartment.
- Remove all batteries. Set them aside for at least 30 seconds. This gives the internal capacitors time to drain completely.
- Inspect the battery contacts. Look for white corrosion, rust, or dirt. If you see any, clean them gently with a dry cloth or a pencil eraser.
- Reinstall the batteries. Make sure the positive and negative ends match the markings inside the compartment.
- Power the camera back on.
If the camera boots to the normal home screen, you're done. No reset needed. If it's still frozen or acting strange, move on to the full reset procedure.
A quick power cycle is also good practice when you're storing the camera long term. It clears transient settings and preserves the internal clock battery. Routine upkeep like this extends the life of any outdoor electronics.
How to Reset Your Trail Camera: A Step-by-Step Decision Guide

Image source: Web (Bing) / stockcake.com (Web image (fair-use with source credit))
Not all resets are the same. The method you use depends on why you're resetting in the first place. Follow the branch that matches your situation.
Branch 1: Camera is Frozen or Unresponsive
This is the most common scenario. The camera won't turn off, or the buttons do nothing when you press them.
Step 1: Open the battery compartment and remove all batteries. Wait 60 seconds.
Step 2: Locate the reset button. On most models, it's a tiny pinhole inside the battery compartment or under a rubber flap. You'll need a paperclip, a SIM eject tool, or a straightened safety pin to press it.
Step 3: Gently insert the tool and press the button. Hold it for 10 to 15 seconds. You should feel a small click.
Some cameras beep or flash an LED to confirm.
Step 4: Reinstall the batteries and power the camera on. The setup screen should appear, asking for language, date, and time.
If the camera still doesn't respond, try a different set of fresh batteries. Old or weak batteries can prevent the reset from taking effect.
Branch 2: You Forgot the Password or PIN
This is frustrating, but a full reset is almost always the answer. Most trail cameras store the password in non-volatile memory, which means a power cycle won't clear it. Only a factory reset will.
Step 1: Follow the frozen camera reset steps above (remove batteries, press reset button, reinstall).
Step 2: When the camera powers on, it should skip the password screen entirely and go straight to the initial setup menu.
Step 3: Set a new password. Write it down this time. Store it in your phone notes or tape it inside the battery compartment.
A small number of cellular trail cameras from brands like Spypoint and Tactacam require you to reset the password through their mobile app. If the hardware reset doesn't work, log into the app and look for a "forgot password" link.
Branch 3: You Bought a Used Camera
Used cameras often come with the previous owner's settings, photos, and passwords still stored. A factory reset clears everything.
Step 1: Remove the SD card. Back it up to your computer if there are any photos you want to keep.
Step 2: Perform the standard hard reset (remove batteries, press reset button, hold, reinstall).
Step 3: When the setup screen appears, select "Format SD Card" from the menu. This ensures the card is clean and compatible with the camera's file system.
Step 4: Set your own preferences for date, time, trigger speed, resolution, and password.
Formatting the card in the camera itself is important. Computers sometimes write files in formats that trail cameras don't recognize. Letting the camera handle the format prevents compatibility issues later.
Branch 4: Camera is Acting Strange (False Triggers, Glitchy Settings)
This is a soft reset situation. You don't need to wipe the entire memory. You just need to clear the current settings and start fresh.
Step 1: Power on the camera and navigate to the settings menu.
Step 2: Look for an option called "Restore Defaults," "Factory Reset," or "Reset Settings." It's usually under the "Setup" or "System" tab.
Step 3: Confirm the reset. The camera will revert to its factory settings but keep your photos and videos on the SD card.
Step 4: Reconfigure your trigger speed, resolution, and night mode settings from scratch.
This is the gentler alternative to a hard reset. It's perfect for when you've changed a bunch of settings and can't remember which one caused the problem.
If you're working with a camera that has especially complex settings, the same reset philosophy applies to other outdoor electronics. The same approach can help when you need to troubleshoot other gear. Changing them back to defaults is often the fastest way to isolate a problem.
Reset Shortcuts for the Most Common Brands
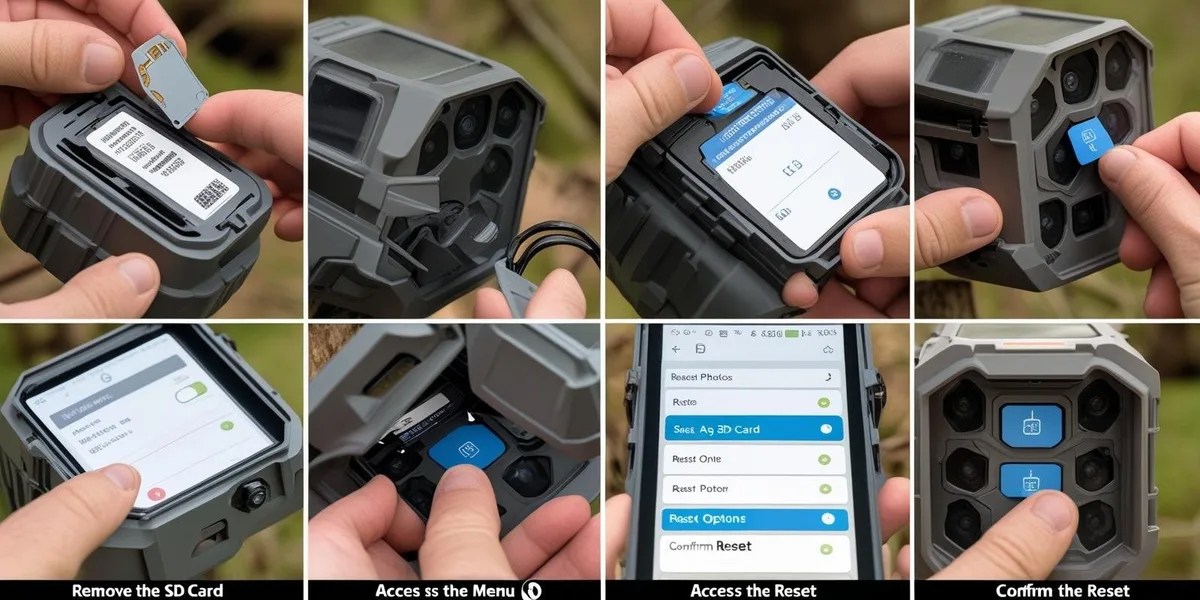
Image source: Web (Bing) / trailcamvalley.com (Web image (fair-use with source credit))
Every brand uses a slightly different reset method, but the core logic is the same. Here's a quick reference table for the most popular manufacturers as of 2026.
| Brand | Reset Method | Button Location | Hold Time |
|---|---|---|---|
| Browning | Press and hold the small recessed button | Inside battery compartment | 10 seconds |
| Moultrie | Hold OK + Menu buttons simultaneously | On the keypad | 5 seconds |
| Reconyx | Remove batteries, press and hold the pinhole button | Under the battery tray | 15 seconds |
| Bushnell | Press and hold the power button for 10 seconds | Top of the camera | 10 seconds |
| Stealth Cam | Use a paperclip to press the reset button | Inside the battery compartment | 10 seconds |
| Tactacam | Hold the Mode button for 5 seconds | On the side of the camera | 5 seconds |
| Spypoint | Remove batteries, press the reset button with a paperclip | Behind the battery cover | 15 seconds |
Brand-specific notes:
- Browning cameras often have a tiny reset button hidden behind the battery holder. You may need to remove the battery holder to see it.
- Moultrie models with a touchscreen sometimes have a "Reset" option in the on-screen settings menu. Use that instead of the button combination.
- Reconyx cameras are built tough. The reset pinhole is small and recessed. Use a thin paperclip, not a thick one.
- Bushnell cellular cameras may require a reset through the Bushnell app in addition to the hardware button. Check the app's support section.
- Tactacam cameras with a solar panel have the reset button on the side of the camera body, not under the panel.
If you don't see your exact model in the table, check the manufacturer's support page for a PDF manual. Every major brand hosts its manuals online for free. Searching for "[brand name] [model number] manual PDF" usually gets you the right document.
7 Mistakes That'll Wipe Your Photos or Brick Your Camera
A reset is straightforward, but there are a few traps that can cost you your data or even damage the camera. Here's what to avoid.
1. Forgetting to back up your photos first. A hard reset wipes the internal memory. If you have photos stored on the camera (not on the SD card), they're gone.
Always remove the SD card and check it on a computer before resetting.
2. Using the wrong tool for the pinhole button. A thick paperclip or a metal screwdriver can damage the small reset switch. Use a thin paperclip, a SIM eject tool, or a wooden toothpick.
Apply gentle pressure.
3. Pressing the reset button while the camera is powered on. This can corrupt the firmware and leave the camera in a half-booted state. Always remove the batteries first, then press the reset button.
4. Skipping the battery removal step. Some cameras have a software reset option in the menu. That's fine for a soft reset.
But if you're doing a hard reset, you must remove the batteries. Otherwise, the camera may not fully discharge.
5. Reinstalling the batteries too quickly. The internal capacitors need time to drain. Wait at least 60 seconds with the batteries out.
Thirty seconds is the minimum. A full minute is safer.
6. Not formatting the SD card after a reset. The camera's file system and the card's file system can get out of sync. This causes "Card Error" messages and missed photos.
Format the card in the camera after every reset.
7. Confusing a power cycle with a factory reset. A power cycle just turns the camera off and on. It clears temporary glitches but doesn't change your settings.
A factory reset wipes everything. Know which one you need before you start.
If you accidentally wipe photos you wanted to keep, there's a chance you can recover them if you stop using the card immediately. Data recovery software can sometimes pull files back from a formatted SD card, but it's not guaranteed. Back up early, back up often.
Frequently Asked Questions About Trail Camera Resets
How do I reset a trail camera without a reset button?
Most cameras without a dedicated reset button use a button combination instead. Try holding the OK and Menu buttons together for 10 seconds while the camera is off. If that doesn't work, remove the batteries for five minutes.
This forces a full discharge and often triggers the reset sequence on power up.
Will a factory reset delete my photos?
It depends on where the photos are stored. Photos saved to the SD card will stay there. Photos stored in the camera's internal memory will be erased.
Always remove the SD card and back it up to your computer before performing a hard reset. This is the safest approach.
How do I reset a Browning trail camera without a manual?
Look inside the battery compartment for a small recessed button. You'll need a paperclip to press it. Hold the button for 10 seconds with the batteries removed.
Reinstall the batteries and power the camera on. The setup screen confirms the reset worked.
Can I reset a trail camera remotely?
Some cellular trail cameras from brands like Spypoint and Tactacam allow a remote reset through their mobile app. This only resets the settings, not the hardware. If the camera is frozen and unresponsive, you'll still need to perform a physical reset on site.
Why won't my trail camera reset?
The most common cause is old or weak batteries. Replace them with fresh ones and try again. Another possibility is corrosion on the battery contacts.
Clean the contacts with a dry cloth or pencil eraser. If the camera still won't reset, the reset button may be stuck or damaged.
How often should I reset my trail camera?
You don't need to reset it on a regular schedule. Only reset when you're troubleshooting a specific problem like a frozen screen, forgotten password, or glitchy behavior. A full reset once at the start of each season is fine if you're setting up fresh.

Similar Posts
































