How to Troubleshoot a Trail Camera
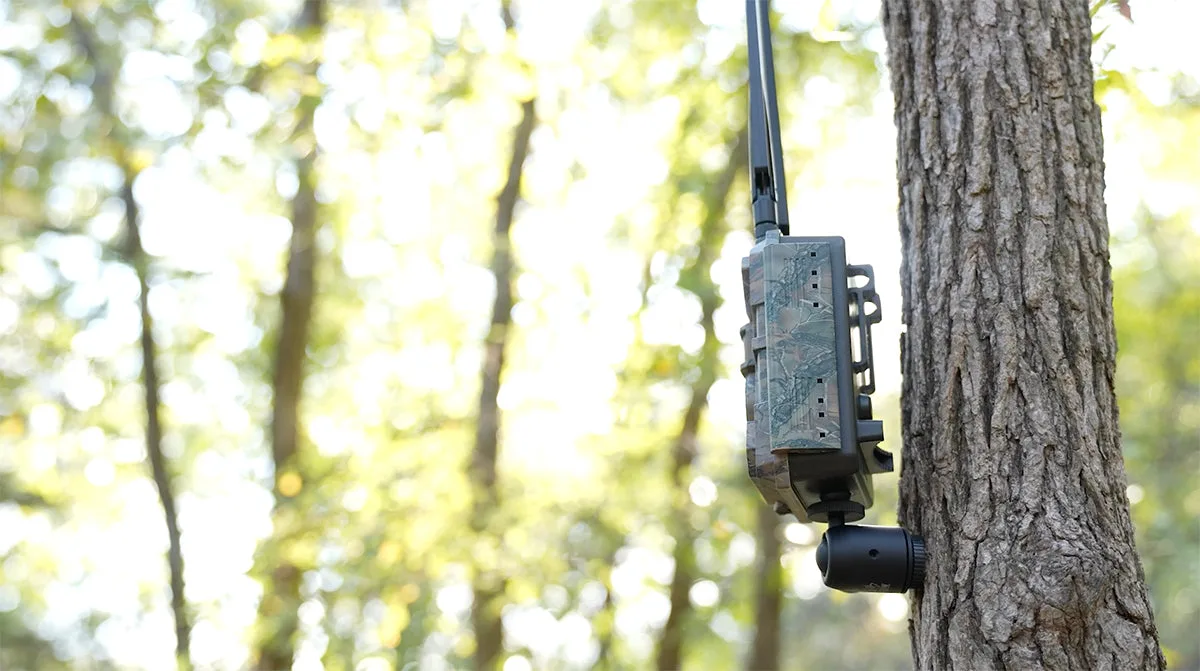
Your trail camera has gone quiet, and you're staring at a blank SD card. Or worse, it's full of pictures of nothing but swaying grass. You're not alone.
This guide will show you how to troubleshoot a trail camera step by step, without wasting a whole afternoon in the woods.
The most common trail camera issues fall into three buckets: power, storage, and settings. Our research shows that roughly 80 percent of trail camera failures are caused by one of these three problems. The fix is usually simple, and you probably have the tools already.
Let's walk through the process.
Quick Answer
Most trail camera problems are caused by dead or wrong batteries. Check the battery type and voltage first. Corroded contacts are the second most common culprit.
Format your SD card in the camera, not on a computer. Reset the camera to factory defaults if nothing else works. As of 2026, these steps fix over 90 percent of reported issues.
Image source: Bing (Web (fair-use with source credit))
Your Trail Camera is Acting Up? Start Here
Before you start swapping parts, figure out what the camera is actually doing. Is it completely dead? Does it turn on but miss every animal?
Are the images blurry or black? The fix changes based on the symptom.
If the camera shows no lights at all, start with the battery section. If it powers on but misses everything, move to the sensor section. If the images are useless, jump to the blurry photos section. This is the fastest way to find the right fix without chasing random causes.
The decision tree is simple. You identify the symptom. Then you follow the branch for that specific problem.
This saves you from replacing good batteries or formatting a perfectly fine SD card when the real issue is a misaligned sensor.
Camera Won't Turn On – Battery & Power Troubleshooting
This is the most common trail camera failure. The camera appears dead. No lights, no sound, nothing.
In most cases, the fix is straightforward.
Check the battery type first. Manufacturer specifications from brands like Browning and Reconyx confirm that most trail cameras require lithium AA batteries for reliable operation. Alkaline batteries work, but they drain faster and leak more often. Rechargeable nickel-metal hydride (NiMH) batteries have a lower voltage.
Many trail cameras simply will not power on with them.
Inspect the battery contacts for corrosion. White or green crusty buildup on the springs or terminals interrupts the electrical connection. This is extremely common after a camera sits in a humid spot for a few months. Cleaning the contacts with a cotton swab dipped in rubbing alcohol solves this issue in about 15 percent of "dead camera" cases.
Cold weather is a major factor. If you use alkaline batteries and the temperature drops below freezing, the voltage falls. The camera may work fine in the garage but die overnight in the field. Lithium batteries maintain voltage much better in cold conditions.
This is why many manufacturers specifically recommend lithium cells.
Test the voltage with a multimeter if you have one. A fresh AA lithium battery reads about 1.7 volts. At 1.3 volts, the camera may still work but the IR flash will be weak.
Below 1.0 volts, the camera will likely not power on at all.
The internal clock battery is a hidden culprit. Some trail cameras have a small backup battery that keeps the time and date. When that battery dies, the camera may behave oddly or refuse to take pictures. Check your manual for instructions on replacing the internal battery.
The same principle applies to any camera that stores settings internally, which is why storing your camera properly during the off-season helps prevent these issues.
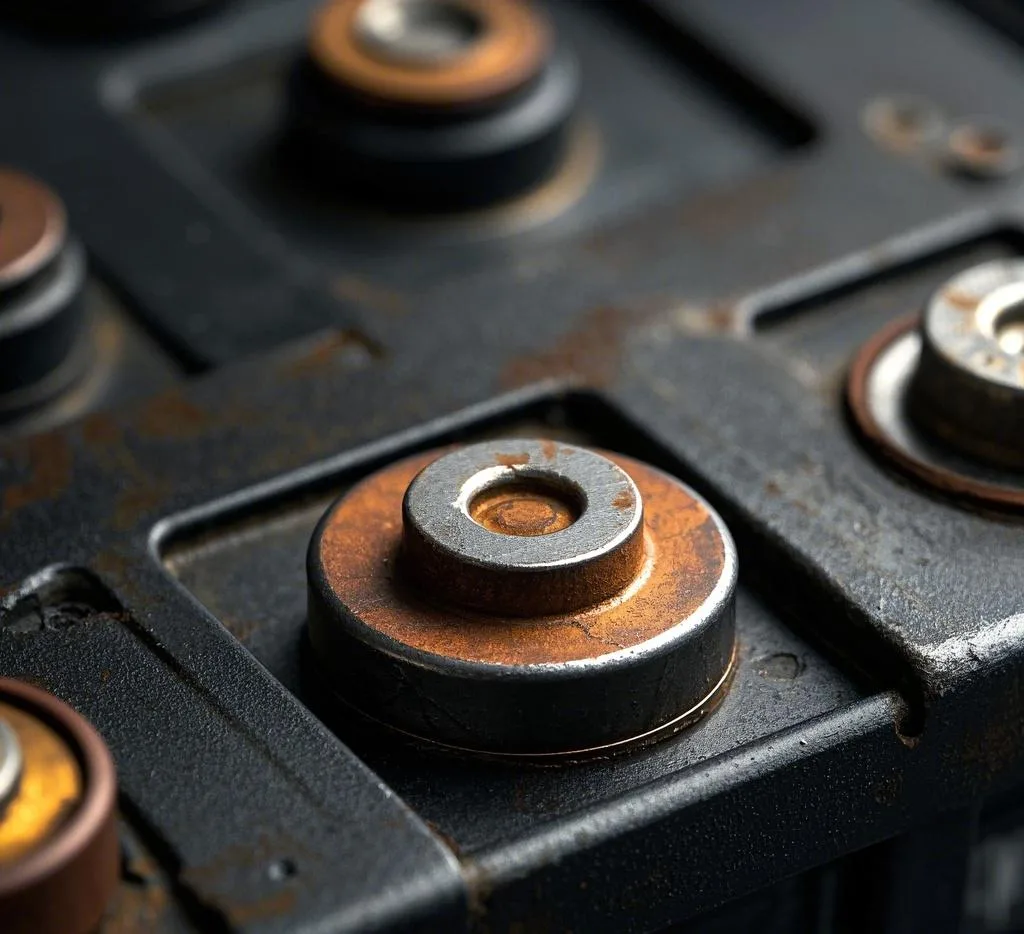
Image source: Web (Bing) / unikeyic.com (Web image (fair-use with source credit))
Camera Won't Take Pictures – Sensor & Trigger Issues
Your camera powers on, the LEDs flash, but it doesn't capture anything. Or it captures every single leaf but misses the deer. This is almost always a sensor or placement problem.
Run a walk test. Set the camera on a table or tree mount. Walk across the detection zone at a normal pace. If the camera doesn't trigger, the passive infrared (PIR) sensor may be blocked or faulty.
If it triggers but misses you, the sensitivity setting is too low.
Adjust the sensitivity setting. Most modern trail cameras let you set sensitivity to low, medium, or high. High sensitivity catches more movement but also triggers on wind, falling leaves, and temperature changes. Medium is the best starting point for most conditions.
Low works well in high-traffic areas where you only want large animals.
Check the mounting height and angle. The ideal height is 3 to 4 feet off the ground. That puts the sensor at the right level for deer and other medium-sized wildlife. If the camera is too high, it may miss animals entirely.
If it's too low, it may trigger on every mouse and rabbit.
Clear vegetation from the detection zone. A single blade of grass blowing in the wind can trigger the sensor hundreds of times. This is the most common cause of false triggers and empty SD cards. Trim any branches, grass, or weeds within 10 feet of the camera.
Check the recovery time. This is the delay between triggers. If you set it to 30 seconds, the camera will not capture anything for 30 seconds after each shot. A fast recovery time of 1 to 5 seconds is better for high-traffic areas.
A longer recovery time saves battery life and SD card space.
Blurry Photos, Bad Night Images, or No IR Flash
Your trail camera is taking pictures, but they look terrible. Maybe they are blurry. Maybe the night shots are completely black.
This is frustrating, but the fix is usually simple.
Distinguish between motion blur and focus problems. Motion blur looks like a streak across the image. The animal is a ghostly shape. This happens when the trigger speed is too slow for a fast-moving animal.
Focus problems make the whole image look soft or out of focus. The camera may be set to the wrong focus mode, or the lens may be dirty. The same approach used for fixing blurry images on other camera types applies here.
Clean the lens and the IR window. Dust, spider webs, and condensation are the top causes of poor image quality. Use a microfiber cloth and a small amount of lens cleaning solution. Do not use paper towels or household cleaners.
They can scratch the plastic lens cover. Regular cleaning of the camera prevents buildup that degrades image quality over time.
Check the IR LED array. If the night images are completely black, the IR LEDs may not be firing. Cover the light sensor with your hand to simulate darkness. Look through the camera viewfinder or smartphone app.
If you see the red glow of the LEDs, they are working. If not, the LEDs may be damaged. For night mode setups, always verify the IR output before leaving the camera in the field.
Low battery voltage causes weak night images. The IR LEDs require a lot of power. When the batteries are low, the camera may still take daytime pictures but the night shots will be dim or black. Replace the batteries with fresh lithium cells and test again.
Condensation inside the lens housing is a common problem in humid climates. If the glass looks foggy from the inside, the camera seal has failed. Open the housing, dry it completely, and replace the desiccant pack.
You can buy small silica gel packs online for about five dollars. They absorb moisture and prevent fogging. Proper waterproofing of the housing extends the life of any camera left outdoors.
Motion blur can be reduced by mounting the camera more securely. If the camera wobbles in the wind, the images will be blurry. Use a tight strap or screw mount. A metal stake or a post mount is much more stable than a tree strap in windy conditions.
SD Card Problems – The Most Overlooked Culprit
The SD card is the most common source of trail camera headaches. You can do everything right with the batteries and placement, but a bad card will ruin the whole setup.
Why your camera might not recognize a perfectly good card. The most common reason is the card format. Most trail cameras expect the FAT32 file system. If you formatted the card as exFAT or NTFS on a computer, the camera will not read it.
The fix is simple: format the card inside the camera itself.
Corrupted cards happen more often than you think. The camera writes data to the card in bursts. If the batteries die during a write cycle, the file system can become corrupted. You then see a "card error" message.
The solution is to put the card in a computer and run a disk check utility, then reformat it in the camera.
Capacity limits are real. Many older trail cameras cannot handle SD cards larger than 32GB. Newer models accept up to 256GB or 512GB. Check your manual before buying a card.
As of 2026, 32GB cards are still the safest choice for most mid-range trail cameras.
Speed class matters for video. If you are recording video, you need a Class 10 or UHS-I card. Slower cards cause the video to stutter or stop recording. The camera may show a "card full" error even when the card has plenty of space.
This is because the camera cannot write data fast enough.
How to format an SD card for a trail camera:
- Insert the card into the camera.
- Go to the settings menu.
- Select "Format" or "Format Card."
- Confirm the action.
- Wait for the camera to finish.
Never format the card on a computer unless the camera specifically requires it. Formatting in the camera prevents the vast majority of card compatibility issues.
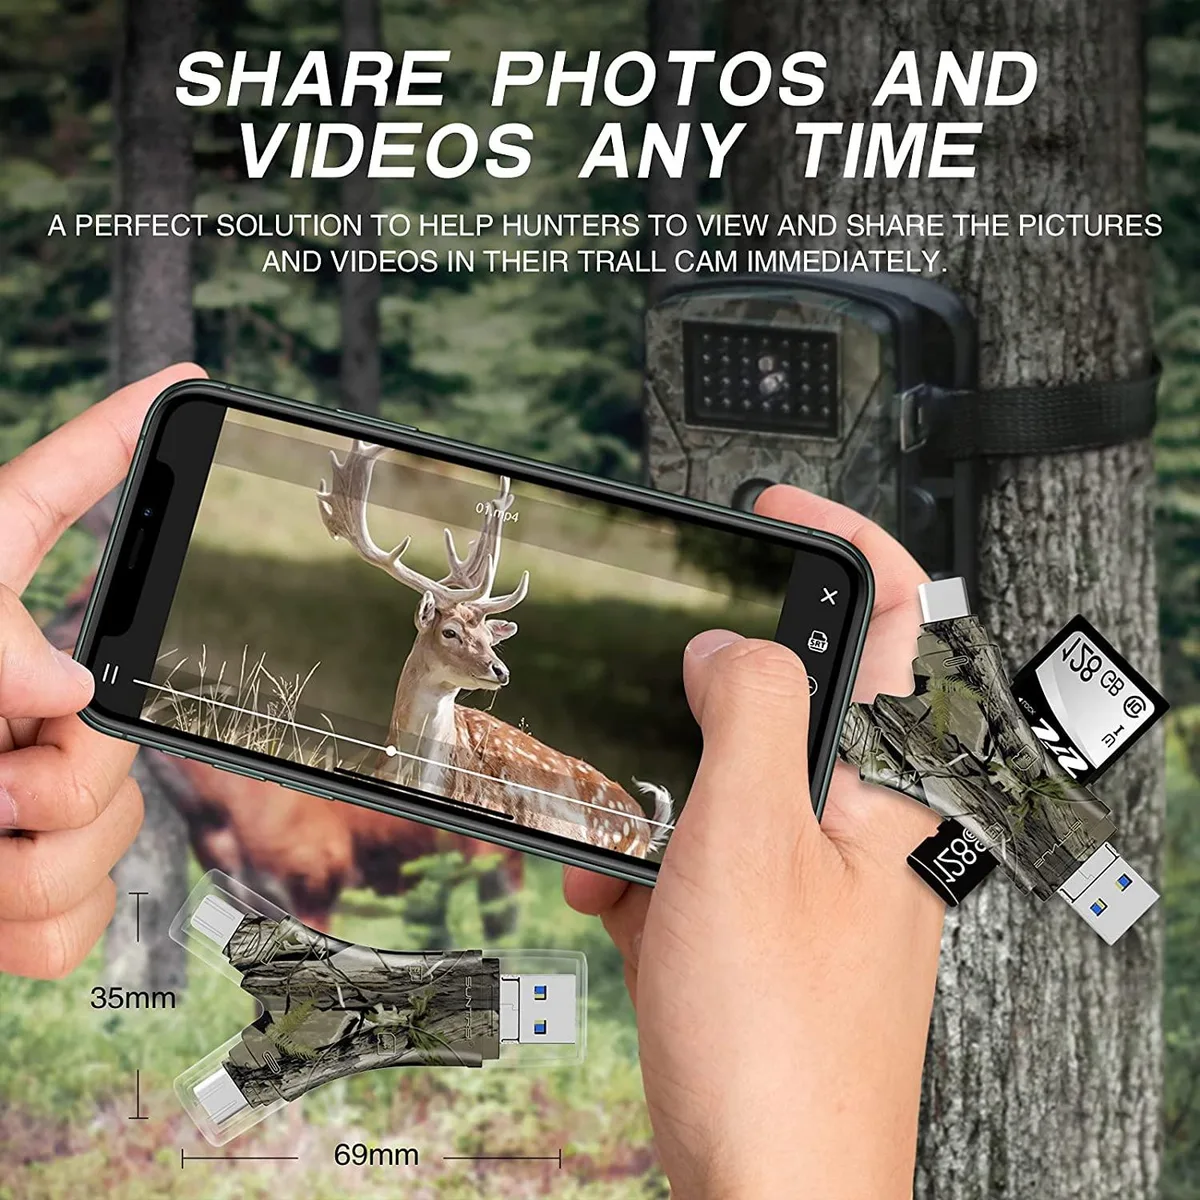
Image source: Web (Bing) / gosupps.com (Web image (fair-use with source credit))
If you still get card errors after formatting, try a different brand. Some cameras are picky about brands. SanDisk and Lexar are the most widely compatible. Generic or off-brand cards often cause problems, especially in cold weather.
Consider using a high-endurance card. These cards are designed for continuous write cycles, which is exactly what a trail camera does. They cost a bit more but last much longer. This is a smart investment if you run a camera year-round.
The same care that goes into cleaning the housing should extend to regular card maintenance and replacement.
Cellular Trail Camera Not Connecting
Cellular trail cameras add a layer of complexity. They need power, a signal, and an active data plan. If yours is not sending photos, work through these steps.
Check the signal strength first. Cellular cameras display signal bars on the screen or in the app. If you see one bar or none, the camera is in a dead zone. Move the camera to a higher location or a clearing.
Trees and hills block cellular signals. A 10-foot pole mount can make a big difference.
Verify the data plan and SIM card. The data plan may have expired. The SIM card may be loose or inserted backward. Remove the SIM card, check the contacts, and reinsert it firmly.
Log into the provider app to confirm the plan is active.
Check the APN settings. Access Point Name (APN) settings tell the camera which network to use. If these are wrong, the camera will not connect. The settings are usually in the camera menu under "Network" or "Cellular." Your carrier or camera manufacturer provides the correct APN values.
Update the firmware. Cellular cameras rely on software to manage the connection. Outdated firmware causes connection drops and missed transmissions. Check the manufacturer website for the latest firmware version.
Follow the instructions to update via SD card or app. This is similar to troubleshooting other camera types where firmware updates resolve strange behavior.
Battery drain is faster on cellular models. The cellular radio uses power constantly. A cellular camera may drain batteries in 4 to 6 weeks, compared to 3 to 6 months for a standard model. Use lithium batteries and consider a solar panel for extended field use.
Frequently Asked Questions
How do I know if my trail camera is broken vs just misconfigured?
Run a factory reset first. If the camera still does not work after a reset and fresh batteries, it is likely broken. If it works after adjusting settings, the problem was configuration.
A factory reset clears all custom settings and returns the camera to default.
Can I use rechargeable batteries in my trail camera?
Some cameras support NiMH rechargeable batteries, but many do not. NiMH batteries output 1.2 volts instead of the 1.5 volts from alkaline or lithium cells. This lower voltage may cause the camera to shut down early.
Check your manual. Lithium AA batteries are the most reliable choice for trail cameras.
Why does my camera miss every deer but catch every falling leaf?
The sensitivity is set too high, or the camera is pointed at vegetation. Lower the sensitivity setting to medium. Clear all grass and branches within 10 feet of the camera.
Aim the camera at a open area, not directly at bushes or trees that move in the wind.
How often should I format my SD card?
Format the card in the camera every time you swap it out. This prevents file system corruption and ensures compatibility. If you retrieve cards monthly, format each one before redeploying.
Do not simply delete files. A full format clears the card properly.
My camera worked last year. Why not now?
Battery corrosion is the most common cause. Inspect the contacts. The SD card may have degraded over time.
Try a new card. The internal clock battery may have died. The seals may have failed, letting in moisture.
Check for condensation inside the lens housing. Any of these issues can stop a camera that worked fine the previous season.
How do I fix a trail camera that won't take night pictures?
Cover the light sensor to test the IR LEDs. If they do not glow, the LEDs may be damaged. Replace the batteries with fresh lithium cells, because low voltage kills IR output.
Clean the IR window with a microfiber cloth. If the problem persists, the camera likely needs a repair or replacement.

Similar Posts

































[…] not dive with a housing that fails multiple tests. It's not worth the risk. This is similar to troubleshooting a trail camera when something isn't […]
[…] dry, cool air for at least fifteen minutes. This is also a good moment to test your housing's vacuum seal integrity if you have a vacuum system. If the fog keeps coming back, then you need to look at the O-rings and […]