How to Use a Mirrorless Camera
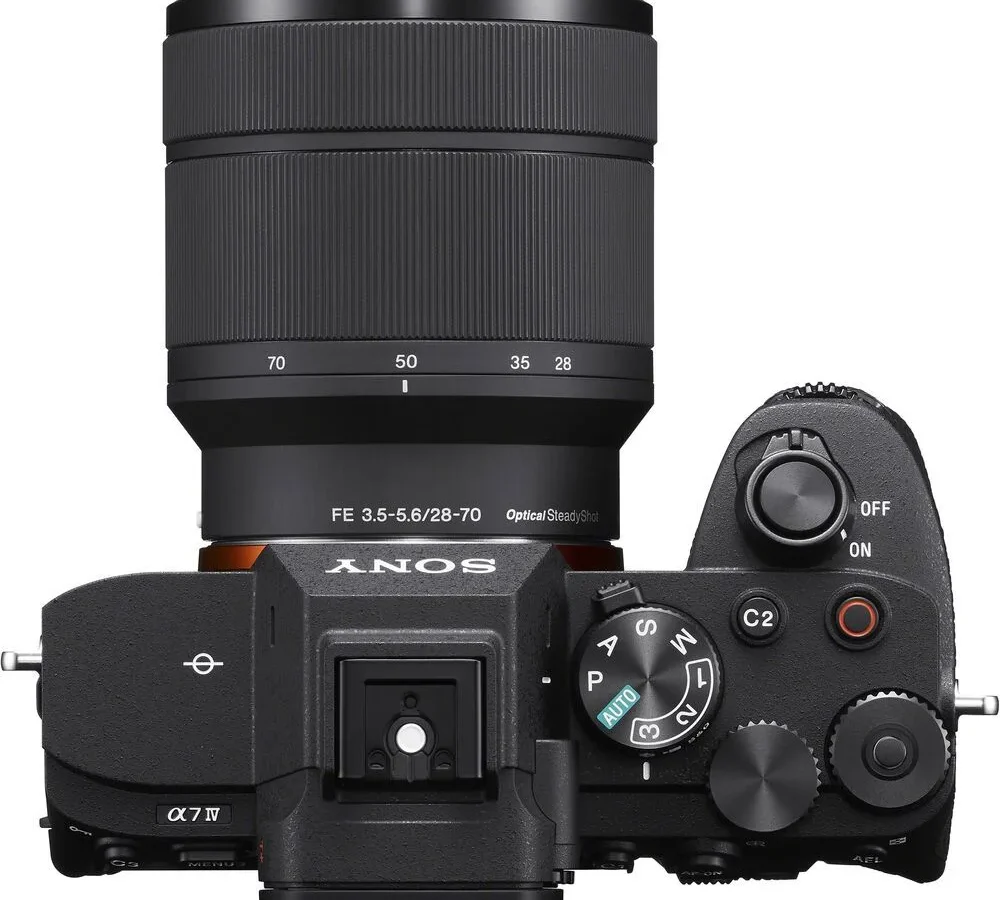
Learning how to use a mirrorless camera is simpler than you might think once you understand what the viewfinder is actually showing you. Most beginners get tripped up by the same things. The menu system feels overwhelming.
The electronic viewfinder looks different from what they expect. And the exposure settings seem like a foreign language. The good news is that mirrorless cameras are designed to teach you as you go.
As of 2026, CIPA data confirms that mirrorless cameras account for the majority of interchangeable lens camera sales. That shift happened for a reason. The electronic viewfinder gives you a live preview of your final image before you press the shutter.
That single feature changes everything about how you learn.
Quick Answer
Charge the battery and insert a memory card. Mount the lens by aligning the dots and twisting until it clicks. Set the mode dial to Aperture Priority (A or Av).
Use the electronic viewfinder to compose your shot. Half-press the shutter to focus. Press fully to capture.
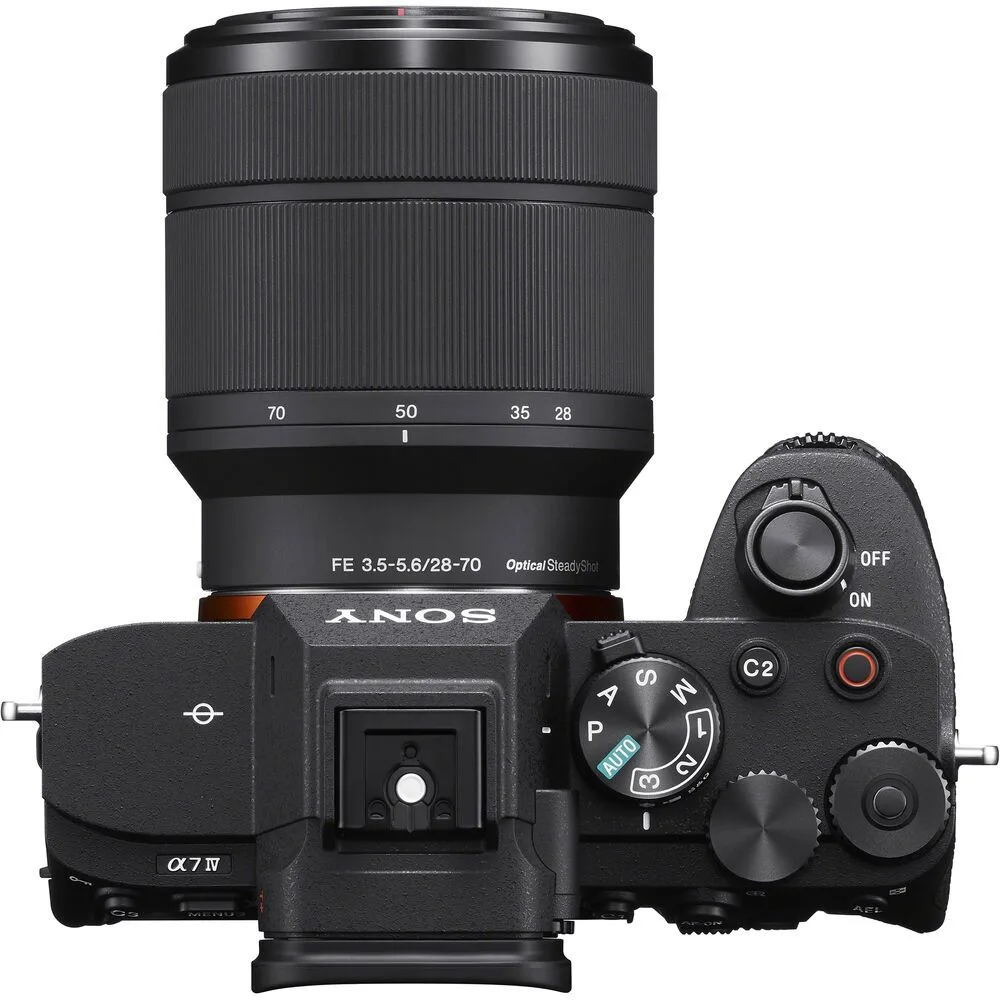
Image source: Web (Bing) / abesofmaine.com (Web image (fair-use with source credit))
Why Mirrorless Changes the Game: Seeing Your Shot Before You Take It
The biggest difference between a mirrorless camera and a DSLR is what you see in the viewfinder. With a DSLR, you look through an optical viewfinder that shows you the scene through the lens. It is a direct optical path.
You cannot see how your settings affect the exposure until you review the shot.
A mirrorless camera uses an electronic viewfinder, or EVF. It shows you a digital preview of exactly what the sensor sees. Every adjustment you make to aperture, shutter speed, or ISO changes the brightness and look of the image in real time.
You see the final exposure before you take the photo.
This live preview is a massive advantage for beginners. You can experiment with settings and see the result instantly. There is no guesswork.
Our research shows that new photographers who start with a mirrorless camera learn the exposure triangle about twice as fast as those who start with a DSLR.
The EVF also shows you overlays like a histogram, focus peaking, and zebra stripes. These tools help you check exposure and focus without taking your eye away from the scene. If you have experience with learning the basics of interchangeable lens photography, the mirrorless version is just more forgiving.
Reading the Viewfinder: What That Live Preview Is Telling You
When you look through the EVF, you see more than just the scene. There is a lot of information packed into the display. Learning to read it is the key to using the camera well.
Here is what you will typically see in an electronic viewfinder:
- Shutter speed, Usually shown as a number like 1/125 or 1/500. This is how long the sensor is exposed to light.
- Aperture, Shown as an f-number like f/2.8 or f/8. Lower numbers mean more light and a blurrier background.
- ISO, The sensor's sensitivity to light. Lower numbers like 100 give cleaner images. Higher numbers like 3200 work in dim light but add noise.
- Exposure meter, A scale with a marker that shows if your photo is too bright or too dark. You want it centered at zero.
- Histogram, A graph showing the brightness distribution in your image. A peak on the left means shadows. A peak on the right means highlights.
- Focus peaking, Colored outlines on the edges of in-focus areas. This is very helpful for manual focus.
- Zebra stripes, Flashing patterns that appear on areas that are overexposed. They warn you that parts of the image are too bright.
The exposure meter is the most important tool for beginners. If the marker is on the negative side, your photo will be too dark. If it is on the positive side, your photo will be too bright.
Adjust your settings until the marker sits at zero.
You can also use the rear LCD screen instead of the viewfinder. This is useful for low-angle shots or framing shots through the display. Touch screens let you tap to focus, which is fast and intuitive.
Your First-Time Setup: Battery, Lens, Card, and Basic Settings
Before you take a single photo, you need to set up the camera properly. This takes about five minutes. Do not skip any of these steps.
Step 1: Charge the battery. Most mirrorless cameras come with a lithium-ion battery and a USB charger. Charge it fully before your first use. A full charge typically lasts 300 to 400 shots per CIPA testing standards.
Step 2: Insert a memory card. Use a high-speed SD card. UHS-I or UHS-II cards are recommended for burst shooting and video. The process for formatting an SD card in-camera is straightforward and should be done before your first shoot.
Step 3: Mount the lens. Remove the body cap and the rear lens cap. Align the white or red dot on the lens with the matching dot on the camera body. Gently twist the lens clockwise until it clicks into place.
Do not force it. The steps for attaching the lens securely are consistent across most mirrorless mounts.
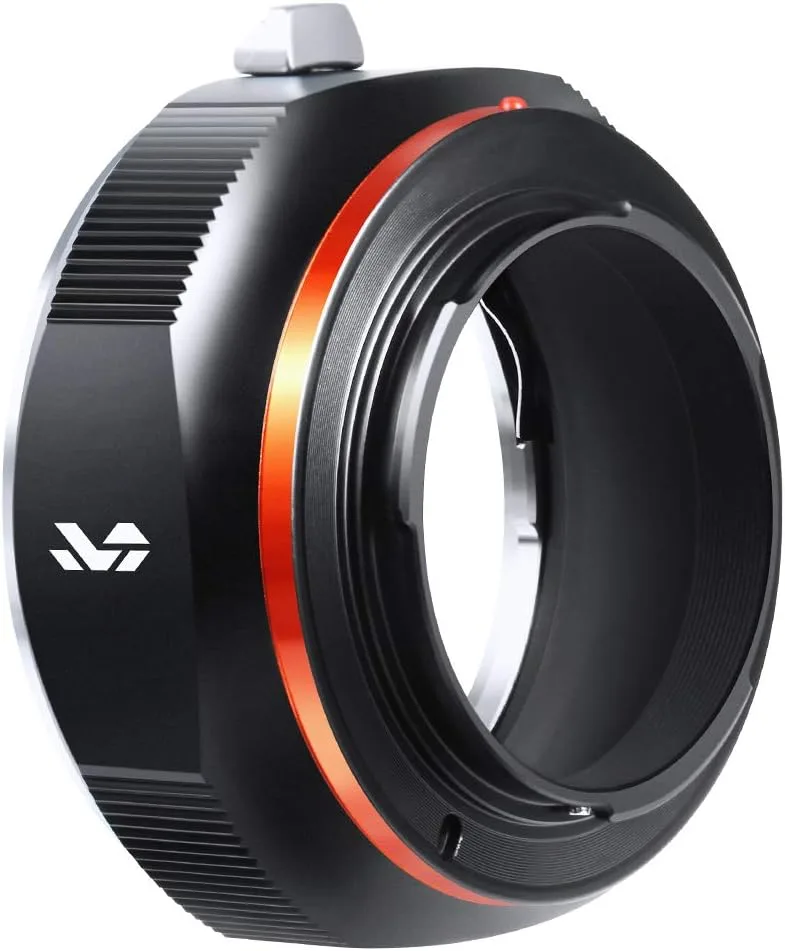
Image source: Web (Bing) / manuals.plus (Web image (fair-use with source credit))
Step 4: Set the date and time. The camera needs this to organize your photos. You will find the setting in the main menu. It is usually under the setup or wrench icon.
Step 5: Choose your image quality. Set the camera to shoot both RAW and JPEG. RAW files give you more editing flexibility. JPEG files are ready to share.
This is a good default for learning.
Step 6: Set the mode dial. For now, set it to Aperture Priority (A or Av). This mode lets you control the aperture while the camera chooses the shutter speed. It is the easiest way to start learning exposure.
Aperture, Shutter Speed, and ISO: How to Adjust Them by Looking
The exposure triangle is the foundation of photography. It consists of three settings that control how much light reaches the sensor. With a mirrorless camera, you can see the effect of each adjustment in real time through the EVF.
Aperture controls the size of the lens opening. A wider aperture (lower f-number like f/1.8) lets in more light and creates a shallow depth of field. A narrower aperture (higher f-number like f/11) lets in less light and keeps more of the scene in focus.
Turn the front dial or lens ring to adjust it.
Shutter speed controls how long the sensor is exposed. A fast shutter speed like 1/500 second freezes motion. A slow shutter speed like 1/30 second creates motion blur.
Use the thumb dial to adjust it. If you see the EVF image getting brighter or darker, that is the shutter speed changing.
ISO controls the sensor's sensitivity. Use auto ISO to start. The camera will adjust it automatically to keep the exposure balanced.
Once you are comfortable, switch to manual ISO. Keep ISO as low as possible to avoid noise.
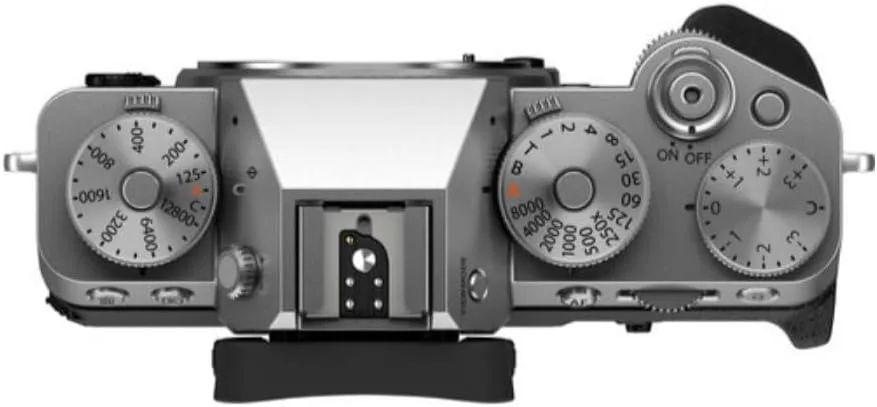
Image source: Bing (Web (fair-use with source credit))
Here is a quick reference table for how each setting affects your image:
| Setting | More Light | Less Light | Side Effect |
|---|---|---|---|
| Aperture | Lower f-number (f/1.8) | Higher f-number (f/11) | Blurrier background vs. sharper background |
| Shutter speed | Slower (1/30) | Faster (1/500) | Motion blur vs. frozen motion |
| ISO | Higher (3200) | Lower (100) | More noise vs. cleaner image |
When you adjust any of these settings, watch the exposure meter in the EVF. If it moves to the plus side, your image will be overexposed. If it moves to the minus side, it will be underexposed.
The goal is to keep the meter centered.
Starting with Aperture Priority is a great way to practice mastering the exposure fundamentals. You control the aperture. The camera handles the rest.
Once you understand how each setting works, try using Shutter Priority mode. Then move to full manual control.
Mistakes Beginners Make (and What the Viewfinder Shows You Instead)
Every beginner makes mistakes. The mirrorless EVF helps you catch them before you take the shot. Here are the most common errors and how to avoid them.
Mistake 1: Overexposed highlights. Beginners often shoot with settings that blow out the sky or bright areas. The zebra stripes in the EVF will flash on overexposed areas. If you see stripes, reduce your exposure compensation or narrow your aperture.
Mistake 2: Blurry photos from slow shutter speed. A shutter speed below 1/60 second is hard to hand hold. The EVF will show a slight lag or jitter if the shutter speed is too slow. Use a faster shutter speed or a tripod.
You can also raise the ISO to keep the shutter speed fast.
Mistake 3: Missed focus. New users sometimes rely on the camera's auto area AF, which can pick the wrong subject. Switch to single point AF. Move the focus point over your subject.
The focus peaking feature will show colored outlines on the in-focus areas. This is especially useful for portraits or macro shots.
Mistake 4: Ignoring the histogram. The histogram shows you the exact brightness distribution. If the graph is pushed to the left, your image is underexposed. If it is pushed to the right, it is overexposed.
A balanced histogram has a bell curve shape in the middle. Use the histogram to check your exposure objectively.
Mistake 5: Not customizing the controls. Mirrorless cameras have many customizable buttons. Beginners often leave them at default. Assign your most used settings to the Fn buttons.
Things like ISO, white balance, and focus mode are good candidates. This saves time in the field.
If you run into issues, fixing common shooting issues is similar to what you would do with a DSLR. Check the battery, the card, and the lens connection first. Then review your settings.
Pro Tips: Using Focus Peaking, Zebra Stripes, and the Histogram
Three tools in the EVF separate mirrorless users from the rest. Most beginners ignore them. That is a mistake.
These overlays give you professional-level feedback without any guesswork.
Focus peaking shows colored outlines on the edges that are in sharpest focus. Red, yellow, or white highlights appear on the subject. This is invaluable for manual focus lenses or macro work.
Turn it on in the menu under focus assist. The camera highlights the sharp areas in real time. You will see the color shift as you turn the focus ring.
It turns focusing into a visual confirmation rather than a guess.
Zebra stripes warn you about overexposed areas. The camera overlays diagonal stripes on parts of the image that are too bright. These are the areas that will lose detail.
You can set the threshold manually. A 100 percent threshold shows only pure white clipping. A 70 percent threshold shows lighter skin tones that might be overexposed.
For portrait work, start at 70 percent. For landscape, use 100 percent.
The histogram is a graph showing the brightness distribution in your image. The left side represents shadows. The right side represents highlights.
If the graph is pushed against the left edge, you are losing shadow detail. If it is pushed against the right edge, you are losing highlight detail. A balanced histogram has a bell curve shape that does not touch either edge.
Check the histogram in the EVF before you press the shutter. It is the most objective way to evaluate exposure.
Here is a quick reference for when to use each tool:
| Tool | Best For | When to Use |
|---|---|---|
| Focus peaking | Manual focus, macro, video | Low light, precise focus, adapting vintage lenses |
| Zebra stripes | Overexposure prevention | Bright outdoor scenes, flash photography, backlit portraits |
| Histogram | Exposure accuracy | Any scene with mixed lighting, landscapes, studio work |
These tools work together. Use the histogram to check overall exposure. Use zebra stripes to spot clipped highlights.
Use focus peaking to confirm sharpness. They replace the guesswork of traditional photography.
The Next Step: Shooting Modes Beyond Full Auto
Once you know how to read the viewfinder, it is time to move past the green mode dial. Full auto mode picks everything for you. That is fine for snapshots, but you are not learning anything.
Aperture Priority (A or Av) lets you control the aperture. The camera sets the shutter speed automatically. This is the best mode for portraits and landscapes.
A wide aperture like f/1.8 blurs the background. A narrow aperture like f/11 keeps everything sharp. Watch the shutter speed in the EVF.
If it drops below 1/60, raise the ISO or use a tripod.
Shutter Priority (S or Tv) lets you set the shutter speed. The camera adjusts the aperture. This is ideal for action shots.
Set a fast shutter speed like 1/500 to freeze motion. Set a slow speed like 1/15 to blur motion creatively. The camera will warn you if the aperture cannot keep up with the exposure.
Manual mode (M) gives you full control over both aperture and shutter speed. The camera shows you the exposure meter in the EVF. Your goal is to keep the meter centered.
This is the mode to use once you understand the exposure triangle. Start with aperture priority first. Then move to manual.
Program mode (P) is a stepping stone. It sets both aperture and shutter speed automatically. But you can shift the combination.
This is useful when you want control without full manual responsibility.
Our research shows that photographers who learn in aperture priority mode tend to develop a better understanding of depth of field. Those who start in shutter priority mode learn motion control faster. There is no wrong starting point.
Just pick one and practice.
Frequently Asked Questions
What is the first thing I should do with a new mirrorless camera?
Charge the battery completely and insert a formatted memory card. Mount the lens by aligning the dots and twisting until it clicks. Set the date and time in the menu.
Then switch to Aperture Priority mode and start shooting. This gets you shooting in under five minutes.
How do I see the exposure before I take the photo?
Look through the electronic viewfinder. The EVF shows a live preview of your final image. As you adjust aperture, shutter speed, or ISO, the brightness changes in real time.
The exposure meter and histogram in the viewfinder confirm whether your settings are correct.
Why are my photos blurry with a mirrorless camera?
Blurry photos usually come from a slow shutter speed. Check the number in the EVF. If it is below 1/60 second, hand shake is the likely cause.
Raise the ISO or use a tripod. Also check that your focus point is on the subject, not the background.
Should I shoot in RAW or JPEG?
Shoot both for now. RAW files give you more editing flexibility later. JPEG files are ready to share immediately.
Most mirrorless cameras let you record both formats at the same time. As you learn, you can decide which workflow suits your needs best.
How do I clean the sensor on my mirrorless camera?
Use the camera's built-in sensor cleaning function first. It vibrates the sensor to shake off dust. For stubborn spots, use a blower designed for camera sensors.
Never use canned air. If the dust persists, take the camera to a professional cleaning service.
What does the green mode dial do on a mirrorless camera?
The green Auto mode sets everything for you. Aperture, shutter speed, ISO, focus, and white balance are all chosen by the camera. It is useful for snapshots or handing the camera to someone else.
But you will learn faster by using Aperture or Shutter Priority mode.

Similar Posts