How to Take Underwater Photos
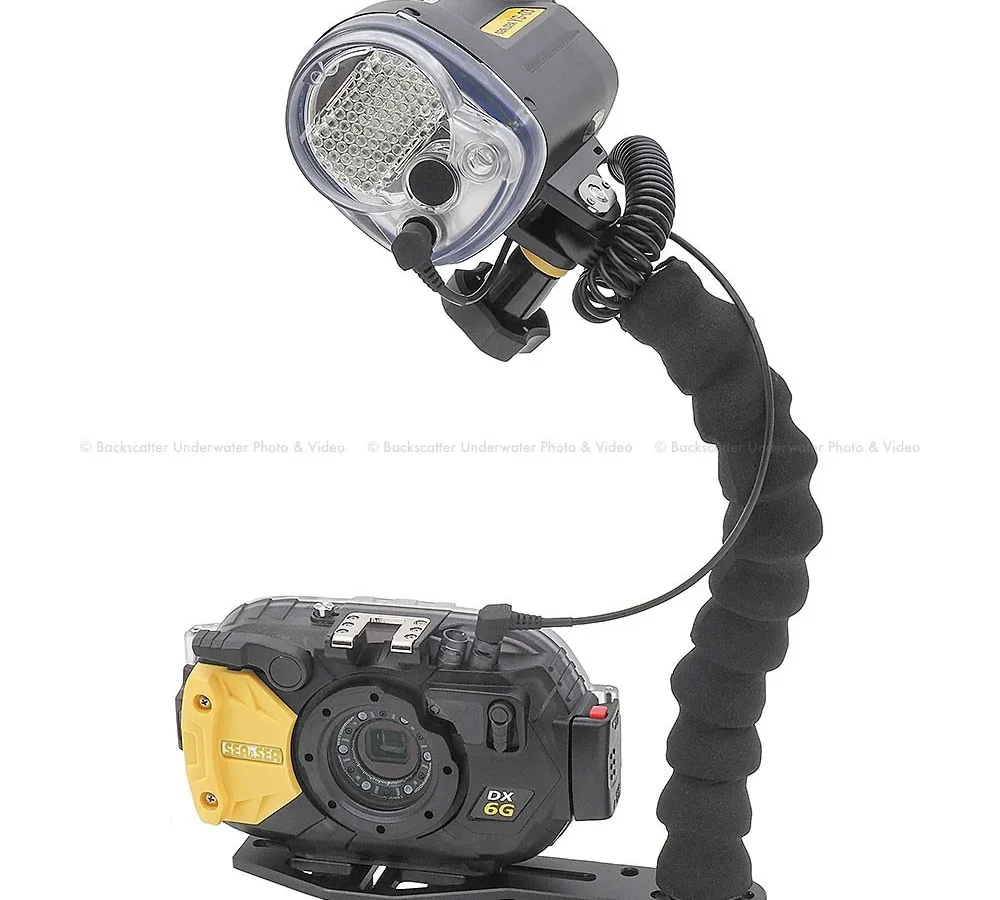
You've come back from a snorkeling trip, and every photo looks like a murky blue-green haze. The fish were amazing, but your camera captured a blurry mess. Learning how to take underwater photos is mostly about understanding how light behaves below the surface.
Red light is absorbed within the first 15 feet of water. As of 2026, even budget-friendly phone cases can handle depths of 30 feet. But the physics of light hasn't changed.
So let's walk through the gear and settings that fix that blue tint.
Quick Answer
Set a custom white balance. Get close to your subject. Use an external light source.
Shoot in RAW mode. Practice buoyancy control.
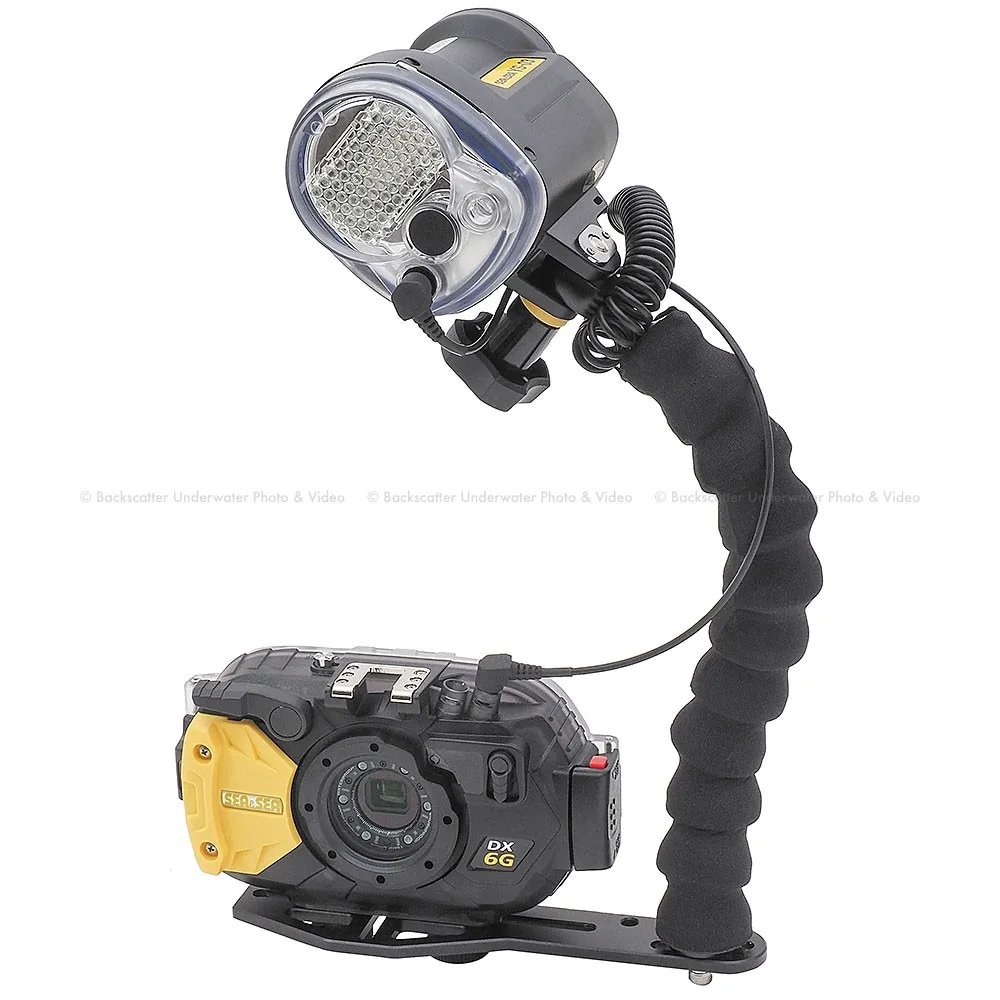
Image source: Web (Bing) / backscatter.com (Web image (fair-use with source credit))
Why Your Underwater Photos Look Like a Blue Mess
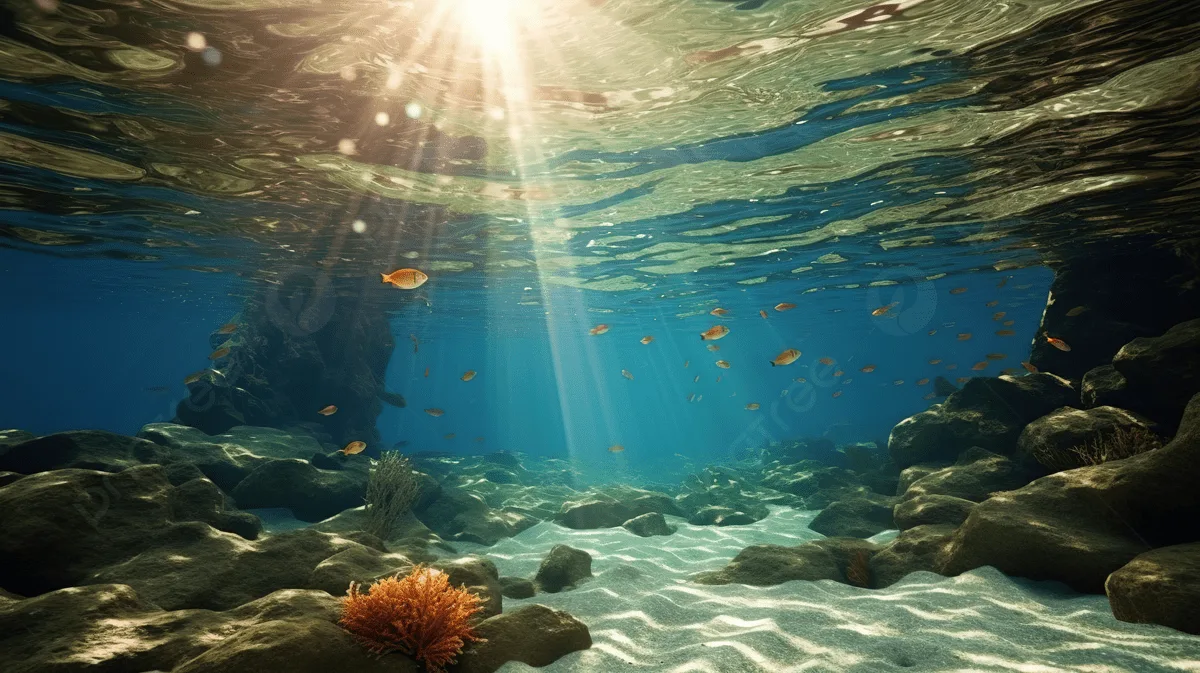
Image source: Web (Bing) / pngtree.com (Web image (fair-use with source credit))
Water acts like a giant color filter. The deeper you go, the more it strips out warm colors. Red vanishes first, then orange, then yellow.
At 30 feet, you're basically shooting in a blue-green world.
Per NOAA's research on ocean optics, water absorbs different wavelengths of light at different rates. Red light gets absorbed almost completely within the first 15 to 20 feet. That's why your photos look like a swimming pool filter took over.
The other culprit is backscatter. Tiny particles in the water reflect your camera's flash right back at the lens. You end up with a snowstorm of white specks ruining every shot.
The fix comes down to two things. Add your own light source. Adjust your camera's color settings.
The rest is technique.
The First Question: What Camera Are You Using?
Your workflow depends entirely on the gear you own. There's no single right answer. Let's branch based on your situation.
If you're using a smartphone with a waterproof case. This is the most common setup for casual snorkelers. Modern phone cases are depth-rated to 30 feet or more. The trade-off is that you rely on the phone's built-in camera.
It struggles with autofocus in low light. Use the phone's underwater mode if it has one. Or manually set a custom white balance using a grey card before you dive.
If you're using an action camera. GoPro and DJI Osmo Action cameras are the workhorses of underwater video. They're small, tough, and depth-rated to 33 feet without a housing. For stills, they're decent but not great in low light.
Use the underwater color preset. Keep the frame rate at 30 fps for video.
If you're using a waterproof compact camera. Models like the Olympus TG series are purpose-built for this. They have dedicated underwater scene modes and manual controls. You can adjust white balance, ISO, and aperture.
This is the sweet spot for beginners who want better results without a big investment.
If you're using a DSLR or mirrorless with a housing. This is the serious setup. You're dealing with a larger rig, strobes, and dome ports. The workflow is more complex but the results are dramatically better.
How to Dial In Settings for Your Gear
Settings depend on your camera type. But some principles apply across the board.
| Setting | Smartphone / Case | Action Camera | Compact Camera | DSLR / Mirrorless |
|---|---|---|---|---|
| White balance | Custom or underwater mode | Underwater preset | Underwater scene mode | Custom grey card or Kelvin |
| ISO | Auto (100-400) | 100-400 | 100-800 | 100-1600 |
| Aperture | Fixed | Fixed | f/2.8-f/8 | f/8-f/16 for macro |
| Shutter speed | Auto | 1/60-1/120 | 1/100-1/250 | 1/100-1/250 |
| File format | JPEG | JPEG | JPEG or RAW | RAW |
White balance is the most important setting. If you don't correct it, everything is blue. For a smartphone, manually set the white balance by pointing the camera at a white piece of plastic underwater. For a compact camera, use the underwater scene mode.
For a DSLR, set a custom white balance using a grey card at your shooting depth.
ISO should stay as low as possible. Higher ISO introduces noise that ruins fine details. Stick to 100-400 for most situations. If you're shooting in dark caves or at night, you might need 800-1600.
Accept the grain.
Shutter speed matters for moving subjects. Fish don't pose. Use at least 1/100 second to freeze motion. If you're using a strobe, the flash duration acts as your shutter.
So you can go slower.
Aperture control depends on depth of field. For macro shots of small creatures, use f/8 to f/16 to keep the subject sharp. For wide-angle reef scenes, use f/2.8 to f/5.6. This lets in more light.
Battery life drops in cold water. Check your battery level before each dive. Setup a camera routine that includes a fresh battery, similar to improving trail camera battery life for long outdoor sessions.
Light: The Real Secret to Underwater Color
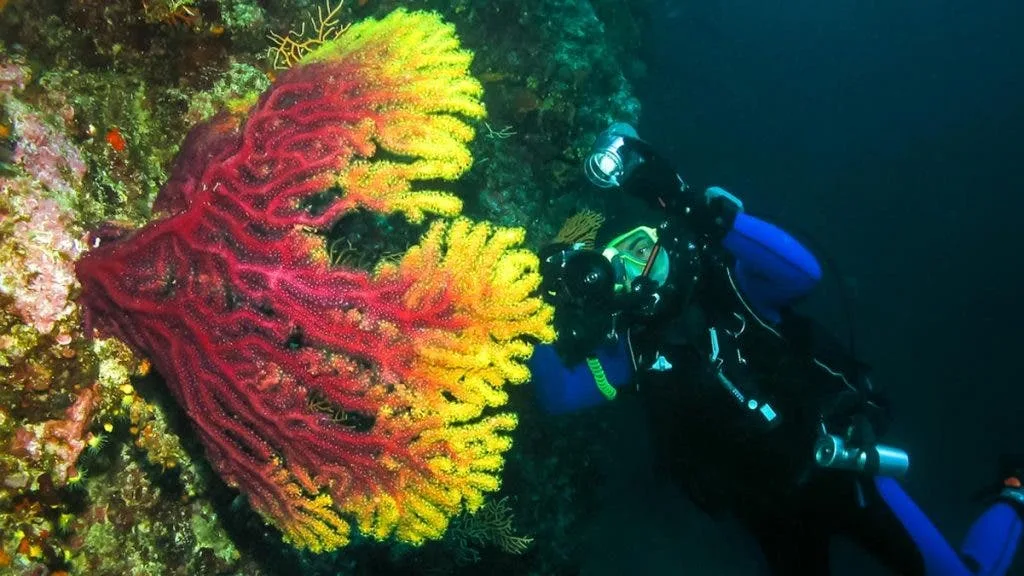
Image source: Web (Bing) / adorama.com (Web image (fair-use with source credit))
You can't fix color loss with camera settings alone. You need to add light back into the scene. That's where strobes and video lights come in.
A strobe is a flash unit for still photography. It fires a powerful burst of white light that restores reds, oranges, and yellows. Position the strobe at a 45-degree angle away from the lens. This reduces backscatter because the light doesn't hit particles directly in front of the camera.
A video light is a continuous LED light. It's good for video and focusing. But it's less powerful than a strobe. For stills, strobes are better.
For video, you need continuous light.
For most beginners, a single strobe is enough. You can start with one and add a second later for even coverage. The guide number (GN) tells you how powerful the strobe is. A GN of 20-30 is fine for compact cameras.
A GN of 30-40 is better for DSLRs.
If you don't have a strobe, use a red filter. It screws onto the lens or housing port. It blocks blue light and lets red through. This helps restore color balance.
It's a cheap fix. But it cuts down the light reaching the sensor. You'll need to increase ISO or use a wider aperture.
The easiest trick is to get close. Water between you and the subject scatters light. The closer you are, the less water there is. Your image will be clearer.
Aim for 1 to 3 feet from the subject. This is the single most effective technique.
The Pre-Dive to Post-Dive Workflow
The process of getting good underwater photos starts before you hit the water.
Before the dive. Check your O-rings. A single grain of sand can cause a leak. Clean them with a lint-free cloth.
Apply a thin layer of silicone grease. Test the housing by submerging it empty for 5 minutes. This is non-negotiable.
Set your white balance at the surface. If you're using a grey card, take a reference photo at the surface. Dive to your target depth and take another reference photo.
The color changes with depth. You might need to adjust.
During the dive. Descend slowly. Equalize your ears. Once at depth, stabilize your buoyancy.
You can't take sharp photos if you're bouncing.
Compose your shot. Get close. Use the rule of thirds for balanced composition.
Half-press the shutter to lock focus. Wait for the fish to stop moving. Then fire.
After the dive. Rinse everything in fresh water immediately. Saltwater is corrosive. Remove the battery and memory card.
Let the housing air dry completely before storing it. Proper gear maintenance extends the life of your equipment. It's similar to how you'd clean a trail camera after exposure to mud and moisture.
Post-processing. If you shot in RAW, adjust white balance in software. Use the eyedropper tool on a neutral grey area. This brings back correct colors.
Reduce blue and green channels. Increase red and orange.
5 Mistakes That Kill Your Shot (and How to Avoid Them)
Even with good settings, common errors can ruin your underwater photos.
Mistake 1: Shooting from too far away. Every foot of water adds haze and color loss. Get within arm's reach. If you can't touch it, you're too far.
Mistake 2: Using the camera's built-in flash. It creates harsh backscatter because it's right next to the lens. Use an external strobe or video light. Position it at a 45-degree angle.
Mistake 3: Ignoring buoyancy. If you're bouncing, your photos will be blurry. Practice neutral buoyancy before shooting. Controlled breathing helps you hold still.
Mistake 4: Not checking the O-ring seal. A grain of sand causes leaks. Inspect the O-ring every time you close the housing. Use approved silicone grease.
Mistake 5: Forgetting to change settings between depths. Color balance at 5 feet is different from 30 feet. Re-set your white balance at your target depth.
Frequently Asked Questions
Do I need a special camera for underwater photography?
No. A smartphone with a waterproof case works for casual snorkeling up to 30 feet. For deeper dives or better quality, a purpose-built compact camera or a housing for your existing camera gives more control.
What is the best setting for underwater photography?
Set a custom white balance first. Use the lowest ISO possible, 100 to 400. Use a shutter speed of at least 1/100 second.
For aperture, try f/8 for macro or f/2.8 for wide shots.
How do I fix blue and green photos after the fact?
Shoot in RAW format. Open the file in editing software. Use the white balance eyedropper on a neutral grey area.
Increase red and orange channels. Reduce blue and green channels slightly.
Can I use a GoPro for underwater photos?
Yes. GoPro cameras are depth-rated to 33 feet without a housing. Use the underwater color preset.
For stills, the camera works best in good light. For video, stick to 30 fps for smooth footage.
Why do my photos have white spots?
Those spots are backscatter from your flash. The light reflects off particles in the water. Move your strobe or light to a 45-degree angle away from the lens.
This reduces reflection. Getting closer to the subject also helps.
How do I keep my camera housing from fogging up?
Fogging happens when warm air inside the housing meets cold water. Insert a silica gel packet inside before you close it. You can also use an anti-fog insert.
Let the housing acclimate to the water temperature for a few minutes before shooting. This is similar to managing condensation in any sealed outdoor gear, like preventing trail camera condensation in humid conditions.

Similar Posts
































