How to Use an Underwater Camera for Fishing
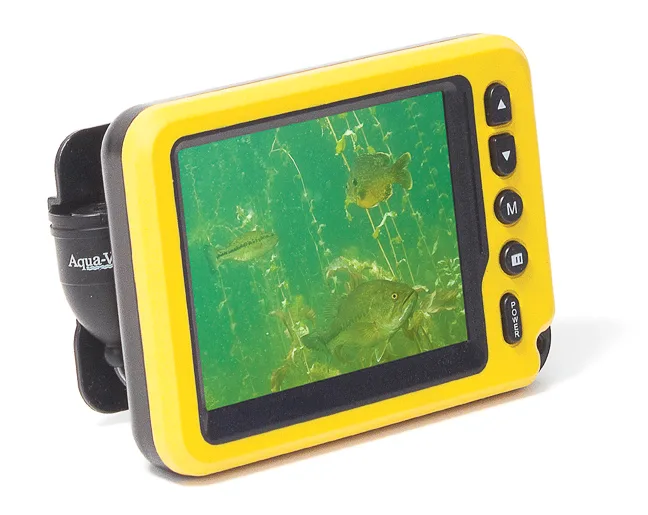
You've drilled your hole, dropped your bait, and played the waiting game. The fish are down there, but you're working blind. Learning how to use an underwater camera for fishing fixes that by turning guesswork into a live view of your bait, your bottom, and every fish that swims through.
Manufacturer specs show consumer underwater cameras carry depth ratings between 50 and 150 feet, with cable lengths from 20 to 150 feet. As of 2026, even budget-friendly units deliver clear real-time video. The real challenge is setup, placement, and reading what the screen tells you.
Image source: Web (Bing) / onthewater.com (Web image (fair-use with source credit))
Quick Answer: How an Underwater Camera Isn't a Fish Finder
Drop the camera beside your bait, not on top of it. Tilt it to frame both your hook and the water around it. Read bottom type, fish species, and reaction in real time.
An underwater camera shows you what's there. A fish finder only tells you something is below.
Sonar sends a sound pulse and reads the echo. You get depth, structure, and a blob that might be a fish. A camera gives you video.
You see the species, the size, and the direction it's swimming. You also see whether it noticed your bait.
Think of the two as companions. The fish finder tells you where to drill or cast. The camera shows you what's happening once you're there.
Most serious anglers run both. If you're just starting, a camera teaches you faster. One afternoon of watching fish react beats a season of guessing at sonar blips.
Reading the Screen: Clarity, Fish Behavior, and Bottom Type
The camera's view isn't what you'd see snorkeling. It's grainy, lit by infrared LEDs, and affected by suspended particles. That's normal.
You're reading shapes and movement, not a nature documentary.
Water clarity sets the rules. In clear lakes, you'll see 8 to 15 feet on a 1080p camera. In stained water, that range drops to 2 or 3 feet.
Seasonal runoff and algae blooms shift visibility dramatically. NOAA's water-quality data tracks those changes for coastal and inland waters.
Fish behavior tells you more than any spec sheet. An approaching fish that swims in and out of frame is curious. One that locks onto your bait and hovers is ready to strike.
If fish dart past repeatedly, they're likely spooked by the IR light or the cable. Change your angle, not your bait.
Bottom type matters too. Hard sand or gravel reflects light and reads clearly. Soft mud and silt cloud up the moment your bait touches down.
Weeds swaying in current can block the lens completely.
Before you trust the image on the water, spend ten minutes checking your gear at home. The same pre-trip checks that apply to trail cameras apply here. And when you're fishing dark water, the same principles that help reading night footage transfer directly to underwater IR.
The Setup Workflow: Ice Hole, Open Water, or Moving Current
Your camera setup changes with your fishing location. There's no single right way to drop it. But the workflow follows the same skeleton: position, angle, depth, and adjustment.
If you're ice fishing, drill a second hole offset from your jigging hole. About 12 to 24 inches to the side works well. This keeps your bait in view while your line stays vertical.
Drop the camera until your jig appears in the upper third of the screen. Check ice thickness first. Minnesota DNR recommends at least 4 inches of clear ice for a single person on foot.
If you're in open water on a boat, use a weighted mount and drop the camera off the bow or side. Anchor first, because drift will drag the camera behind the boat. Dock fishers can clip the camera to a pushpole and lower it vertically beside the piling.
If you're in moving current, a standard round camera will roll and spin. Weight the camera or use a finned underwater viewing system. Drop it upstream of your bait and let the current hold it steady.
| Condition | Camera placement | Common mistake |
|---|---|---|
| Ice fishing | Separate hole, 12-24 inches from bait hole | Dropping camera in the same hole as your line |
| Boat, calm water | Off the bow or side, anchored | Letting the boat drift while camera is down |
| River / current | Upstream of bait, weighted | Using an unweighted camera that spins with flow |
| Dock / pier | Vertical drop beside the piling | Camera facing empty water instead of structure |
Step-by-Step: Drop Angle, IR Lights, and Jigging Position
Once the camera is in the water, the next 60 seconds decide whether you see fish or a cloudy mess. Follow this order of operations.
Step 1: Lower slowly. Dropping the camera fast creates noise and bubbles that scatter nearby fish. Feed the cable hand-over-hand, pausing every few feet so the unit settles. Avoid coils of cable on the ice or deck, since they cause kinks.
Step 2: Angle for your bait. Tilt the camera slightly downward and toward your line. You want the jig visible near the bottom of the frame, with open water above. Pointing straight down only shows you the bottom.
Fish holding higher in the water column never appear.
Step 3: Match the IR intensity. Most consumer freshwater units carry 6 to 12 infrared LEDs. In clear water, use the lowest IR setting. High IR in clean water creates backscatter, which looks like milky fog.
In dark or stained water, switch to full IR for maximum range.
Step 4: Jig inside the frame. Keep your bait 6 to 12 inches in front of the lens. Fish enter from the edges. If they approach and turn away, slow your jigging pattern.
The instant a fish locks on, you'll see it. If the monitor flickers or won't stabilize, most issues trace back to simple connection problems; the same logic for fixing finicky cameras applies here.
For WiFi models that stream to a phone, the pairing process is similar to linking a scout cam to your phone. Keep the antenna above water when possible. Expect a half-second of video delay.
Mistakes That Spook Fish and Kill Battery Life
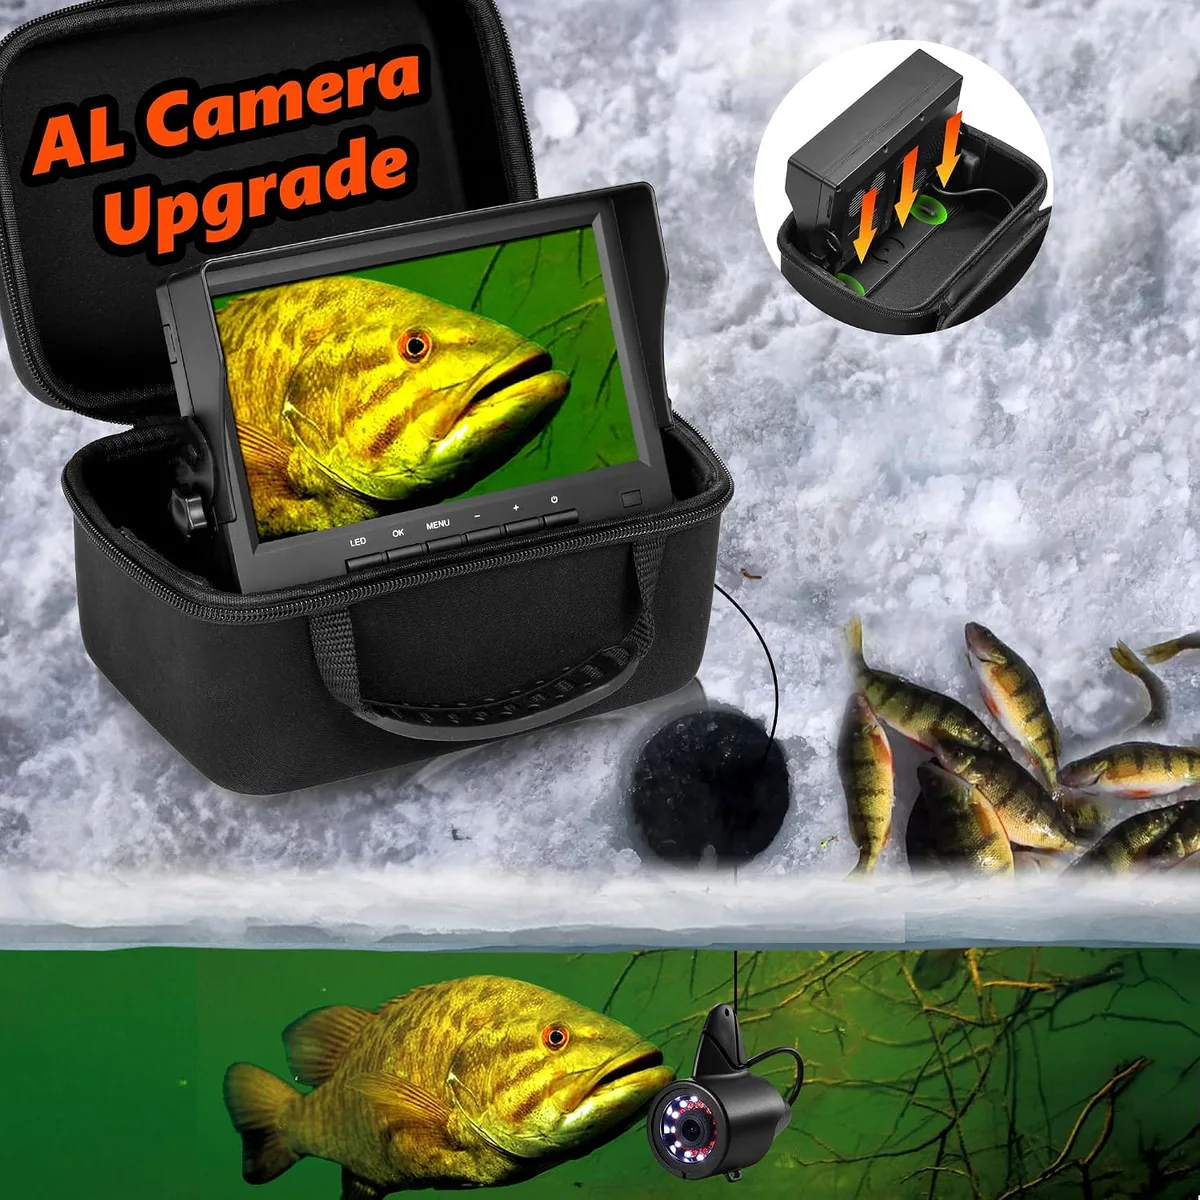
Image source: Bing (Web (fair-use with source credit))
The most common mistake is dropping the camera right on top of your bait. The splash, the cable, and the sudden moving object all scream danger. Verified buyer feedback and forum discussions blame this single error for most complaints about spooked fish.
Cable tangles are next. Dropping the cable in coils on the ice or boat deck causes kinks and spins. The camera twirls, the image wobbles, and you burn ten minutes untangling.
Feed the cable smoothly as you lower the unit.
Battery drain in cold weather is the third culprit. Sealed lead-acid units lose runtime quickly below freezing. Keep the monitor off during setup.
Carry a spare battery. The same battery care rules that extend trail camera life apply here: keep terminals clean, charge indoors, and never store batteries dead.
Lens fog happens to everyone. Warm air inside meets cold water and condenses on the lens housing. Let the camera dry fully before storage.
Check the O-ring seals. Keeping optics clear begins with a dry, sealed case.
Finally, ignoring IR settings ruins more footage than any other factor. Full IR in clear, shallow water washes out the image completely. Match the LED intensity to the water clarity.
Otherwise you're watching white static instead of fish.
Specs That Matter: Cable Length, Screen Size, and Battery Runtime
Three specifications determine whether your camera works for your fishing style or collects dust in the garage. Everything else is negotiable.
Cable length comes first. Our research across consumer models shows 50 feet covers most ice fishing and dock scenarios. Open water on deeper lakes needs 100 feet. Rivers and reservoirs over 50 feet deep require 150 feet.
Shorter cables cost less but limit your range. Longer cables weigh more and tangle faster.
Screen size affects what you actually see. A 4.3-inch monitor works for quick glances but strains your eyes over a full day. Seven-inch screens dominate the mid-range market for good reason. They show enough detail to read bottom composition and fish movement without being bulky.
Sun glare kills smaller screens faster. Invest in a monitor hood if you fish in bright conditions.
Battery runtime determines how long you stay on the water. Sealed lead-acid batteries provide 4 to 6 hours in moderate temperatures. Lithium packs push 8 to 12 hours. Cold weather cuts both by roughly 30 percent.
Carry a spare battery for full-day trips.
| Spec | Entry level | Mid range | Premium |
|---|---|---|---|
| Cable length | 20 to 50 feet | 50 to 100 feet | 100 to 150 feet |
| Screen size | 4.3 inches | 5 to 7 inches | 7 to 8 inches |
| Battery type | Sealed lead acid | Sealed lead acid | Lithium |
| Runtime | 4 to 6 hours | 6 to 8 hours | 8 to 12 hours |
| IR LEDs | 6 to 8 | 8 to 10 | 10 to 12 |
Resolution matters less than you think. Standard 720p is fine for most freshwater conditions. The jump to 1080p helps in clear water but won't fix murky visibility.
If you're setting up in remote areas, the principles behind keeping solar-powered equipment running extend battery life for your monitor too.
Frequently Asked Questions
How deep should I drop an underwater camera?
Drop the camera until your bait appears in the upper third of the screen. That's typically 12 to 18 inches below the ice or 6 to 12 inches above the bottom in open water. Adjust in small increments until you see both your hook and approaching fish.
Does an underwater camera spook fish?
Yes, if you drop it directly on top of them. The splash, cable movement, and IR lights can spook skittish species. Place the camera offset from your bait.
Lower it slowly. Use the lowest IR setting that still shows a clear image.
Can I use an underwater camera in murky water?
You can, but visibility drops to 2 to 3 feet. IR lights help in stained water but create backscatter in silt-heavy conditions. Some anglers switch to sonar in murky conditions.
The camera works best when water clarity exceeds 3 feet.
What is the difference between a wired and WiFi camera?
Wired cameras send video through a cable with zero lag and no signal drop. WiFi cameras stream to your phone but introduce 0.2 to 0.5 seconds of delay. The cable also keeps the camera stable.
WiFi models need a clear line of sight and drain batteries faster.
How do I keep the camera lens from fogging?
Dry the camera completely before storage. Check the O-ring seals for cracks or debris. Store the unit in a warm, dry place between trips.
Fogging happens when warm air inside the camera hits cold water. Let the camera equalize before you drop it.
What is the best battery for an underwater camera?
Lithium batteries outperform sealed lead-acid in cold weather and runtime. They cost more upfront but last longer per charge. Carry a spare battery and recharge after every trip.
Keeping battery terminals clean extends your fishing day.
The Final Decision Guide: Match the Camera to How You Fish
Your choice comes down to three conditions. Answer these questions and the camera picks itself.
If you fish on ice more than five times a season: Get a wired camera with a 50-foot cable and a 7-inch monitor. Lithium battery. Wired gives you zero lag, and the larger screen makes watching easier through the cold afternoon.
If you fish from a boat in open water: Get a wired camera with a 100-foot cable. Weighted mount. The extra cable lets you reach deeper structure.
The weighted mount keeps the camera stable while you drift.
If you fish in moving current: Get a finned or weighted camera with a 50-foot cable. Skip WiFi models. Current introduces enough variables without adding video lag.
Drop the camera upstream of your bait.
If you only fish occasionally and don't want extra gear: Get a castable WiFi camera. You'll trade some video quality for portability. The phone app handles the screen, so you skip the monitor entirely.
Battery life is shorter, but casual trips rarely need a full day.
If you need to record footage for later review: Look for a camera with onboard DVR or MicroSD recording. Not all models record. Check the specs before you buy.
Format the card in the camera, not in your computer, to avoid file errors.
Match the camera to your primary fishing style. No single unit handles every condition perfectly. A wired mid-range model with a 50-foot cable and 7-inch screen covers the widest range of scenarios for most anglers.

Similar Posts
































