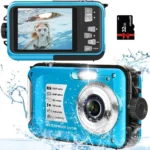
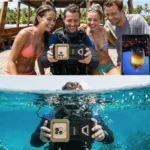
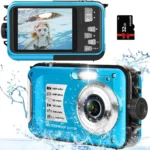
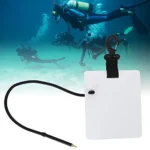
How to Use Action Camera While Snorkeling
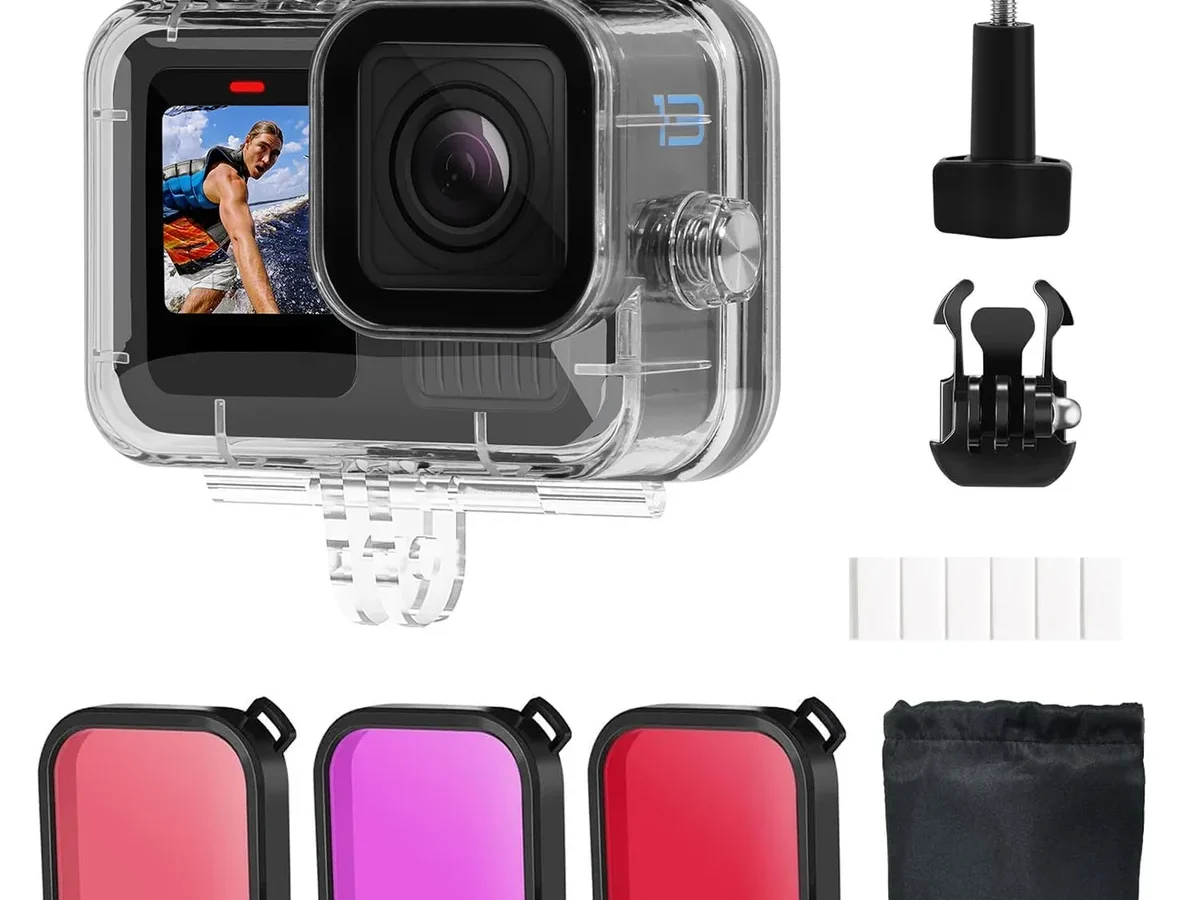
You've got the camera. You've got the snorkel. You're ready for incredible underwater footage.
But learning how to use action camera while snorkeling is about more than hitting record. It's about understanding how water, light, and movement change everything. Most people hit record and hope for the best.
That's why most snorkeling videos end up unwatchable.
As of 2026, manufacturer specifications indicate that most action cameras are waterproof to 10 meters without a housing. That's plenty for a typical snorkel session. But aggregate reviews report that footage quality depends far more on your prep and settings than on the camera body itself.
Let's walk through the steps that make the difference between a blurry mess and a clip you'll actually want to share.
Quick Answer
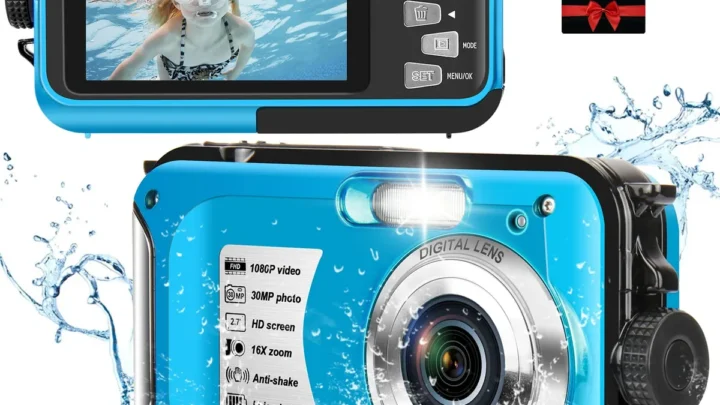
Check your camera's depth rating first. Set the white balance to underwater mode. Use a floaty handle or wrist strap.
Choose 4K at 60fps with stabilization on. Test the housing seal in shallow water before diving deeper.
Why Most Snorkeling Videos Look Awful
You've seen the problem. Footage that's too blue to see anything. Shots that wobble with every wave.
A lens that fogs up the second you hit the water. These issues aren't your camera's fault. They're setup problems.
The biggest culprit is white balance. Auto white balance struggles underwater because water absorbs red and orange light first. At just 3 meters deep, you've already lost most of the warm spectrum.
That's why everything looks like a blue filter is stuck on your lens. Fixing this means switching to an underwater preset or adjusting the color temperature manually.
Next comes stabilization. Without it, your natural hand movements and wave action create footage that's hard to watch. Most action cameras as of 2026 include excellent electronic stabilization.
But some modes disable it. Check that it's active before you start recording.
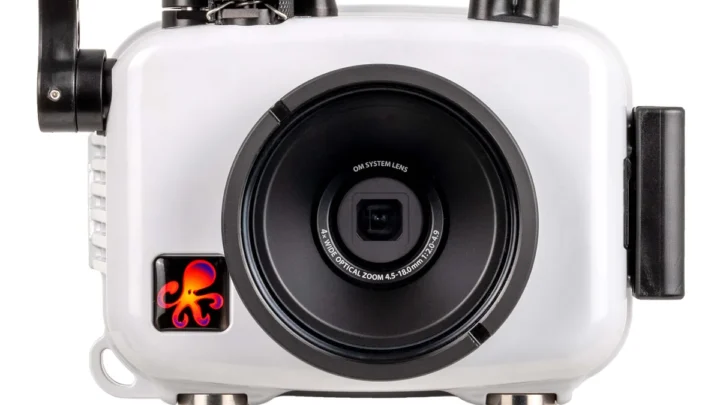
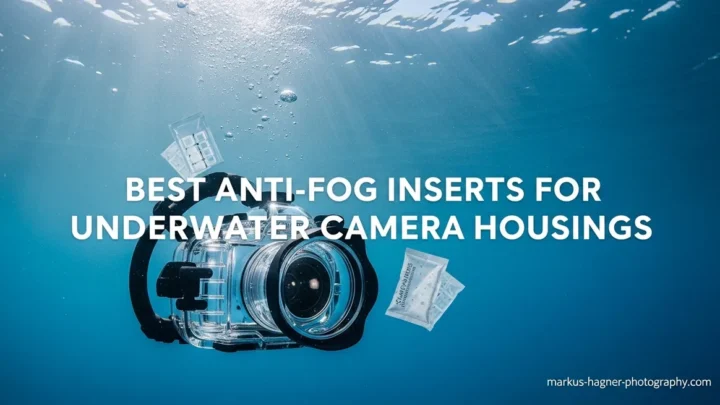
Fogging is another common frustration. When you seal a warm camera inside a cool housing, condensation forms on the glass. The fix is simple: anti-fog inserts or silica gel pads inside the housing.
Skip this step and you'll get hazy footage that nothing can fix in editing.
These problems are predictable. And they're all fixable.
Gear Check: What You Actually Need and What You Can Leave on the Boat
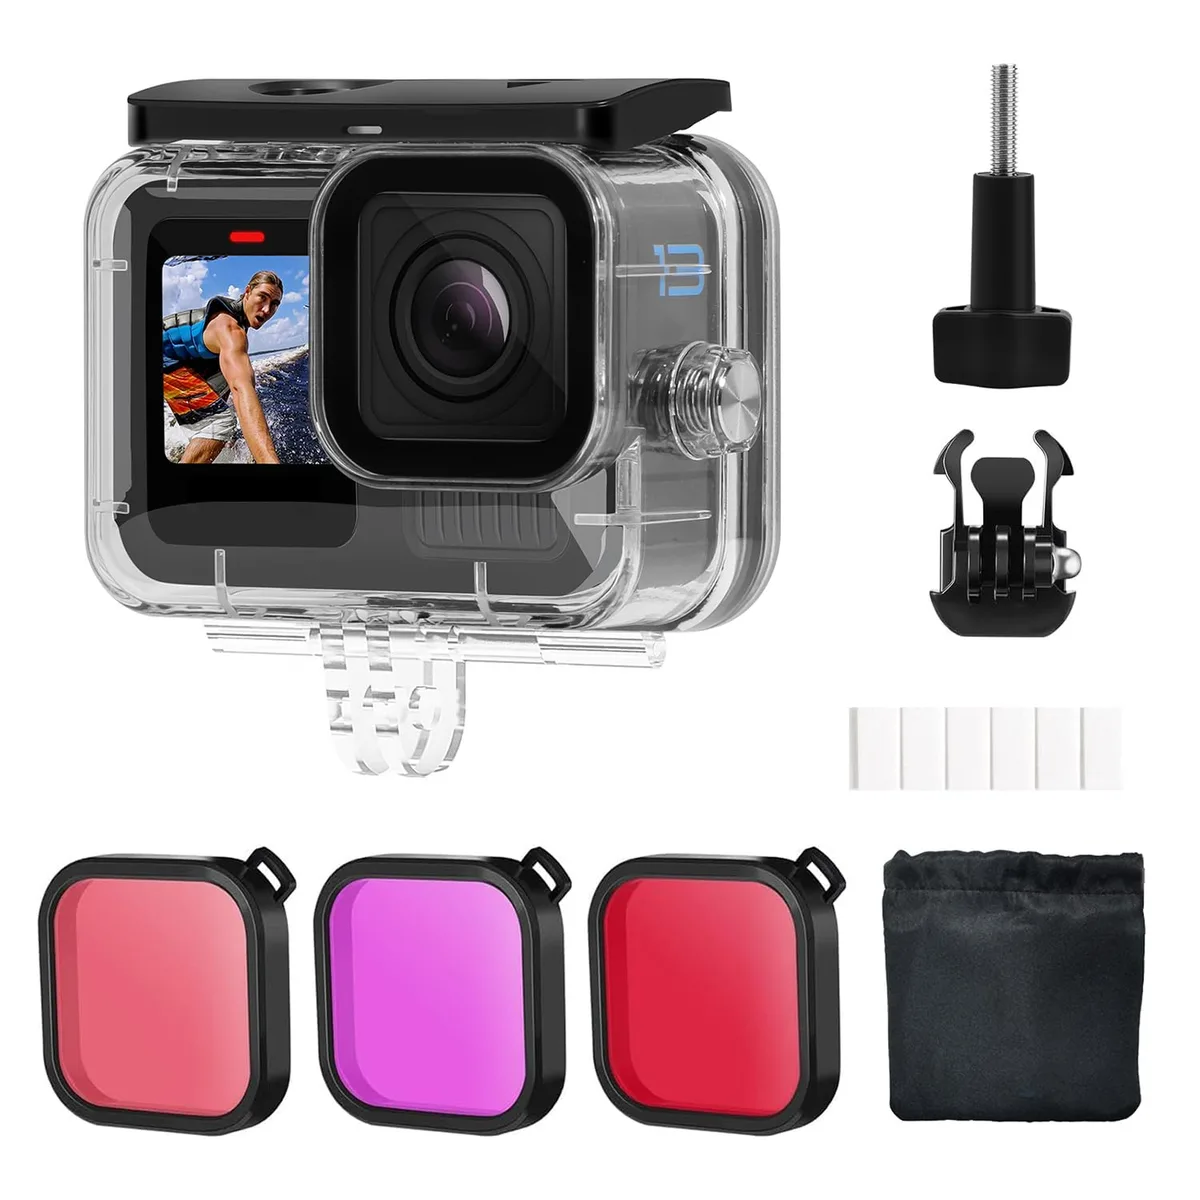
Image source: Web (Bing) / kountrykidslearningcenter.com (Web image (fair-use with source credit))
You don't need much. But you do need the right things. Here's the breakdown based on what kind of snorkeling you're doing.
For shallow reef snorkeling in clear water, these are the essentials:
| Gear | Why You Need It |
|---|---|
| Action camera with waterproof rating | Check depth rating matches your planned depth |
| Floaty handle or grip | Prevents camera from sinking if dropped |
| Wrist tether or lanyard | Backup safety for the floaty |
| Anti-fog inserts | Stops condensation inside the housing |
| Spare battery | Cold water drains batteries faster |
| MicroSD card (U3/V30 or faster) | Handles 4K write speeds without dropping frames |
The floaty handle is non-negotiable. If you drop a bare action camera in 15 meters of water, it's gone. A floating grip keeps it on the surface.
Pair it with a wrist tether so the camera floats nearby instead of drifting away.
For deeper dives or murky water, add a red filter. It restores warm colors that water absorbs past 5 meters. For night snorkeling or low light, a small video light helps.
What you can leave behind: the selfie stick (it creates extra drag and wobble), a phone in a waterproof pouch (action cameras do this better), and the bulky hard case (use a small dry bag instead).
Test your setup before you leave the boat or shore. Dunk the sealed camera in shallow water for 30 seconds. Check for bubbles.
If you see any, open the housing, check the O-ring, and try again. Proper storage habits between trips also keep the seals in good shape.
Step-by-Step: Settings That Change Based on Where You're Snorkeling
Your camera settings should change based on water conditions. There's no single best setting for every snorkel. Here's how to decide.
| Condition | Resolution | FPS | White Balance | FOV | Stabilization |
|---|---|---|---|---|---|
| Sunny, shallow (0-3m) | 4K | 60 | Underwater preset | Wide | On |
| Overcast, mid-depth (3-8m) | 4K | 30 | Manual 5500K+ | Medium | On |
| Murky water | 2.7K | 60 | Manual warm (6000K+) | Narrow | On |
| Fast-moving subjects | 4K | 60 | Underwater or auto | Wide | On |
Sunny and shallow (0 to 3 meters). This is the easiest scenario. Set white balance to the underwater preset. Use 4K at 60fps for smooth footage you can slow down later.
Wide field of view captures the reef and fish. Keep stabilization on.
Overcast or deeper (3 to 8 meters). Less light means you need to adjust. Drop to 4K at 30fps. This lets in more light per frame.
Use manual white balance set warmer than auto. Medium FOV reduces the washed-out look at distance. If your camera supports it, use manual exposure controls to fine-tune brightness.
Murky water. This is the hardest condition. Switch to narrow FOV so you capture only what's close. Use 2.7K at 60fps to reduce noise.
Set white balance very warm to cut through the green or brown tint.
Fast-moving subjects. If you're following turtles or dolphins, prioritize frame rate. Use 4K at 60fps or even 1080p at 120fps. This gives you smooth slow motion in editing.
For all conditions, turn on stabilization. Check that it's active before you seal the housing. Some modes like high frame rates or certain resolutions may disable it.
Also check your autofocus behavior underwater. Some cameras hunt for focus in low contrast water.
In the Water: How to Shoot Without Dropping Your Camera
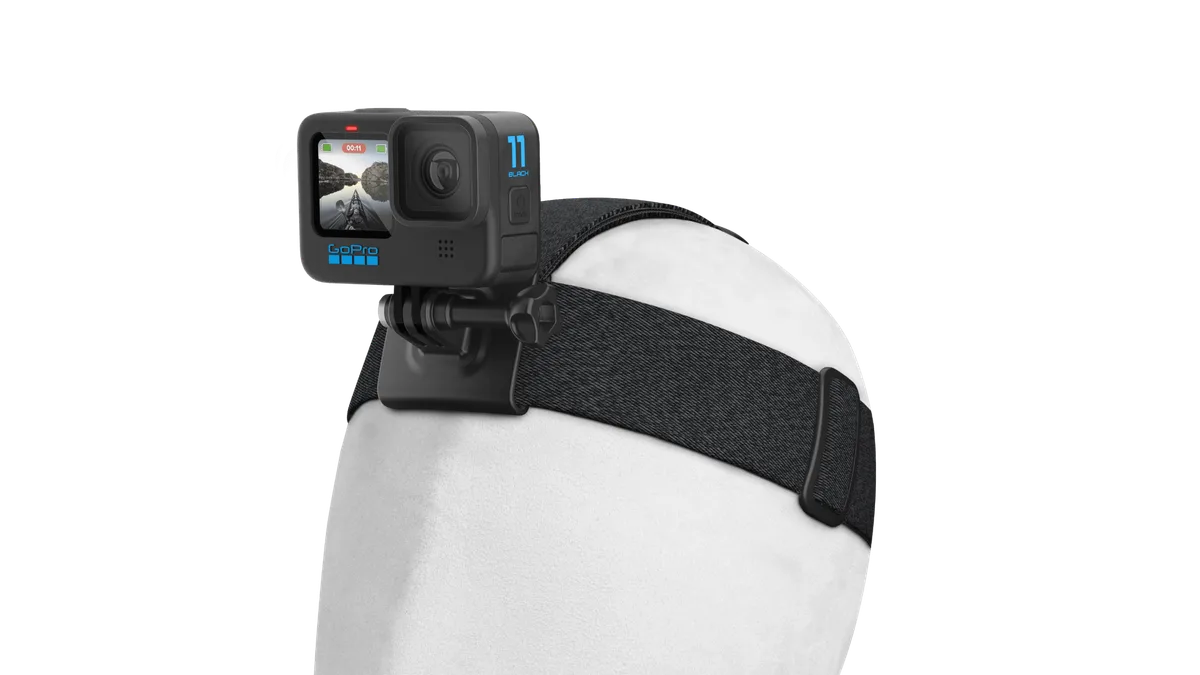
Image source: Web (Bing) / gopro.com (Web image (fair-use with source credit))
The biggest mistake is death-gripping the camera. You tense up, you shake, and the footage looks like a nature documentary during an earthquake. Relax your grip.
Let your body float naturally.
Hold it like an egg. A firm but gentle grip. Your arm should be relaxed, not locked straight. Move your whole body, not just your wrist, to follow a fish or coral formation.
Breathe and pause. Before you start recording, take a breath and hold still for 2 seconds. This gives you a stable starting point. Move slowly.
Sudden motions create shaky footage.
Keep the camera close to the subject. Water reduces clarity. Stay within 1 to 2 meters of what you're filming. Any further and the footage looks hazy.
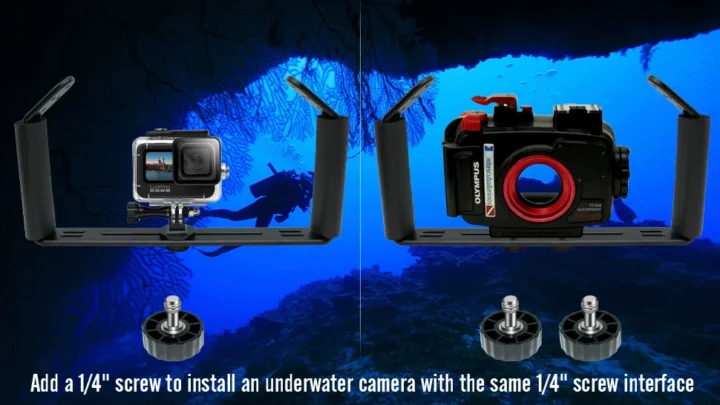
Use a head mount for hands-free shooting. This gives a true POV perspective. It's great for swimming through reefs or following marine life. Make sure the mount is tight enough that it doesn't slip.
Check your framing. Look at the camera screen or use the app on your phone to confirm what's in frame. It's easy to point the camera too high or too low.
The head mount is the most popular option for snorkeling. It keeps your hands free for swimming. But you can't control the framing once you're in the water.
What you look at is what the camera sees. Make sure you're looking at the reef, not the surface.
The wrist tether is your backup. Even with a floaty handle, the tether gives you peace of mind. If you drop the camera, it stays attached to your wrist.
You don't have to chase it.
For the actual recording, use the voice control feature if your camera has it. Say "start recording" before you go underwater. This saves you from fumbling with buttons while wearing fins and a mask.
One more thing. Keep your movements slow and deliberate. Fast turns create shaky footage.
Let the current carry you. Drift snorkeling, where you float with the current, gives you smooth, gliding footage without any effort.
5 Mistakes That Will Ruin Your Footage (and How to Fix Them)
These mistakes show up in almost every bad snorkeling video. Avoid them and your footage will look like a different world.
1. Forgetting anti-fog inserts. This is the number one killer of underwater footage. The camera warms up in the sun or from recording.
The housing stays cool. Condensation forms on the inside of the lens. The fix is cheap and easy.
Open the housing, pop in one or two anti-fog inserts, and seal it back up. Silica gel pads work too. Just make sure they're dry before you use them.
2. Using auto white balance. Auto white balance is designed for land. Underwater, it creates a blue or green cast that gets worse the deeper you go.
Switch to the underwater preset. If your camera doesn't have one, manually set the white balance to around 5500K for shallow water and 6000K or warmer for deeper dives.
3. Holding the camera too far from the subject. Water scatters light. The further you are from the fish or coral, the hazier and less colorful the footage looks.
Stay within 1 to 2 meters. If you can't get that close, zoom in later during editing using the 4K resolution. Crop in post and you'll still have a usable 1080p clip.
4. Not using a tether or floaty. This mistake costs people their cameras every single day. A fish bumps you.
A wave hits. You drop the camera. Without a floaty, it sinks.
Without a tether, it drifts away. The wrist tether costs less than $10. The floaty handle is under $20.
Skip them and you risk losing your entire camera.
5. Recording nonstop. You don't need 45 minutes of footage. You need 3 to 5 great clips.
Recording constantly drains the battery and fills the memory card. It also means you have to sift through hours of boring footage later. Record in short bursts. 30 seconds to 2 minutes per clip.
Pause between shots. This saves battery, storage, and editing time.
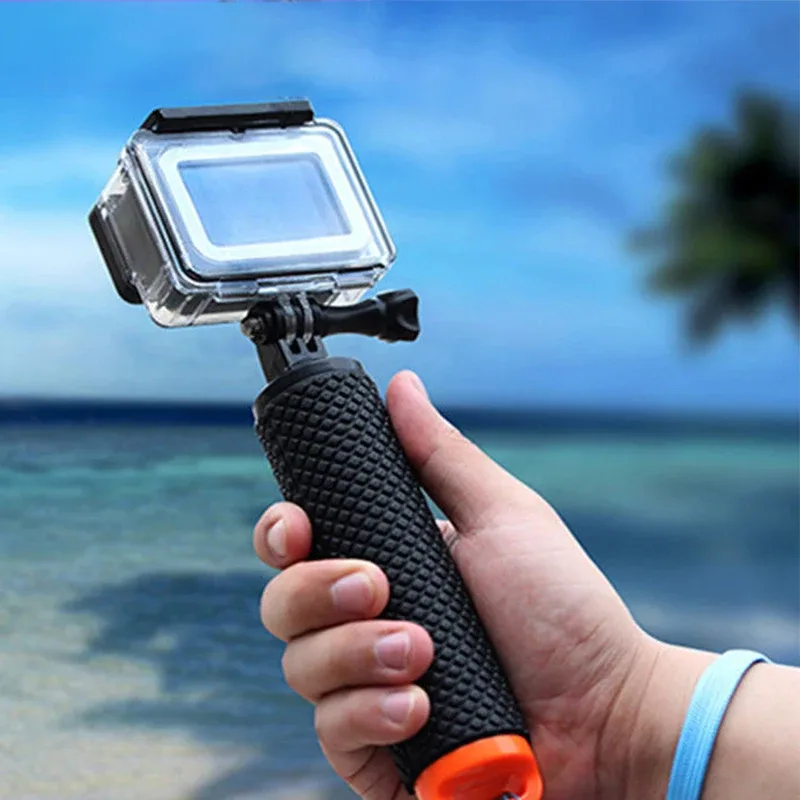
Image source: Web (Bing) / aliexpress.com (Web image (fair-use with source credit))
Post-Snorkel Care: Keeping Your Camera Alive After Saltwater
Saltwater is aggressive. It corrodes metal, degrades rubber seals, and leaves a mineral film on glass. Your camera needs a rinse within an hour of leaving the water.
The rinse routine. Fill a bucket or sink with fresh water. Submerge the sealed camera and housing. Swish it around for 30 seconds.
Don't open the housing yet. Let the fresh water wash away salt crystals from the seams, buttons, and latch. Then dry the outside with a soft cloth.
Dry before opening. Let the housing sit in the shade for 10 to 15 minutes. This lets the temperature equalize. If you open it while it's still cool from the water, warm air rushes in and creates condensation.
Once it's dry and room temperature, open the housing carefully.
Remove battery and memory card. Take both out. Rinse the interior of the housing with fresh water. Dry it completely with a lint-free cloth.
Leave the housing open to air dry for a few hours. This prevents mold and mildew.
Check the O-ring. The rubber seal is the most important part of the housing. Inspect it for cracks, sand, or hair. Wipe it clean with a damp cloth.
Apply a thin layer of silicone grease if the manufacturer recommends it.
Store the camera with the housing open. Don't seal it up while it's still damp. Leave the latches open. Store it in a cool, dry place away from direct sunlight.
This extends the life of the seals and prevents corrosion.
Replace the O-ring annually. Even if it looks fine, rubber degrades over time. Saltwater exposure accelerates this. A new O-ring costs a few dollars.
A flooded camera costs hundreds.
For the memory card, format it after transferring the footage. This clears any fragmented files and keeps the card running at full speed.
Editing Your Snorkeling Footage for Maximum Impact
The work doesn't end when you leave the water. Raw snorkeling footage needs color correction to look like what you actually saw. The good news is that you don't need expensive software.
Fix the blue cast first. Most editing apps have a color correction tool. Drag the blue slider down slightly. Push the red and orange sliders up.
This restores the warm tones that water absorbed.
Crop and stabilize. Use the 4K resolution to crop in without losing quality. This lets you reframe shots and remove empty water. Most editing software also has a stabilization feature.
Apply it lightly to smooth out small wobbles without creating a floaty "jello" effect.
Speed ramping for drama. Slow down the best moments. A turtle swimming past looks much better at 50% speed. Speed up the boring parts.
Long swims between reefs can play at 2x or 4x speed.
Cut ruthlessly. Keep each clip under 15 seconds. A 2-minute video with 8 short clips feels dynamic. A 2-minute video with one long clip feels boring.
Use the camera's app for quick wireless sharing to your phone.
Choosing the Right Mount for Your Snorkeling Style
The mount you choose changes the entire feel of your footage. Each option has clear tradeoffs.
| Mount Type | Best For | Downsides |
|---|---|---|
| Head mount | True POV, hands-free swimming | Can't see framing, may slip |
| Chest mount | Lower angle, stable shots | Covers your chest, can chafe |
| Wrist mount | Quick grab shots | Limited framing, arm gets tired |
| Mouth mount | Super stable POV | Uncomfortable for long sessions |
| Handheld grip | Full control over framing | Occupies one hand |
Head mount is the most popular choice for snorkeling. It gives a natural point of view. The camera follows your gaze. The downside is that you can't see what the camera sees.
Test it in shallow water first.
Chest mount gives a lower angle. This perspective makes fish look bigger and the reef more dramatic. It's also very stable since your chest moves less than your head. The downside is that your breathing creates subtle up and down motion.
Handheld grip gives you the most control. You can pan, tilt, and zoom by moving closer. This is the best option for beginners. The floaty grip keeps the camera safe.
The tradeoff is that you need one hand free at all times.
For casual snorkelers, start with the handheld grip. It's the most forgiving. For experienced swimmers who want immersive footage, the head mount is the better choice.
Frequently Asked Questions
Do I need a special housing for my action camera?
Check your camera's depth rating first. Most modern action cameras are waterproof to 10 meters without a housing. That's enough for recreational snorkeling.
If you're going deeper or your camera isn't rated for that depth, buy a dedicated underwater housing.
What frame rate should I use for snorkeling video?
Use 4K at 60fps for most conditions. This gives you smooth playback and the option to slow down footage to 30fps in editing. If you're in low light, drop to 30fps to let in more light per frame.
How do I stop my camera from fogging up?
Use anti-fog inserts or silica gel pads inside the housing. Let the camera cool down before sealing it. Avoid opening the housing in humid air.
If you see fog forming, stop, dry the housing, and try again with fresh inserts.
Can I use a red filter for snorkeling?
Yes, but only if you're going deeper than 5 meters. In shallow water, a red filter makes everything look too pink. Use it at 5 to 10 meters for natural color.
Leave it off for reef snorkeling in less than 3 meters of water.
How do I clean the camera after snorkeling?
Rinse the sealed housing in fresh water within an hour. Dry it, then open it. Remove the battery and memory card.
Rinse the housing interior. Dry everything completely before storing. Apply silicone grease to the O-ring if needed.
What's the best mount for snorkeling?
The head mount is the most popular option. It keeps your hands free and gives a true POV perspective. The chest mount is a good alternative for a lower angle.
The wrist mount works well for quick shots but limits your framing options.

Similar Posts