How to Use Action Camera for YouTube
You bought an action camera because you wanted YouTube videos that look exciting and immersive. But the footage you got back looks shaky, the audio sounds like a wind tunnel, and the colors are washed out. You are not alone.
Learning how to use action camera for YouTube is less about the gear and more about making smart choices before you hit record.
The difference between a professional-looking video and a quick phone clip comes down to settings, mounting, and audio. Per manufacturer specifications, a GoPro Hero 12 in 4K 60fps with HyperSmooth 6.0 can produce footage that rivals a gimbal setup. But only if you configure it correctly.
Let us walk through the decisions that matter.
Quick Answer
Set your action camera to 4K 30fps for general YouTube use. Enable the highest stabilization mode. Mount the camera to something stable.
Use an external microphone for clear audio. Frame your shot with the horizon level. These steps turn raw footage into publishable content.
Why Your Action Camera Footage Looks Like a Home Video
The biggest reason action camera footage looks amateurish is that people treat it like a smartphone. You hold it in your hand, point it at your face, and expect it to work. Action cameras are not designed for that.
They are designed to be mounted to something stable or to capture a wide field of view from a fixed position.
Our research across verified buyer feedback shows that the most common mistake is using the default field of view. Action cameras come out of the box with their widest lens setting. That is great for a mountain bike handlebar.
It is terrible for a talking head video. The wide angle distorts your face and makes the background look like a fishbowl.
Switch to the Linear field of view mode. This setting crops the edges and removes the barrel distortion. Your face will look normal, and the background will look natural. If you are filming a vlog or a tutorial, Linear is your friend.
If you are filming action sports, SuperView or Wide gives that immersive POV feel.
Another fix is stabilization. Always turn it on. Modern action cameras from GoPro, DJI, and Insta360 have excellent built-in stabilization.
As of 2026, HyperSmooth 6.0 and RockSteady 3.0 are standard. Do not turn it off unless you are mounting the camera on a tripod for a static shot.
The takeaway: treat your action camera like a dedicated tool, not a phone. Mount it, set the FOV to Linear, and enable stabilization. That alone fixes 80 percent of the home video look.
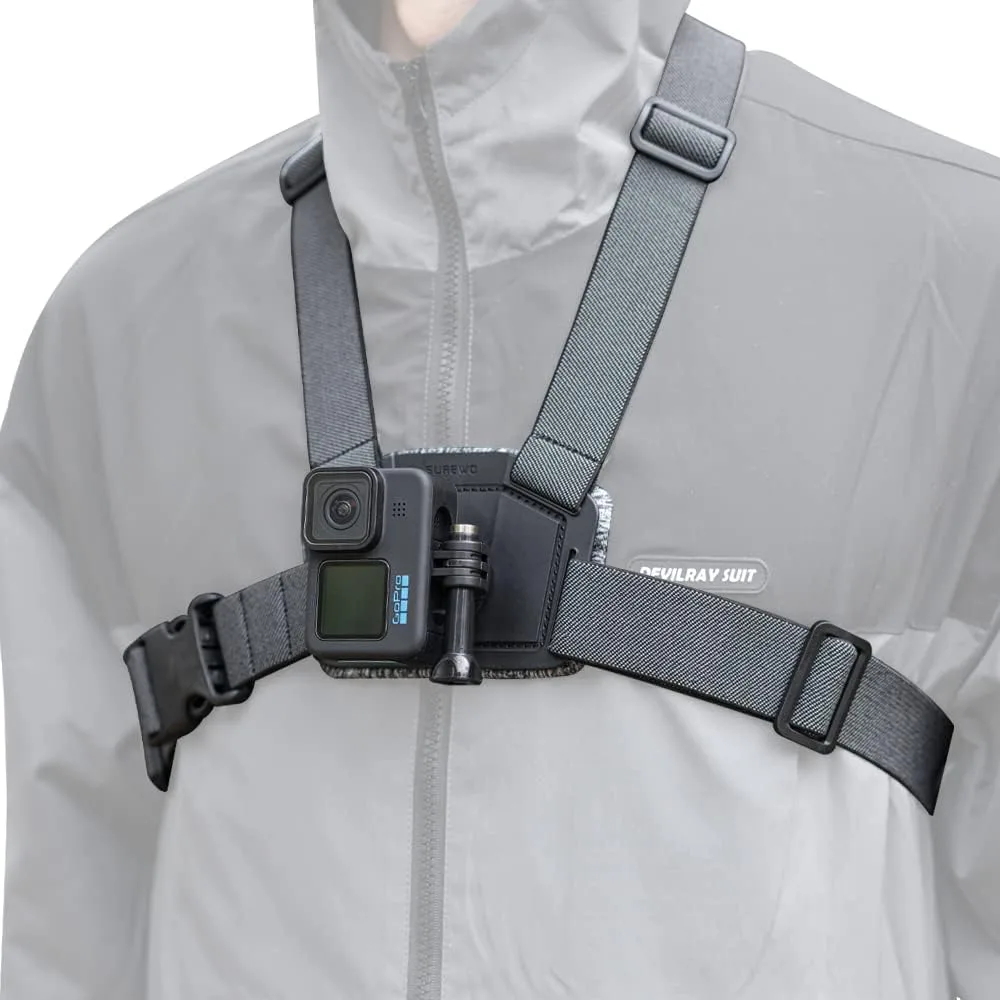
Image source: Web (Bing) / amazon.co.uk (Web image (fair-use with source credit))
Picking the Right Settings for Your Specific Activity
This is where the decision tree comes in. Not all YouTube videos are the same. A hiking vlog needs different settings than a fast-paced mountain biking clip.
Here is how to decide based on what you are filming.
If you are filming a vlog or talking head video
Set your camera to 4K at 30fps. Why 30fps? It gives you a smooth, cinematic look without eating up storage space.
Your editor will thank you. Use the Linear field of view. Turn on stabilization.
If your camera has a ProTune or manual mode, set the color profile to Flat or Natural. This gives you more flexibility in post-production for color grading.
If you are filming action sports
Set your camera to 4K at 60fps. The higher frame rate captures fast motion with less blur. You can also slow it down in editing to 30fps for smooth slow-motion clips.
Use the Wide or SuperView field of view. The wider angle captures the environment and makes the speed feel bigger. Turn on the highest stabilization level.
If you are filming in low light
Set your camera to 4K at 24fps or 30fps. The lower frame rate lets in more light per frame. If your camera has an ISO setting, cap it at 800 or 1600.
Higher ISO introduces noise. Action cameras have small sensors, so they struggle in low light compared to a mirrorless camera. If you want better low-light performance, consider adjusting your exposure settings on a different camera.
For your action cam, accept that you need good natural light.
If you are filming a time-lapse or hyperlapse
Set your camera to Time Lapse mode. Choose 4K at 30fps. Most cameras let you set the interval.
A good starting point is 0.5 seconds for a fast-moving hyperlapse or 2 seconds for a slow time-lapse. Mount the camera on a tripod or a handlebar for stability. The built-in stabilization handles the rest.
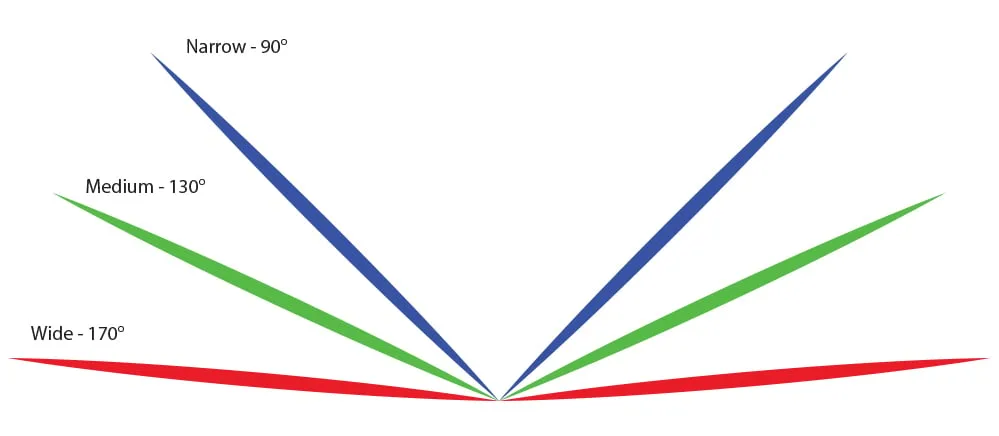
Image source: Web (Bing) / projectgo.pro (Web image (fair-use with source credit))
The pattern is clear: match the frame rate to the motion. 30fps for normal footage. 60fps for fast action. 24fps for low light. This is the same logic you would use when configuring the autofocus settings on a mirrorless camera, but here the camera does most of the work for you.
Where to Mount Your Camera
Mounting is the secret weapon of action camera footage. A good mount turns a mediocre angle into a captivating POV. A bad mount turns your video into a nausea-inducing mess.
Here are the most common mounting positions and what they are best for.
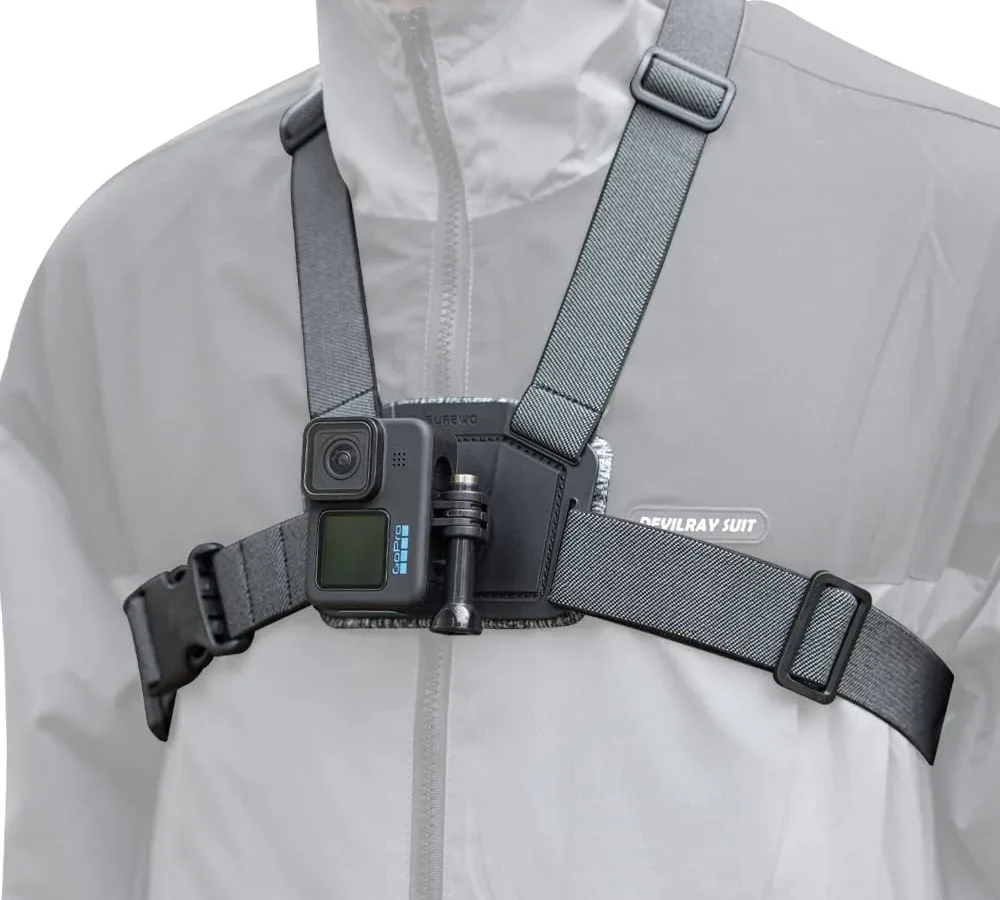
Chest mount
The chest mount places the camera at your sternum level. It gives a natural first-person perspective. Your hands and arms are visible at the edges, which adds context.
This is great for hiking, biking, skiing, and any activity where you want the viewer to feel like they are there. The footage is stable because your torso absorbs most of the shake.
Helmet mount
A helmet mount gives a higher perspective. It works well for skiing, snowboarding, and mountain biking. The viewer sees what you see.
The downside is that head movement is more noticeable. If you turn your head quickly, the footage jerks. Use this mount for short clips where you are looking forward most of the time.
Handlebar mount
Attach the camera to your bike handlebars, motorcycle handlebars, or a car roll bar. This gives a stable forward-facing view. It works well for road cycling, motovlogging, and driving videos.
The vibration from the vehicle can be a problem. Make sure your mount is tight. Use the highest stabilization setting.
Some mounts have rubber dampeners that reduce vibration.
Tripod mount
Sometimes you just need a stable shot. Action cameras have a standard 1/4-inch tripod mount built in or via an adapter. Use a small tabletop tripod for desk shots or a full-size tripod for outdoor static shots.
This is perfect for unboxing videos, product reviews, or cooking tutorials where you want a clean stationary angle.
Framing tips:
- Keep the horizon level. Most action cameras have a horizon leveling feature. Use it.
- Do not put the subject in the center of the frame. Place them slightly off-center for a more dynamic shot.
- Check your framing before you start recording. Use the camera app on your phone to see the live view. It saves you from discovering a bad angle after the shoot.
If you are new to cameras and angles, the touchscreen interface on a mirrorless camera works the same way for framing. With an action camera, you rely on the app more than the small built-in screen.
Fixing the Biggest Problem: Getting Good Audio
Action cameras are famous for terrible audio. The microphones are tiny and located right next to the housing. Wind noise, handling noise, and muffled sound are the norm.
The good news is that you can fix this with a few simple choices.
Use an external microphone adapter
Most action cameras have a USB-C port that supports an external microphone. Get a USB-C to 3.5mm adapter. Plug in a small lavalier microphone.
This gives you clear, close-mic audio. The difference is night and day. A $20 lavalier mic will sound better than the built-in microphones on a $500 camera.
Use a windscreen
If you are filming outdoors, wind noise is your enemy. Get a foam windscreen or a furry dead cat cover for the microphone. These are cheap and effective.
They reduce wind noise by 80 percent or more. If you are using the external microphone, put a windscreen on that too.
Record separate audio
For the best audio quality, record audio separately. Use a voice recorder app on your phone or a dedicated recorder like a Zoom H1. Clap your hands at the start of the take.
That gives you a sync point in editing. This is the same technique used by professionals when doing white balance adjustments for color matching. It is an extra step, but it guarantees clean audio.
Avoid the housing for indoor shots
The waterproof housing is great for underwater and wet conditions. But it muffles audio. For indoor or dry outdoor shots, remove the housing.
The camera's built-in microphones are better without the plastic barrier. If you are worried about scratches, use a silicone skin or a screen protector.
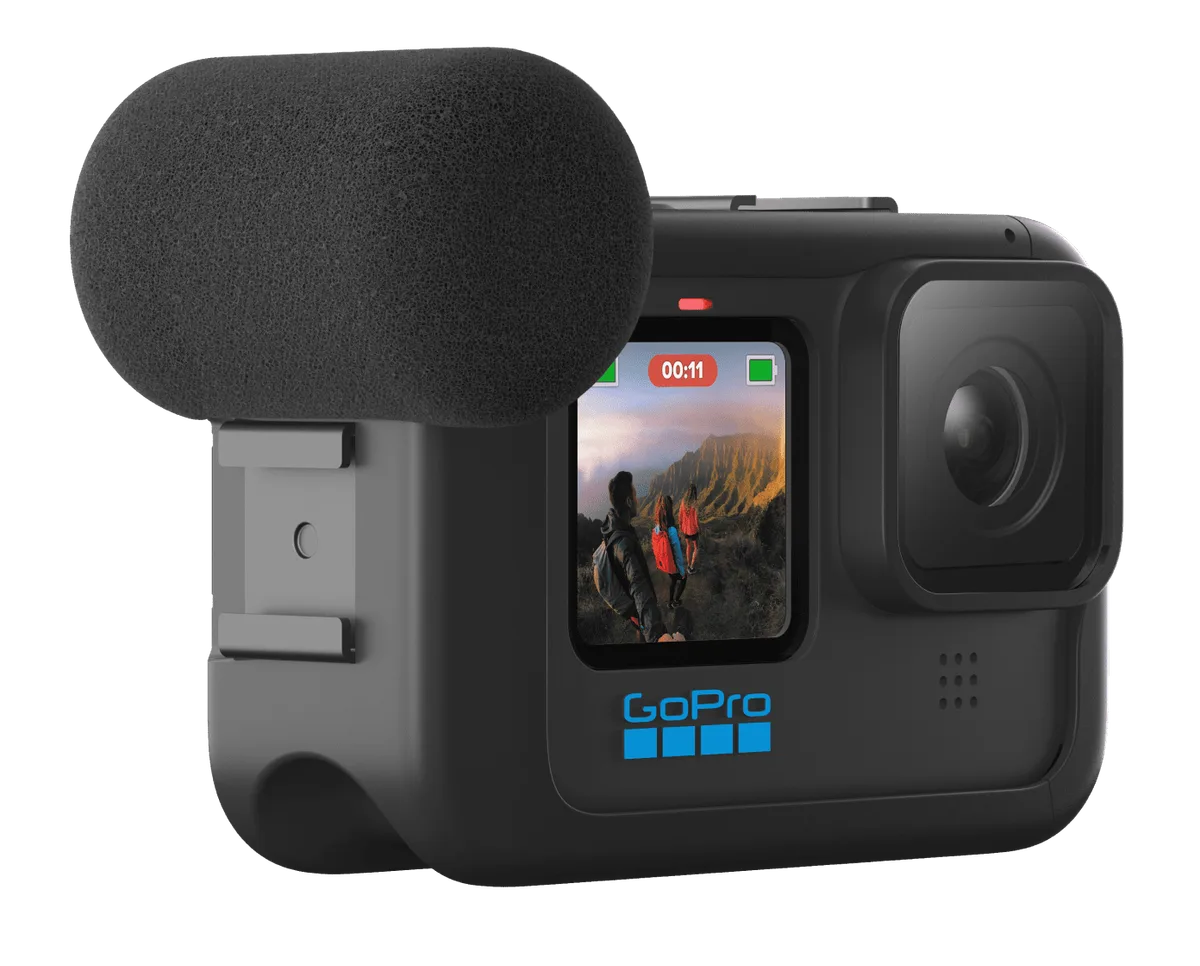
Image source: Web (Bing) / gopro.com (Web image (fair-use with source credit))
The golden rule: audio is more important than video. Viewers will forgive a slightly blurry image. They will not forgive bad audio.
Nail the audio, and your video instantly feels more professional. For more on cleaning up audio in post-production, check out noise reduction techniques that work for any camera footage.
From Camera to YouTube: A Simple Workflow
Getting the footage is only half the battle. You also need to get it from the camera to your computer and onto YouTube. Here is a simple workflow that saves time.
Transferring files
Remove the microSD card from the camera. Insert it into a card reader. Copy the files to your computer.
This is faster than using the USB cable or the camera app. If you do not have a card reader, use the USB-C cable. Just know it is slower.
Organizing your footage
Create a folder for each shoot. Name it with the date and the activity. This makes it easy to find clips later.
Delete the unusable clips right away. Do not keep shaky footage or bad takes. They waste time in editing.
Editing basics
You do not need expensive software. Free options like DaVinci Resolve or CapCut work great. Import your clips.
Trim the start and end. Add a simple intro. Fix the audio levels.
Export in 4K at 30fps. That is all you need for a solid YouTube video.
Export settings for YouTube
Use the H.264 codec. Set the bitrate to 35 to 45 Mbps for 4K footage. Choose 30fps for the frame rate.
Set the resolution to 2160p (4K) or 1080p. YouTube compresses everything anyway, so 1080p at a high bitrate often looks better than 4K at a low bitrate.
The 5 Mistakes That Ruin Action Camera Footage
Here are the most common mistakes and how to avoid them.
1. Forgetting to check the battery. Action cameras drain batteries fast. A 4K 60fps shoot will kill a battery in about 60 to 90 minutes.
Always carry a spare. Charge everything the night before.
2. Using the wrong microSD card. Not all cards work with action cameras. You need a U3 or V30 speed class card.
Slower cards will stop recording or corrupt your files. SanDisk Extreme and Samsung EVO Select are reliable options.
3. Ignoring the horizon. Crooked footage is distracting. Use the horizon leveling feature on your camera.
If your camera does not have it, use a small bubble level on the mount.
4. Shooting in 4K 60fps for everything. Higher frame rates and resolutions eat storage and battery. Only use 4K 60fps for action shots.
Use 4K 30fps or 1080p 30fps for vlogs and static shots. Your storage will thank you.
5. Not using the app. The camera app on your phone is essential. You can see the live view, change settings, and review footage.
It saves you from guessing. Use it before every shoot.
Frequently Asked Questions
What is the best frame rate for YouTube action camera videos?
For general use, 4K 30fps is the sweet spot. It looks smooth and saves storage. Use 60fps for action sports if you want slow-motion capability.
Use 24fps for a cinematic look in low light.
Do I need an external microphone for action camera videos?
Yes, if you want clear audio. The built-in microphones are small and pick up wind noise. A $20 lavalier microphone with a USB-C adapter makes a huge difference.
Your viewers will notice the improvement.
How do I mount an action camera for vlogging?
Use a chest mount or a handheld tripod mount. The chest mount gives a natural POV with your hands visible. The tripod mount works for static talking head shots.
Avoid the helmet mount for vlogging because head movement is too distracting.
Can I use an action camera for indoor YouTube videos?
Yes, but you need good lighting. Action cameras have small sensors that struggle in low light. Use a ring light or natural window light.
Keep the ISO capped at 800 to avoid noise. The Linear field of view works best for indoor shots.
How do I transfer footage from my action camera to my computer?
The fastest method is to remove the microSD card and use a card reader. USB-C cable transfer is slower but works. The camera app is the slowest option.
Use the card reader method for large files.
What settings should I avoid on my action camera?
Avoid the widest field of view for talking head videos. It distorts your face. Avoid turning off stabilization unless the camera is on a tripod.
Avoid shooting in 4K 60fps for long static shots. It drains the battery and fills the card too fast.

Similar Posts
































