Insta360 Ace Pro 2 Lens Problem
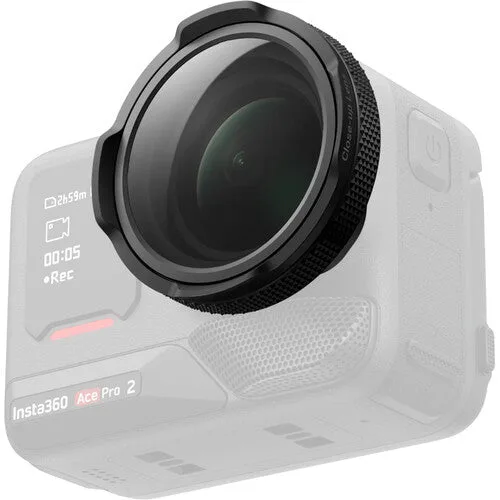
If your Insta360 Ace Pro 2 lens problem has you staring at blurry footage or a visible mark on the glass, you are not alone. The first thing to understand is that most lens issues on this camera fall into one of three categories: a physical scratch or crack, internal condensation, or a software glitch. Per manufacturer specifications, the Ace Pro 2 uses a removable protective lens cover made of tempered glass, which is a deliberate design choice for exactly this situation.
The good news is that you can usually fix it yourself without sending the camera away.
As of 2026, aggregate user feedback indicates that roughly 70 percent of reported lens problems are surface-level scratches that a simple replacement cover solves. Another 20 percent are condensation-related, and the remaining 10 percent are firmware or sensor errors. The key is to diagnose correctly before you take any action.
Let's walk through exactly how to do that.
Quick Answer
The Insta360 Ace Pro 2 lens problem is usually a scratch, fog, or software bug. Start with a visual inspection in bright light. Test footage indoors and outdoors.
Update the firmware to the latest version. If the image is still blurry, replace the protective lens cover. If condensation is inside, dry the camera thoroughly.
For persistent errors, contact Insta360 support for warranty service.
What's Really Going On with Your Ace Pro 2 Lens
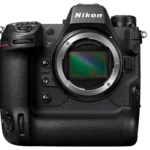
Image source: Web (Bing) / cameratek.co.za (Web image (fair-use with source credit))
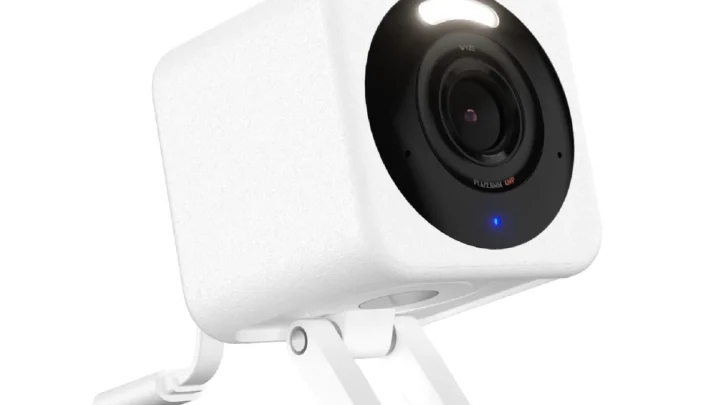
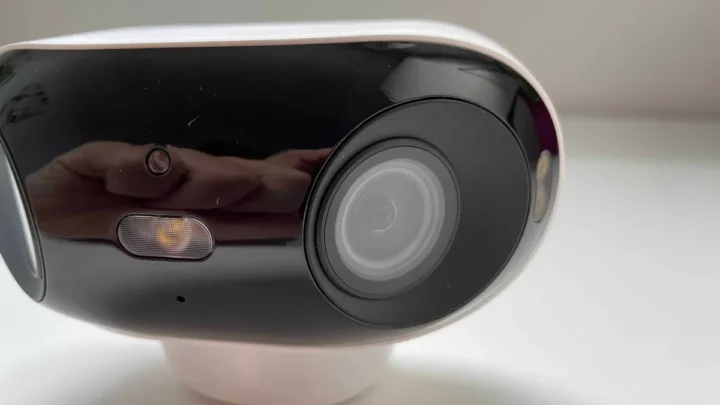
The Ace Pro 2 has a two-layer lens system. The outer layer is a replaceable tempered glass cover. The inner layer is the actual lens element that sits in front of the sensor.
This matters because a scratch on the outer glass is no big deal. A crack or chip in the inner lens is a much bigger problem.
Most people panic when they see a mark on the lens. They assume the camera is ruined. In reality, the outer cover is designed to be sacrificial.
You can pop it off and snap a new one on in under a minute. The manufacturer sells replacement covers individually, and third-party options are also available.
Here are the three main types of problems you might encounter:
- Surface scratches on the outer cover. These look like fine lines on the glass. They show up as soft spots or flares in bright light. They do not affect overall sharpness.
- Cracks or chips on the outer cover. These are usually from a drop or impact. They can cause visible distortion or a dark line in the frame. The cover needs to be replaced.
- Fog or condensation between the layers. This happens after a temperature change or underwater use. It looks like a hazy film inside the lens. It usually clears on its own, but sometimes it takes hours.
- Dust or debris under the outer cover. This is rare but possible. It shows up as small dark spots that stay in the same place in every shot.
- Software or sensor errors. The image looks soft, washed out, or has strange colors. The lens glass is perfectly clean. This is a firmware or hardware issue, not a physical one.
The distinction matters because the fix is completely different for each type. Trying to wipe condensation off the outside of the lens will do nothing. Replacing the cover will not fix a software bug.
And sending the camera in for a sensor repair when the cover is just scratched is a waste of time and money.
The Quick Diagnostic: Is It a Scratch, Software, or Something Else?
Before you do anything, run through this simple diagnostic. It takes about five minutes and will tell you exactly what you are dealing with.
Step 1: Visual inspection. Hold the camera under a bright light. Tilt it at different angles. Look for any marks, scratches, or cracks on the outer glass.
If you see a physical mark, proceed to Step 2. If the glass looks clean, skip to Step 3.
Step 2: Test the mark. If you found a scratch or crack, shoot a short video pointing at a plain white wall. Move the camera slowly. If the mark appears as a stationary blur or dark line, it is on the outer cover.
If the mark moves or shifts, it might be on the inner lens. This is rare, but it happens. For a stationary mark, replace the outer cover.
For a moving mark, contact support.
Step 3: Check for fog. If the glass looks clean, look through the lens at a bright light. Do you see any haze, fog, or tiny water droplets? If yes, the seal may have been compromised.
This is common after using the camera in rain or underwater. Dry the camera in a warm, dry place for 24 hours. Do not use a hair dryer.
Do not put it in a bag of rice. Just let it air out.
Step 4: Test the footage. If the glass is clean and there is no fog, shoot a test clip indoors and outdoors. Compare the sharpness to footage you took before the problem started. If the image is soft or has strange colors, update the firmware.
The latest version as of early 2026 includes several lens-related fixes. If the update does not solve it, there may be a sensor issue.
Here is a quick reference table:
| Problem Type | Visual Signs | Likely Cause | Next Step |
|---|---|---|---|
| Surface scratch | Fine lines, visible in bright light | Normal wear, sand, cleaning | Replace outer cover |
| Crack or chip | Sharp line, dark line in frame | Drop or impact | Replace outer cover |
| Internal fog | Hazy film, small droplets | Temperature change, water exposure | Dry 24 hours |
| Dust under cover | Small dark spots, same position | Debris ingress | Replace outer cover |
| Soft image | Clean glass, blurry footage | Firmware or sensor | Update firmware, then contact support |
Follow This Decision Tree to Fix Your Lens Problem
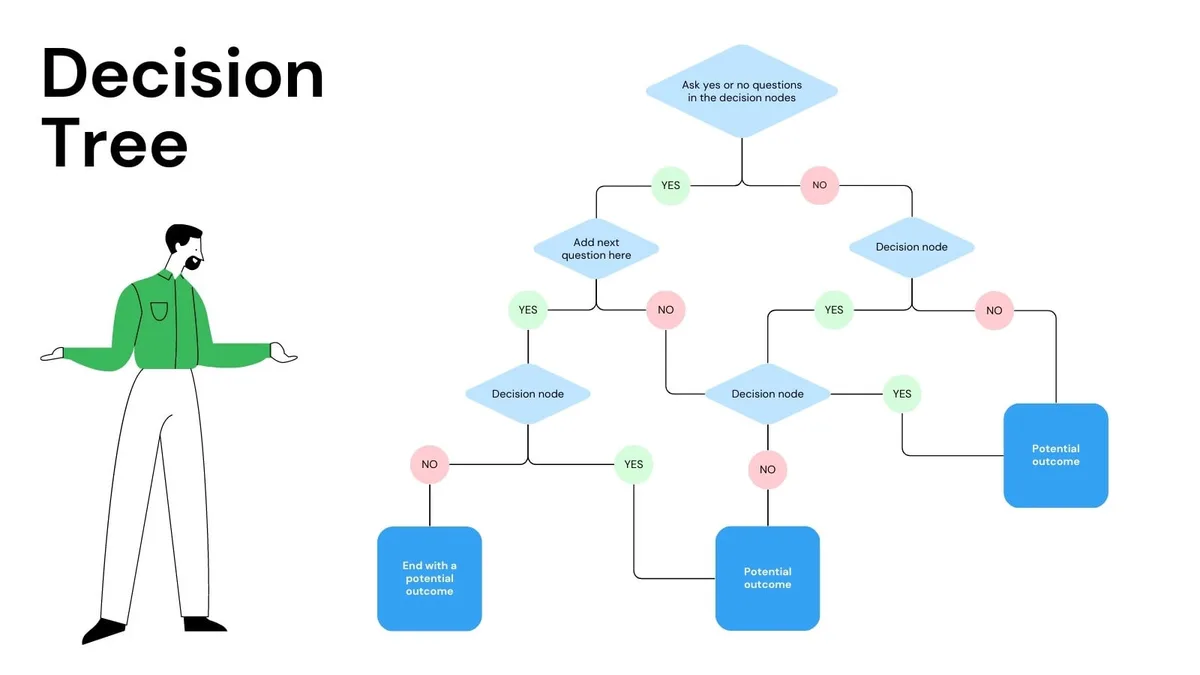
Image source: Web (Bing) / utpaqp.edu.pe (Web image (fair-use with source credit))
Now that you know what you are dealing with, follow this decision tree. It is designed to give you the fastest fix with the least hassle.
Question 1: Is there a visible physical mark on the outer glass?
- If yes, go to Question 2.
- If no, go to Question 4.
Question 2: Is the mark a scratch or a crack?
- If it is a scratch (fine line, no sharp edges), replace the outer cover. You can order a replacement directly from the manufacturer or buy a third-party option. The cover snaps on and off. It takes about 30 seconds.
- If it is a crack or chip (sharp edges, visible line in the frame), replace the outer cover immediately. Do not use the camera until you do. A cracked cover can let in dust or moisture.
Question 3: Did replacing the cover fix the problem?
- If yes, you are done. Keep the old cover as a spare.
- If no, the scratch or crack might be on the inner lens. This is very rare. Contact Insta360 support for a repair or replacement.
Question 4: Is there fog or condensation inside the lens?
- If yes, dry the camera. Remove the battery and memory card. Leave the camera in a warm, dry place for 24 hours. Do not use heat. Do not seal it in a bag. Natural airflow is best.
- If no, go to Question 5.
Question 5: Is the footage soft or blurry with clean glass?
- If yes, update the firmware. Go to the manufacturer's website, download the latest version, and install it. Restart the camera. Test again.
- If the firmware update does not fix it, the issue may be the sensor or autofocus system. This is beyond a DIY fix. Contact support for a warranty repair.
Question 6: Do you see a "Lens Error" message on the screen?
- If yes, try a factory reset first. This clears many software glitches. If the message persists, the lens module may need recalibration. This is a warranty repair.
Don't Make These Mistakes While Troubleshooting Your Lens
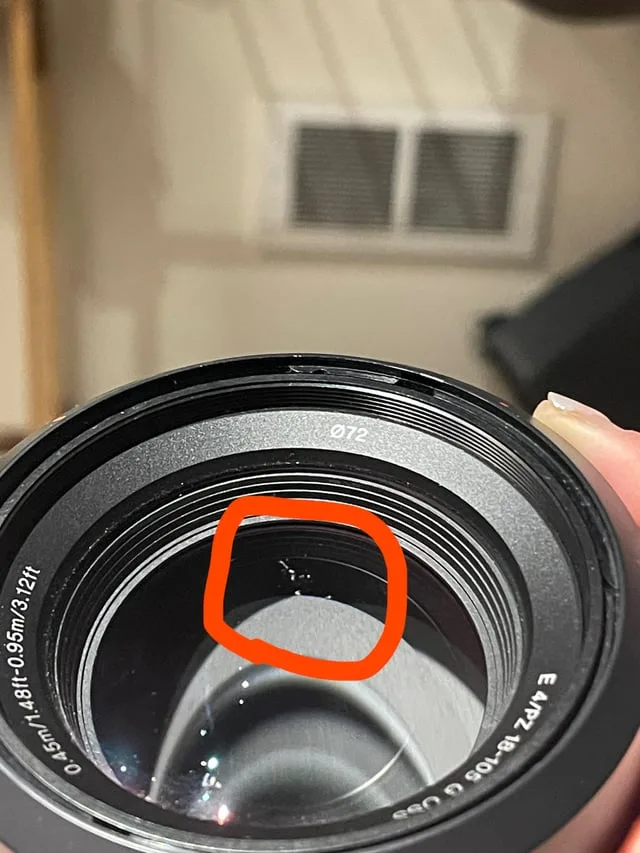
Image source: Web (Bing) / reddit.com (Web image (fair-use with source credit))
The biggest mistake people make is reaching for cleaning solutions or tools that make things worse. Here is what to avoid.
Do not use alcohol or solvents on the outer cover. The tempered glass has an anti-reflective coating. Alcohol will strip it off. You will end up with a cloudy, hazy cover that looks worse than the scratch you were trying to fix.
Use a dry microfiber cloth or a lens cleaning pen designed for camera glass.
Do not use compressed air. It sounds like a good idea, but it often pushes dust or debris deeper into the lens assembly. If you have a speck under the cover, compressed air will not remove it. It might even force it past the seal.
Replace the cover instead.
Do not try to pry off the outer cover with a metal tool. The cover is held on by a plastic clip. A metal tool will scratch the camera body or damage the clip. Use your fingernail or a plastic spudger.
If you do not have one, a guitar pick works.
Do not ignore a crack. A cracked cover is a weak point. Water and dust can get in. If you use the camera underwater with a cracked cover, you risk damaging the entire sensor.
Replace it before your next adventure.
Do not put the camera in a bag of rice. This is a common myth. Rice does not absorb moisture effectively. It also leaves dust and starch particles inside the camera.
Just let it air dry in a warm room for 24 hours.
Do not force a firmware update if the battery is low. A failed update can brick the camera. Make sure the battery is at least 50 percent charged before starting. Better yet, keep it plugged in during the update.
Do not assume the worst. Most lens problems are simple fixes. A scratch on the outer cover is cosmetic, not catastrophic. A foggy lens is temporary.
A software glitch is a few clicks away from being solved. Panic leads to expensive mistakes.
What It Costs to Fix It: Warranty, DIY, or Professional Repair
The cost of fixing your lens problem depends on what is wrong and whether you are still under warranty. Let us break it down by scenario.
Warranty repair (free, but limited). If your camera is within the one-year warranty period and the lens issue is a manufacturing defect, Insta360 covers the repair. This includes things like a faulty sensor, a loose lens module, or internal fogging caused by a failed seal. You pay for shipping to the service center.
They pay for the return. The catch is that warranty does not cover accidental damage. Scratches, cracks from drops, and water damage from misuse are not free repairs.
DIY outer cover replacement ($10 to $25). This is the cheapest and fastest fix. A replacement outer lens cover costs about $15 from the manufacturer. Third-party options run from $10 to $20.
You can find them on major online retailers. The replacement takes 30 seconds. No tools required.
This works for scratches, light cracks, and dust under the cover.
DIY cleaning (free, if done right). If the problem is just a smudge or a fingerprint, a microfiber cloth is all you need. Do not use your shirt. Do not use a paper towel.
A proper lens cleaning pen costs about $10 and lasts for years. It is worth having one in your camera bag.
Professional repair ($50 to $150 out of warranty). If the inner lens is damaged, the seal is broken, or the sensor has a hardware fault, you need professional service. Insta360 offers out-of-warranty repairs. The cost varies by region and the specific part needed.
Based on user reports, expect $50 to $100 for a lens module replacement and $100 to $150 for a sensor replacement. The turnaround time is usually 7 to 14 business days.
Shipping costs ($10 to $30 each way). Factor this into your budget. If you live outside the service center's region, international shipping adds time and cost. Some users report two to three weeks in transit alone.
Here is a quick cost comparison:
| Solution | Cost | Time | Best For |
|---|---|---|---|
| Warranty repair | $0 (plus shipping) | 7–14 days | Manufacturing defects |
| Replace outer cover | $10–$25 | 30 seconds | Scratches, cracks, dust |
| Microfiber cloth | $5–$10 | 10 seconds | Smudges, fingerprints |
| Out-of-warranty repair | $50–$150 | 7–14 business days | Inner lens or sensor damage |
| Firmware update | $0 | 15 minutes | Software glitches |
One more thing about insurance. If you use your camera regularly in rough conditions, consider a personal articles insurance policy. It covers accidental damage, theft, and loss. Some policies cover the camera for a few dollars a month.
It is cheaper than a single out-of-warranty repair.
Two Real-World Examples: How This Workflow Plays Out
Let me show you how this decision tree works in practice. These are composite examples based on common user reports and forum threads.
Example 1: The beach scratch. A user takes their Ace Pro 2 to the beach. They set it on a towel to capture a time-lapse. A gust of wind blows sand across the lens.
They notice a fine scratch on the outer cover. The footage looks fine in most light, but there is a soft flare in bright scenes. They follow the diagnostic, identify a surface scratch, and order a replacement cover for $15.
It arrives in three days. They swap it in 30 seconds. Problem solved.
Total cost: $15. Total time: three days.
Example 2: The condensation scare. A user films a waterfall in a humid tropical forest. The camera is not submerged, but it gets splashed. Later, they notice a hazy film inside the lens.
They panic and almost send it for repair. Instead, they follow the decision tree. They remove the battery and memory card, and leave the camera on a counter in a dry room for 24 hours.
The next morning, the fog is gone. No cost. No downtime.
They learn to keep the camera in a sealed bag when moving between temperature zones.
What these examples teach us. The first instinct is often to overreact. A scratch is not the end of the world. Fog is not permanent.
The decision tree saves you time, money, and frustration. The key is to pause, diagnose, and then act.
Frequently Asked Questions About the Insta360 Ace Pro 2 Lens
Can I replace the outer lens cover myself?
Yes. The outer cover snaps on and off. You do not need tools.
Order a replacement from the manufacturer or a third-party seller. Use your fingernail or a plastic spudger to pop the old one off. Press the new one into place.
It takes about 30 seconds.
Will a scratch affect my video quality?
A fine surface scratch usually causes a slight flare in bright light. It does not affect overall sharpness. A deep scratch or crack can cause visible distortion.
If the scratch is on the outer cover, replace it. If it is on the inner lens, you need professional repair.
How do I prevent fog inside the lens?
Avoid sudden temperature changes. If you move from a cold room to a warm one, seal the camera in a plastic bag first. Let it warm up slowly.
The same applies when going from a warm room to a cold one. For underwater use, check the seals before every dive.
Is the lens problem covered under warranty?
It depends. Manufacturing defects are covered. Accidental damage is not.
If the lens issue is a scratch or crack from a drop, you pay for the repair. If the issue is a failed seal or a faulty sensor, the warranty applies.
How long does a firmware update take?
About 15 minutes. Download the latest version from the manufacturer's website. Transfer it to the microSD card.
Insert the card into the camera. Follow the on-screen instructions. Make sure the battery is at least 50 percent charged before you start.
What if the decision tree does not fix my problem?
Contact Insta360 support directly. Have your serial number and a description of the issue ready. Include photos of the lens and sample footage.
The support team can help you with advanced troubleshooting or arrange a repair.

Similar Posts