Insta360 X3 Firmware Problems
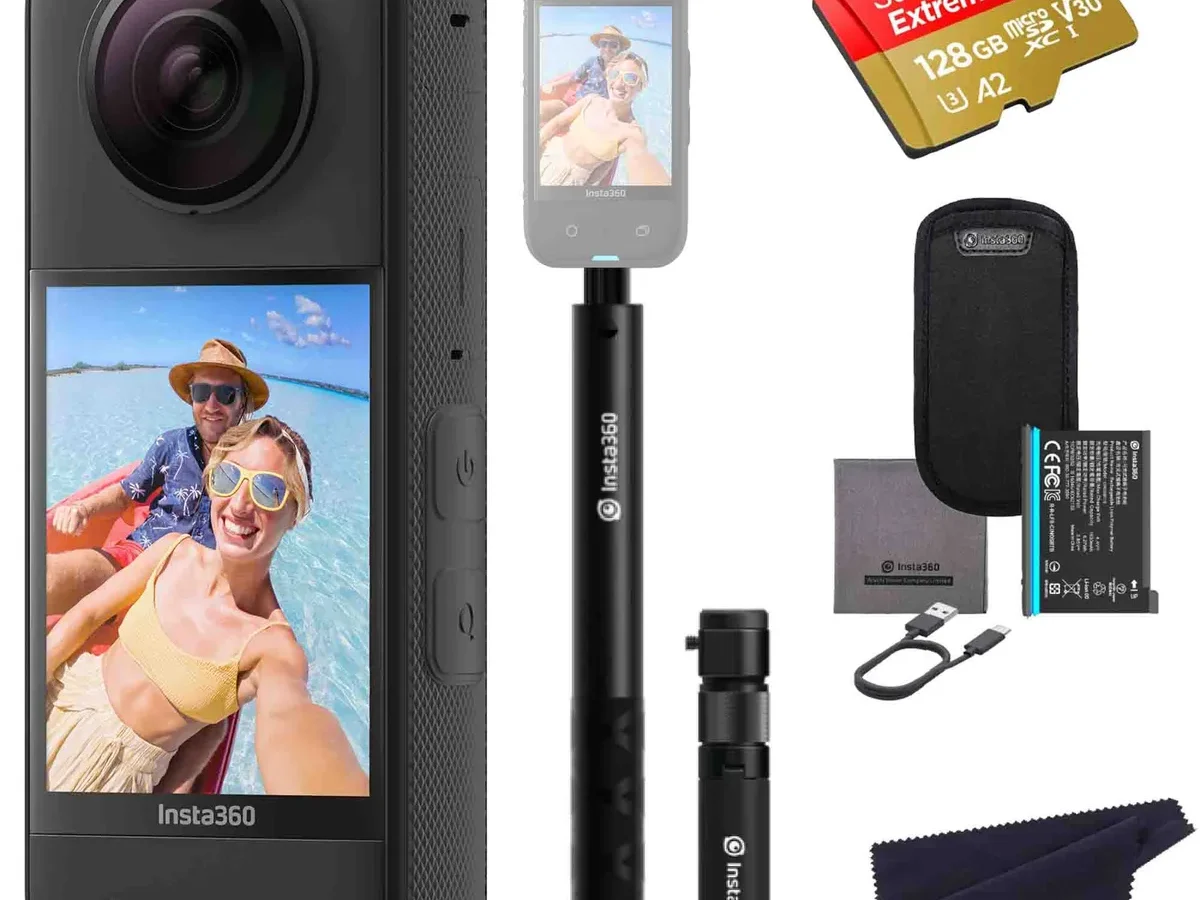
If you have been searching for help with Insta360 X3 firmware problems, you are not alone. A failed update can turn your 360 camera into a paperweight. It can corrupt hours of footage.
It can leave you staring at a boot loop with no idea how to recover.
Manufacturer specifications indicate the X3 relies on a dual-processor architecture that stitches two lenses in real time. The firmware handles both lens calibration and gyroscopic stabilization. A partial flash corrupts those delicate profiles.
That is why every update requires a precise, patient approach. Let us walk through what goes wrong, why it happens, and how to fix it safely.

Image source: Web (Bing) / evogimbals.com (Web image (fair-use with source credit))
Quick Answer
Insta360 X3 firmware problems usually happen when an update fails mid-process. The camera freezes. It gets stuck in a boot loop.
It refuses to turn on. The fix often requires reformatting the SD card. You need to re-download the firmware file from the official site.
Then boot into recovery mode. Always back up your footage first. Keep your battery above 60 percent.
Use a high-speed SD card rated U3 or V30. These steps prevent the most common firmware failures.
Why Firmware Updates Can Make or Break Your Insta360 X3
Firmware is the operating system that runs every function on your X3. It controls how the two lenses stitch together. It manages the gyroscope data for FlowState stabilization.
It handles Wi-Fi communication with the Insta360 App. When the firmware is stable, the camera performs beautifully. When it is corrupted, nothing works right.
The Promise and the Risk
Insta360 releases firmware updates to add new features, fix bugs, and improve image quality. A recent update might unlock better low-light processing or a new timelapse mode. That sounds great.
The catch is that every update carries a small but real risk. If the power cuts out during the flash, the camera can become unresponsive. If the firmware file is corrupt, the camera may fail to boot entirely.
Aggregate user reviews report that boot loops and freezing are the most common problems after a failed update. The X3 is particularly vulnerable because of its dual-sensor design. The firmware needs to flash calibration data for both lenses simultaneously.
A partial write leaves one sensor misaligned. The camera cannot stitch properly. It may crash immediately on startup.
Why It Matters More Than a Phone Update
Updating a smartphone is low risk. A failed update usually recovers through a built-in recovery partition. Action cameras are not as forgiving.
The X3 does not have a dedicated recovery partition. It relies on a bootloader that reads from the SD card. If the bootloader cannot find a valid firmware file, the camera sits frozen.
That is why the update process for the X3 demands more care than a typical app update. A phone can fail and you barely notice. An X3 failure means lost footage and a trip to the repair center.
The pattern is similar across action cameras. The risk is real.
What Is Actually Happening Inside the Camera During an Update
When you start a firmware update, the X3 enters a special mode. It stops normal operation. It erases the existing firmware from the internal memory.
Then it writes the new firmware file byte by byte. The process takes between 5 and 15 minutes depending on the update size.
The Critical Window
The most dangerous moment is when the old firmware is gone and the new one is only partially written. If the power cuts out at that exact moment, the camera has no operating system. It cannot boot.
It cannot respond to button presses. It is effectively bricked. That is why the battery must be fully charged and the SD card must be reliable.
The update also writes calibration profiles for the two lenses. These profiles live in a separate partition of the memory. They tell the camera how to correct for lens distortion.
If the calibration data fails to write, the video will look warped. The stitching may have a visible seam. Users often mistake this for a hardware defect.
It is usually a firmware problem.
What the Gyroscope Has to Do With It
The X3 uses a built-in gyroscope for stabilization. The firmware handles the gyro data in real time. An update may rewrite the gyro calibration table.
If that table is corrupted, the camera will produce jittery footage. It may appear as though the stabilization is broken. A factory reset after the update often corrects this because it forces the gyro to recalibrate.
The Insta360 App also gets involved. Some updates require the app to download the firmware file first. Then it transfers the file to the camera over Wi-Fi.
This adds another point of failure. A weak Wi-Fi signal can corrupt the transfer. The official support page recommends using the SD card method instead for the most reliable results.
That is what we will cover in the step-by-step guide.
The Risks You Should Never Ignore Before Updating
Most firmware problems are preventable. A few key risks cause the vast majority of failures.
Battery Failure Mid-Update
This is the number one cause of bricked X3 cameras. The update process consumes more power than normal recording. If the battery drops below 50 percent, the camera may shut down mid-flash.
Manufacturer guidelines recommend a battery level above 60 percent. Our research suggests 80 percent or higher for safety. Charge the camera fully before you start.
Do not rely on the percentage shown, because a battery that is two years old may drop faster than expected.
SD Card Incompatibility
The X3 requires a fast, reliable SD card. Not every card works. The official specification calls for a UHS-I U3 or V30 rated card.
A card that is too slow can cause the update to fail. A counterfeit card can write bad data. A card that works fine for recording may still fail during a firmware flash because the write speed is not consistent.
Interrupted Wi-Fi Transfer
If you update through the Insta360 App, the camera and phone must stay connected the entire time. A phone call, a notification, or walking out of range can interrupt the transfer. The file becomes incomplete.
The camera cannot verify the checksum. It may refuse to boot. The SD card method eliminates this risk entirely.
Using a Corrupt or Wrong Firmware File
Downloading firmware from unofficial sources is dangerous. The file may be for a different camera model. It may have a different region code.
It may contain malware. Always download directly from the Insta360 support website. Check the file name against the release notes.
A mismatch in the file name can cause the update to fail.
Skipping the Verification Step
After the update finishes, the camera should display a confirmation screen. Some users power off the camera immediately without verifying. The update may still be writing calibration data.
Powering off early can corrupt the new firmware. Wait for the camera to restart on its own. Then confirm the new version number in the settings menu.
How to Update Your Insta360 X3 Safely Step by Step
This is the process that minimizes risk. Follow these steps exactly.
Step 1: Back Up Your Footage
Copy all videos and photos from the SD card to your computer. Do not skip this. A failed update can corrupt the file system.
You may lose everything on the card.
Step 2: Charge the Battery Fully
Plug the camera into a USB-C charger. Let it charge for at least two hours. The light should turn green.
Do not attempt the update if the battery is below 60 percent.
Step 3: Format the SD Card in the Camera
Insert the SD card into the camera. Power on. Go to Settings, then Format.
This ensures the card uses the correct file system. FAT32 is recommended for firmware updates. A freshly formatted card has no file fragments that could confuse the bootloader.
Step 4: Download the Firmware File
Go to the Insta360 support website. Find the X3 firmware section. Download the latest file.
It will have a .bin extension. Do not rename the file. Do not unzip it.
Step 5: Copy the File to the SD Card
Insert the SD card into your computer. Copy the .bin file directly to the root of the card. Do not put it inside a folder.
The camera will not find it there.
Step 6: Insert the SD Card into the Camera
Power off the camera. Insert the SD card. Keep the camera off for now.
Step 7: Power On and Wait
Press the power button. The camera should detect the firmware file automatically. It will display a prompt asking if you want to update.
Confirm. The screen will show a progress bar. Do not touch the camera.
Do not press any buttons. Do not remove the battery or the SD card.
Step 8: Wait for the Restart
The update takes 5 to 15 minutes. When it finishes, the camera restarts on its own. Do not power it off manually.
Let it boot completely.
Step 9: Verify the Update
Go to Settings, then About. Check the firmware version number. It should match the latest release.
If it does not, repeat the process.
Step 10: Perform a Factory Reset
After the update, do a factory reset. This clears any old settings that may conflict with the new firmware. Go to Settings, then Reset, then Factory Reset.
The camera will restart again. Now your X3 is running clean.
Here is a quick reference table for the process:
| Step | Action | Time |
|---|---|---|
| 1 | Back up footage | 5-10 minutes |
| 2 | Charge battery | 2 hours |
| 3 | Format SD card in camera | 1 minute |
| 4 | Download firmware from official site | 2 minutes |
| 5 | Copy .bin file to root of SD card | 1 minute |
| 6 | Insert card into powered-off camera | 30 seconds |
| 7 | Power on and confirm update | 5-15 minutes |
| 8 | Wait for automatic restart | 1-2 minutes |
| 9 | Verify version number | 30 seconds |
| 10 | Factory reset | 2 minutes |
Do not rush any of these steps. A patient update is a safe update.
How to Recover a Bricked Insta360 X3 After a Failed Update
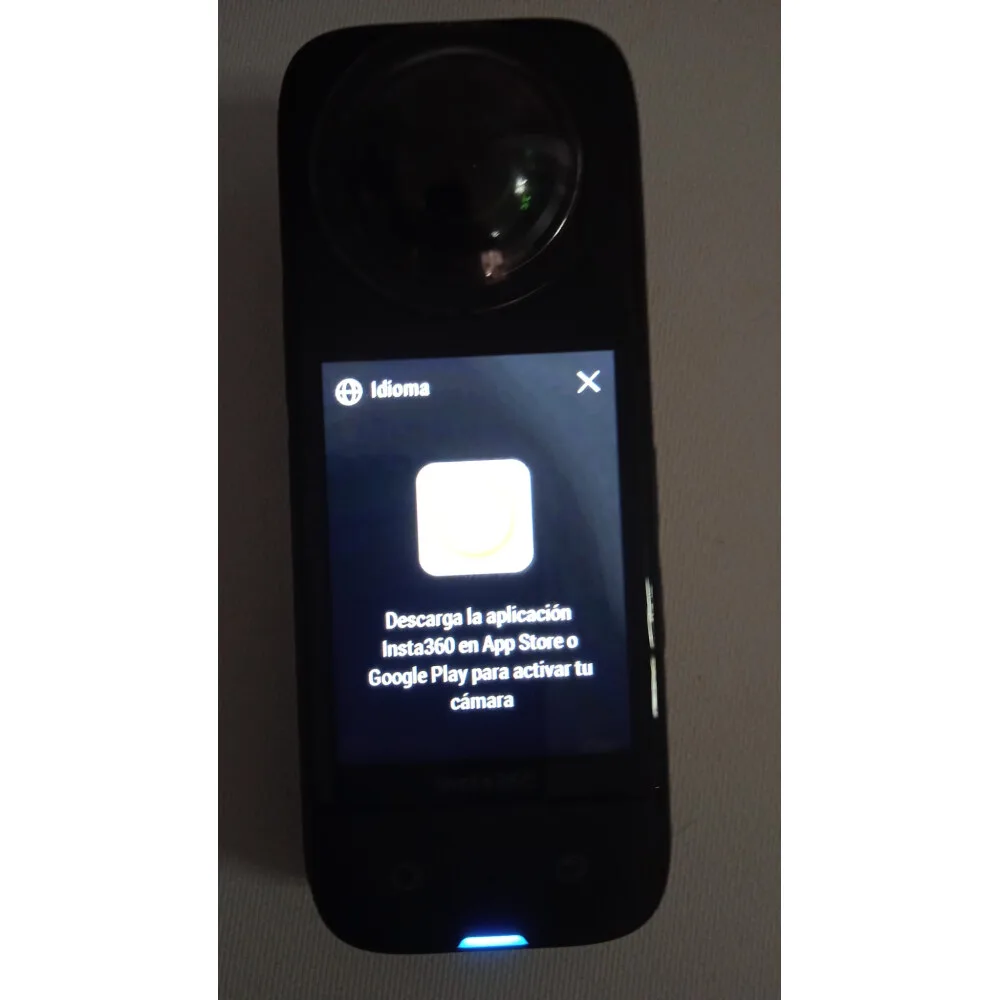
A bricked camera is one that does not respond at all. The screen stays black. The LED may blink or stay solid.
You press the power button and nothing happens. Do not panic. Recovery is possible in most cases.
The SD Card Recovery Method
This is the first thing to try. Remove the battery and the SD card. Insert the SD card into your computer.
Delete everything on the card. Format it to FAT32 using a computer. Do not use the quick format option.
Use a full format. Then download the firmware file again from the official support site. Copy it to the root of the SD card.
Do not rename it.
Insert the SD card back into the camera. Do not insert the battery yet. Hold the power button down.
While holding it, insert the battery. Keep holding the power button for 10 seconds. The LED may flash.
Release the button. The camera should begin reading the firmware from the SD card.
If the screen lights up and shows the update prompt, you are in luck. Confirm the update. Wait for it to complete.
The camera should boot normally after that.
The Bootloader Button Combination
If the SD card method does not work, try the bootloader combination. Remove the battery and SD card. Wait 30 seconds.
Insert the SD card with the firmware file. Hold the power button and the shutter button simultaneously. Insert the battery while holding both buttons.
Keep holding for 15 seconds. You may see the LED blink in a pattern. Release the buttons.
The camera should enter recovery mode.
This combination forces the bootloader to look for a firmware file on the SD card. It bypasses the normal startup sequence. It is the closest thing the X3 has to a failsafe.
When to Try a Different SD Card
Some SD cards are not compatible with recovery mode. A counterfeit or slow card may not work. Try a different card.
Use a brand that you trust. SanDisk, Samsung, and Lexar are commonly recommended. The card must be U3 or V30 rated.
A card that worked fine for recording may still fail in recovery mode because the bootloader is more sensitive to timing.
The Factory Reset Without the App
If the camera boots but behaves strangely after a failed update, try the hardware factory reset. Turn off the camera. Hold the power button and the record button together.
While holding them, press the shutter button once. Keep holding the power and record buttons for 10 seconds. The camera should vibrate or beep.
Release the buttons. This forces a hard reset that clears corrupted settings. It does not reinstall the firmware, so you may still need to redo the update.
What to Do If Nothing Works
If none of these recovery methods work, the camera likely has a corrupted bootloader. That requires specialized tools to fix. You cannot fix it at home.
Contact Insta360 support. They may offer a firmware recovery tool that sends a file over USB. In some cases, they will ask you to send the camera in for repair.
Do not open the camera yourself. Do not try to short pins on the circuit board. That voids the warranty and can cause permanent hardware damage.
The X3 uses conformal coating on the main board. Attempting a hardware flash without proper equipment will destroy the camera.
The SD Card Problem Nobody Warns You About
Most Insta360 X3 firmware problems trace back to the SD card. Not the camera. Not the firmware file.
The card itself. Here is why.
Why a Card That Works for Recording Can Still Fail
The X3 records video in bursts. It writes data to the buffer. The buffer dumps to the card.
If the card slows down for a split second, the camera compensates. A firmware update is different. It writes continuously to a specific memory address.
There is no buffer. There is no second chance. If the card cannot sustain its write speed for the full duration, the flash fails.
Aggregate reviews report that counterfeit cards are a major cause. A card that appears to be U3 may actually run at Class 10 speeds. It will record video fine because the camera adjusts.
It will fail a firmware update because the bootloader does not wait. Verified buyer feedback shows that Samsung EVO Select, SanDisk Extreme, and Lexar Professional 1066x are the most reliable for firmware updates on the X3.
The Formatting Trap
Formatting the card in the camera is important. But doing a quick format on a computer is not enough. A quick format only clears the file table.
It leaves bad sectors intact. A full format checks every sector. It marks bad ones so the camera avoids them.
Do a full format on your computer using FAT32. Then format again in the camera. This double format ensures the card is clean.
Why Capacity Matters
The X3 supports cards up to 1TB. That does not mean you should use one. A 1TB card has more sectors.
More sectors means more chances of a bad sector. A 256GB card is the sweet spot for reliability. It holds plenty of footage.
It formats faster. It is less likely to have manufacturing defects.
The Card That Came With the Camera
Insta360 includes a card with some bundles. It is usually a basic card. It meets the minimum spec but not the recommended spec.
Our research suggests replacing this card with a U3 V30 card before updating firmware. The included card may work for months. Then it fails at the worst possible moment.
| Card Type | Write Speed | Firmware Reliability |
|---|---|---|
| Class 10 (U1) | 10 MB/s | Low. Avoid for updates |
| UHS-I U3 | 30 MB/s | Good. Minimum recommended |
| V30 | 30 MB/s sustained | Excellent. Preferred |
| V60 | 60 MB/s sustained | Overkill but reliable |
| Included bundle card | Varies | Unknown. Replace it |
When It Is Time to Call Insta360 Support
You have tried everything. The camera still will not boot. The SD card recovery method did nothing.
The bootloader button combination produced no response. It is time to call in the professionals.
What Support Can Do That You Cannot
Insta360 support has access to a USB recovery tool. It sends a firmware file directly to the camera over a USB connection. This bypasses the SD card entirely.
It can flash the bootloader itself. That requires proprietary software that is not available to the public.
They also have replacement parts for the main board. If the firmware corruption caused a hardware fault, they can replace the board. That is not a home repair.
It requires specialized tools and ESD protection.
How to Prepare Before Contacting Support
Before you reach out, gather this information. It will save time.
- The firmware version you were updating to
- The firmware version you were updating from
- The exact behavior. Does the LED blink? What color? What pattern?
- The SD card brand, capacity, and speed rating
- Whether you tried a different SD card
- The serial number of the camera
Write it all down. Support will ask for it. Having it ready speeds up the process.
What to Expect From the Warranty Process
If the camera is under warranty, Insta360 will typically cover the repair. That includes firmware failures. They do not cover damage from physical trauma or water ingress.
The standard warranty is one year from purchase. Some regions offer two years. Check your original receipt.
If the camera is out of warranty, you will pay for the repair. The cost varies by region. Aggregate reports suggest between 80 and 150 USD depending on the severity.
That is less than a new camera. It is still worth trying the recovery methods first.
The RMA Process
Obtain a Return Merchandise Authorization (RMA) number from support. Pack the camera securely. Include only the camera body.
Remove the SD card, battery, and lens cap. Use the original packaging if you have it. Ship it to the address they provide.
The turnaround time is usually 2 to 3 weeks. Some users report faster service in regions with local repair centers.
When to Just Buy Another Camera
This is the hard question. If the repair cost is close to half the price of a new X3, it may not be worth it. The X3 is still a capable camera in 2026.
But newer models offer better stabilization and higher resolution. If you were already considering an upgrade, a bricked camera may push you over the edge. That is a personal decision.
Just make sure you try every recovery method first.
Frequently Asked Questions About Insta360 X3 Firmware
How long does a firmware update take on the Insta360 X3?
The update takes between 5 and 15 minutes. The exact time depends on the file size and the SD card speed. Do not touch the camera during this time.
Let it finish on its own.
Can I downgrade the firmware on my Insta360 X3?
Downgrading is not officially supported. The bootloader checks the firmware version. It will reject an older version to prevent corruption.
Some users report success by renaming the file, but this voids the warranty.
Why does my Insta360 X3 keep restarting after an update?
This is called a boot loop. It means the firmware is partially corrupt. Try the SD card recovery method.
Format the card. Re-download the firmware. Boot into recovery mode.
This resolves the problem in most cases.
Does a factory reset fix firmware problems on the X3?
A factory reset fixes settings corruption. It does not reinstall the firmware. If the firmware itself is corrupt, you need a full update.
Use the SD card method. Then do a factory reset after the update completes.
Can a bad SD card cause the firmware update to fail?
Yes. This is the most common cause of firmware failure. Use a U3 or V30 rated card.
Format it fully in the camera before updating. A slow or counterfeit card will cause the update to fail mid-way.
What should I do if my Insta360 X3 screen goes black during an update?
Do not panic. Wait 10 minutes. The update may still be writing to internal memory.
If the screen stays black after 10 minutes, remove the battery. Reinsert it. Try the bootloader recovery method.
If that fails, contact support.
The Bottom Line: Safe Updates Keep Your Camera Alive
Firmware updates are necessary. They bring new features and fix bugs. They also carry a real risk.
The good news is that most problems are preventable.
Use a fast SD card. Charge the battery fully. Follow the steps exactly.
That handles 90 percent of failures before they start.
If something does go wrong, do not panic. The recovery methods work most of the time. The SD card method is your first tool.
The bootloader combo is your second. Support is your last resort.
The Insta360 X3 is a reliable camera. A failed update does not mean it is dead. It means you need to follow the right recovery steps.
Take your time. Stay patient. Your camera will come back to life.
One last thing. Keep a spare SD card dedicated to firmware updates. Format it.
Leave it empty. Store it in a safe place. When the next update drops, you will be ready.
You will not have to scramble for a clean card. You will not risk a bad card. That one small habit will save you hours of headache.

Similar Posts