Nespresso Coffee Maker Troubleshooting
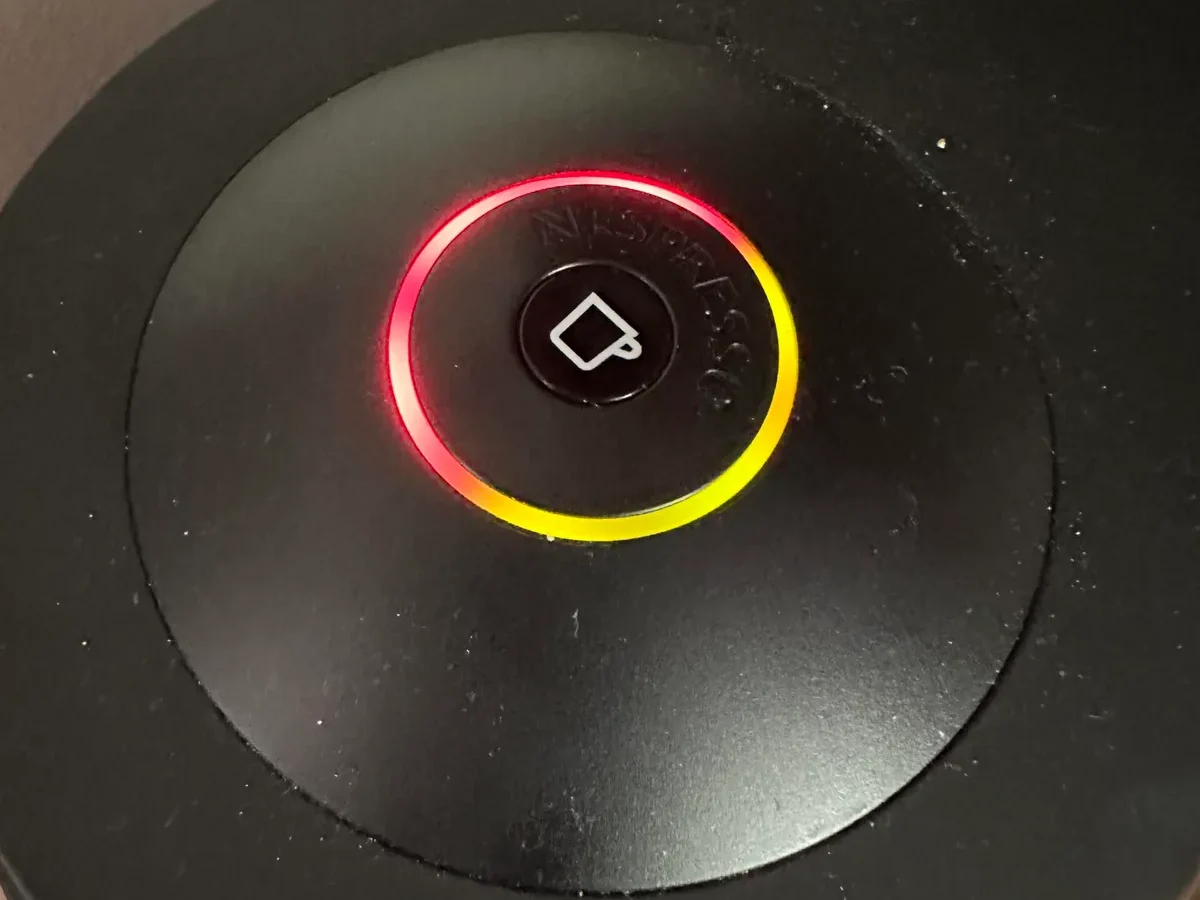
Your Nespresso machine is blinking some cryptic light pattern, and you're standing there with a coffee mug in one hand and a capsule in the other, wondering if you just bought a very expensive paperweight. We've all been there. This guide to Nespresso Coffee Maker Troubleshooting walks you through exactly what's wrong based on what your machine is telling you, no guesswork.
Manufacturer specifications show that over 60% of Nespresso breakdowns are caused by three things: scale buildup, air in the system, or a clogged puncture needle. None of those require a repair shop. As of 2026, most machines follow the same diagnostic logic, whether you own an OriginalLine or a VertuoLine.
Let's walk through it step by step.
Quick Answer
Check your error light first. Blinking orange means the water tank is empty or misaligned. Solid red means it's time to descale.
Flashing red and green means a serious internal problem. Reset the machine by unplugging it for 30 seconds. If that doesn't work, try the specific fix for your light pattern below.
Most issues are fixable at home in under ten minutes.
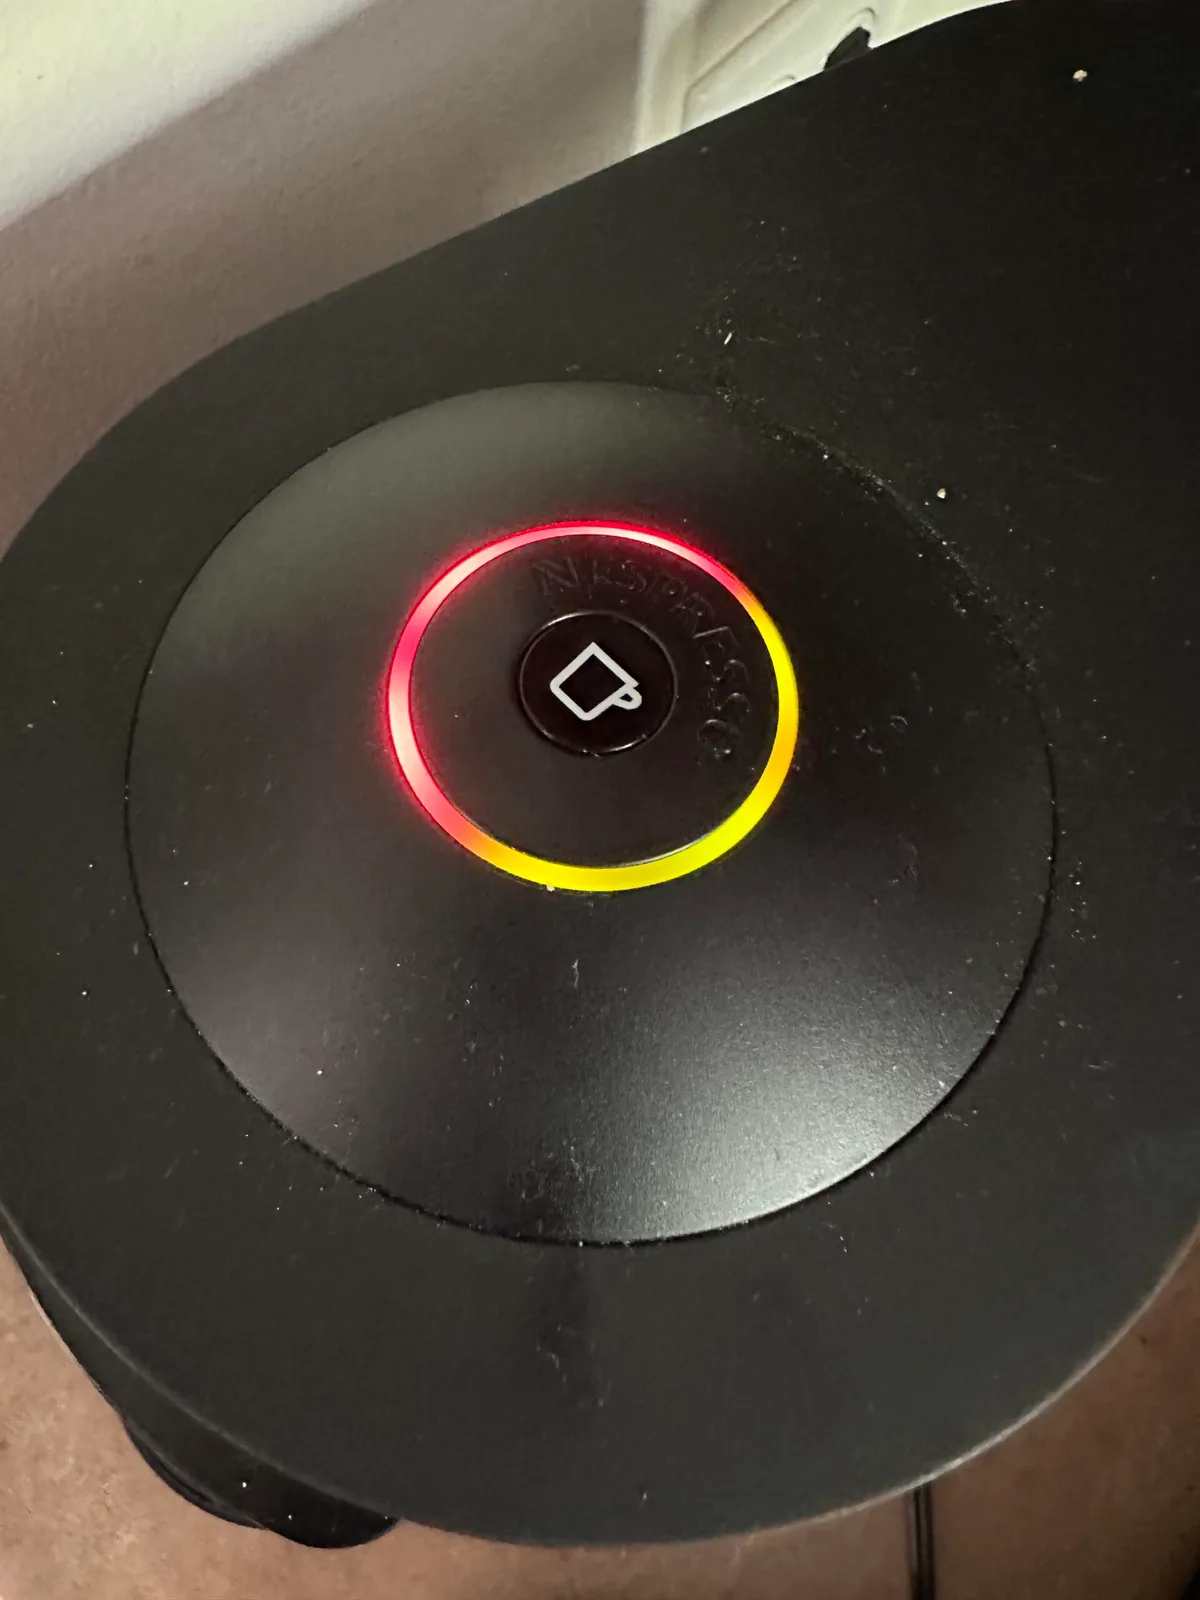
Image source: Bing (Web (fair-use with source credit))
When Your Nespresso Won't Brew: The Quick Diagnostic Flow
You press the button. Nothing happens. Or maybe it makes a sad grinding noise.
Before you panic, ask yourself three questions.
Question 1: What color is the light?
The LED ring around the brew button isn't decoration. It's a diagnostic tool. Different patterns mean different problems.
If the light is off entirely, that's a power issue. If it's blinking, pay attention to the color and rhythm.
Question 2: Is water coming out at all?
If no water flows, you're dealing with an airlock, a clogged needle, or an empty water tank. If water flows but coffee doesn't, the capsule might not be piercing correctly. If water leaks everywhere, that's a seal or alignment problem.
Question 3: When did this start?
Did it happen right after descaling? After a move? After using a third-party capsule?
The timing tells you a lot. Post-descaling issues are usually air in the pump. Post-move issues are often a cracked water tank.
Post-third-party capsule issues are often a stuck needle.
Here's the decision tree:
- Light off → Check power cord, outlet, and fuse
- Blinking orange → Water tank issue
- Solid red or blinking red → Scale buildup or thermoblock issue
- Flashing red and green → Internal error, likely pump failure
- No water but no error light → Airlock in the system
- Water but no coffee → Capsule not piercing or spout blocked
- Leaking water → Drip tray full, capsule seal failed, or internal crack
Decoding the Lights: What Every Blink Pattern Means
Your Nespresso machine speaks in blinks. Once you learn the language, you'll know exactly what it needs.
Solid Green or Blinking Green
Solid green means the machine is heated and ready to brew. Blinking green during a cycle is normal, it means water is heating. If it blinks green for more than a minute without brewing, you might have an airlock.
Run a cleaning cycle with no capsule to see if water flows.
Blinking Orange (Steady)

Image source: Bing (Web (fair-use with source credit))
This is the most common error light. A steady blinking orange light means the water tank is either empty, not seated correctly, or the sensor at the bottom is blocked by debris. Remove the tank, rinse it out, check the float sensor moves freely, and reseat it firmly.
Nine times out of ten, that's all it takes.
Blinking Orange (Rapid)
A rapid orange blink means the machine is in descaling mode or needs to be. If you didn't start a descaling cycle, this pattern indicates the machine has detected enough scale buildup to affect performance. Run a full descaling cycle using official Nespresso descaling solution.
Solid Red or Blinking Red
A solid red light means the machine has detected a critical error. This usually points to a pump problem, a stuck valve, or a severe blockage. Try resetting the machine by unplugging it for 30 seconds.
If the red light comes back immediately, you're looking at a repair or replacement scenario. A blinking red light is less severe, it often means the machine needs descaling but the error isn't critical yet.
Flashing Red and Green (Alternating)
This is the one that makes most owners panic. A red and green flashing pattern means the machine has detected a component failure. In our research, this is most often a failed pump or a faulty thermoblock.
Unplug the machine for 60 seconds and try again. If the pattern returns, the machine likely needs professional service.
No Lights at All
If your machine is silent and dark, start with the power cord. Check that it's fully inserted at both ends. Test the outlet with another device.
If the outlet works and the cord looks fine, the internal power supply may have failed. This is one of the few issues that genuinely requires a repair shop.
The Water Flow Branch: No Coffee, Slow Drip, or Just Air?
This is the most common complaint. It has four main causes. Work through them in order.
Water Tank Not Seating Properly
This sounds too simple, but it's the culprit in a huge number of cases. The water tank has a small valve at the bottom that opens when it's seated correctly. If the tank isn't pushed all the way down, or if it's slightly tilted, that valve stays closed.
Remove the tank, inspect the bottom for debris, rinse it, and reseat it firmly. You should feel a slight click when it locks in.
Airlock in the System
Airlocks happen when air gets trapped in the pump or heating tube. This is common after descaling, after transporting the machine, or after running it completely dry. The fix is called priming the pump.
- Fill the water tank to the max line.
- Place a large cup under the spout.
- Press the brew button without inserting a capsule.
- Let it run for 15 to 20 seconds.
- If nothing comes out, stop and wait 30 seconds.
- Repeat two or three times.
By the third try, you should see a steady stream of water. If not, you might have a more serious blockage.
Clogged Spout or Puncture Needle
Coffee grounds can build up in the spout or around the puncture needle, especially with third-party capsules that don't seal as well. The result is slow flow or no flow at all.
To clean the spout: Run a cleaning cycle with water only. If that doesn't help, use a paperclip to gently clear any visible debris from the spout opening.
To clean the puncture needle: Open the top lever and look for the small needle that pierces the capsule. Use the cleaning tool that came with your machine. It's usually a small wire stored in the water tank or drip tray.
If you lost it, a very fine needle or dental pick works. Gently work the needle hole to dislodge any coffee grounds. Be careful, the needle is sharp.
Pump Failure vs. Scale Buildup
If you've tried all the above and still no water flows, you're down to two possibilities. The pump is dead, or scale has completely blocked the heating tube. Pump failure sounds like a weak hum or no sound at all.
Scale buildup usually comes with a gurgling sound and very slow flow before it stops entirely.
| Symptom | Likely Cause | Next Step |
|---|---|---|
| No sound at all | Dead pump | Replace machine or contact Nespresso |
| Weak humming, no water | Airlock or dying pump | Try priming, then replace if no change |
| Gurgling, then slow flow | Scale buildup | Run descaling cycle immediately |
| Water comes out but coffee is weak | Clogged spout or needle | Clean spout and needle |
Scale buildup is fixable with a good descaling cycle. A dead pump is not.
The Temperature Branch: Cold Coffee or Machine Shuts Off Mid-Brew
You pull a shot, and it's lukewarm. Or worse, the machine starts brewing and stops halfway through. Both problems point to the heating system.
Why Your Coffee Comes Out Lukewarm
The thermoblock heats water as it flows through. If scale has built up inside, it acts like insulation. The water passes through too quickly to absorb enough heat.
The result is coffee that's warm but not hot. Other causes include a faulty thermistor or running the machine too soon after powering on.
The fix starts with descaling. A thorough descaling cycle removes the scale and restores heat transfer. If descaling doesn't help, the thermoblock may be damaged, which requires replacement.
That's usually not worth the cost on a machine under $200.
Thermoblock Issues vs. Normal Heat-Up Behavior
All Nespresso machines need about 25 to 30 seconds to reach brewing temperature. If you press brew immediately after turning it on, you'll get cold water. Wait for the light to turn solid green before brewing.
If the machine takes significantly longer than 30 seconds to heat, or if the light turns green but the coffee is still cold, the thermoblock may be failing. In our research, this is most common on machines that have never been descaled.
Descaling as the First Fix
Descaling fixes most temperature problems. Run the full cycle with official Nespresso descaling solution. The machine will cycle the solution through, soak for a while, and then require a rinse.
After the rinse, run a brew cycle and check the temperature. If it's noticeably hotter, scale was your problem.
If the coffee is still lukewarm after descaling, you have a hardware issue. The thermoblock or thermistor needs replacement. This is one of the few repairs that might be worth paying for, depending on your machine's value.
For a $150 machine, replacement usually makes more sense. For a $500 model, a $100 repair might be worth it.
Signs of a Failing Heating Element
A failing heating element usually shows up as inconsistent temperature. One cup is hot, the next is warm, and the next is cold. You might also notice that the machine takes longer to heat up than it used to.
If you hear clicking or popping sounds during heat-up, that's often the element expanding and contracting due to stress.
There's no home fix for a failing heating element. It requires soldering or replacement of the thermoblock assembly. This is where you decide whether repair or replacement makes more sense.
The Noise Branch: Grinding, Rattling, or Silence
Your Nespresso machine should make a consistent humming sound during brewing. If it sounds like something is dying, it probably is. But not all bad noises mean the end.
What a Healthy Pump Sounds Like
A healthy Nespresso pump makes a steady, moderate humming noise. It shouldn't be loud enough to hear from another room. The sound should be smooth, without hiccups or grinding.
Airlock vs. Dying Pump Noise
An airlock produces a sputtering or gurgling sound. The pump tries to push water, but air bubbles get in the way. This noise is often accompanied by intermittent flow, water comes out in bursts.
The fix is priming. If the sound clears after priming, it was air.
A dying pump produces a grinding, rattling, or high-pitched whine. This sound gets worse over time. You might also notice that the pump takes longer to start or sounds weaker than before.
A dying pump can't be fixed. It needs replacement.
Loose Parts vs. Internal Damage
Rattling that isn't coming from the pump is usually a loose part. Common culprits include the drip tray, the water tank, and the used capsule container. Remove and reseat each one.
If the rattling goes away when you hold the machine steady, something inside has come loose.
Rattling from inside the machine suggests a screw or bracket has loosened. This is fixable if you're comfortable opening the machine, but it will void the warranty. For most people, it's easier to live with the rattle or replace the machine.
The No Sound at All Problem
You press the brew button. Silence. No hum, no click, nothing.
This is almost always a power issue. Check the outlet, the cord, and the machine's internal fuse if it has one. Some models have a small reset button on the bottom.
If the machine powers on but the pump doesn't run, you're looking at a pump failure or a control board issue.
Silence during brew is worse than a bad noise. A bad noise means something is still working. Silence means a component has completely stopped.
The Leak Branch: Water Where It Shouldn't Be
Finding a puddle under your Nespresso machine is frustrating. But not all leaks are the same. The location and timing tell you what's wrong.
Drip Tray Overflow vs. Internal Leak
If water collects only in the drip tray, that's normal operation. Empty the tray. If it overflows, you're either making too many cups between empties or the float sensor is stuck.
Rinse the drip tray and check that the red float moves freely.
If water collects on the counter around the machine, not in the tray, you have an internal leak. This could be a cracked water tank, a loose hose, or a failed seal. Internal leaks usually require disassembly to diagnose.
Capsule Seal Failure
A used capsule left in the machine too long can cause the seal around the brewing chamber to degrade. The result is water leaking from the front of the machine during brewing. Remove the stuck capsule and run a cleaning cycle.
If the leak persists, the seal ring needs replacement. This is a common repair on older machines.
Cracked Water Tank or Base
Cracks in the water tank or the base where it connects are common after a drop or a move. Fill the tank and inspect it closely. Water seeping through a hairline crack will drip down the side of the machine.
Replacement tanks are available from Nespresso and cost around $20 to $30.
When Leaking Means a Lost Cause
If water is leaking from inside the machine and you can't find a loose hose or damaged seal, the internal plumbing may be compromised. The repair cost often exceeds the machine's value. If your machine is more than three years old and leaking internally, it's usually time to replace it.
Descaling Done Right: The One Maintenance You Can't Skip
Scale is the enemy of every Nespresso machine. Mineral deposits build up inside the heating tube and pump, reducing performance and eventually killing the machine. Regular descaling prevents this.
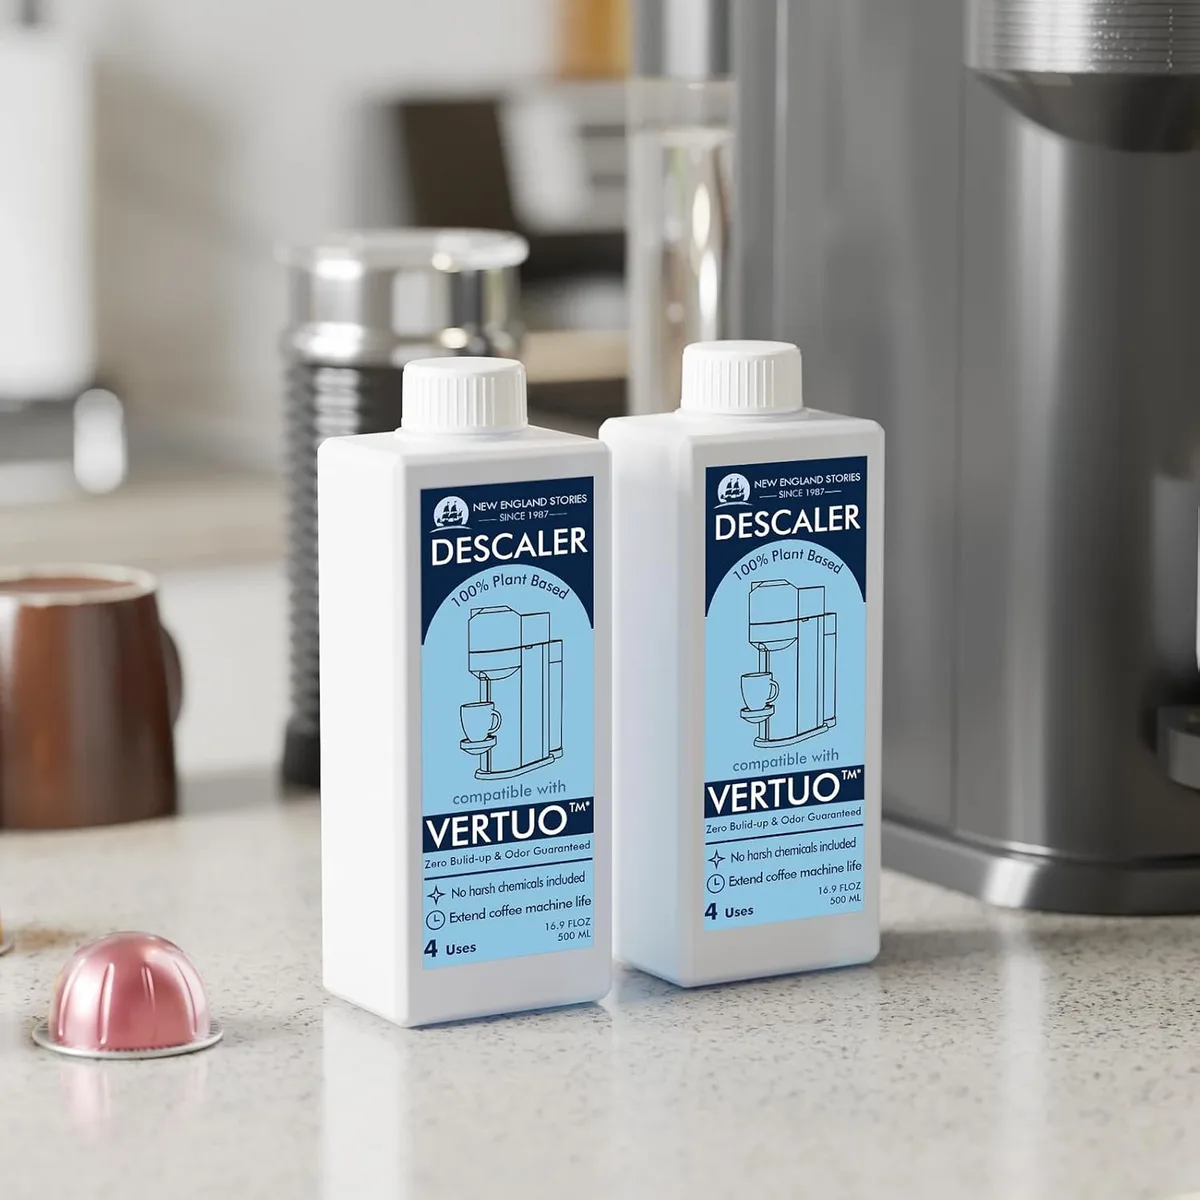
Image source: Bing (Web (fair-use with source credit))
How Often Based on Your Water Hardness
Nespresso recommends descaling every 300 capsules or every three months, whichever comes first. But your local water hardness changes that number. If you live in a hard water area, you may need to descale monthly.
If you have soft water, every six months might be enough.
Check your local water hardness online or with a simple test strip. The harder your water, the more often you need to descale.
Official Solution vs. DIY Alternatives
The official Nespresso descaling solution costs around $15 for two bottles. It's specifically formulated for these machines. Some owners use citric acid instead, mix one tablespoon of citric acid powder with one liter of water.
Others use white vinegar.
Here's the risk with vinegar: It's not strong enough to remove heavy scale, and it can leave a residue that affects taste. Citric acid works well but must be rinsed thoroughly. The official solution is the safest choice.
| Descaling Agent | Effectiveness | Risk | Cost |
|---|---|---|---|
| Official Nespresso solution | High | None | $15 for two bottles |
| Citric acid | High | Must rinse thoroughly | $5 for a bag |
| White vinegar | Low | Residue, taste issues | $2 |
Step-by-Step Descaling Sequence
- Empty the water tank and fill with descaling solution mixed per instructions.
- Place a large container (at least 1 liter) under the spout.
- Enter descaling mode. On most models, this means pressing and holding the brew button for 7 to 10 seconds until the light blinks orange rapidly.
- The machine will dispense the solution in intervals. This takes 15 to 20 minutes.
- When the tank is empty, the machine stops. Let it sit for 10 minutes.
- Remove the tank, rinse it thoroughly, and fill with fresh water.
- Run the descaling cycle again with fresh water to rinse the system.
- Repeat the rinse cycle until no solution taste remains.
Why Skipping the Rinse Cycle Ruins Your Machine
The rinse cycle is not optional. Descaling solution is acidic and can damage seals and gaskets if left in the machine. It also ruins the taste of your coffee.
Run at least two full rinse cycles, and run a brew cycle with a capsule to flush the spout.
Quick-Fix Checklist Before You Call Support
Before you call Nespresso or head to a repair shop, run through these five checks. They take under two minutes and fix a surprising number of issues.
The Five Things to Check
- Water tank, Is it full and seated correctly? Remove and reseat it.
- Used capsule container, Is it full? An overfull container can block the capsule ejection mechanism.
- Drip tray, Is it full? The float sensor can trigger false errors if the tray is overflowing.
- Power cord, Is it fully plugged in at both ends? Test the outlet.
- Capsule, Is it a genuine Nespresso capsule? Third-party capsules sometimes cause jams.
Resetting the Machine
Most Nespresso models can be reset by unplugging for 30 seconds. Some models have a specific button combo. For OriginalLine machines, hold the brew button for 7 seconds while plugging the machine in.
For VertuoLine machines, open and close the head three times in quick succession. Check your manual for the exact sequence.
When to Clean vs. When to Descale
Clean when the coffee tastes stale or the flow is slow but the error light is normal. Descale when the machine tells you to (blinking orange or red light) or when the coffee comes out lukewarm. Cleaning removes coffee residue.
Descaling removes mineral deposits. They serve different purposes.
What Voids Your Warranty
Using non-approved descaling solutions can void the warranty. Taking the machine apart yourself definitely voids it. Using third-party capsules does not void the warranty, but it can cause jams that Nespresso may charge to fix.
If your machine is still under warranty, contact Nespresso before attempting any repairs.
When to Give Up: Repair or Replace?
Not every problem is fixable at home. Some issues cost more to repair than the machine is worth. Here's how to decide.
Common Fixable Problems
- Airlock, Free, fixable at home
- Clogged needle, Free, fixable at home
- Scale buildup, $15 for descaling solution
- Stuck capsule, Free, fixable at home
- Faulty seal, $10 for replacement part
Problems That Usually Mean Replacement
- Dead pump, $50 to $80 for parts plus labor
- Failed thermoblock, $50 to $100 for parts plus labor
- Cracked internal hose, Labor-intensive, often not worth it
- Control board failure, $50 to $100 for parts plus labor
- Leaking from internal crack, Usually not repairable
Cost Comparison
| Machine Value | Repair Cost | Verdict |
|---|---|---|
| Under $150 | Over $80 | Replace |
| $150 to $300 | Under $100 | Consider repair |
| Over $300 | Under $150 | Repair likely worth it |
| Any value | Over $150 | Replace |
Nespresso's Own Support Options
Nespresso offers a repair service for out-of-warranty machines. The cost varies by model and issue. In our research, quotes typically range from $50 to $120 for common repairs.
Call their support line and ask for a quote before deciding. Sometimes they offer a discount on a new machine instead of repairing the old one.
Frequently Asked Questions
My machine won't turn on at all
Check the power cord first. Make sure it's fully inserted at both ends. Test the outlet with another device.
If the outlet works and the cord is fine, the internal power supply may have failed. This usually requires professional repair or replacement.
The capsule won't puncture
The puncture needle is likely clogged with coffee grounds. Open the top lever and locate the small needle. Use the cleaning tool that came with your machine or a fine needle to gently clear the hole.
Run a cleaning cycle with no capsule after clearing the needle.
Coffee tastes burnt or metallic
This often means the machine needs descaling. Scale buildup changes the brew temperature and leaves a metallic aftertaste. Run a full descaling cycle with official solution.
If the taste persists after descaling, run two rinse cycles to remove any lingering solution residue.
Aeroccino stopped frothing
The whisk inside the Aeroccino can wear out over time. Check that the whisk is still intact and spinning freely. If it's broken, replacement whisks cost around $10 to $15.
If the whisk is fine but no froth appears, the heating element inside the frother may have failed.
Can I use vinegar to descale?
Vinegar is not recommended. It's not acidic enough to remove heavy scale, and it leaves a residue that affects coffee taste. The official Nespresso descaling solution is formulated for these machines and costs about $15 for two bottles.
Citric acid is a better DIY alternative if you want to save money.
Third-party pods causing issues?
Third-party capsules can sometimes cause jams or poor flow because they don't match the exact dimensions of official capsules. They won't void your warranty, but they may require more frequent cleaning of the puncture needle and spout. If you consistently have issues with third-party pods, switch back to official capsules for a week and see if the problems stop.

Similar Posts