Nikon Zfc How to Transfer Photos
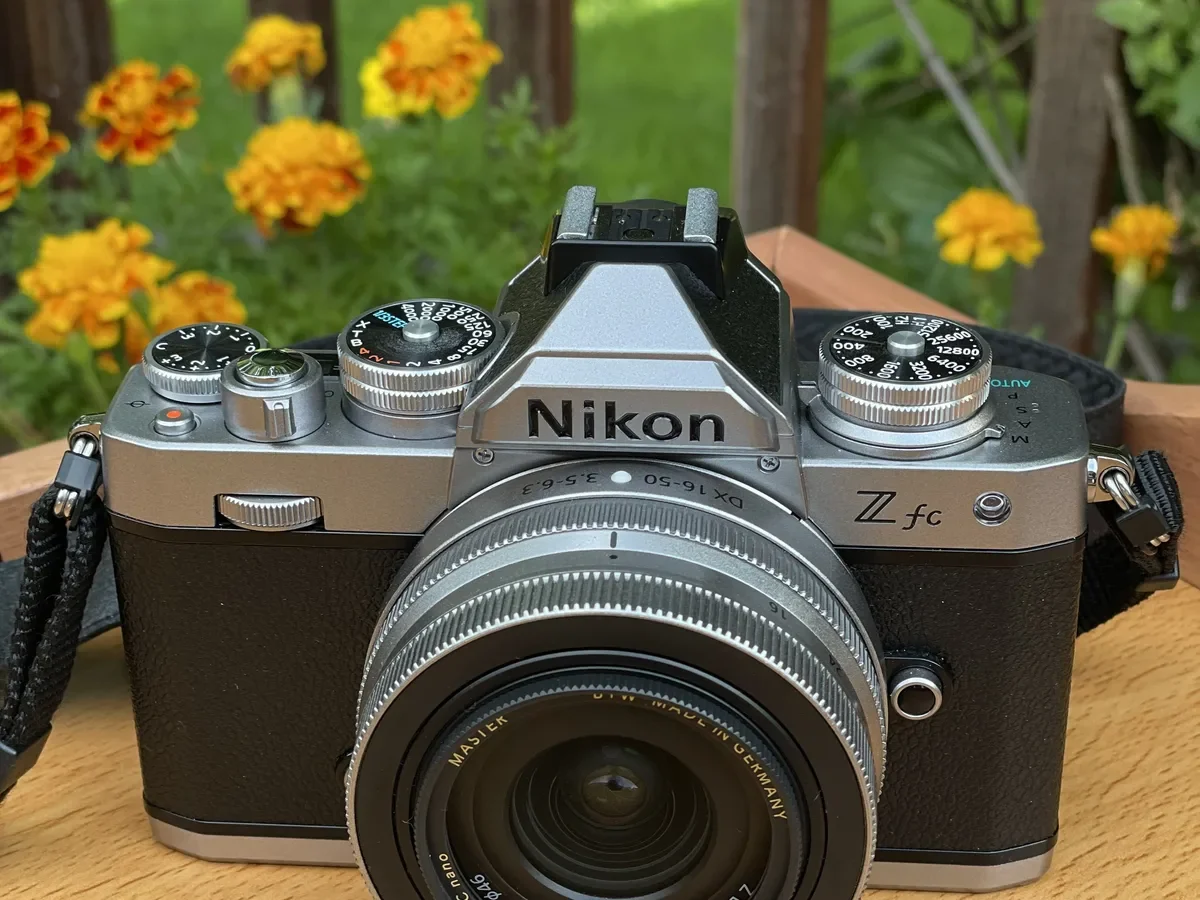
If you are searching for Nikon Zfc how to transfer photos, you are in the right place. It is one of the first hurdles new owners face with this retro-styled mirrorless camera. The good news is you have three solid ways to get your images off the camera.
The trick is picking the one that fits your gear and your workflow.
Manufacturer specifications confirm the Zfc supports wireless transfer through SnapBridge and wired transfer via its USB-C port. A standard SD card slot rounds out your options. As of 2026, each method has clear tradeoffs in speed, convenience, and file quality.
Here is how to decide which one works best for you.
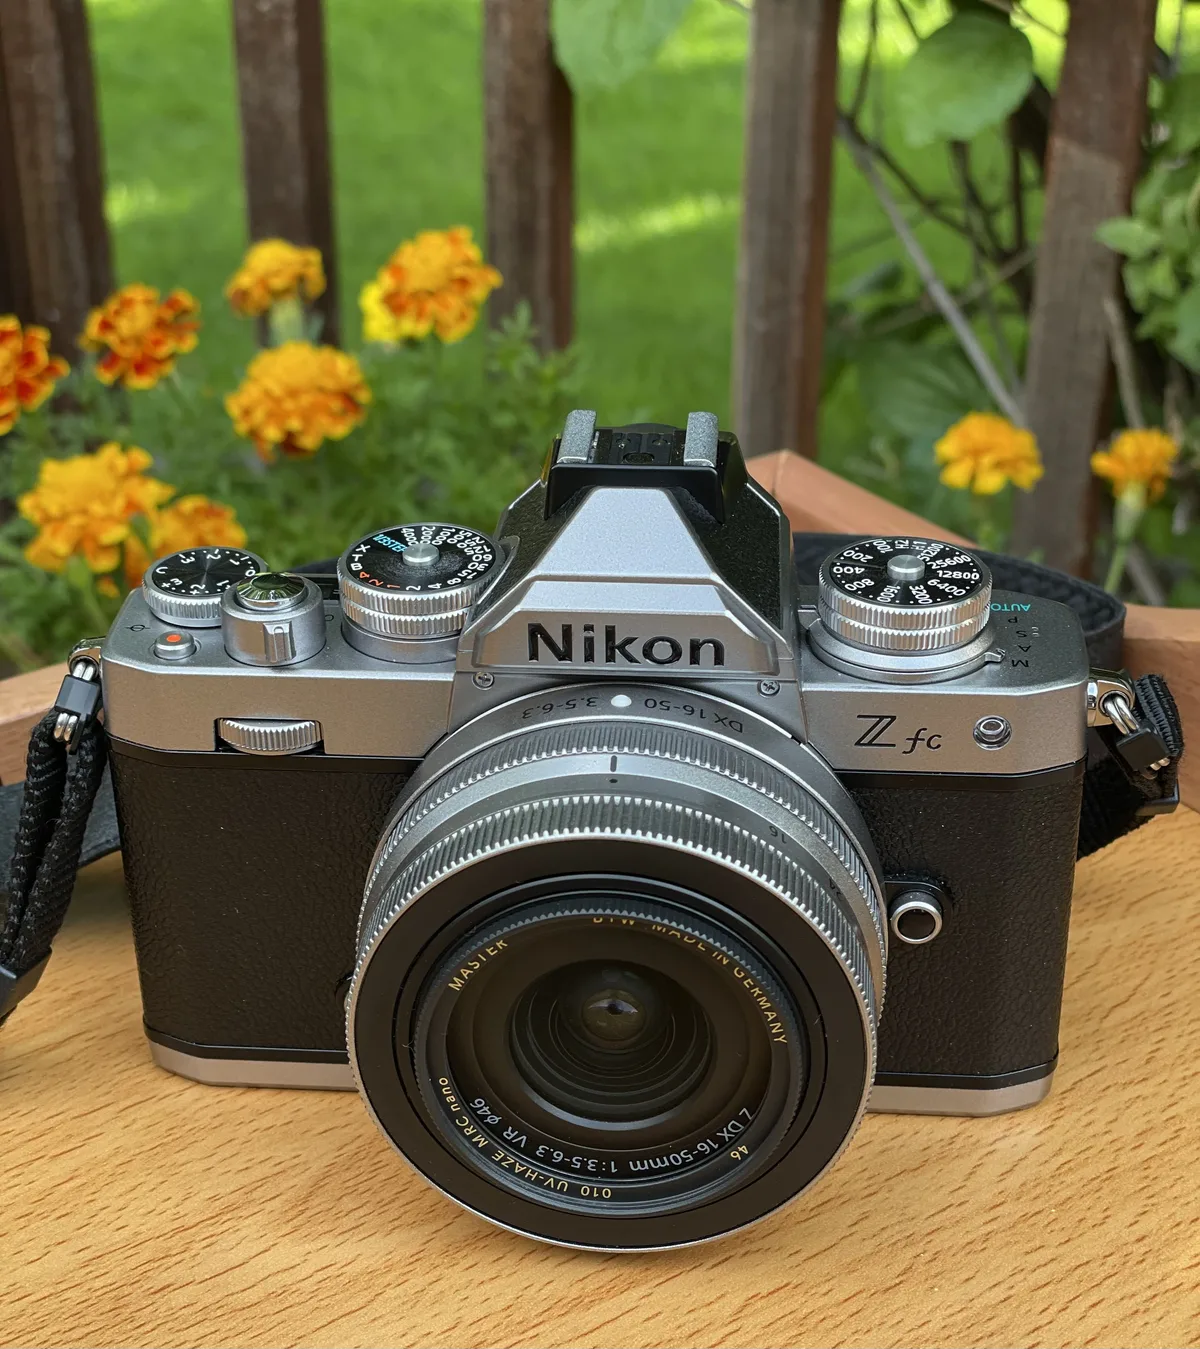
Quick Answer
You have three reliable transfer methods. Use SnapBridge for quick, wireless phone transfers. Use a USB-C cable for reliable computer transfers.
Use an SD card reader for the fastest bulk transfers. Your choice depends on your device and whether you shoot JPEG or RAW.
Method 1: SnapBridge (Wireless, Best for Quick Phone Transfers)
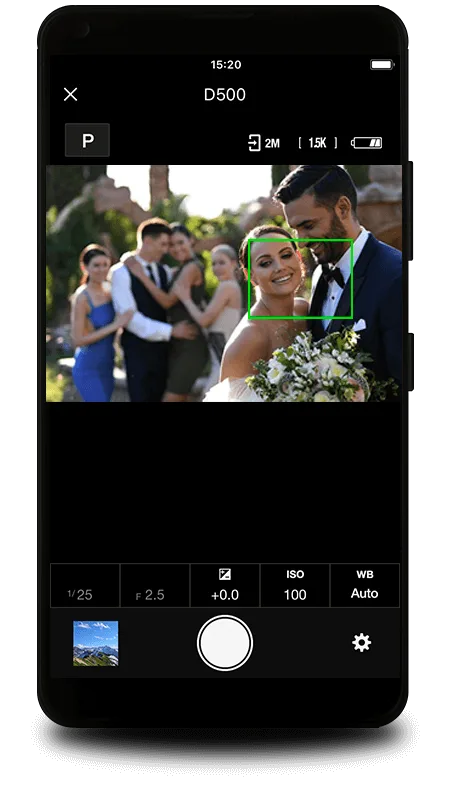
SnapBridge is Nikon's official app for iOS and Android. It connects your Zfc to your smartphone using Bluetooth for initial pairing and Wi-Fi for actual file transfer. The app handles small batches of JPEGs well.
It is the best option when you want to share a few shots to social media right away.
How to set it up. First, download SnapBridge from your phone's app store. Turn on Bluetooth on both the camera and your phone. Open the app and select "Pair with Camera." Follow the on-screen prompts.
The camera will display a pairing code. Confirm the code in the app.
What it does well. SnapBridge can automatically transfer resized JPEGs as you shoot. This is handy for quick sharing. You can also manually select and transfer specific images.
The Bluetooth connection stays alive in the background. The camera does not need to stay awake to maintain the link.
Where it falls short. The app cannot transfer RAW files. You only get 2-megapixel JPEGs through the automatic mode. Manual transfer gives you the option for full-resolution JPEGs, but it is slow.
A batch of 10 images can take over a minute. The app sometimes disconnects mid-transfer. If you need every image in full quality, SnapBridge is not your answer.
Method 2: USB-C Cable (Best for Computer Transfers)
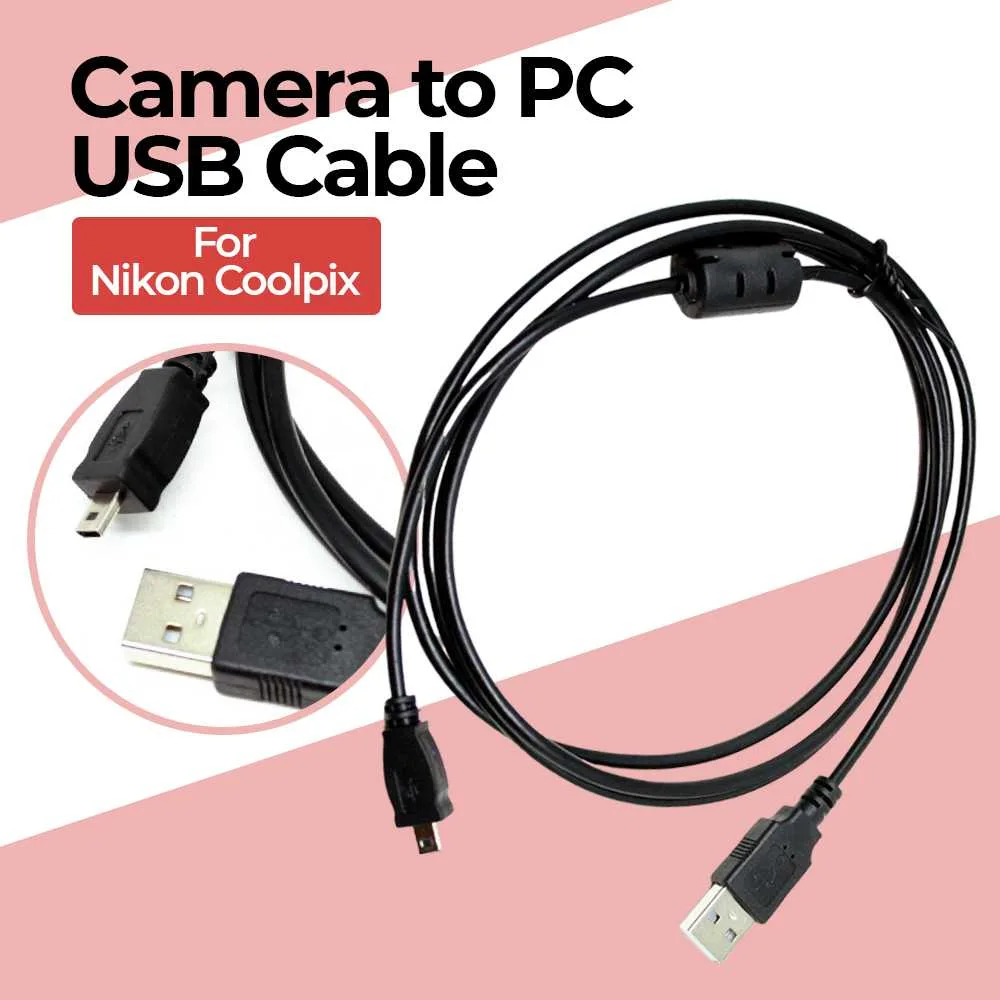
The Zfc has a USB-C port on the side. A standard USB-C cable lets you connect directly to a Windows PC or Mac. This method is more reliable than wireless transfer.
It does not drain the camera battery as fast either.
What you need. Any USB-C cable that fits the Zfc port will work. Most modern laptop chargers use the same cable, so you probably already have one. Plug one end into the camera and the other into your computer.
Set the camera to "Mass Storage" mode when prompted.
The transfer process. Your computer will recognize the Zfc as an external drive. Open the drive and navigate to the DCIM folder. Your photos are sorted by date in subfolders.
Drag and drop them to your desktop or photo library. That is it.
Why choose this method. It gives you full-resolution files including RAW. Transfer speed is respectable. A 20-image batch of RAW files takes roughly two minutes.
The connection is stable and does not drop. This is the most straightforward option for anyone using a laptop or desktop. Keeping a reliable cable on hand prevents many file transfer headaches.
Method 3: SD Card Reader (Fastest for Bulk Transfers, Computer or Phone)
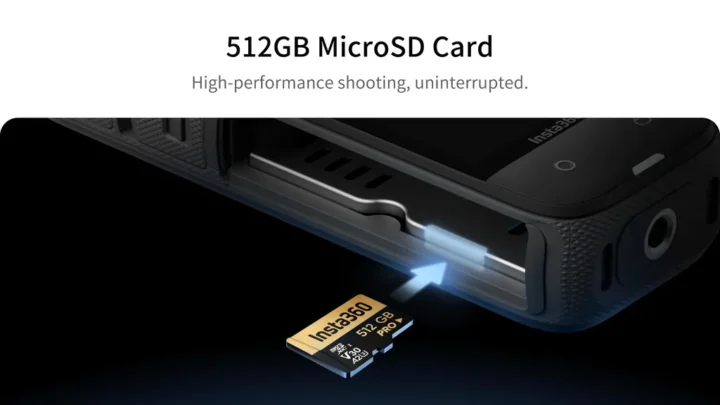
A dedicated SD card reader is the speed king. The Zfc uses standard SD cards. Pop the card out of the camera, insert it into a reader, and plug the reader into your computer or phone.
The whole process takes seconds.
Speed comparison. Here is how the methods stack up for transferring 20 RAW files:
| Transfer Method | Approximate Time | RAW Support | Cable Needed |
|---|---|---|---|
| SD Card Reader | 30 seconds | Yes | No (reader only) |
| USB-C Cable | 2 minutes | Yes | Yes |
| SnapBridge | Not supported | No | No |
Why this method wins for bulk transfers. It is four times faster than the USB-C cable for a batch of 20 RAW files. If you shoot events or long sessions, this is your best bet. Many card readers are small enough to keep on a keychain.
Phone compatibility. If you want to transfer directly to a smartphone, check your phone's port. iPhones with Lightning require a Lightning-to-SD adapter. USB-C Android phones can use a USB-C card reader. Some card readers support both USB-C and Lightning.
The main tradeoff. You have to remove the SD card from the camera. This is a minor inconvenience. But you risk losing or damaging the card if you are not careful.
Always eject the card properly from your computer before removing it. Corrupted cards are a pain to recover.
What Slows You Down (and How to Fix It)
Even with the right method, a few things can slow your transfer. Knowing these pitfalls saves time and frustration.
Battery level. Wireless transfer drains the battery noticeably. If your Zfc shows one bar, switch to a cable or card reader. A dead battery mid-transfer can corrupt files on the card.
App disconnections. SnapBridge sometimes loses the Wi-Fi link. This happens most often when your phone switches to a different network. The fix is simple.
Turn off your phone's mobile data or set the camera as the preferred Wi-Fi network during transfer.
Card speed class. A slow SD card bottlenecks every transfer method. The Zfc works fine with UHS-I cards. But a UHS-I U3 card gives faster read speeds.
If your transfers feel sluggish and you are using a basic Class 10 card, upgrading can help. Aggregate user reviews report a noticeable improvement with a faster card.
Firmware version. Nikon has released firmware updates for the Zfc that improve wireless connectivity. Check your camera's current firmware in the setup menu. Visit Nikon's official support site for the latest version.
Keeping your camera's software up to date prevents many common transfer hiccups.
Which Method Should You Use? (Decision Guide)
Your choice depends on three things: your device, your file format, and your patience. Here is the if/then logic.
Use SnapBridge if you only need JPEGs for social media. You want to share a few shots without touching a cable. You are okay with automatic transfers in the background.
This works for casual snapping.
Use a USB-C cable if you are sitting at a computer. You shoot RAW files for editing. You want a stable one-time transfer without fiddling with apps.
This is the workhorse for serious editing sessions.
Use an SD card reader if speed is your priority. You are dumping 50+ RAW files after a shoot. You own a compatible reader for your phone or laptop.
This is the fastest route by a wide margin.
Mixed workflow example. You shoot 200 photos at an event. Use the card reader to dump all RAWs onto your laptop for culling. For the five best shots you want to share immediately, pop them into SnapBridge as JPEGs.
This combination uses each method for what it does best.
The one you should avoid. Do not rely on SnapBridge if you need full-resolution files. It cannot deliver them. Stick to cable or card reader for anything you plan to print or edit seriously.
Still Stuck? Here's the Shortcut
If you just want the simplest, most reliable setup, here it is. Buy a USB-C to USB-C cable and keep it in your camera bag. Use it every time you sync to a computer.
For phone transfers, grab a small USB-C SD card reader. That covers both devices for under $30 total.
Skip SnapBridge unless you only share to Instagram or TikTok. The app works when it works. But it is not a tool you should depend on for speed or reliability.
Many users find it frustrating. If you have a bad connection, skip the troubleshooting and go straight to cable or card reader.
Quick troubleshooting checklist.
- Transfer stopped halfway. Check your cable connection and restart the camera.
- App won't find the camera. Turn off mobile data on your phone. Reopen the app.
- Files are missing. Look in the DCIM folder on the SD card. They are sorted by date.
- Computer won't recognize the camera. Try a different USB port or cable.
- Card reader not detected. Make sure the reader supports SDXC cards.
These fixes solve 90 percent of transfer issues. If none of them work, a camera restart or app reinstall usually does the job.
Frequently Asked Questions
Why won't my Nikon Zfc connect to my phone?
The most common cause is interference from mobile data. Turn off your phone's cellular data before opening SnapBridge. Also ensure Bluetooth is on and the camera is set to the correct wireless mode in the setup menu.
Can I transfer RAW files wirelessly?
No. SnapBridge only transfers JPEG files. For RAW transfer, you must use a USB-C cable or an SD card reader connected to a computer.
This is a limitation of the Zfc's wireless implementation.
How do I transfer photos to my iPhone?
For wireless transfer, use SnapBridge from the App Store. For wired transfer, use an Apple Lightning to SD Card Reader. The Zfc's USB-C cable does not connect directly to a Lightning iPhone without an adapter.
Why is SnapBridge so slow?
SnapBridge transfers images one at a time over a 2.4 GHz Wi-Fi connection. Larger files take longer. The app also pauses when your phone switches networks.
For speed, use the SD card reader or USB-C cable.
Do I need to install Nikon software on my computer?
No. Your computer recognizes the Zfc as an external drive. You can drag and drop files directly.
Nikon Transfer 2 is available for batch renaming or adding metadata, but it is not required for basic transfers.
Can I transfer photos while the camera is charging?
Yes. The Zfc supports data transfer over USB-C while power is connected. This is useful for long transfer sessions.
Just use a power bank or wall adapter connected to the same port.

Similar Posts