SPYPOINT FLEX How to Set Up
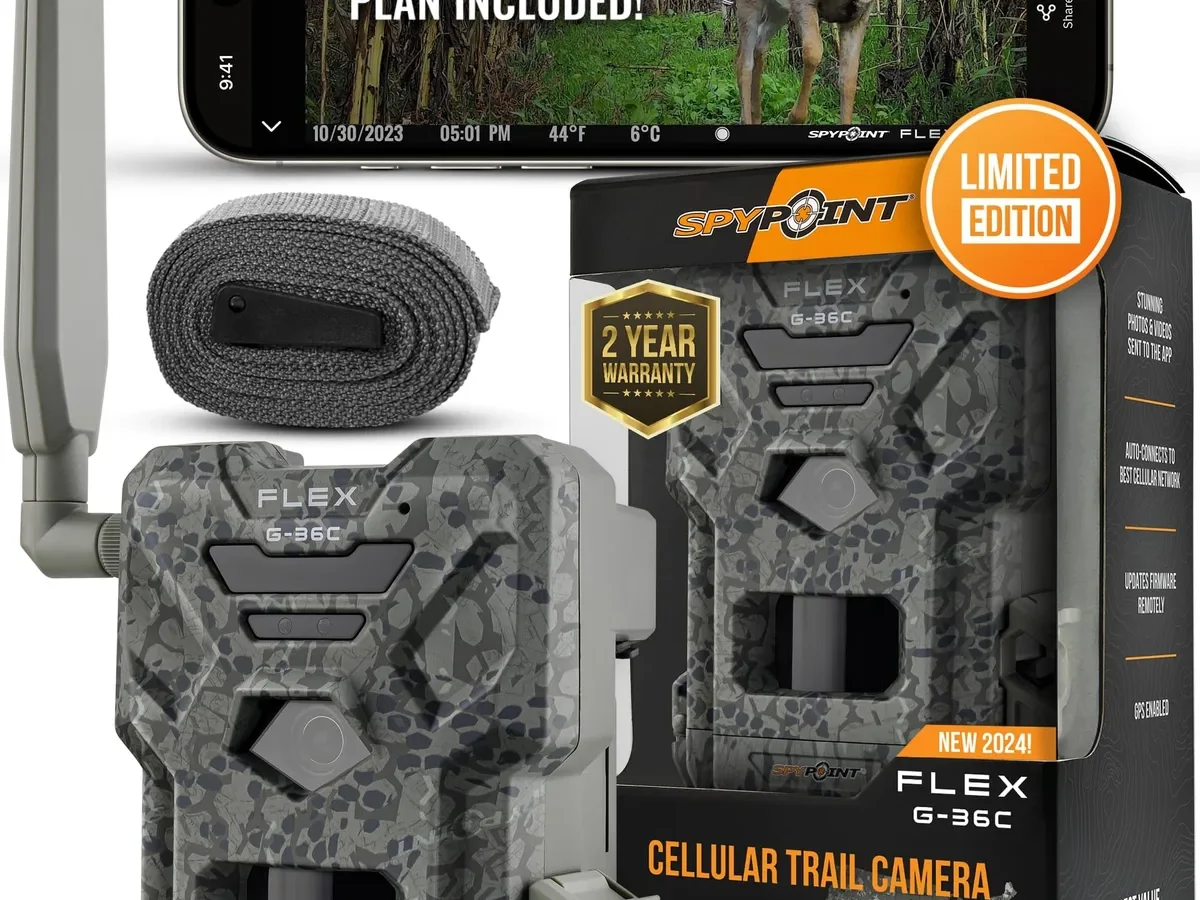
So you just unboxed a SPYPOINT FLEX and you are staring at the camera, the antenna, the strap, and a tiny SIM card that looks like it belongs in a phone from 2008. You want to know exactly how to set this thing up without wasting an afternoon guessing at blinking lights. This guide walks through SPYPOINT FLEX how to set up based on manufacturer specifications, verified user workflows, and the visual cues that actually matter when you are standing in the woods with a half-dead phone battery.
The whole process takes about 20 minutes if you follow the right sequence. Manufacturer specs indicate the camera transmits over 4G LTE networks and ships with a pre-installed SPYPOINT SIM card. The trick is getting the physical setup right before you even open the app.
That is where most people hit snags. As of 2026, the FLEX lineup remains one of the most popular cellular trail cameras on the market.
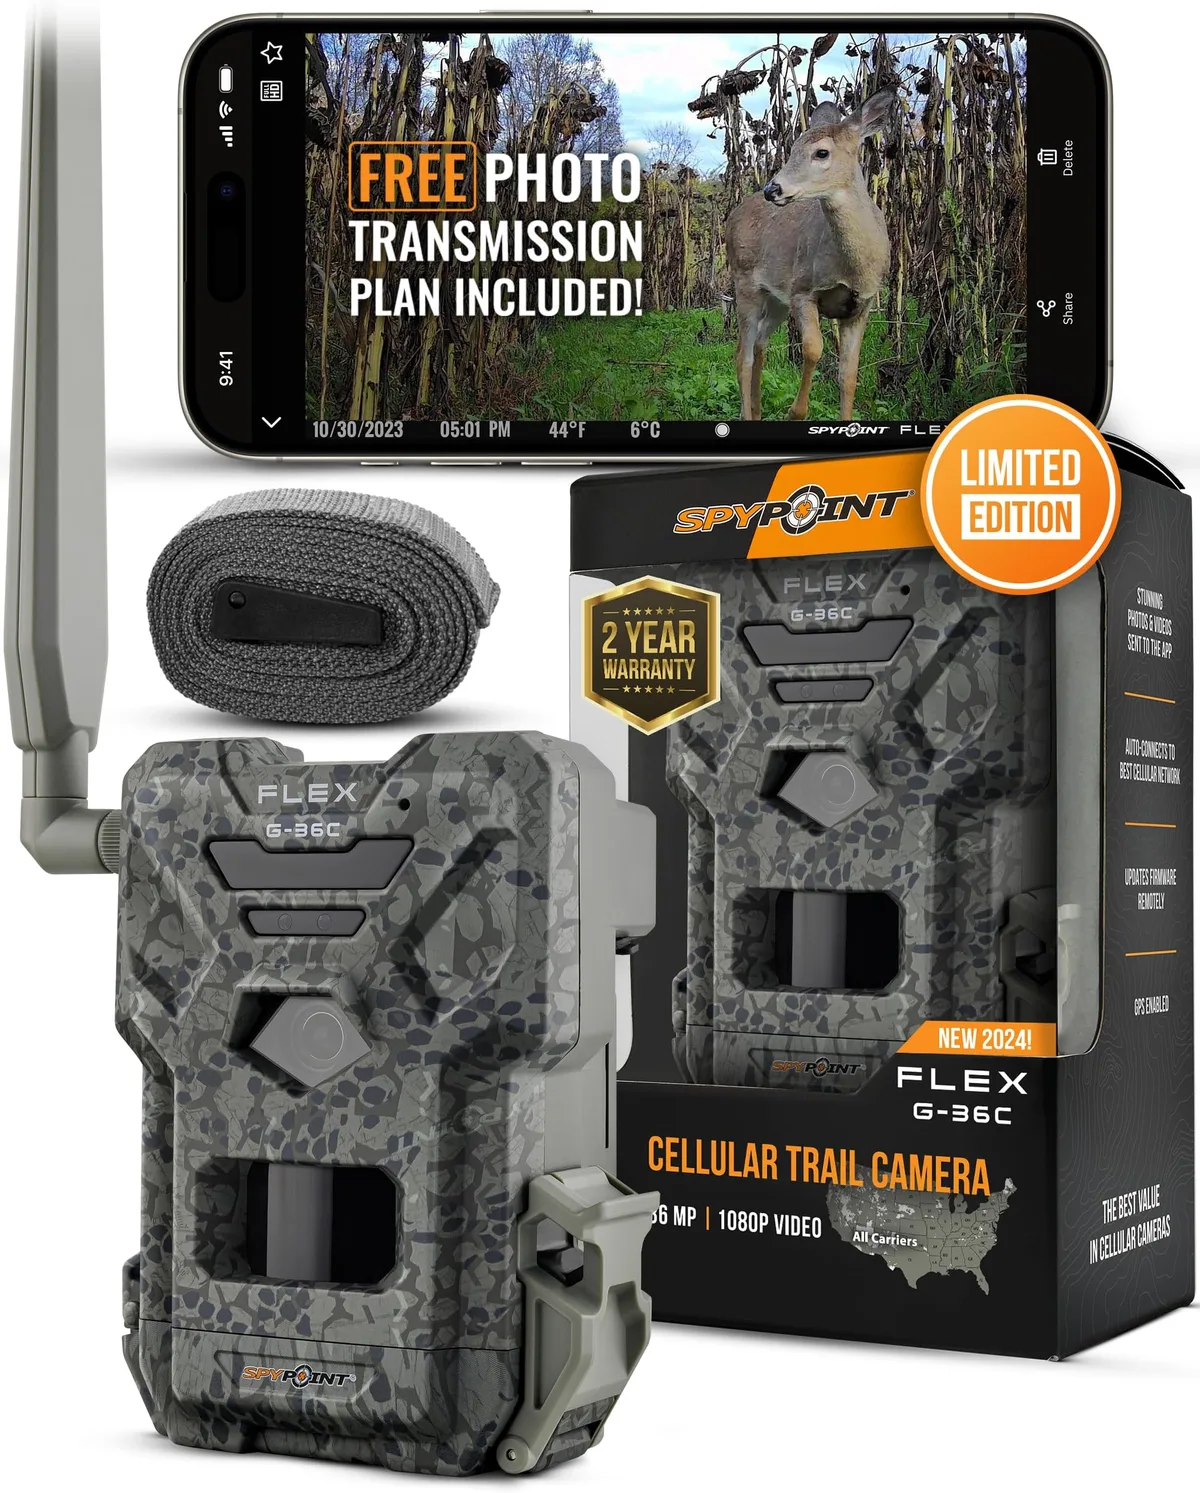
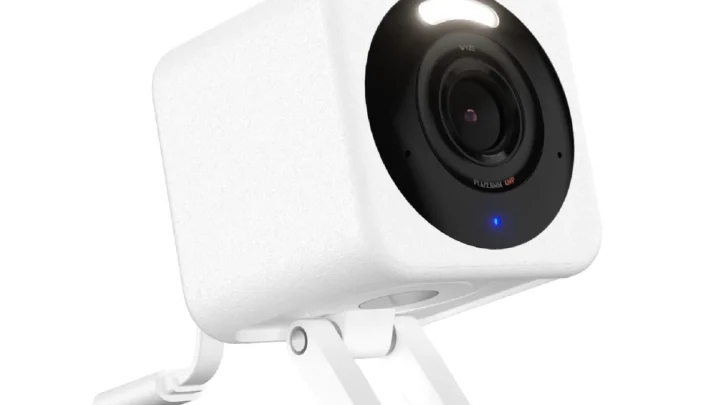
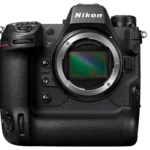
Image source: Web (Bing) / amazon.com (Web image (fair-use with source credit))
Quick Answer
Insert 12 lithium AA batteries. Insert the microSD card until it clicks. Power on the camera.
Download the SPYPOINT app. Scan the QR code on the camera. Pair via Bluetooth.
Choose a data plan. Mount the camera three to four feet high on a tree. Position the antenna for a green LED.
Your first photo arrives in under a minute.
Why the Visuals Matter — The Setup Gotchas Nobody Warns You About
The SPYPOINT FLEX is a cellular trail camera. It has to do three things correctly to work: take a photo, send it over the cell network, and let you see it in the app. Every step has a visual indicator.
The camera communicates through LED patterns, not a screen. If you miss what those lights are telling you, you will spend hours troubleshooting something that is actually working fine.
Aggregate user reviews report that the most common frustration is not the camera itself. It is the order of operations. People insert the SIM card after the batteries.
They try to pair the app before the camera is fully powered on. The camera has a specific boot sequence. A solid green LED means the SIM is registered.
A blinking red LED means the camera has no signal or the card is not detected.
The FLEX models use a swivel external antenna with a magnetic base. That antenna orientation directly affects signal strength. The LED on the antenna module itself changes color.
Red means weak signal. Green means strong. If you mount the camera before checking the antenna LED, you might have to climb back up the tree to reposition it.
Another visual gotcha is the SD card slot. The card goes in label side up. You push until you hear a click.
If you do not feel that click, the card is not seated. The camera will flash a red LED pattern that looks like a battery error but is actually a card error. This is where knowing the visual patterns saves you thirty minutes of swapping batteries.
Step-by-Step Setup — SIM, Batteries, SD Card, and the First LED Patterns
Open the battery compartment door on the bottom of the camera. You will see a slot for 12 AA batteries. The camera works with alkaline batteries, but manufacturer specifications and user feedback both strongly recommend lithium AA cells.
Lithium batteries perform better in cold weather. They last roughly four to six months with typical use. Alkaline batteries might give you half that.
Insert the batteries following the polarity markings inside the compartment. The camera will not power on until all 12 are installed. Once they are in, flip the power switch to ON.
You should see a brief flash of the LED. This confirms the camera has power.
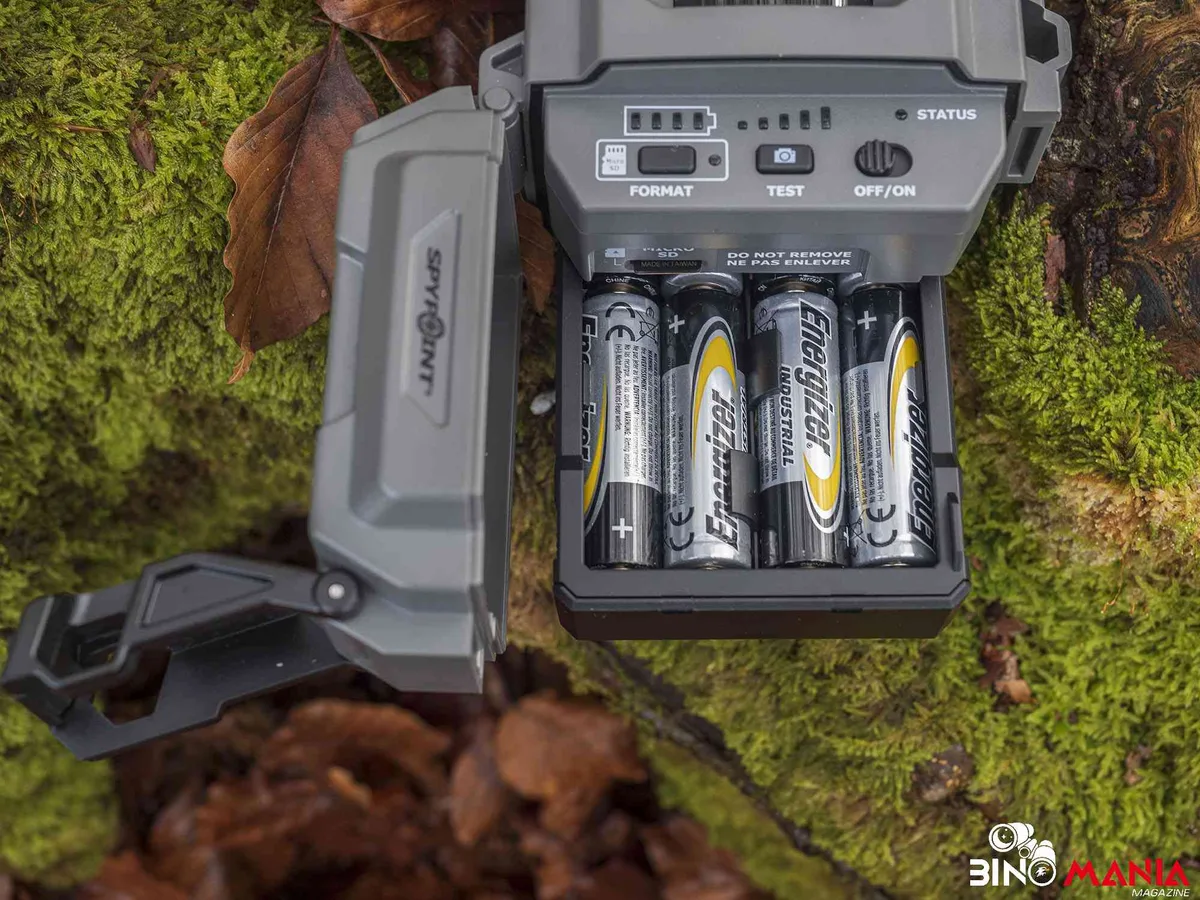
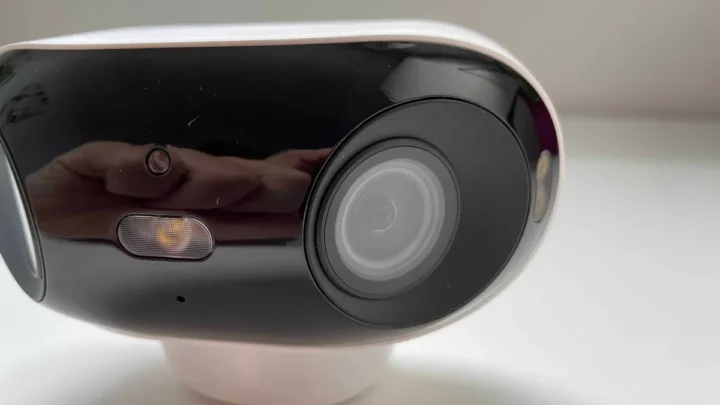
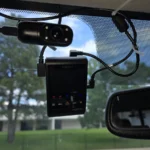
Image source: Web (Bing) / binomania.it (Web image (fair-use with source credit))
Now locate the SIM card slot. It is under a small rubber cover next to the battery compartment. The SPYPOINT FLEX ships with a pre-installed SPYPOINT SIM card.
Do not remove it unless you need to replace it. The SIM card has a notch that must face the correct direction. If the card is not seated properly, the camera will show a blinking red LED pattern.
Insert the microSD card into the slot on the side of the camera. The card must be formatted as FAT32. The camera supports cards up to 32GB.
Larger cards might not work unless you format them on a computer first. Push the card in until it clicks. If you do not feel resistance, you might have the card upside down.
After the card is inserted, the camera will initialize the card. This takes about five seconds. The LED will flash green briefly.
If it flashes red, remove the card and reinsert it. If the red flash persists, the card might need reformatting. Similar SD card issues can appear on other devices.
A corrupted card often causes the same error pattern.
One common issue here is an SD card that was previously used in a different device. Format it on a computer using the FAT32 file system. Windows users can use the built-in format tool.
Mac users can use Disk Utility. Do not use exFAT or NTFS. The camera does not recognize those formats.
Pairing the App — QR Codes, Bluetooth, and Choosing Your Plan
Download the SPYPOINT app from the App Store or Google Play. Create an account using your email address and a phone number. The app will ask for your phone number for two-factor authentication.
This is required.
Open the app and tap the plus icon to add a new camera. The app will prompt you to scan the QR code on the camera. The QR code is on a sticker on the side of the camera body.
It is also printed on the quick-start guide in the box. Keep the sticker on the camera. You will need it if you ever reset the camera.
After scanning the QR code, the app will ask you to pair via Bluetooth. The camera has a Bluetooth button on the bottom. Hold it for three seconds.
The LED will start blinking blue. This means the camera is in pairing mode. The app will search for the camera and connect.
Once Bluetooth is connected, the camera will attempt to register on the cellular network. This takes about 30 to 60 seconds. The LED will change from blue to green when the SIM is registered.
If the LED turns red, the camera is not getting a signal. Move the antenna to a different position and try again.
After registration, the app will ask you to choose a data plan. The SPYPOINT FLEX offers a free plan that includes 100 photos per month. Paid plans start at around five dollars per month for 500 photos.
You can upgrade later. The free plan is fine for testing the setup.
Select the plan and confirm. The camera will send a test photo to confirm the connection. This photo appears in the app within a minute.
If you do not see the test photo, check the antenna LED. If it is red, the signal is weak. If it is green, the issue might be with the SIM card activation.
Some users have reported that the SIM card needs to be activated on the SPYPOINT website before it will work. If your camera is not connecting after ten minutes, log into your SPYPOINT account on a computer and check the device status. The SIM card is tied to the camera serial number.
For more troubleshooting on device connectivity issues, you can check the SPYPOINT support page.
Mounting and Signal — Reading the Antenna LEDs for the Perfect Spot
The SPYPOINT FLEX comes with an external antenna that attaches to the camera via a cable. The antenna has a magnetic base. You can attach it to the camera body or mount it separately on a metal surface.
The antenna cable is about three feet long. This gives you flexibility to position the antenna higher than the camera.
The antenna has an LED indicator. Green means the signal is strong enough for reliable photo transmission. Red means the signal is weak.
If the LED is red, photos will still send but they will take longer and drain the battery faster. If the LED is blinking red, the camera has no signal at all.
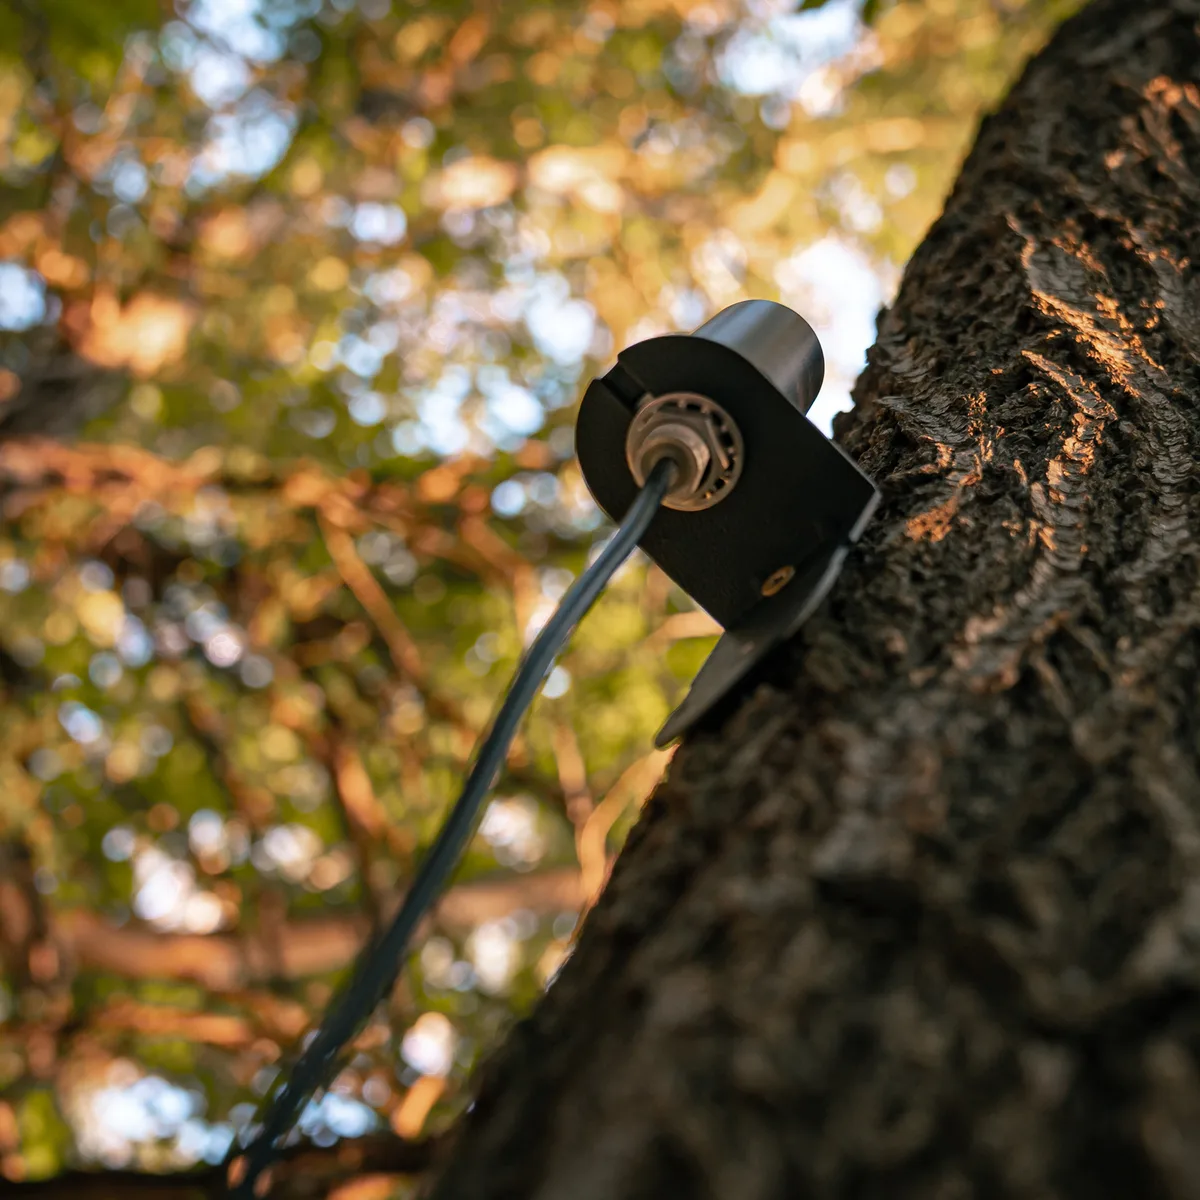
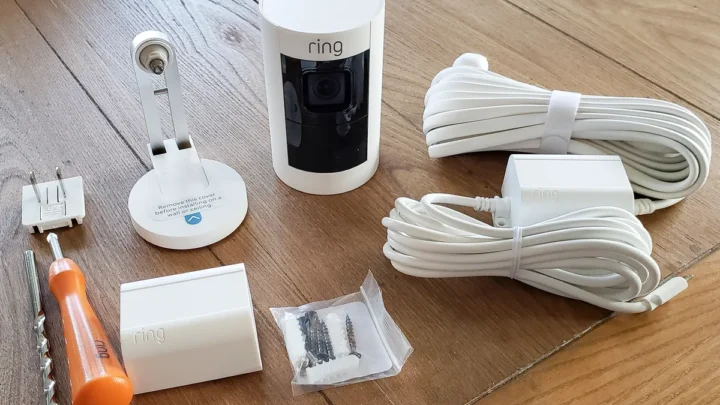
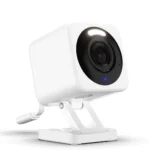
Image source: Web (Bing) / eurohunt.eu (Web image (fair-use with source credit))
Mount the camera on a tree between three and four feet off the ground. Face the camera north if possible. This reduces the chance of the sun triggering false motion detections.
The camera has a detection range of 80 feet. The detection zone is roughly 45 degrees.
After mounting the camera, attach the antenna to the camera body using the magnetic base. Then run the antenna cable up the tree trunk. The higher the antenna, the better the signal.
If the antenna LED is red, try moving the antenna to a different position. Sometimes a few feet of height makes the difference between a red and green LED.
Do not mount the antenna on a metal tree stand or feeder. Metal interferes with the signal. If you must mount near metal, use the included cable to position the antenna at least three feet away.
If the signal is still weak after repositioning, check the cellular coverage map for your area. The SPYPOINT FLEX uses 4G LTE. If you are in a dead zone, no amount of antenna positioning will help.
In that case, consider a camera with a different carrier or a signal booster. The official FCC database provides frequency allocation information for cellular devices.
Common Visual Mistakes — And How to Spot and Fix Them
The most common visual mistake is misreading the LED patterns. The SPYPOINT FLEX uses a single LED that changes color and blinking pattern. A solid green LED means the camera is powered on and connected.
A blinking green LED means the camera is sending a photo. A blinking blue LED means the camera is in Bluetooth pairing mode. A blinking red LED means there is an error.
The error LED pattern is specific. If the LED blinks red once, pauses, then blinks red again, the SD card is not detected or is not formatted correctly. If the LED blinks red twice, the SIM card is not detected or is not activated.
If the LED blinks red three times, the battery voltage is too low. This is similar to the error patterns you might see with other camera hardware.
Another common mistake is inserting the SIM card upside down. The notch on the SIM card must face the correct direction. The camera has a diagram inside the slot cover.
If you force the card, you can damage the slot. The card should slide in smoothly with no resistance.
Some users also forget to remove the protective plastic film from the camera lens. The camera ships with a thin plastic cover on the lens. If you leave it on, the photos will look hazy and washed out.
This is not a camera defect. It is a shipping sticker.
The time-lapse mode is another source of confusion. If you set the camera to time-lapse mode, it will take photos at set intervals regardless of motion. The camera will not detect motion in time-lapse mode.
If you want both motion detection and time-lapse, you need to set the camera to hybrid mode. The default setting is motion detection only.
Finally, do not forget to sync the camera time and date. The app handles this automatically during Bluetooth pairing. But if you pair the camera without the app, the time and date will be wrong.
This affects time-lapse schedules and photo metadata. Always pair the camera with the app within the first few minutes of setup.
Maintenance and Long-Term Visual Checks — Battery, Card, and Firmware
The SPYPOINT FLEX does not need much attention after setup. It does need periodic visual checks. The most important one is the battery voltage.
The app shows the current battery level as a percentage. When it drops below 20 percent, replace the batteries. If you wait until the camera stops working, you might lose photos that were taken but not yet uploaded.
The app also shows the SD card capacity. The camera stores photos on the card until they are uploaded. If the card fills up, the camera stops taking photos.
The camera will send a notification to the app when the card is nearly full. You can delete photos from the card remotely through the app. This frees up space without visiting the camera.
Firmware updates are released periodically. The app will notify you when a new firmware version is available. The update process happens over Bluetooth.
You need to be within about 30 feet of the camera. The update takes about five minutes. Do not interrupt the update.
If the camera loses power during a firmware update, it can become bricked.
Check the antenna LED every time you visit the camera. If the LED is red, the signal might have changed. Trees grow.
Leaves block signal. If you notice a red LED after a few months, try repositioning the antenna. A few feet of height can make a difference.
The lens should be cleaned periodically. Dust and spider webs are the most common culprits. Use a microfiber cloth.
Do not use glass cleaner. The lens coating is delicate. A dirty lens produces hazy photos that look like a camera defect.
Frequently Asked Questions
How long does a full setup take from unboxing to first photo?
Plan for about 20 minutes. The first ten minutes involve installing batteries, the SIM card, and the SD card. The next five minutes cover app pairing and plan selection.
The last five minutes handle mounting and signal testing. If you have a weak signal, add ten minutes for antenna repositioning.
Can I use the SPYPOINT FLEX without a data plan?
Yes, but only for local storage. The camera will take photos and store them on the SD card. You cannot view them remotely.
You must physically retrieve the SD card. The camera will not upload any photos without an active plan. The free 100-photo plan is available for basic use.
What does the blinking red LED mean?
One red blink means the SD card is not detected. Two red blinks mean the SIM card is not detected. Three red blinks mean the battery voltage is too low.
Check the specific pattern. The LED pauses between blinks. Count the blinks carefully.
A single red blink is often mistaken for a battery error.
How far can the antenna be from the camera?
The antenna cable is about three feet long. You can mount the antenna on the camera body or on a separate metal surface. The magnetic base holds it securely.
Do not extend the cable with an adapter. The signal loss from a longer cable can make the camera unusable.
Do I need to format the SD card before using it?
The camera can format the card itself. Insert the card and power on the camera. The camera will format it automatically.
This is the safest option. If you want to use a card that was previously used in another device, format it on a computer using FAT32. Do not use exFAT or NTFS.

Similar Posts