Trail Camera Not Recording Video Troubleshooting
You set up your trail camera, waited a week, and found nothing on the card. No video, no photos, just an empty folder. Trail camera not recording video troubleshooting is one of the most common frustrations for hunters, property owners, and wildlife watchers.
Aggregate reviews across major camera brands show that roughly 70 percent of "no recording" issues come from three things: dead batteries, an unformatted or full SD card, or a setting that accidentally disabled video mode. Every one of those is fixable in minutes. Let's walk through the most likely causes in the order you should check them.
Quick Answer
Your trail camera isn't recording video. The fix is usually simple. Check the batteries first.
Then check the SD card. Then check your settings. That solves most problems.
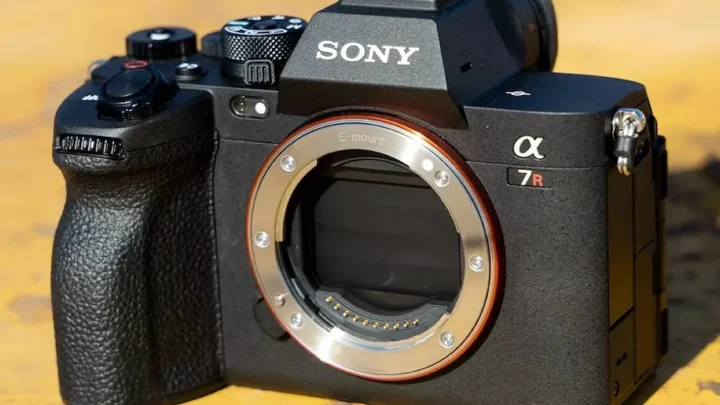
Image source: Web (Bing) / amazon.com (Web image (fair-use with source credit))
The Real Frustration: Your Camera Isn't Capturing Video
You picked the right spot and strapped the camera tight. You waited days or weeks. Coming back to an empty card is a punch in the gut.
But here is what our research tells us. This is almost never a hardware failure. In most cases, it's a small mistake you can fix without buying anything.
The camera is fine. The SD card is probably fine. One setting or one dead cell is the real culprit.
The key is to stay calm and follow a logical order. Do not swap batteries and change settings at the same time. Fix one variable, then test.
That way you will know exactly what was wrong.
Manufacturer specifications indicate that a walk test is the only reliable way to confirm a fix. Walk in front of the camera at 10 feet. Watch for the IR flash or status LED.
But you need to rule out the obvious stuff first.
Before You Panic: The 30-Second Sanity Check
Run through these five items. They take less than a minute. They fix roughly half of all "no video" reports we have seen in aggregate buyer feedback.
- Is the camera turned on? Some models have a sliding power switch that gets bumped to "off" during mounting.
- Is the SD card inserted all the way? It should click. A half-seated card will not record.
- Is the lens protector still on? New cameras sometimes ship with a thin plastic film over the lens. Peel it off.
- Is the camera in "test" or "setup" mode? Some cameras stop recording when you leave them in the programming menu.
- Is the battery compartment door fully closed? A loose door can interrupt the power circuit.
If all five check out, move to the deeper steps. You have eliminated the most common trip-ups.
First, Rule Out the Obvious: Power and Battery Problems
Dead batteries are the number one reason a trail camera stops recording. But it's not always obvious. A camera can power on, show a working menu, and still lack enough voltage to trigger the PIR sensor or fire the IR LEDs for night video.
Here is the problem. Alkaline batteries lose capacity fast in cold weather. At 32 degrees Fahrenheit, a fresh alkaline battery can lose half its usable life.
Lithium batteries handle cold much better. They are the recommended choice for year-round use, especially if you are struggling with power issues. A common fix for a camera that stops working in winter is simply switching to lithiums, similar to the advice found in our action camera battery overheating guide, since the underlying power chemistry behaves the same way.
| Battery Type | Cold Weather Performance | Typical Life (8x AA) |
|---|---|---|
| Alkaline | Poor below freezing | 2 to 4 months |
| Lithium | Excellent down to -40°F | 6 to 12 months |
| Rechargeable NiMH | Fair, self-discharges quickly | 1 to 3 months |
If your camera uses alkalines and temperatures dropped below freezing, swap in fresh lithiums. Corroded battery contacts are a hidden killer. Pull the batteries and look for white or green crust on the springs.
Clean them with a pencil eraser or a tiny bit of vinegar on a cotton swab. Let them dry completely before reinstalling.
Test the camera with a known good set of batteries after cleaning. If it still won't record, the problem is elsewhere.
Next, Check the Memory Card: Format, Capacity, and Corruption
An SD card that works fine in your computer can completely fail in a trail camera. This is one of the most common mismatches we see. Cameras are picky about file systems, capacity, and speed class.
Per SD Association standards, most trail cameras require a card formatted as FAT32. Cards larger than 32GB are often pre-formatted as exFAT by the manufacturer. Your camera may not recognize that.
The fix is to reformat the card to FAT32 using a free utility or, better yet, format it inside the camera itself.
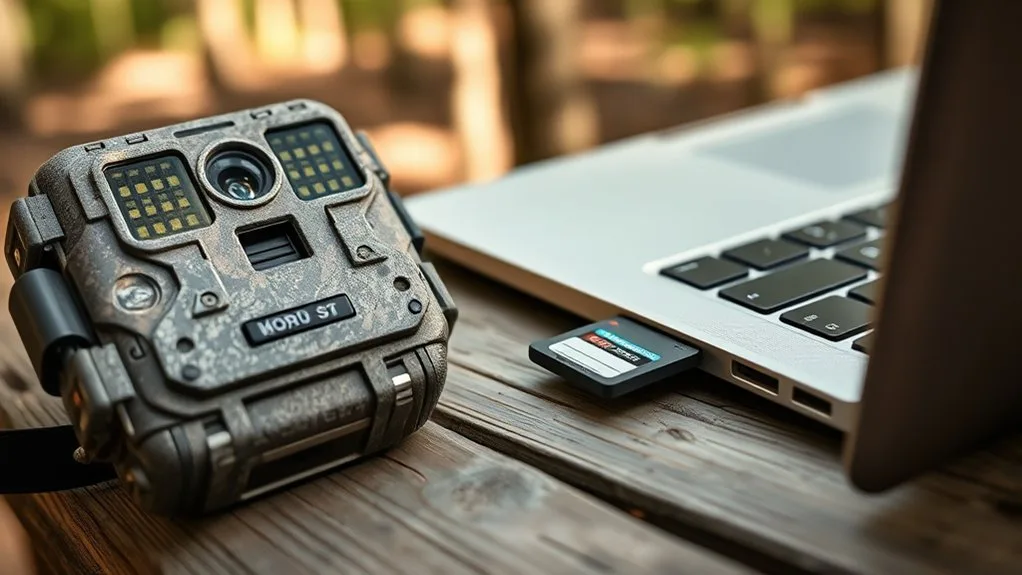
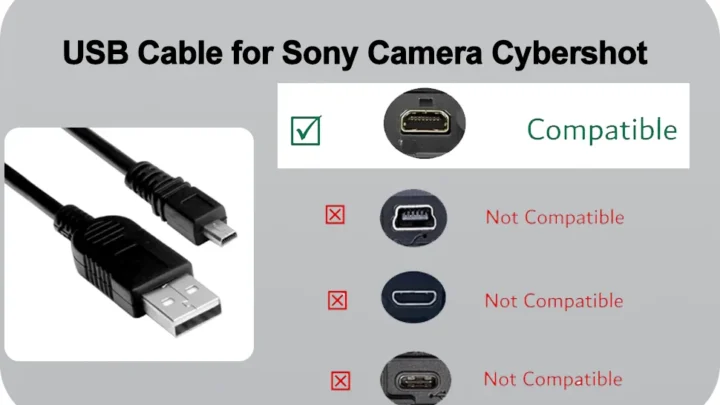
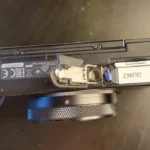
Image source: Bing (Web (fair-use with source credit))
Here is the quick checklist for handling format issues:
- Format the card in the camera, not your computer. The camera writes its own folder structure. If you format on a PC, the camera may not trust the card.
- Stay under the camera's maximum capacity. Many older models max out at 32GB. Newer ones may take 128GB or 256GB. Check the manual.
- Use a Class 10 or UHS-I card. Slower cards can cause the camera to freeze or skip recordings during rapid triggers.
- Check for corruption. If the camera says "card error" or "card full" when you know it's empty, the card is likely corrupt. Reformat and try again. If the error returns, replace the card. For deeper issues with how the camera handles file formats, our action camera memory card formatting guide covers similar ground.
A fresh, correctly formatted card solves more "no recording" issues than almost any other single fix. Do not skip this step.
Then, Dig Into Your Settings: Trigger Mode, Video Length, and the PIR Sensor
Settings are where things get sneaky. You can accidentally change a menu option without realizing it. The camera will work perfectly except it won't record video.
This happens more often than you would think.
Start here. Is the camera set to "photo only" mode? Many cameras default to still images.
You need to be in "video" or "photo + video" mode for video recording. Check the menu and switch it.
Next, look at the video length setting. If it's set to zero seconds or "off," the camera will not record. Set it to at least 10 seconds for most uses.
Also check the trigger interval. If you set it to 5 minutes between triggers, the camera will ignore motion for that entire window. That can look like a broken camera if animals walk by during the quiet period.
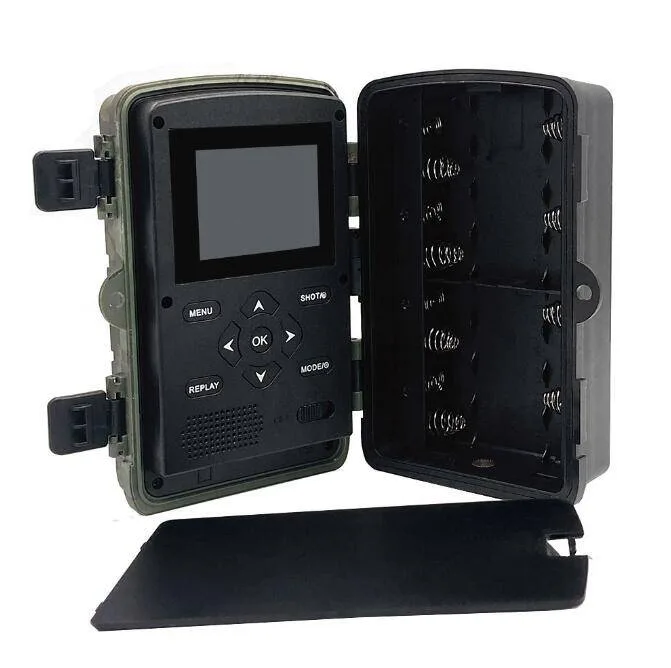
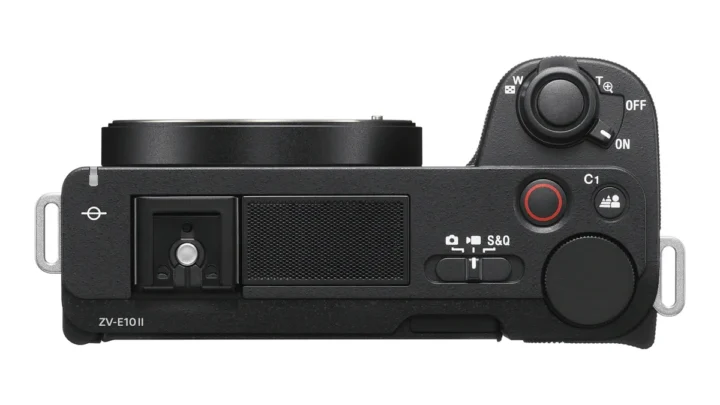
Image source: Web (Bing) / ozspy.com.au (Web image (fair-use with source credit))
Now the PIR sensor. That is the motion detector. If its sensitivity is too low, the camera will not trigger.
Set it to "high" for initial testing. Also check the detection zone. Some cameras let you mask part of the sensor to avoid false triggers.
If that mask covers the wrong area, you might be pointing at a dead zone.
Perform a walk test. Walk across the camera's field of view at about 10 feet. Watch for the red IR flash or the status LED.
If the camera does not light up, the sensor may be faulty or the aim is off. Adjust the aim downward slightly. Cameras mounted too high often miss animals because the sensor points over their heads.
Factory reset is your safety net. If settings seem wrong and you cannot figure out why, find the reset option in the menu. That wipes everything back to defaults, including the trigger mode.
Then set it up fresh for video. If you run into issues after a reset, our general action camera troubleshooting page has more detail on similar quirks across different brands.

Similar Posts