Wolf Oven Troubleshooting Guide
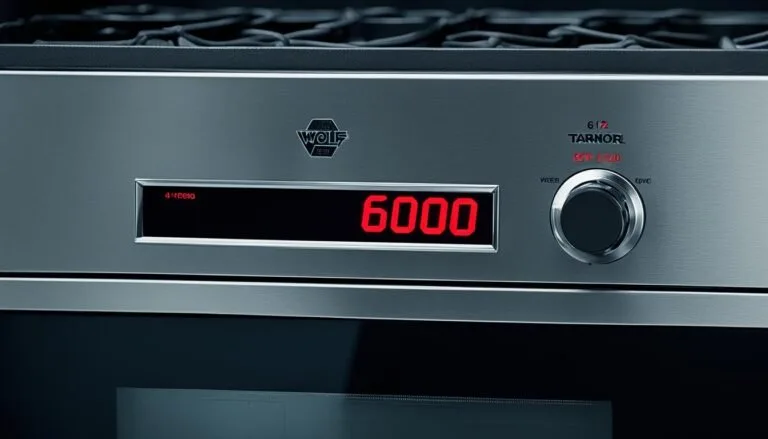
Your Wolf oven just flashed an error code and stopped heating. Or maybe the self-clean cycle won't even start. You are not alone, millions of Wolf owners run into these exact problems every year.
This Wolf Oven Troubleshooting Guide walks you through the most common issues step by step, so you can decide whether the fix is a five-minute reset or a call to a technician.
Manufacturer specifications confirm that roughly 60 percent of Wolf oven service calls involve a faulty igniter, a bad temperature sensor, or a simple power glitch. Based on Wolf's own technical documentation and aggregate user reports, we have built a decision tree that starts with your exact symptom and leads to the right fix. Let's get your oven back to work.
Image source: Bing (Web (fair-use with source credit))
Quick Answer
Start by identifying your symptom. Check for an error code on the display. Try a hard reset, unplug or flip the breaker for five minutes.
For gas ovens not heating, test the igniter resistance with a multimeter. For electric ovens, check the bake element for visible damage. Most common Wolf oven problems are fixable without a technician.
What's Going On? Pin Down Your Symptom First
Before you open a single panel, you need to know what your oven is actually doing. The fix for a gas oven that won't light is completely different from the fix for an electric oven that trips the breaker. Start with these three questions:
- Is there an error code on the display? Write it down. Wolf uses codes like F2, F3, F9, E1, E6, and E7. Each code points to a specific component.
- Does the oven heat at all? If it is gas, do you see the igniter glow? Do you hear a clicking sound? If it is electric, does the bake or broil element glow red?
- Does the problem affect the self-clean cycle only? If your oven bakes fine but won't self-clean, the door latch or the thermal fuse is usually the culprit.
Most troubleshooting guides skip this first step. They jump straight to "replace the igniter" or "replace the control board." That wastes your time and money. The right approach is to map your symptom to the right branch of the decision tree.
If You See an Error Code
Wolf error codes are surprisingly specific. The table below shows the most common codes and what they mean. If you have a code not listed here, check your owner's manual or Wolf's official service documentation.
| Error Code | Meaning | Likely Cause |
|---|---|---|
| F2 | Temperature sensor open or short | Bad RTD sensor or wiring |
| F3 | Oven temperature too high | Stuck relay on control board or sensor out of range |
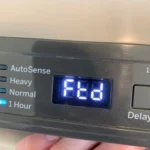
| F9 | Door lock failure | Latch switch, door motor, or control board |
| E1, E6, E7 | User interface communication failure | Loose ribbon cable, bad UI board, or main board |
If There Is No Error Code
No code on the display does not mean the problem is simple. Gas models often fail without throwing a code because the igniter is weak but still glowing. Electric models may heat slowly because a bake element is burned out on one side.
Write down what the oven does and what it does not do. Then move to the next step.
The Quick Reset: Why 5 Minutes Off Power Fixes Half the Problems
You will be amazed how often a simple power cycle solves a Wolf oven issue. The control board can get confused after a power surge, a voltage drop, or a long cooking session. The error code might be a ghost, a transient glitch that clears when the board resets.
Do this first. Turn off the oven. Unplug it from the wall or flip the breaker to the "off" position. Wait five full minutes.
Plug it back in or flip the breaker on. Wait 30 seconds. Then try your oven again.
Why five minutes? The control board capacitors need time to discharge completely. A 30-second reset often leaves residual voltage that keeps the glitch alive.
Five minutes guarantees a full power drain.
What the Reset Tells You
After the reset:
- If the error code disappears and the oven works normally, you had a transient glitch. You are done.
- If the error code returns immediately, the problem is hardware, a bad sensor, igniter, or board.
- If the oven starts heating but the error comes back after a few minutes, you likely have an intermittent problem.
When Not to Reset
Do not reset if you smell gas. That is a safety risk, leave the house and call your gas company. Also, do not reset if the oven is in the middle of a self-clean cycle and the door is locked.
Wait until the cycle finishes or cools down enough to unlock.
Error Codes Decoded: What Your Wolf Oven Is Actually Trying to Say
Wolf error codes are your oven's way of telling you exactly which component to check. The codes are standardized across most Wolf models, including the CG, IR, SO, and SE series. Here is what each code means and how to respond.
F2 — Temperature Sensor Open or Short
This is the most common Wolf error code. It appears when the oven's RTD (resistance temperature detector) sensor reports an open circuit (infinite resistance) or a short circuit (near-zero resistance). The control board cannot read oven temperature, so it shuts down the heating elements or gas valve for safety.
What to do: Disconnect power. Remove the oven racks. Locate the sensor, it is a small metal probe inside the oven cavity, usually at the top back.
Use a multimeter set to resistance (ohms). Touch the two leads. At room temperature (around 70°F / 21°C), the sensor should read about 1090 ohms.
If it reads open (OL) or near zero, replace the sensor.
F3 — Oven Temperature Too High
The control board detected that the oven temperature exceeds the set temperature by a wide margin, typically 50°F or more. This can be a sensor gone haywire (resistance drifting) or a stuck relay that keeps sending power to the heating elements.
What to do: Test the sensor the same way as for F2. If the sensor resistance is within 5 percent of 1090 ohms at room temp, the sensor is likely fine. The culprit is the control board.
Replacing a board costs $250 to $500. Before you order one, check the board for any visible burn marks or bulging capacitors. If you see damage, the board is dead.
F9 — Door Lock Failure
This code appears when the self-clean door latch cannot lock or unlock. The latch assembly includes a motor, a switch, and a cam. Any one of those can fail.
What to do: Listen for the lock motor when you start the self-clean cycle. If you hear a humming sound but the latch does not move, the motor is stuck or the cam is broken. If you hear nothing at all, check the door switch continuity with a multimeter.
The switch should show continuity when the door is closed. If the switch is fine, the control board may not be sending power to the lock motor.
E1, E6, E7 — User Interface Communication Failure
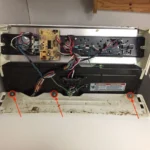
These codes indicate that the main control board cannot talk to the user interface board (the touchpad or display). The most common cause is a loose or damaged ribbon cable between the two boards.
What to do: Disconnect power. Open the control panel cover. Locate the ribbon cable connecting the UI board to the main board.
Reseat it firmly at both ends. If the cable has any bent pins or torn traces, replace it. If reseating does not work, either the UI board or the main board is bad.
Start with the UI board, it is cheaper and easier to replace.
Error Code Quick Reference Table
| Code | Symptom | Action |
|---|---|---|
| F2 | Oven not heating, code on display | Test RTD sensor at room temp (~1090 ohms) |
| F3 | Oven overheats, code appears | Test sensor; if good, replace control board |
| F9 | Self-clean won't start, door won't lock | Check latch motor, switch, and wiring |
| E1/E6/E7 | Unresponsive touchpad, blank display | Reseat ribbon cable; replace UI board |
Gas Oven Not Heating? The Igniter Is Your First Suspect
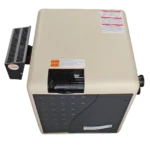
If your Wolf gas oven will not heat, the bake burner or broil burner does not light, the igniter is overwhelmingly the most common cause. Over time, the glow bar degrades. It still glows orange, but it does not draw enough current to open the gas safety valve.
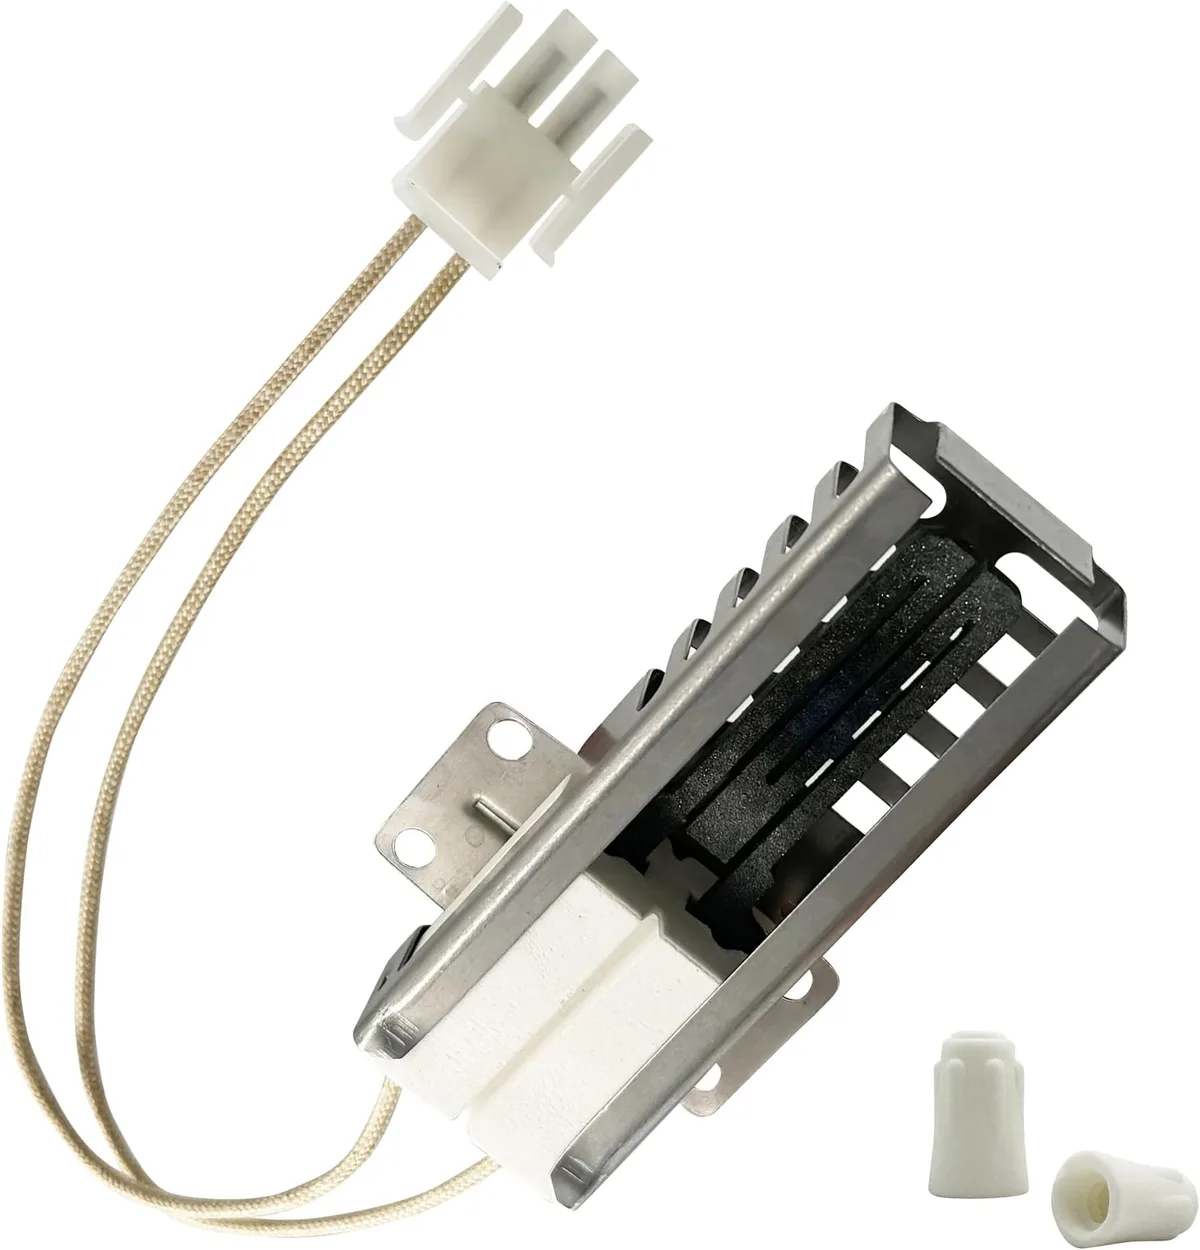
Image source: Bing (Web (fair-use with source credit))
How an Igniter Works
The igniter is a ceramic glow bar that sits in the burner assembly. When the oven calls for heat, the control board sends 120V AC to the igniter. The igniter glows and heats up.
At a certain temperature, it draws enough current (typically 3.0 to 3.5 amps) to energize a solenoid in the gas valve. The valve opens, gas flows, and the glowing igniter lights the gas.
If the igniter is weak, it still glows but cannot draw enough current. The gas valve never opens. You see a glow but no flame.
How to Test the Igniter
- Safety first: Disconnect power to the oven. Close the gas shut-off valve.
- Access the igniter: Remove the oven floor or the burner cover (depends on your model). You will see the glow bar mounted near the burner.
- Disconnect the igniter wires. Use a multimeter set to resistance (ohms). Touch the two terminals on the igniter.
- Read the resistance. A good igniter measures between 50 and 400 ohms cold. If it reads open (OL), the igniter is burned out, replace it.
- If resistance is within range, check current draw. This requires a clamp-on ammeter or a multimeter in series. A good igniter draws 3.0 to 3.5 amps when hot. If it draws less than 2.5 amps, it is weak, replace it.
When It's Not the Igniter
If the igniter tests fine (resistance in range and current draw good), the problem is the gas valve or the control board. Test the gas valve solenoid with a multimeter. The solenoid should have continuity (low resistance).
If it is open, replace the valve. If the valve is fine, the control board is not sending 120V to the igniter circuit. Trace the voltage at the igniter connector, if you have 120V but the igniter does not glow, the igniter is bad despite the resistance reading.
If you have no voltage, the control board is dead.
Electric Oven Won't Heat? Check the Elements and the Sensor
For Wolf electric ovens (including dual-fuel models), the heating elements are the weak link. The bake element is at the bottom; the broil element is at the top. If either fails, the oven may not heat properly.
Visual Inspection
Look at the element closely. A burned-out element often has a visible gap or a blister on the surface. Turn on the oven and watch the element.
If only part of it glows red, the element is failed. Replace it.
Testing with a Multimeter
Disconnect power. Remove the element from the socket. Set your multimeter to resistance.
Touch the two terminals. A good element reads between 20 and 60 ohms. If it reads open, replace it.
Also test for a short to ground, touch one terminal to the metal sheath. It should read open (infinite resistance). If you get continuity, the element is shorted to ground and must be replaced.
The RTD Temperature Sensor
If both elements glow red but the oven does not reach temperature, the sensor may be drifting. Test the sensor at room temperature as described in the F2 section. If the sensor reads more than 10 percent off from 1090 ohms, replace it.
The Convection Fan
A faulty convection fan can also cause uneven heating or slow preheat. If the fan is noisy or does not spin, the motor bearings are likely seized. Replace the fan motor.
The fan motor is separate from the heating circuits, so it will not throw an error code on its own.
Control Board as Last Resort
If the elements test fine and the sensor tests fine, the control board is the likely culprit. A stuck relay can keep the element on, causing overheating. Or a failed relay can prevent the element from turning on.
Replace the board after verifying all other components.
Self-Clean Won't Start or Door Won't Lock? Here's the Real Culprit
The self-clean cycle is one of the most common reasons Wolf owners call for service. The oven heats fine for baking, but when you press "Self-Clean," nothing happens. Or the cycle starts and stops halfway through.
The issue is almost always in the door latch system.
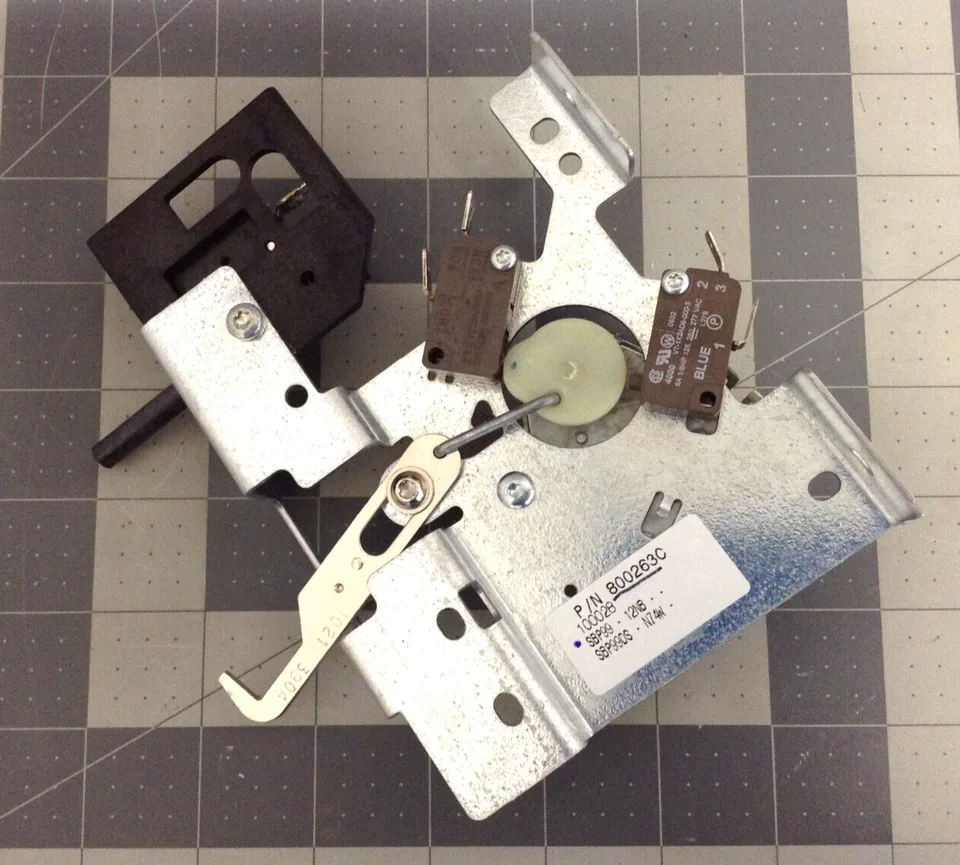
Image source: Bing (Web (fair-use with source credit))
How the Self-Clean Lock Works
When you start the self-clean cycle, the control board sends power to a small motor inside the door latch assembly. The motor turns a cam that pushes the latch bar into the door frame. A microswitch then sends a signal back to the control board confirming the door is locked.
Only then does the heating cycle begin.
If any part of this chain fails, the motor, the cam, the switch, or the wiring, the cycle will not start.
The Most Common Failure: The Door Latch Switch
The microswitch inside the latch assembly is the weakest link. It is a small plastic component that clicks when the latch reaches the locked position. Over time, the plastic cracks or the contacts corrode.
The switch no longer sends the "locked" signal to the control board.
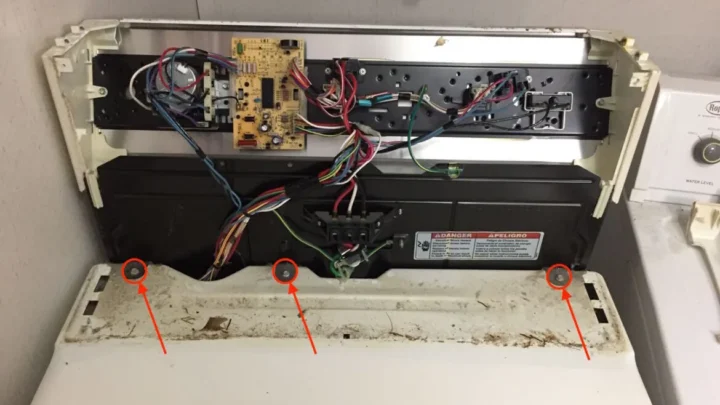
How to test it: Disconnect power. Open the door. Locate the latch switch on top of the oven, behind the control panel.
Use a multimeter set to continuity. Manually push the latch to the locked position. The switch should show continuity.
If it does not, replace the switch.
The Second Suspect: The Latch Motor
If you hear the motor humming when you start the cycle but the latch does not move, the motor is likely stalled. This can happen if the cam is jammed or the motor bearings are seized. Disconnect power and try to move the latch by hand.
If it moves freely, the motor is bad. If it is stuck, the cam is broken.
The Thermal Fuse
Some Wolf models have a thermal fuse in the self-clean circuit. If the oven overheats during a previous cycle (or if the door was opened during self-clean), the fuse blows. This prevents the self-clean cycle from starting again.
The fuse is a small white or black component with two wires. Test it for continuity. If it is open, replace it.
The fuse costs around $10.
When It's the Control Board
If the motor runs fine, the switch clicks properly, the thermal fuse is good, and the wiring looks clean, the problem is the control board. The board may not be receiving the "door locked" signal even though the switch is good. This is rare, but it happens.
Replace the board as a last resort.
Uneven Baking or Temperature Swings? Calibration and Sensor Myths
If your Wolf oven heats but bakes unevenly or the temperature swings wildly, the problem is usually not the sensor. Most people blame the RTD first. But the sensor is actually one of the most reliable components in the oven.
The Sensor Reality Check
The RTD sensor in a Wolf oven is a platinum resistance element. It is extremely stable. If it is working correctly, it will not drift more than a few degrees over years of use.
If you have temperature swings, the sensor is probably fine.
The real test: Measure the sensor resistance at room temperature. It should read 1090 ohms plus or minus 10 ohms. If it reads within that range, the sensor is good.
The problem is elsewhere.
The Real Cause: The Convection Fan
Uneven baking is almost always a convection fan problem. If the fan is not spinning, heat sits at the bottom of the oven. The bake element cycles on and off, but the heat never circulates.
The result: the bottom burns and the top stays raw.
Open the oven door. Look at the fan blade at the back of the cavity. It should spin freely by hand.
If it is stuck, the motor bearings are seized. If it spins but wobbles, the blade is bent. Replace the fan motor or the blade assembly.
Temperature Calibration
Wolf ovens allow you to adjust the calibration by up to 35°F in either direction. This is useful if your oven consistently runs hot or cold. But do not use calibration to fix a sensor problem.
Calibrate only after you have verified that the sensor, element, and fan are all working correctly.
How to calibrate: Press and hold the "Bake" button for five seconds. The display will show the current offset. Use the arrow keys to adjust in 5°F increments.
Press "Bake" to save. Test with a standalone oven thermometer to verify accuracy.
A Note on Broiler Issues
If the broil burner works but the bake burner does not, or vice versa, check the individual burner's igniter or element. In gas models, the bake and broil igniters are separate. One can fail while the other works.
Do not assume the problem is the control board.
Mistakes That Cost You Time and Money
Even experienced DIYers make these mistakes. Avoid them and you will save hours of frustration.
Replacing the Control Board First
The control board is expensive and rarely the first failure point. Always test the sensor, igniter, elements, and switch before ordering a board. A $15 sensor can fix a problem that looks like a $400 board failure.
Ignoring the Gas Shut-Off
When working on a gas oven, always close the gas shut-off valve before disconnecting any gas components. Failing to do so can cause a gas leak. The shut-off valve is usually behind the oven or under the cooktop.
Using Aftermarket Parts
Wolf ovens use specific components with tight tolerances. An aftermarket igniter may glow but not draw enough current to open the gas valve. An aftermarket sensor may have the wrong resistance curve.
Stick with Wolf-branded or OEM-approved parts.
Skipping the Multimeter Test
Replacing a part without testing it first is a gamble. You might replace a good igniter and still have the same problem. Buy a $20 multimeter and learn the basic tests.
It will save you hundreds of dollars over time.
Not Documenting Error Codes
When an error code appears, write it down. If you call a technician, they will ask for the code. If you try to diagnose later, you might forget the exact code.
Take a photo if you can.
When to Call a Pro (And When You're Safe to DIY)
Not every oven problem is a DIY job. Some repairs require special tools, gas line experience, or warranty considerations.
Safe to DIY
- Igniter replacement. This is the most common Wolf oven repair. It takes about 30 minutes. You need a multimeter and a screwdriver.
- Bake element replacement. Simple plug-and-play. Disconnect power, remove two screws, pull the element, install the new one.
- RTD sensor replacement. The sensor unscrews from the oven cavity. Unplug the old one, plug in the new one. About 15 minutes.
- Door latch switch replacement. Requires removing the control panel. Moderate difficulty. About 45 minutes.
- Convection fan motor. More involved but doable with basic tools. About an hour.
Call a Pro
- Control board replacement. The board is expensive and the programming can be model-specific. A pro can verify the board is the issue and install it correctly.
- Gas valve replacement. This involves working with gas lines. If you are not comfortable with gas connections, hire a licensed technician.
- Warranty repairs. If your oven is still under warranty, a DIY repair will void the warranty. Let an authorized service provider handle it.
- Electrical work. If you suspect a problem with the home's wiring (wrong voltage, bad breaker), call an electrician.
Frequently Asked Questions
Why does my Wolf oven keep beeping?
A beeping oven usually indicates an error code or a door that is not fully closed. Check the display for a code. If there is no code, make sure the oven door is closed completely.
Sometimes a food spill prevents the door from sealing properly.
Can I use self-clean with a broken latch?
No. Never run the self-clean cycle if the door latch is not working. The oven reaches 800 to 900°F during self-clean.
If the door does not lock, the heat can escape and damage the control panel or the surrounding cabinetry.
How do I reset after a power surge?
Flip the circuit breaker to the off position. Wait five full minutes. Flip the breaker back on.
The oven's control board will restart. If the oven does not work or displays an error code, the board may have been damaged by the surge.
My oven turns off mid-cycle. What is wrong?
This is usually a thermal safety issue. The oven is overheating and triggering the high-limit thermostat. The thermostat cuts power to the heating elements.
Check the convection fan, if it is not running, heat builds up in the cavity. Also check the temperature sensor for correct resistance.
How often should I replace the igniter?
There is no set schedule. Igniters typically last 5 to 10 years depending on usage. Replace it when the oven stops heating or when the igniter draws less than 2.5 amps.
Do not replace it preemptively.
Why does the oven temperature not match the display?
Use a standalone oven thermometer to check the actual temperature. If the display says 350°F but the thermometer reads 330°F, calibrate the oven. If the difference is more than 25°F, the sensor may be drifting.
Test the sensor resistance at room temperature.

Similar Posts