Action Camera Not Charging Troubleshooting
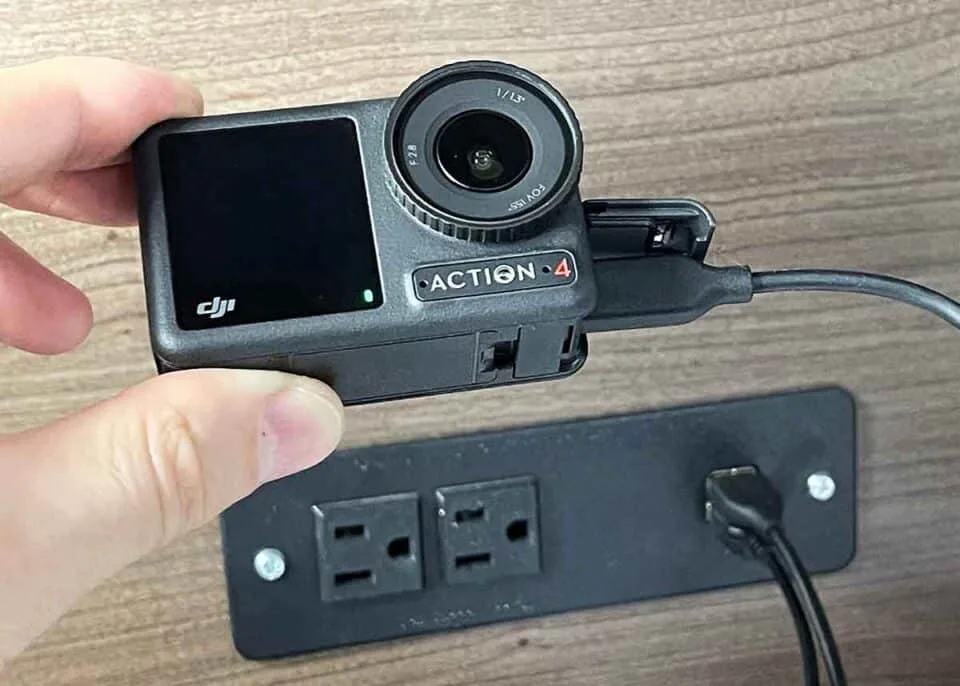
Your action camera not charging troubleshooting process usually starts with one of three symptoms: no lights at all, a blinking LED that won't stop, or the camera turning on but refusing to charge. The fix is often simpler than you think. Most charging failures come down to a bad cable, a clogged port, or a battery that has fallen into deep discharge.
Manufacturer specs indicate a standard action camera battery takes between 1.5 and 3 hours to fully charge from empty using a 5V 1.5A adapter. Knowing those baseline numbers helps you recognize when something is actually wrong. Let's walk through exactly how to narrow down the cause.
Image source: Bing (Web (fair-use with source credit))
Quick Answer
Check the cable first. Try a different charger. Inspect the USB-C port for debris.
Force restart the camera. If the battery is deeply discharged, it may need a slow recovery charge. Most issues resolve with these simple steps.
So Your Action Camera Won't Charge What Is Likely Going On
There is not one single reason an action camera stops charging. The problem typically falls into three distinct categories.
Power delivery failure is the most common. That means the cable, the charger, or the wall outlet is not delivering the right voltage. A damaged USB-C cable can look fine but carry almost no current.
Many generic chargers output less than the 5V at 1.5A that most action cameras require.
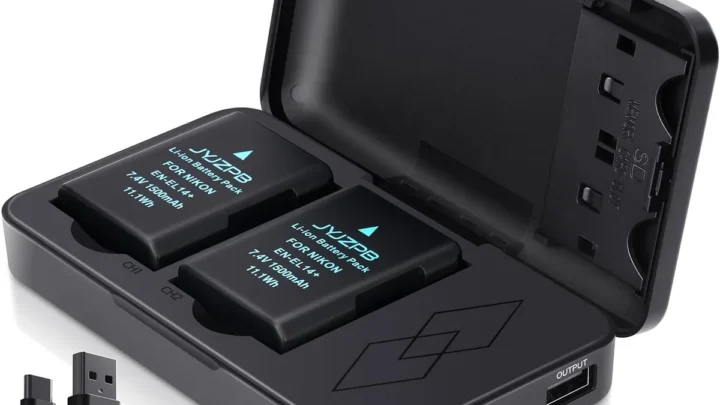
Battery issues come next. Lithium-ion packs have built-in protection circuits. When the voltage drops too low, the circuit disconnects the cell entirely.
The camera sees an open circuit and refuses to charge. If your battery has been sitting unused for months, this is the likely culprit. Similar battery problems affect other gear too, and you can find guidance on that in our mirrorless camera battery troubleshooting guide.
Camera hardware problems are rarer. A bent USB-C port pin, corrosion from moisture, or a failed charging IC on the main board can all stop current from flowing. These are harder to fix at home.
The Quick Wins Cable Charger Port Restart
Before you open any tool kit or buy a new battery, test these four things. They solve roughly 80 percent of all charging problems according to aggregate user reports.
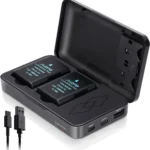
Swap the cable. USB-C cables fail more often than people expect. A cable that works for data transfer might still deliver almost no current. Grab a cable you know charges other devices.
If the camera starts charging, the original cable was the problem.
Use a different charger. Computer USB ports deliver only 0.5A to 0.9A. That is not enough for most action cameras. Use a wall charger rated at least 5V and 1.5A.
The official one that came with the camera is your best bet.
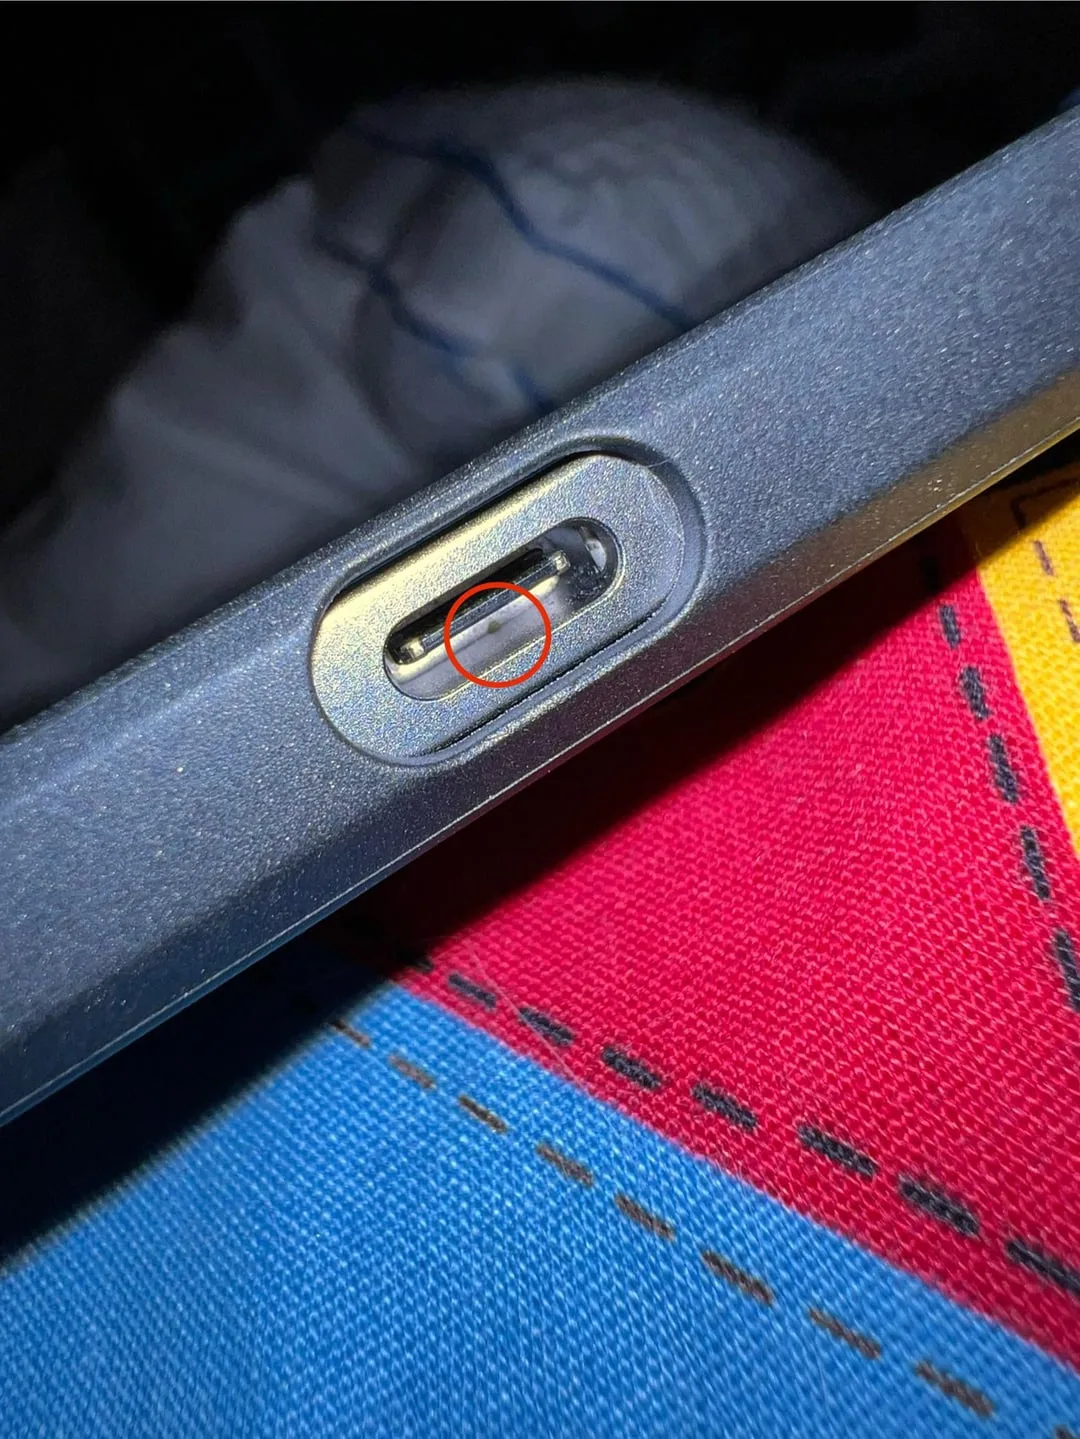
Image source: Web (Bing) / reddit.com (Web image (fair-use with source credit))
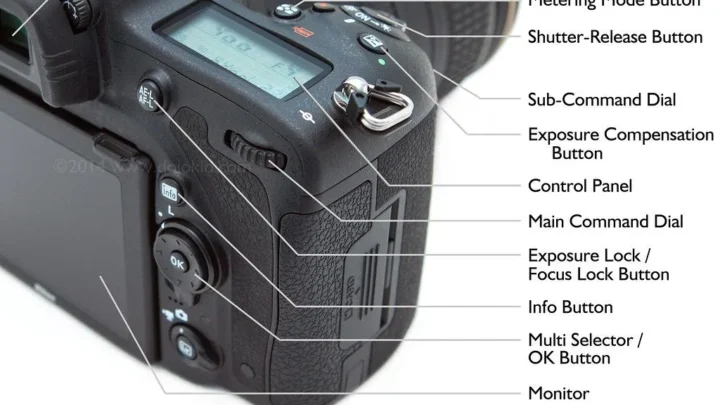
Inspect the port. Shine a flashlight into the camera USB-C port. Look for lint, dirt, or bent pins. A toothpick or a plastic dental pick works well for gentle cleaning.
Avoid metal tools that could short the pins. If moisture got inside, let the camera dry for 24 hours in a warm spot before trying again.
Force restart the camera. Remove the battery if possible. Wait 30 seconds. Reinsert it.
Then press and hold the power button for 10 to 15 seconds. This clears any firmware hiccup that might be blocking the charging circuit. If you have not updated the software recently, consider that too.
We cover similar steps in our firmware update troubleshooting guide.
The Decision Tree Diagnose Step by Step
If the quick wins did not fix it, use this simple flow chart approach. Follow the symptoms to their logical fix.
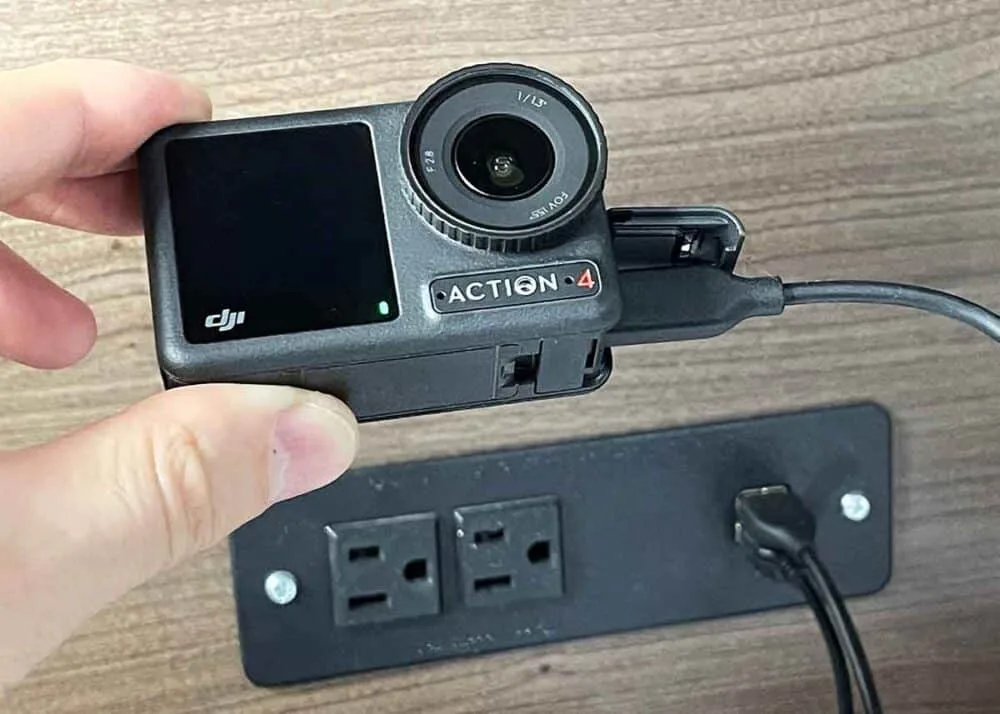
Image source: Bing (Web (fair-use with source credit))
Branch A: No Lights, No Power, Nothing at All
The camera appears completely dead when plugged in. Start with the charger and cable on a known working outlet. If you have a multimeter, check that the charger outputs 5V.
No voltage means a dead charger. Voltage present but camera still dark points to either a dead battery or a broken port.
Remove the battery. Hold the power button for 10 seconds to drain any residual charge in the camera capacitors. Reinsert the battery and plug it in.
If you still get nothing, the battery may be in deep discharge. Some cameras can recover a battery that reads between 2.5V and 3.0V by trickle charging. For batteries below 2.5V, replacement is the safer choice.
Branch B: The LED Turns On but the Battery Won't Charge
This is deceptive. Power is reaching the camera, but the charging logic is not working. The orange or red LED might flash three times and then stop.
That is a common error code. It usually means the camera detects a problem with the battery itself.
Try a different battery if you have one. If the camera charges with a spare, your original battery is failing. If it still refuses, the camera charging circuit may be damaged.
A firmware update can sometimes fix this. Check the manufacturer support page for the latest version.
If the LED stays solid but the battery percentage does not increase after an hour, the battery is likely worn out. Lithium-ion cells degrade after 300 to 500 charge cycles. At that point, no amount of troubleshooting will restore them.
Common Mistakes That Cost You Time or Money
A few well-intentioned actions actually make things worse. Here are the pitfalls to avoid.
Using a computer USB port. It delivers too little current. The camera may pulse on and off or show a brief charging icon that disappears. This is not a camera problem.
It is a power supply problem. Use a wall charger.
Charging in freezing temperatures. Lithium-ion batteries stop accepting charge below 0°C (32°F). If you are trying to charge your camera after filming in snow, bring it inside and let it warm up for 30 minutes first. Attempting to force a charge in the cold can damage the cell.
Ignoring a swollen battery. If the battery case looks puffed or deformed, stop using it immediately. Do not attempt to charge it. Swollen batteries are a fire risk.
Dispose of them at a proper e-waste facility. This is not something to troubleshoot. It is something to replace.
Using a cheap third-party charger. Some generic chargers do not follow the USB-C specification correctly. They can confuse the camera charging logic. Per the official USB Implementers Forum standard, proper power negotiation matters.
Stick with the manufacturer charger or a reputable brand.
Forgetting to reseat the battery. A loose connection inside the camera is common, especially after a drop. Remove the battery and reinstall it firmly. You will feel it click into place.
Many people skip this simple step and waste hours on deeper diagnostics. If you are dealing with other stubborn issues, you might find our camera reset troubleshooting guide useful.
Keeping Your Camera Charging Right Maintenance Tips
Prevention beats troubleshooting every time. A few simple habits keep your camera charging reliably for years.
Keep the USB-C port clean. Lint and dust are the top causes of intermittent charging. After a day at the beach or on a dusty trail, tap the camera gently to dislodge loose particles. Check the port with a bright light every few weeks.
A soft brush or compressed air works well. Just do not blow into it with your mouth. Moisture can cause corrosion.
Close that port cover tightly. The rubber flap exists for a reason. Even a tiny gap lets in sweat, rain, or humidity. Over time, that moisture corrodes the charging pins.
If you have been filming in wet conditions, remove the battery afterward and let everything air dry for a few hours before charging.
Store batteries partially charged. Lithium-ion cells hate being fully drained or stored at 100 percent. For long term storage, keep the battery between 40 and 60 percent charge. That slows chemical aging significantly.
Manufacturer specifications indicate this practice can double the usable lifespan of a battery. You can apply the same logic to your other gear covered in our mirrorless camera general troubleshooting guide.
Update the firmware regularly. Camera manufacturers occasionally fix charging bugs through software updates. If your camera has Wi-Fi or Bluetooth, check for updates every few months. For models that require a computer connection, plugging in to update can also catch early signs of a weak USB port.
Rotate spare batteries. If you own multiple batteries, use them in rotation. Letting one sit fully charged for months is worse than using it. Mark them with a sharpie so you know which one is oldest.
Replace any battery that shows swelling, cracks, or reduced runtime below 70 percent of its original capacity.
When It Is Time to Give Up Repair vs Replace
Not every charging problem has a DIY fix. Knowing when to quit saves time, money, and frustration.
The repair calculation is straightforward. Compare the cost of a repair to the current value of your camera. A new battery is usually under $30 and worth trying. A USB-C port replacement at a repair shop runs $50 to $80.
Anything beyond that, like a fried charging IC or water damage on the main board, can cost $100 or more. As of 2026, if your camera is more than two years old and costs less than $300 new, repair rarely makes financial sense.
Signs that point to a hardware failure. The camera does not respond to any charger or cable you test. The port feels loose when you insert a cable. You see visible damage inside the port like a bent or missing pin.
The camera gets hot in one spot near the charging circuit. Any of these symptoms mean the issue is inside the device, not the battery or accessories.
When the camera is worth repairing. High end models like the GoPro Hero 13 or DJI Osmo Action 5 are worth fixing because the replacement cost is steep. If your camera is still under warranty, contact the manufacturer first. A warranty claim costs nothing.
Some brands also offer out of warranty repair at a flat fee that includes labor and shipping.
The environmentally responsible option. Before tossing a broken camera, check if the manufacturer has a recycling program. Many accept old devices and recycle the materials properly. Your local e-waste drop off can handle both.
The bottom line. If you have tried the quick wins, the diagnostic tree, and a known good battery with no success, the camera charging circuit is likely dead. Replace the camera rather than throwing more money at a lost cause.
Frequently Asked Questions
Why does my action camera blink three times when I plug it in?
That blinking pattern is a common error code. It means the camera detects a problem with the battery itself. The battery may be too deeply discharged, damaged, or incompatible with the camera.
Try a different battery first. If the blinking stops, replace the old one.
Can I charge my action camera with a smartphone charger?
Yes, as long as it outputs 5V. Most smartphone chargers deliver between 1A and 2.4A, which is fine. Avoid fast chargers that output 9V or 12V unless the camera specifically supports them.
The camera only draws what it needs, but some fast chargers confuse older models.
How do I know if my battery is completely dead versus just discharged?
Use a multimeter to check the voltage. A healthy lithium ion cell reads between 3.6V and 4.2V when fully charged. Below 3.0V means deep discharge.
Below 2.5V means the battery protection circuit has permanently disconnected the cell. At that point, replacement is the only option.
Will a firmware update really fix charging issues?
Sometimes yes. Manufacturers occasionally release updates that improve charging logic or compatibility with third party batteries. Check the support page for your specific model.
If the camera still powers on and connects to a computer, a firmware update is worth trying before giving up on the device.
Is it safe to leave my action camera charging overnight?
Most modern cameras have overcharge protection that stops charging once the battery is full. That said, it is not ideal for long term battery health. Lithium ion cells degrade faster when held at 100 percent charge for hours.
Unplugging it once full is a better habit.
What should I do if my camera got wet and now won't charge?
Power it off immediately. Remove the battery and the memory card. Let everything dry for 24 to 48 hours in a warm, airy spot.
Do not try to charge it while wet. Corrosion on the charging pins or inside the USB-C port can cause permanent damage. If it still will not charge after drying, the port may need professional cleaning or replacement.

Similar Posts