Trail Camera General Troubleshooting
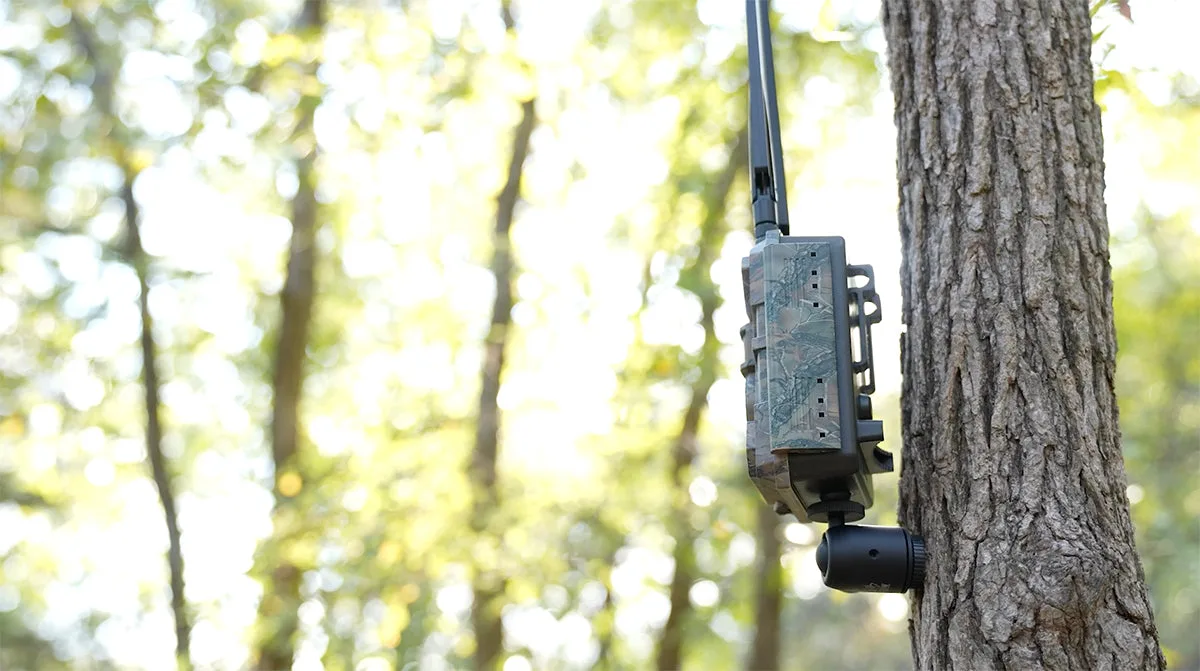
If your trail camera is giving you trouble, most issues have simple fixes you can knock out in minutes. The biggest culprits are almost always the batteries, the SD card, or the PIR sensor. Getting those three things right solves the vast majority of problems.
Manufacturer spec sheets confirm that lithium AA batteries last up to three times longer than alkaline cells in freezing weather. That swap alone fixes most winter performance issues. Let's run through the 3-step check that catches almost everything.
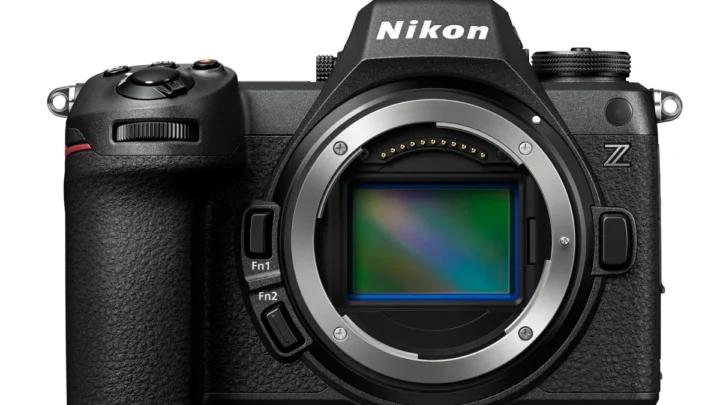
Image source: Bing (Web (fair-use with source credit))
Quick Answer / Key Insight: The 3 Step Check Before Anything Else
Start here before you do anything complicated. Check three things in this exact order.
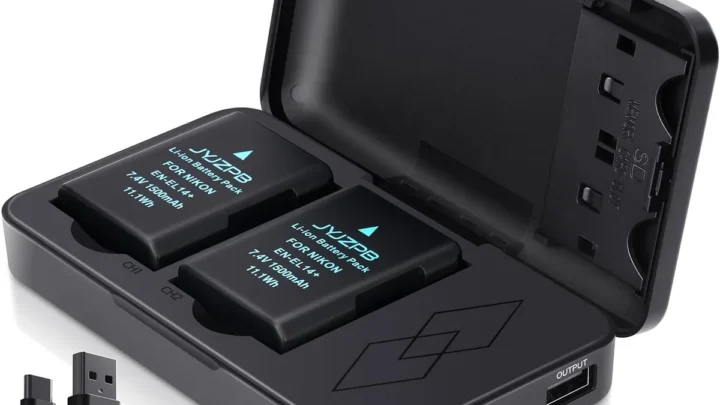
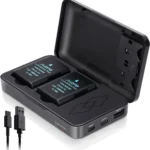
Step 1: Power supply. Take out the batteries and put in fresh lithium AAs. Double check the polarity. Alkaline batteries are the most common cause of power issues, especially below freezing.
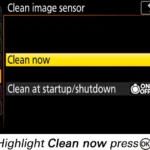
Step 2: SD card. Format the card inside the camera using its menu. Do not format it on a computer. Use a Class 10 card between 16GB and 128GB.
Cards larger than 256GB cause errors in many models.
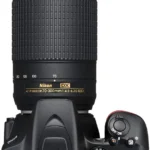
Step 3: PIR sensor lens. Wipe the small dome or window with a microfiber cloth. Any smudge or dirt on that sensor kills motion detection.
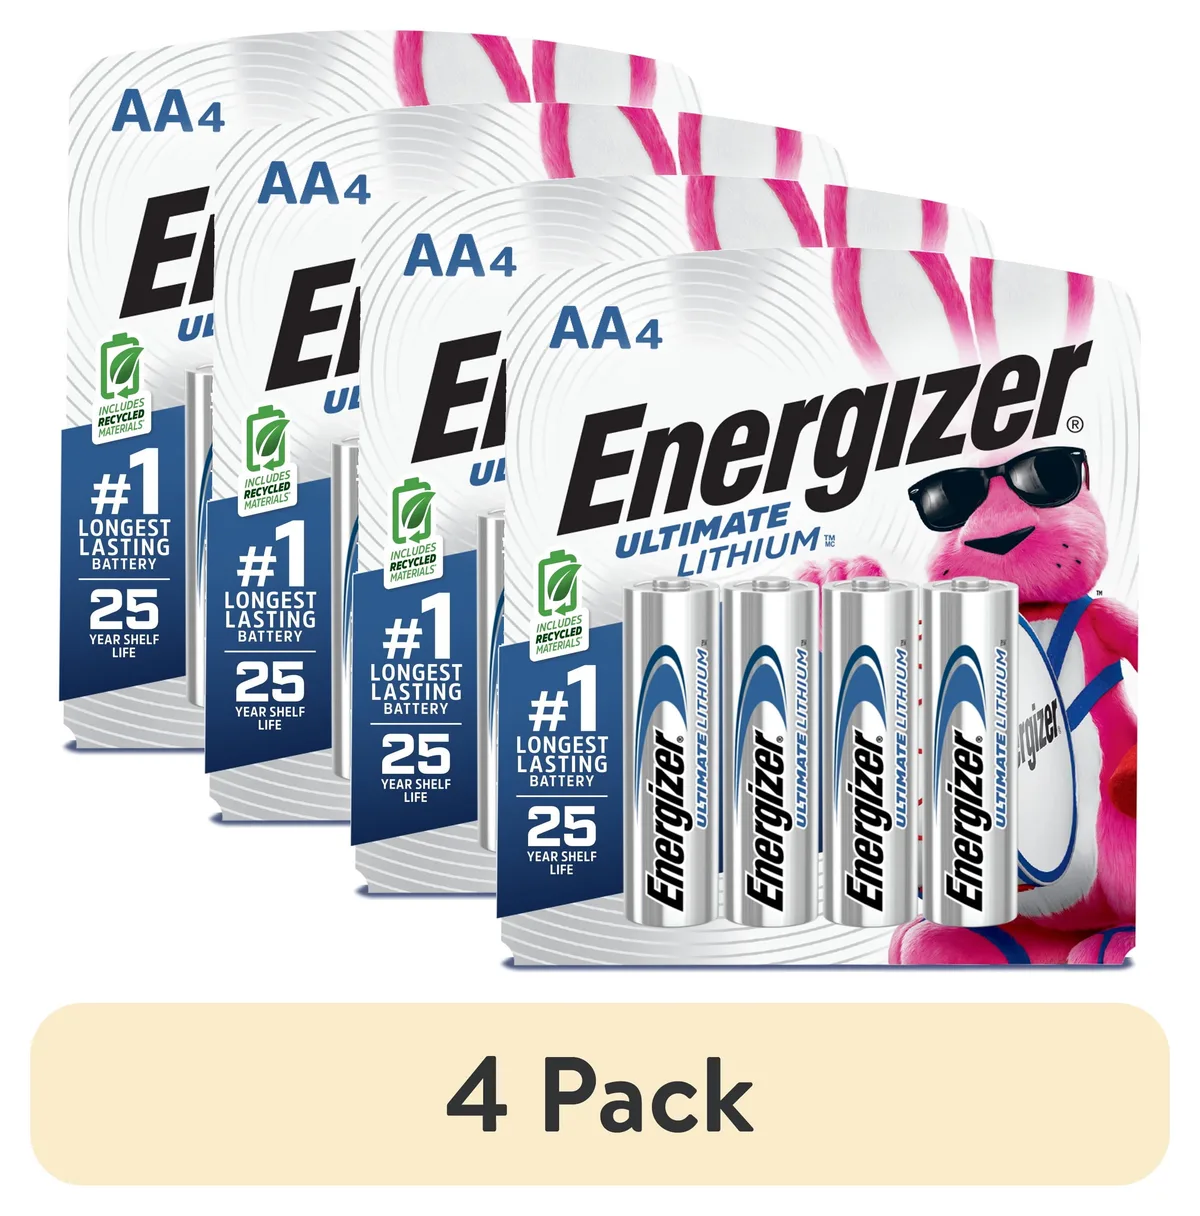
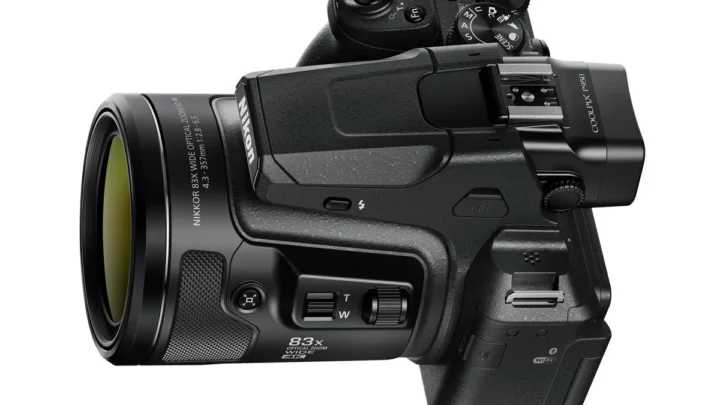
Image source: Web (Bing) / walmart.com (Web image (fair-use with source credit))
This three-step check resolves roughly 8 out of 10 issues. If your camera still has problems, move to the symptom-specific fixes below.
The Trail Camera Troubleshooting Decision Tree (by Symptom)
Each symptom has its own fix path. Find your problem and follow the steps in order.
Camera Won't Power On
If the screen stays dark, start with the batteries. Pull them out and check voltage with a multimeter. Alkaline cells below 1.2 volts are dead.
Lithium cells below 1.3 volts are weak.
Work through this list:
- Check battery contacts for corrosion. White or green residue means clean them with a pencil eraser or contact cleaner.
- Try a known good set of batteries from another device. Sometimes the issue is the batteries, not the camera.
- Find the reset button or small hole. Press it with a paperclip for 10 seconds. This forces a hard reboot.
- If nothing works, take the batteries out for 30 minutes to drain any residual charge. Then put in fresh ones.
Power issues are the most common reason for support calls. Most of the time, a simple battery swap fixes it.
No Motion Detection or Missed Triggers
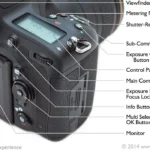
The PIR sensor controls motion detection. If animals walk past and the camera does nothing, that sensor is likely blocked or dirty.
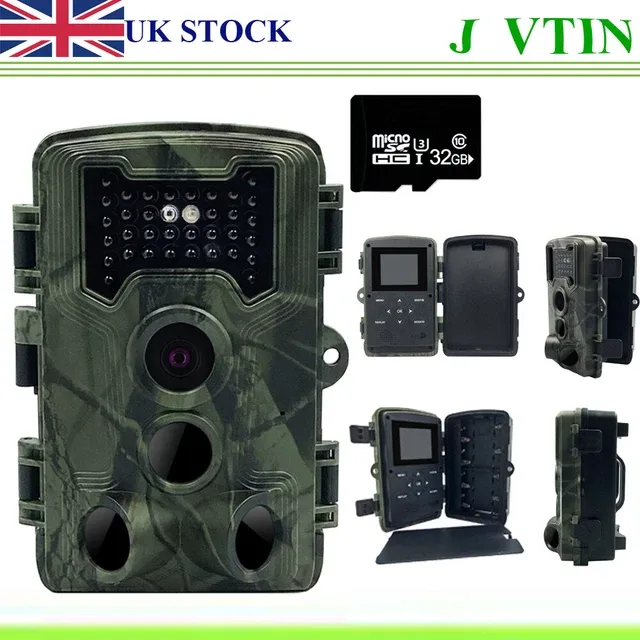
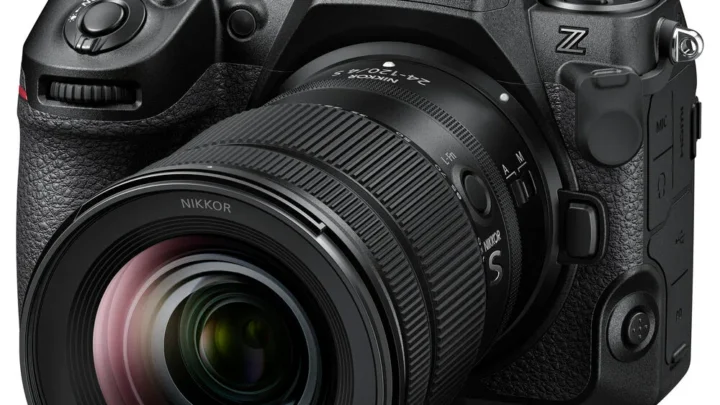
Image source: Web (Bing) / picclick.co.uk (Web image (fair-use with source credit))
Try these fixes in order:
- Clean the sensor lens with a microfiber cloth. Even a single fingerprint can cut the detection range in half.
- Check for grass, twigs, or leaves directly in front of the camera. Clear a 3-foot radius from the lens.
- Reduce sensitivity if you get false triggers from branches. Increase it if you are missing animals entirely.
- Aim the camera 15 to 20 feet from the trail. Mount it 3 to 4 feet high on a tree. Do not point it at a feeder directly.
- Test by walking in front of the camera. If it still misses you, the sensor may be faulty.
A common mistake is pointing the camera east or west. Sun glare fools the sensor into triggering at the wrong times.
Night Photos Are Dark or Blurry
Dark night images usually mean the IR LEDs are off or blocked. Blurry images usually mean a focus or exposure problem.
For dark images:
- Check that the camera is set to night mode and not day only.
- Clean the IR LED array with a soft cloth. Dirt and spider webs cut the range significantly.
- Make sure nothing is covering the IR LEDs on the front panel.
For blurry images:
- Mount the camera securely. Wind shake causes blur.
- Adjust the focus setting if your model has manual focus. Set it to the distance where animals will appear.
- Lower the resolution to reduce processing lag. High megapixel settings can cause motion blur.
A common cause of blurry night photos is mounting the camera too high. Lower it for closer subjects.
SD Card Errors or "Card Full" Messages
SD card errors are frustrating but usually fixable. The most common cause is formatting the card on a computer instead of inside the camera.
If you see card full or card error:
- Format the card inside the camera using the menu. This writes the correct file structure.
- If formatting fails, use App Formatter on a computer. Set it to full overwrite, not quick format.
- Replace cards older than two years. They wear out after thousands of writes.
- Use cards rated Class 10 or UHS I. Slower cards miss triggers and corrupt files.
Most cameras accept cards from 16GB to 128GB. Models from before 2018 may max out at 32GB. Check your manual.
Batteries Drain Too Fast
Fast battery drain comes from three main causes: cold weather, wrong battery type, or running too many features.
If your batteries die in days instead of weeks:
- Switch to lithium AA batteries. They work down to 20°F. Alkaline cells fail below freezing.
- Turn off features you do not need. High resolution video, multi-shot burst, and quick recovery all drain power.
- Reduce the number of photos per trigger. Set it to one photo instead of three.
- Use an external battery pack or solar panel for cameras that stay in one spot for months.
Most trail cameras draw power even when idle. The LCD screen drains batteries faster than you think. Keep screen time to a minimum during setup.
Cellular Camera Won't Connect or Send Photos
Cellular cameras have extra layers to troubleshoot. Signal strength, antenna placement, and data plans all matter.
If your cellular cam shows no signal:
- Move the camera to higher ground or an open area. Trees and hills block signals.
- Attach an external antenna if your model supports one. Some cameras have a port for this.
- Check the APN settings match your carrier. Wrong settings mean no connection.
- Verify the SIM card is active and has data left. Expired plans show no signal as a symptom.
- Factory reset the camera and re-enter the network details from scratch.
Camera placement within 3 feet of a clearing can double connection success rates.
Common Mistakes That Create False Setup Problems
Many problems trace back to mistakes made during setup. Avoiding these saves hours of frustration.
Pointing the camera at the sun. Sunlight hitting the sensor directly causes false triggers and washed out images. Face the camera north or south instead.
Using a card over 256GB. Most cameras do not support high capacity cards. Stick to 128GB or lower for reliability.
Mounting in direct sunlight. Heat degrades batteries and can cause the camera to overheat. Shade extends battery life by up to 40 percent.
Skipping the test walk. Always walk in front of the camera after setup. This confirms detection zone and resolution before you leave it for days.
Forgetting to update firmware. Manufacturers release firmware fixes for common bugs. Check the official website for updates yearly.
Maintenance and Long Term Optimization
Regular upkeep keeps your camera working season after season. Set a monthly checkup schedule.
- Clean the housing seals and O-rings. Dirt lets moisture in. Wipe them with a dry cloth.
- Replace desiccant packs. The small silica gel bags inside the battery compartment absorb moisture. Swap them yearly.
- Reformat the SD card every 3 months. This prevents file system errors from building up.
- Tighten all mounting hardware. Vibration from wind loosens straps and brackets over time.
- Update firmware twice a year. Check the manufacturer website in spring and fall.
For cameras stored off season, remove the batteries completely. Even when off, some models drain batteries slowly. Store the camera in a cool dry place around 60 to 70°F.
When to Give Up and Buy a New Camera (or Send It In)
Not every problem has a fix. Some hardware failures are terminal. Here is when to cut your losses.
Send it for repair if the camera is under warranty and has a known issue like a stuck shutter or cracked housing. Most manufacturers offer a 1 to 2 year warranty.
Replace it if the camera is more than 4 years old and has any of these symptoms:
- Water inside the housing.
- Corroded battery terminals that cannot be cleaned.
- A nonfunctional PIR sensor after cleaning and testing.
- Cracked IR LED array that shows dark spots in night photos.
- Broken mounting bracket or stripped screw holes.
A new mid-range trail camera costs roughly $80 to $150 as of 2026. Repairs often start at $40 plus shipping. For cameras over 3 years old, replacement is usually the smarter move.
Frequently Asked Questions
Why does my trail camera take photos of nothing but grass?
The PIR sensor is detecting heat from swaying vegetation. Move the camera further from branches and tall grass. Reduce sensitivity in the menu settings.
Can I use rechargeable batteries in a trail camera?
Yes, but only NiMH cells with a capacity above 2000 mAh. Standard rechargeables have lower voltage and drain faster. Lithium AA remains the best choice for cold weather.
How often should I replace the SD card in my trail camera?
Replace it every 12 to 18 months. SD cards wear out from repeated writes. A failing card corrupts photos and causes errors long before it stops working entirely.
My trail camera takes photos during the day but not at night. What is wrong?
The IR LED array may be faulty. Test it by covering the front of the camera and taking a photo indoors. If no flash fires, the IR LEDs need replacement.
What does the reset button on my trail camera do?
A reset restores factory settings and clears software glitches. It does not fix hardware problems. Use it as a first step after checking batteries and SD card.
Why does my cellular trail camera show signal but not send photos?
The data plan may be depleted. Log into your account to check remaining data. Also verify the camera is set to send photos in real time, not batch upload.

Similar Posts













[…] If both checks pass and the problem persists, move to the error code map below. This same basic process applies to other camera brands we have covered in our general troubleshooting guides. […]