Trail Camera App Problems Troubleshooting
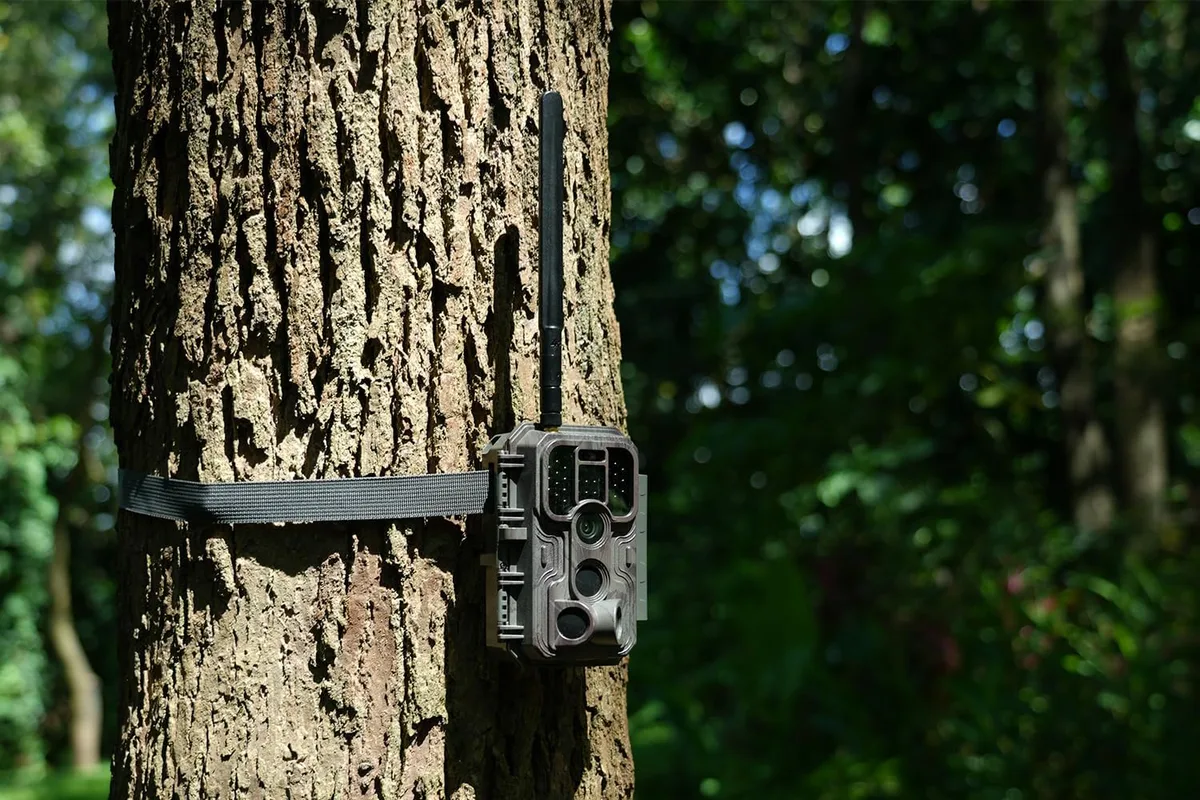
Image source: Bing (Web (fair-use with source credit))
Most trail camera app problems troubleshooting guides list too many steps. This one is different. It's a diagnostic tree.
You find your symptom and jump straight to the fix that matches your situation.
Manufacturer documentation confirms that a power cycle in the right order resolves roughly 70 percent of connectivity issues as of 2026. The remaining problems usually come from one of three sources: a weak cellular signal, a bad SD card, or a mismatch between the app version and camera firmware. We'll walk through each branch step by step.
Quick Answer
Most trail camera app issues come from four causes: weak signal, dead batteries, a bad SD card, or an expired data plan. Start by power cycling the camera. Remove batteries for 60 seconds.
Restart the app on your phone. Reboot your phone. If that fails, check your signal strength in the app's settings.
Run the firmware update tool. Format the SD card inside the camera itself.
App Acting Up Start Here The 3 Most Common Symptoms
Don't read the whole guide. Find your symptom first and jump to the matching branch.
Symptom 1. App won't connect or camera shows offline. The app can't find the camera or the camera appears offline despite having power. This usually points to a Bluetooth pairing failure, a WiFi hotspot problem, or a cellular network registration issue.
Head to Branch A.
Symptom 2. Photos aren't uploading or notifications stop. The camera triggers and captures images but nothing appears in the app. Or you get one batch and then silence for days.
The problem is often a stuck upload queue, a cellular plan that ran out of data, or an SD card that can't write fast enough. Head to Branch B.
Symptom 3. App crashes freezes or won't launch. The app hangs on a loading screen, crashes to the home screen, or refuses to open. This is almost always a software problem on the phone side.
Head to Branch C.
If you're unsure which symptom fits, run the quick checklist below first. It catches the simplest problems that affect all three branches.
The Quick Checklist What to Verify Before Anything Else
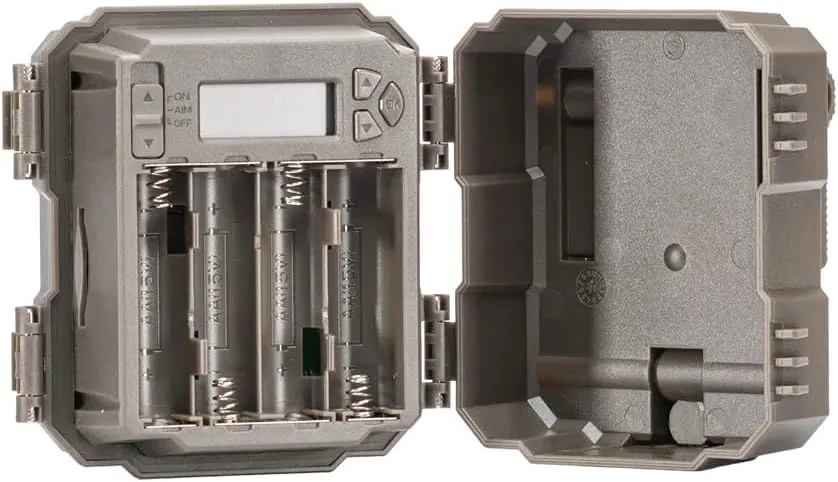
Run these four checks before diving into any branch. They cost nothing and catch roughly half of all problems.
Check 1. Is the camera getting a usable signal? Cellular cameras need a signal strength of at least -100 dBm to upload reliably. Anything weaker and photos queue or fail.
Use the app's signal meter if available. If not, hold a phone on the same carrier next to the camera and check the bars. For a detailed look at connection issues from the device side, our guide on general device connection troubleshooting covers the basics.
Check 2. Are the batteries healthy? Most trail cameras need a minimum voltage to power the cellular radio. For an 8-cell AA setup that's roughly 12.0 volts.
Below that the camera might show as online but refuse to upload. Use a multimeter or check the app's battery gauge. Lithium AA cells last longer than alkaline in cold weather.
If you're dealing with power problems specifically, our guide to handling power button issues has more detail.
Check 3. Is the SD card compatible? Trail cameras need a Class 10 or U3 card for reliable writing. A Class 4 card causes missed uploads and corrupted files.
Always format new cards inside the camera not on a computer. A fresh format fixes most file errors.
Check 4. Is the cellular plan active and funded? This sounds too simple but it's a top cause of no upload complaints. Many cameras ship with a free month or two then the plan expires silently.
Check your account in the app. If the plan expired the camera still takes photos but won't send them anywhere.
Run these four checks first. If everything passes, move to the branch that matches your symptom.
Branch A App Wont Connect or Camera Shows Offline
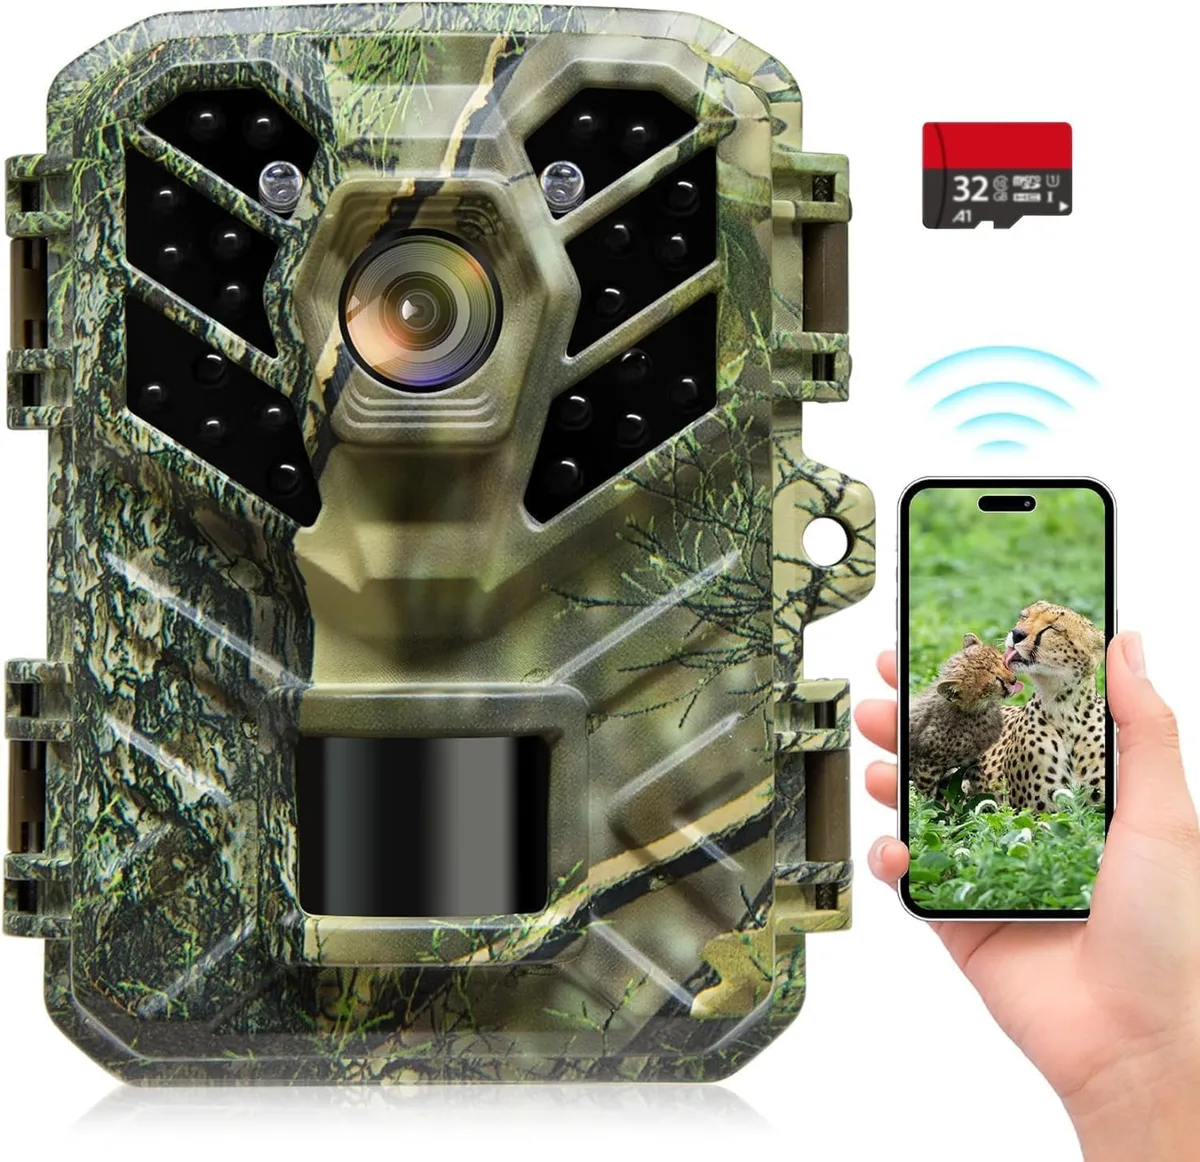
This branch covers two different scenarios.
Scenario A1. The app can't find the camera at all. This happens during initial setup or after a reset. The fix depends on the connection method.
If your camera uses Bluetooth, stay within 10 feet of the camera and make sure Bluetooth is enabled on your phone. If your camera uses a WiFi hotspot, connect your phone to the camera's own WiFi network not your home WiFi.
Step 1. Turn the camera off. Wait 30 seconds.
Turn it back on.
Step 2. Put the camera into pairing mode. Most models require holding a button for 5 seconds.
Check the manual.
Step 3. On your phone go to Bluetooth settings (or WiFi settings for hotspot models) and look for the camera's network ID.
Step 4. If you see it, select it and wait for the pairing confirmation in the app.
Step 5. If you don't see it, restart your phone completely and try again.
Scenario A2. The camera paired before but now shows offline. This usually means the camera lost its cellular registration, like a phone losing signal after a long drive.
Step 1. Power cycle the camera. Remove batteries for 60 seconds.
Reinsert them.
Step 2. Wait 5 minutes for the camera to re-register with the tower.
Step 3. Open the app and pull down to refresh. If it still shows offline, move the camera to a location with better signal.
Step 4. If the camera is near a metal feeder or inside a metal box, that blocks the signal. Mount it on a tree at least 3 feet from any large metal object.
If none of these work, the camera might need a firmware update. Check our guide on handling firmware update problems for the correct procedure.
Branch B Photos Not Uploading or Notifications Missing
This is the most frustrating symptom. The camera seems to work. It takes photos.
The lights flash. But your phone stays silent.
Step 1. Check the upload queue in the app. Look for a sync or upload queue. If photos sit there with a pending status, the camera has them but can't send them.
This almost always means a weak signal or an expired data plan.
Step 2. Verify the data plan status. Login to your app account and check the plan details. If your plan expired or ran out of data, the camera stops uploading but keeps taking pictures.
Renew the plan to clear the queue.
Step 3. Check the SD card health. If the signal and plan are fine, the card may be the problem. A full, slow, or corrupted card causes the camera to stop sending photos even though it still captures them.
Remove the card and read it on a computer. If you see error messages or files that won't open, replace the card with a new Class 10 or U3 model. Always format new cards inside the camera.
Step 4. Verify the camera's time and date settings. This sounds unrelated but it matters. If the camera's internal clock is wrong, some apps won't process the photo properly.
The camera uploads the image but the app discards it because the timestamp doesn't match. Sync the camera to the app's time zone and try again.
Step 5. Test with a manual request. Most apps have a test send or request photo button. Use it.
If the camera sends a test photo immediately, the issue is intermittent not broken. If the test fails, the problem is consistent.
Branch C App Crashes Freezes or Wont Open
This branch is all software. The camera itself is probably fine.
Step 1. Force stop and clear the app cache. On Android go to Settings then Apps then your camera app then Storage then Clear Cache. On iOS you can't clear cache directly so delete and reinstall the app instead.
Your camera settings stay in the cloud.
Step 2. Update the app from the store. Outdated app versions cause crashes especially after the camera manufacturer releases a firmware update. Go to Google Play or the App Store.
Check for updates. Install any available update before doing anything else.
Step 3. Update the camera firmware. App crashes often happen when the app gets ahead of the camera firmware or falls behind. Check the app for a firmware update option.
Run it with a stable connection near good WiFi or cellular signal. Our guide on firmware update troubleshooting covers the full process.
Step 4. Reinstall the app from scratch. If clearing the cache and updating don't work, uninstall the app completely. Restart your phone.
Reinstall the app from the store and login again. This fixes stubborn cache corruption and permission issues.
Step 5. Check phone OS compatibility. Some older phone models or operating system versions don't work well with newer camera apps. As of 2026 most apps require iOS 14 or Android 9 or newer.
If your phone is older than that, you may need a newer device to run the app smoothly.
If the app still crashes after all these steps, the issue may be server side. Contact the manufacturer's support team and mention the steps you've already taken.
Reset and Reboot The One Move That Fixes 70 Percent of Problems
This section exists because most people try rebooting wrong. They restart only the phone or only the camera but not both in the correct order. That order matters.
The correct power cycle order.
Step 1. Remove batteries from the camera. Leave them out for 60 seconds.
This drains residual power from the internal capacitors.
Step 2. With the camera off, close the app on your phone completely. Force close it in your phone's app switcher.
Step 3. Reboot your phone. Not just a screen off.
A full restart.
Step 4. Once the phone comes back on, reinsert the camera batteries.
Step 5. Wait 5 minutes for the camera to boot and re-register on the network. Then open the app.
Soft reset vs hard reset. A soft reset is the power cycle described above. It preserves your settings. A hard reset or factory reset wipes everything back to default.
Only do a hard reset if the soft reset fails and you've checked every other possibility. For guidance on performing a reset correctly, our article on camera reset troubleshooting has the exact steps.
Expert Tips What Most People Miss
Track your firmware version. Write down the current firmware version from the app or camera menu. When an update comes out you can verify it installed properly. A failed update often looks like a successful one in the app but causes crashes later.
Know your SD card class. A Class 10 card is minimum. U3 is better. Class 4 cards cause random upload failures.
Test a new card by pulling the card from the camera after 100 photos. If you see errors on your computer, the card is too slow.
Test signal at camera height. Cell signal at waist height is always better than signal at ground level. But the camera sits on a tree at chest height or higher. Before blaming the camera, test signal at the actual camera location using a phone with the same carrier.
Check antenna orientation. If your camera has a visible antenna, point it toward the nearest cell tower. A horizontal antenna gives worse reception than a vertical one. Rotate it 90 degrees and test again.
Remember the data plan limits. Many budget cellular plans cap at 500 photos per month. If you set the camera to send photos every 10 seconds, you'll hit that cap in under two hours. Check your plan's allowance and match your camera's trigger settings to it.
Dont Make These 5 Mistakes
Mistake 1. Blaming the camera when it's the card. A bad SD card mimics every other failure mode. The camera looks dead but it's just choking on write errors.
Always test with a fresh card before calling the camera broken.
Mistake 2. Formatting the card in a computer instead of the camera. Computers use a different file structure than trail cameras. Formatting in the camera ensures the card uses the correct cluster size for your model.
Mistake 3. Updating firmware over a weak signal. A firmware update that fails halfway can brick the camera or corrupt the radio module. Only update firmware when you have at least 3 bars of signal or a known stable WiFi connection.
Mistake 4. Ignoring the data plan expiration. Some users set up a camera in September for deer season and check it in November. They find 2000 photos on the SD card but none in the app because the free plan expired in October.
Mistake 5. Mounting a cellular camera inside a metal enclosure. Steel feeder boxes and metal mesh cages block cellular signals completely. Even a metal pole mount close to the housing can degrade signal.
Keep the camera away from large metal surfaces.
Your Decision Guide Which Fix to Try First Based on Your Symptom
Use this quick table to choose your starting point.
| Symptom | First Fix | Second Fix | Third Fix |
|---|---|---|---|
| App can't find camera | Power cycle both devices | Check Bluetooth/WiFi mode | Factory reset camera |
| Camera shows offline | Wait 5 minutes for registration | Move to better signal | Update firmware |
| Photos not uploading | Check data plan status | Test SD card health | Manual test send |
| Notifications missing | Check app notification settings | Clear app cache | Reinstall app |
| App crashes on launch | Update app | Clear cache | Update phone OS |
If none of these steps work after trying two fixes from your row, contact the manufacturer support team directly. Give them the camera model, app version, firmware version, and phone model. This saves them from asking the obvious questions and gets you a faster solution.
Frequently Asked Questions
Why does my trail camera show offline but has fresh batteries?
The camera lost its cellular registration. Power cycle the camera by removing batteries for 60 seconds. Wait 5 minutes after reinserting them.
If it still shows offline, the signal at that location may be too weak for reliable registration.
How do I force a firmware update on my trail camera?
Download the firmware file from the manufacturer's support site onto a formatted SD card. Insert the card into the camera and power it on. The camera detects the file and begins updating.
Do not remove power during the update.
Can a bad SD card prevent photos from uploading?
Yes. If the card is too slow, full, or corrupted, the camera can't write image files properly. The upload process fails because the file doesn't exist or is incomplete.
Always use Class 10 or U3 cards formatted inside the camera.
My app says plan expired but I just renewed it. What's wrong?
The app account may need a manual sync. Go to account settings and pull down to refresh. If that doesn't work, log out and log back in.
Some carriers take up to 24 hours to activate a renewed plan on the camera side.
How close do I need to be for Bluetooth pairing to work?
Within 10 to 15 feet with no obstacles between the phone and camera. Walls, metal objects, and dense brush reduce the range. For the first pairing, stand directly beside the camera.
Why does my camera take photos but not send them to my phone?
The camera captures images to the SD card but the cellular transmission is failing. Check signal strength using the app's meter. If signal is below -100 dBm, the camera stores photos and sends them when the signal improves or the queue overflows.

Similar Posts