Air Innovations Humidifier Troubleshooting
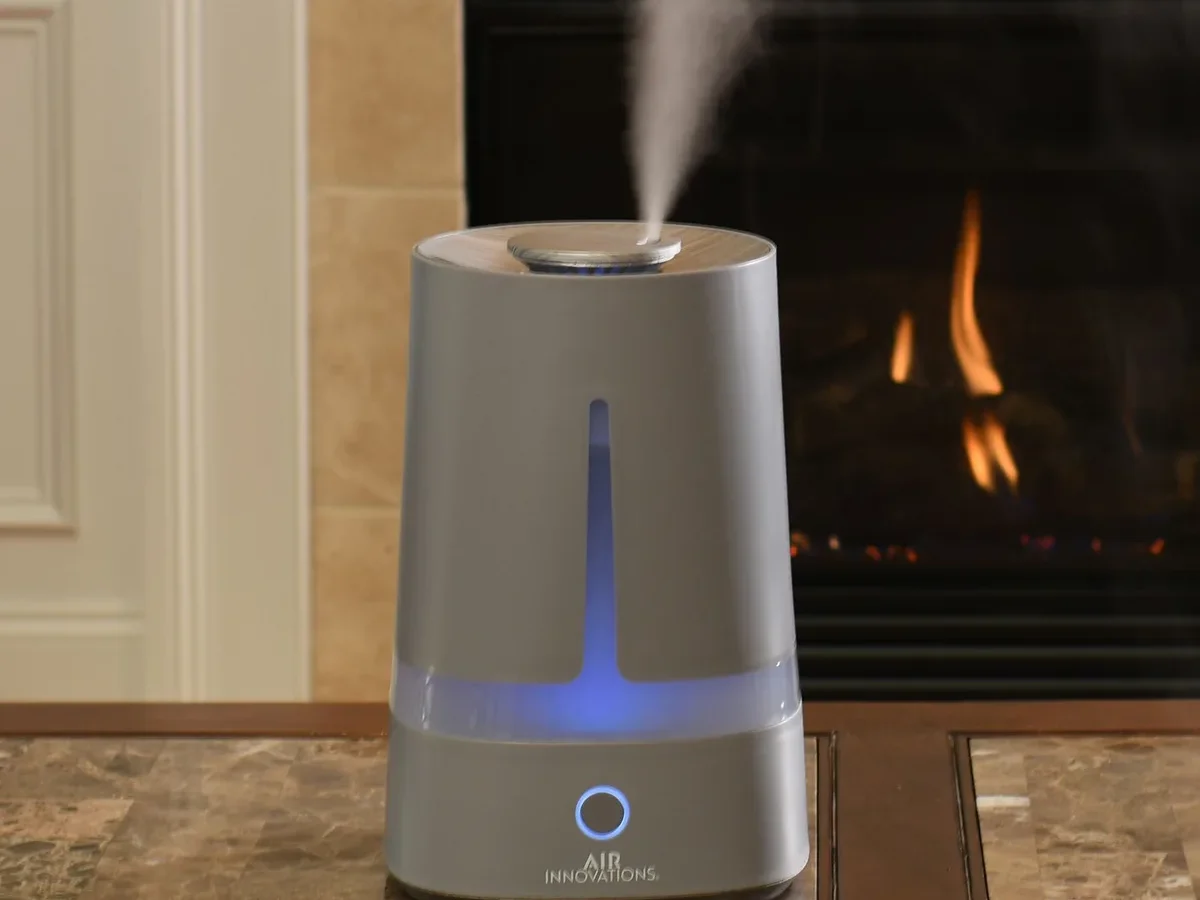
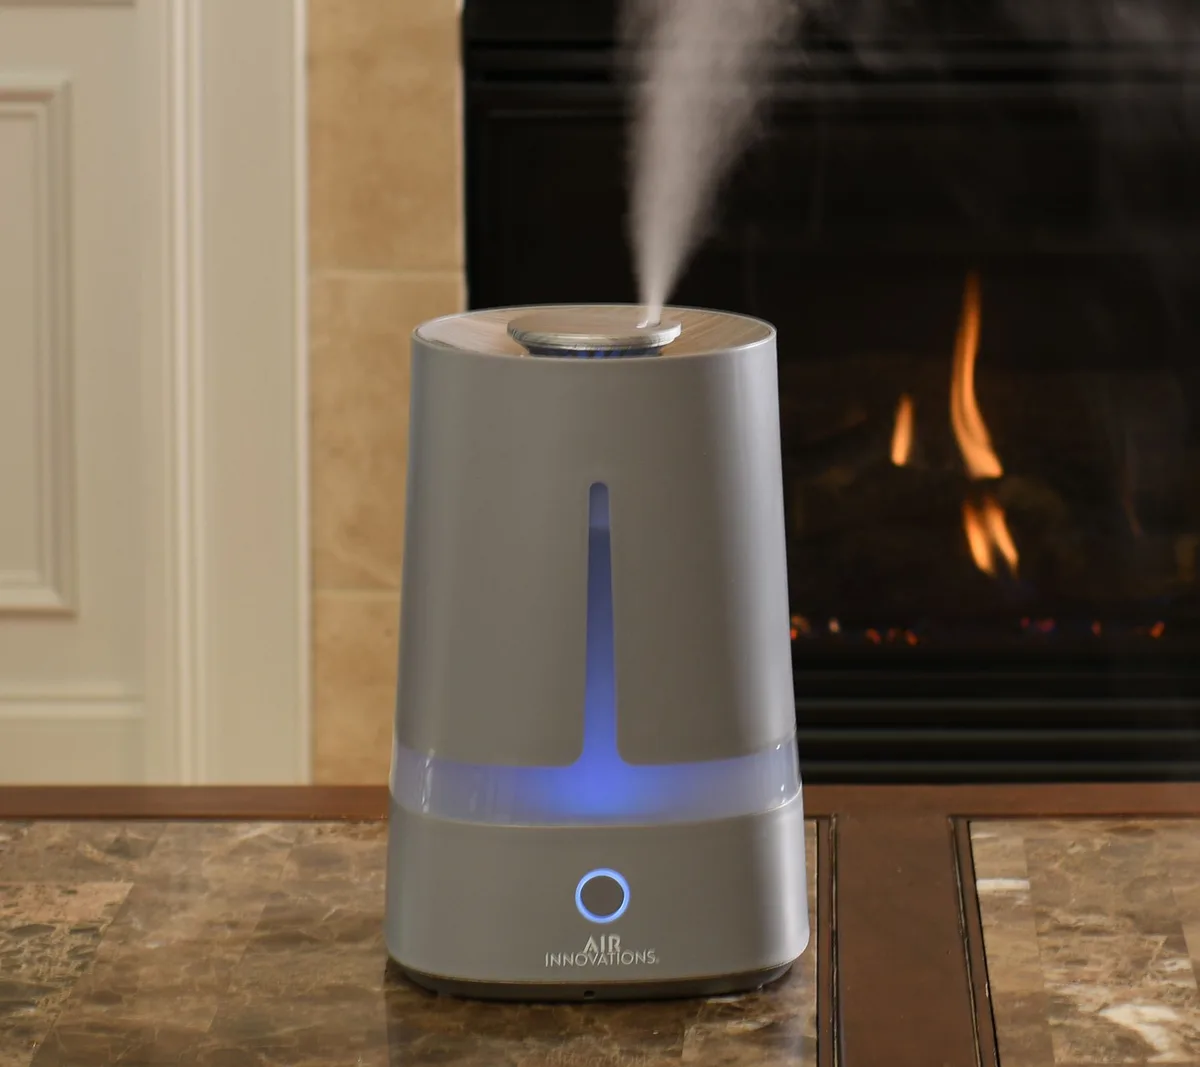
Image source: Bing (Web (fair-use with source credit))
So, your Air Innovations humidifier decided to quit working. It happens. Whether it’s the sleek glass tower model or the cute little mushroom-shaped one for your baby’s room, these units are workhorses, but they aren't immune to problems.
Before you panic or (worse) start shopping for a replacement, let’s walk through this together.
I’ve spent a lot of time fiddling with these machines, and I’ve learned that most issues are embarrassingly simple to fix. You don’t need to be a technician, and you probably don’t need to call customer service. You just need to know what to look for.
Here is my honest, practical guide to getting your humidifier back to blowing that soothing, invisible mist. We’ll tackle this like a pro would: by working through the symptoms one by one.
Know Your Enemy: What Kind of Air Innovations Unit Do You Have?
Before we touch a single button, take a quick look at your machine. The fix often depends on the type of unit you own.
- Evaporative Units: These use a wick filter and a fan to blow moisture into the air. They don't produce a visible "mist" usually.
- Ultrasonic Units: These use a vibrating disc (the transducer) to create a fine, cool mist. These are the most common Air Innovations models (the glass ones are usually these).
- Warm Mist Units: These boil water to create steam. They are less common but are definitely in the lineup.
If you have an ultrasonic unit, you are dealing with a transducer, a fan, and a water tank. If you have an evaporative one, it’s mostly a fan and a wicking filter. The troubleshooting steps differ slightly, so let’s get specific.
The "No Power" or "Dead Screen" Problem
This is the most frustrating one. You plug it in, hit the switch, and you get absolutely nothing. The lights are off, the fan isn't spinning, and the silence is deafening.
Don't panic. Here is the diagnostic path we’re taking:
Step 1: Trust, But Verify the Outlet.
This sounds dumb, but it happens to the best of us. Plug your phone charger or a lamp into the same outlet. If that doesn't work, you have a dead outlet.
Check your circuit breaker. If the outlet works, move on.
Step 2: The Power Cord Inspection.
Air Innovations units are notorious for this, especially if you have pets. Unplug the unit and look at the base of the cord where it connects to the unit. Is it frayed?
Are there bite marks? If the cord is damaged, you need to stop right here. Do not try to tape it.
You need a replacement cord or unit. That is a fire hazard, and it's not worth the risk.
Step 3: The Water Tank Sensor Override.
Here is a pro-tip most people miss. Many of these units have a safety switch in the water tank or the base. If the water tank isn't seated perfectly, the machine thinks there is no water and refuses to turn on.
This is an intentional safety feature to prevent the machine from running dry.
- The Fix: Unplug the unit.
- Take the tank off completely.
- Look inside the base for a small, spring-loaded pin or a magnetic switch.
- Re-seat the tank firmly. You should feel a slight "click."
- Plug the unit back in and try again.
Often, this is the culprit. The tank isn't sitting flush because of a mineral deposit or just being slightly crooked.
Step 4: The Internal Fuse.
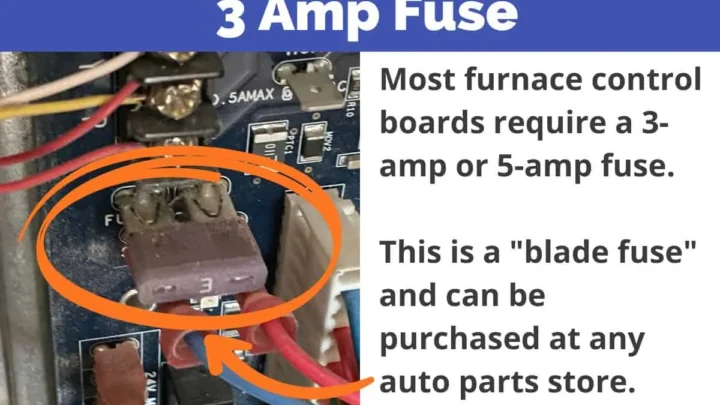
If the outlet is good and the tank is seated, you might have a blown internal fuse. This usually happens after a power surge. Unfortunately, replacing this fuse requires opening the base of the unit, which usually voids the warranty.
- The Verdict: If you reach this point and the unit is dead, it’s often more cost-effective to replace the unit. Unless you are handy with a soldering iron, the labor isn't worth it for a $40 machine.
The "No Mist" or "Low Mist Output" Problem
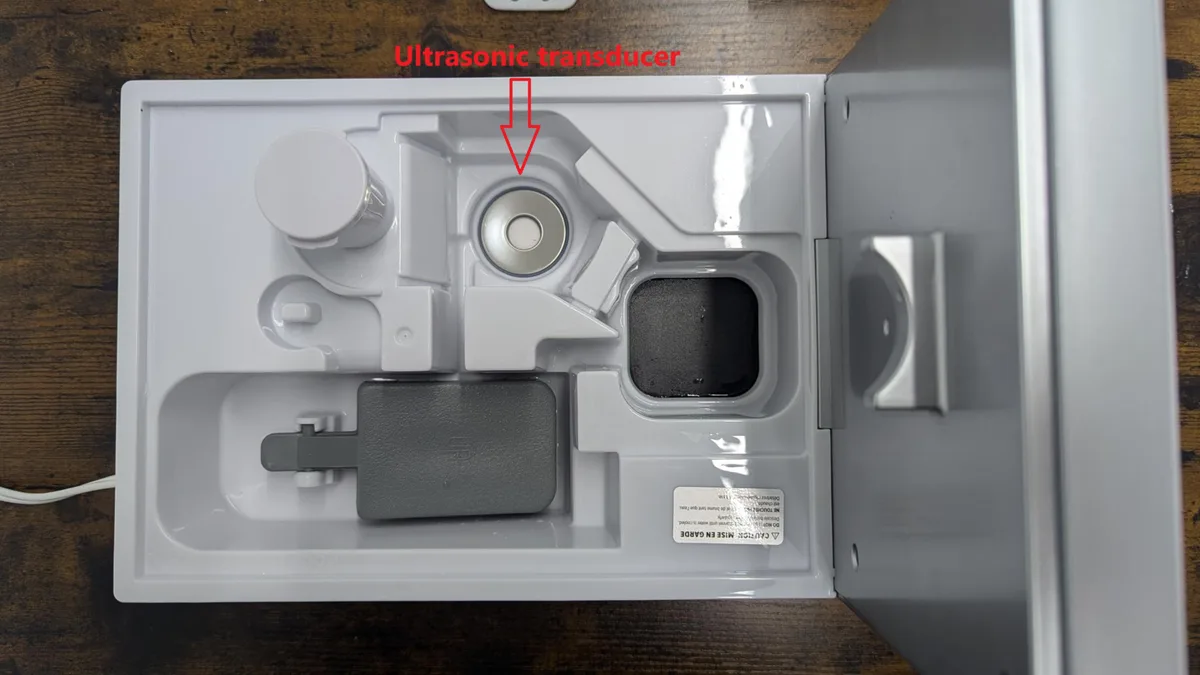
Image source: Bing (Web (fair-use with source credit))
The unit powers on, the fan is running, but you just see a tiny wisp of moisture or nothing at all. You might even hear it humming, but the air is dry. Here is the deal-breaker: this is almost always a cleaning issue.
Step 1: The Mineral Deposit Check (The #1 Cause).
This is the big one. Ultrasonic humidifiers vibrate a metal disc at a high frequency to create mist. If you use tap water, the minerals in the water (calcium and magnesium) form a hard, crusty scale on that disc.
This scale acts like a mute button. The disc vibrates, but it can't break the water surface properly, so it just sputters.
- The Fix: You need to descale the disc.
- Unplug the unit.
- Dip a soft brush (an old toothbrush works great) into white vinegar.
- Gently scrub the metal disc in the base. You will see brown or white gunk come off.
- Do not use a metal brush or a knife; you will scratch the ceramic coating and ruin the transducer.
- Wipe the base clean with a damp cloth. Refill with fresh water, and try again.
Step 2: The "Dirty Water" Trap.
If you put water in the tank and it sits for a few days, it gets a bio-film (slime) on the inside. This slime can clog the little water outlet valve at the bottom of the tank. If the water can't flow out, the base never fills up, and the sensor reads "empty."
- The Fix: Empty the tank. Add a cup of white vinegar and a few drops of dish soap. Swirl it around vigorously. Let it sit for 20 minutes.
- Rinse it thoroughly. Seriously, rinse it until you can't smell the vinegar anymore.
- Refill and try again.
Step 3: The Blocked Nozzle.
On top of the unit, there's usually a spout where the mist comes out. If you are using the unit in a room with a lot of dust, or if you have hard water, that nozzle can get blocked with a mixture of dust and scale.
- The Fix: Take a cotton swab dipped in vinegar and clean the inside of the nozzle. You can also rinse it under the tap if it’s removable. This is a 30-second fix that people overlook constantly.
Step 4: The Fan Blade Freeze.
Sometimes the unit turns on but the mist isn't being pushed out. You might hear a slight whirring, but it sounds labored.
- The Fix: Check the fan vent at the bottom or back of the unit. If it’s clogged with dust or pet hair, the fan can't spin fast enough to push the mist out.
- Use a vacuum cleaner with the brush attachment to suck the dust out of the vents. If you can see the fan blade, try to spin it manually to see if it’s loose.
The "Leaking" or "Water Pooling Around the Unit" Problem
This is messy, but it’s usually not a catastrophic failure. It usually means water is getting where it shouldn't be.
Step 1: The Gasket Check.
There is usually a rubber gasket or O-ring between the water tank and the base. If this ring is cracked, dislodged, or has mineral deposits on it, it won't create a watertight seal.
- The Fix: Remove the tank.
- Look at the cap (or the connection point). Is the rubber ring intact?
- Clean the ring with a damp cloth to remove any grit.
- Re-seat it carefully and re-attach the tank.
Step 2: The Overflow Valve.
If the unit is leaking from the bottom of the base, it might have a small rubber stopper or an overflow port. These are usually located on the underside. If the unit gets overfilled, it drains out via this port.
But if the port is dirty, it might leak constantly.
- The Fix: Flip the unit over. Look for a small rubber tube or hole. Make sure it’s clean and not blocked. Sometimes, the unit releases a small amount of water here to maintain the correct water level, and it’s not actually a leak.
Step 3: Condensation Build-Up.
This one gets misdiagnosed as a leak all the time. The mist is cool. When it hits the cold surface of a window or the side of the unit, it turns back into water droplets.
If the unit is too close to a wall or a window, you will see water pooling.
- The Fix: Move the humidifier away from the wall. Give it at least 6 to 12 inches of clearance on all sides. This allows the mist to dissipate into the air instead of condensing on a nearby surface.
The "Bad Smell" or "Musty Odor" Problem
A smelly humidifier is a health hazard. The invisible mist that fills your room is the exact same water that is sitting in the reservoir. If that water smells, you are spraying bacteria or mold into your air, and that can trigger allergies or asthma.
Do not run the unit if it smells.
Step 1: The Empty the Reservoir Rule.
Never, ever let water sit in the tank for more than 24 hours if you aren't using it. I am guilty of this. You fill it up, run it for a few hours, and then forget about it.
Three days later, you have a science experiment brewing.
- The Fix: Make it a habit: empty the water after every use. Rinse the tank with fresh water and let it air dry completely before putting it away.
Step 2: The Deep Clean.
If the smell is already there, vinegar is your best friend, but you might need to go nuclear.
- Mix a solution of one tablespoon of bleach per one gallon of water.
- Fill the tank with this solution and let it sit for 30 minutes. This will kill the mold spores that vinegar might miss.
- Critical: Rinse the tank until you can't smell the bleach anymore. Run a cycle with just fresh water for 10 minutes to flush the internal lines.
Step 3: The Wick Filter (For Evaporative Models).
If you have an evaporative model, the wick filter is a sponge-like material that absorbs water. If it gets old, or if you don't let the unit dry out, it can get musty, and you can't clean that smell out.
- The Fix: Check the wick. If it is discolored (brown or gray) or feels slimy, it needs replacing. Typically, a wick filter should be replaced every 3 to 4 months, depending on your water hardness. This is a wear-and-tear item, and replacing the filter is the only way to get rid of that odor.
The "Sputtering" or "Excessively Loud" Operation
Humming is normal. Sputtering, gurgling, and rattling are not. Here’s what that noise means:
Step 1: Low Water Level.
When the water level in the base gets too low, the transducer starts vibrating on a half-empty pool. This causes a loud, rattling sound.
- The Fix: Just add more water to the tank and reseat it. This should fix it immediately.
Step 2: The "Rattle" from the Float.
Many ultrasonic units have a small plastic float that sits in the base to help regulate water. If this float gets water inside it, it becomes heavy and doesn't float properly. It will bump against the sides of the sensor, creating a rattling noise.
- The Fix: You can try to pull the float out (it should pop out with a little force) and shake the water out of it. If it’s cracked, you need to replace the part or the base.
Step 3: The "Humming" Pitch Change.
If the pitch of the motor changes wildly, it usually means the fan is struggling. This goes back to the airflow issue we mentioned earlier. A clogged motor will make a high-pitched whine.
- The Fix: Clean the air vents and intake ports thoroughly.
Maintenance: Stop the Problems Before They Start
The absolute best way to troubleshoot an Air Innovations humidifier is to avoid the problem altogether. This isn't a matter of luck; it's a matter of routine. If you follow this schedule, you will have far fewer "dead machine" moments.
Weekly Routine (Every 7 Days)
- Empty the tank and base completely.
- Wipe the inside of the base with a paper towel to catch any scale dust.
- Rinse the tank with fresh water. Do not use soap unless it's a hassle, vinegar is better.
- Refill with distilled water. This is the single most important tip I can give you. Distilled water is free of the minerals that cause the scaling that kills these units.
Monthly Routine (Every 30 Days)
- Perform a full descaling: Fill the base (not the tank) with white vinegar until the transducer is submerged.
- Let it sit for 30 minutes to dissolve the hard water scale.
- Use a soft brush to scrub the transducer, then rinse thoroughly.
- Clean the exterior with a damp cloth.
Filter Replacement Schedule (Evaporative Units Only)
- Check the filter every month.
- Replace it every 3 months or immediately if it feels stiff or smells.
- Never run the unit with a dry filter, you can burn out the fan motor.
A Quick Comparison: What to Do vs. What Not to Do
Here’s a cheat sheet for the most common mistakes I see people make:
| Situation | The DIY Fix (Do This) | The Fatal Mistake (Don't Do This) |
|---|---|---|
| Scale on the disc | Soak in white vinegar for 20 mins, then brush gently. | Using a knife or metal scraper to scrape the disc. |
| Cloudy water tank | Swirl with vinegar and rice to scrub away slime. | Putting the tank in a dishwasher. The heat warps the plastic. |
| Stuck fan | Vacuum the vents and spin the blade manually. | Oiling the motor shaft. The oil catches dust and turns to glue. |
| No power | Check the outlet with another device. | Cutting the cord to shorten it. This is a major fire hazard. |
| Musty odor | Clean with a bleach and water solution (10:1). | Using a "humidifier cleanser" that promises a scent. These often leave a residue that gunks up the transducer. |
When to Throw in the Towel
I know I sound like a "fixer," but sometimes, you need to know when to stop. Replacement is the smart move if:
- The unit is older than 3 to 4 years. These machines have a limited lifespan. The plastic gets brittle, and the transducer wears out. Putting more money into an old unit is a sunk cost.
- The heating element isn't working (for warm mist units). If it won't heat and you've cleaned it, the element is toast. It's not worth trying to source a replacement heater.
- The motor is physically seized. If you plug it in and you just hear a buzz but the fan won't turn even after cleaning, the coil is dead.
- There is visible rust on the internal sensors. This means the metal is corroding, and it will soon throw off the readings, causing it to power off randomly. That’s a sign of a leak or complete seal failure.
In those cases, it's not a "troubleshooting failure" on your part, it's just the end of the product's life cycle. Humidifiers are not built to last forever. If you can get 2 to 3 winter seasons out of one, you got your money's worth.
Final Words of Wisdom
Fixing your Air Innovations humidifier isn't brain surgery. It’s all logic. Your machine is telling you exactly what's wrong:
- It won't start: It can't see the water.
- It makes mist but it's weak: It can't vibrate hard enough because of scale.
- It smells: It has bacteria.
- It leaks: The seal is broken or the airflow is blocked.
Start with the easiest fix (power, water level, tank seating) and work toward the harder ones (deep cleaning, part replacement).
And please, for the love of your lungs, use distilled water. If you have hard water, the minerals will work against your humidifier every single second it runs. Your machine will last twice as long, and you won't see that annoying white dust coating your furniture.
That white dust is actually the minerals from your tap water being blown into the air. Distilled water eliminates that instantly.
Here’s hoping the mist is flowing again within the next 15 minutes. You’ve got this. If you run into a specific weirdness I didn't cover, drop the model number into a search and check the official manufacturer's manual, they have specific diagrams for their parts that are super helpful.
But in 9 out of 10 cases, the vinegar bottle is your secret weapon. Good luck!

Similar Posts