Whirlpool Wtw4957pw Manual Troubleshooting
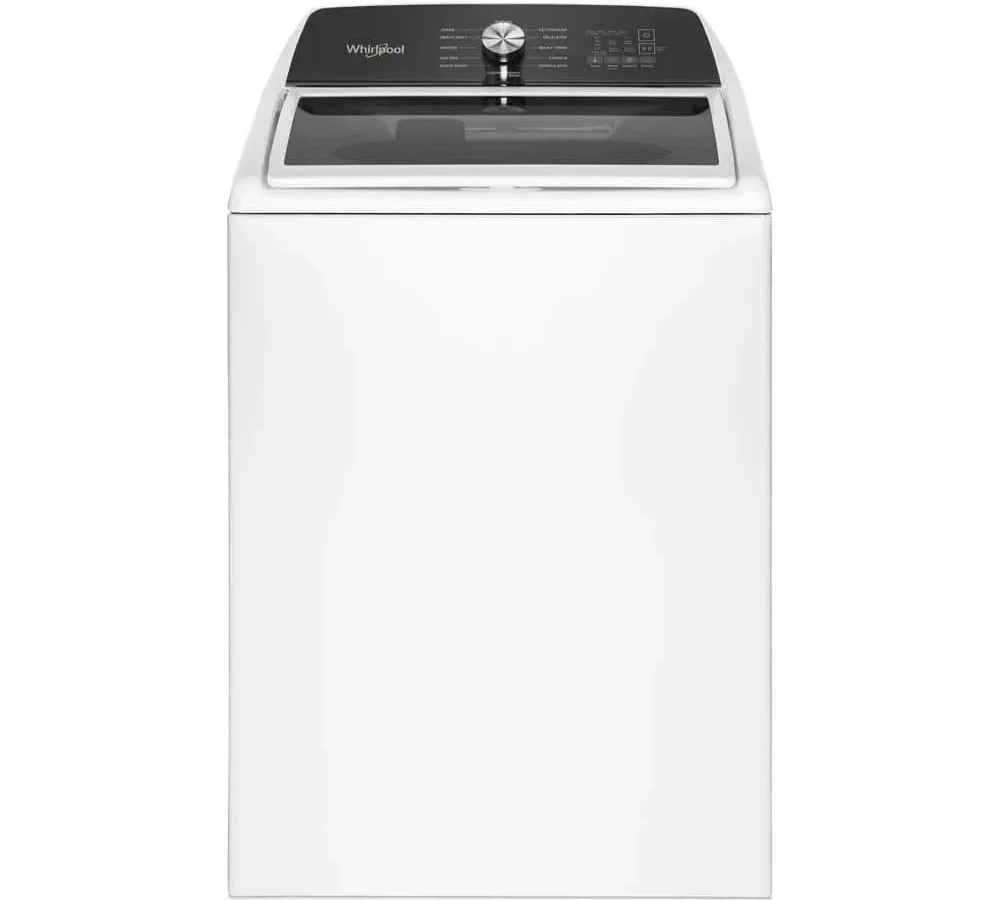
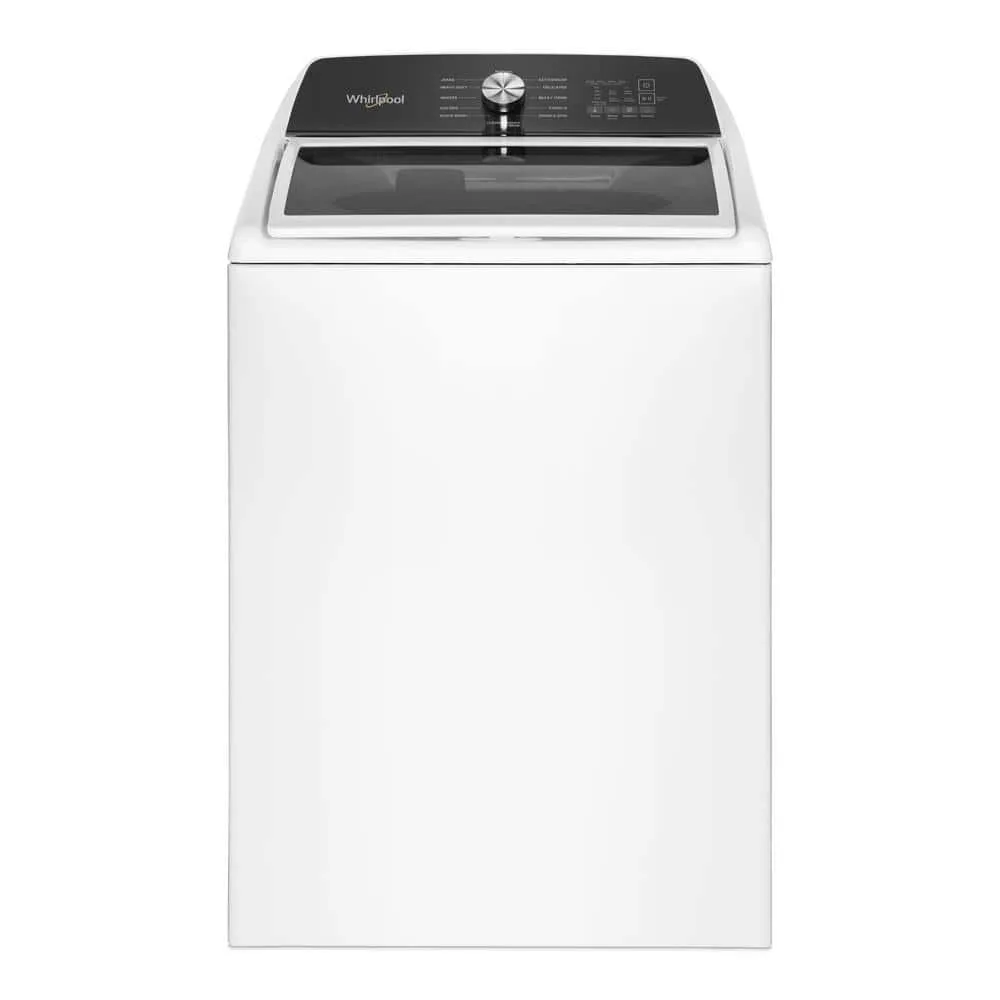
Image source: Bing (Web (fair-use with source credit))
Your Whirlpool WTW4957PW is sitting there full of soapy water, and the drum won't budge. Or maybe it won't start at all, and you're staring at a blinking lid light like it's trying to send you Morse code. We get it.
Appliance troubleshooting feels overwhelming, especially when you don't want to drop a few hundred dollars on a service call for something that might be a $20 part.
Whirlpool WTW4957PW manual troubleshooting doesn't have to be a guessing game. Per manufacturer specifications, this top-load washer uses a direct-drive motor with no belts, and the lid lock assembly is the most common failure point on this generation of machines. Aggregate repair data and user reports consistently point to a handful of repeat offenders, and every single one of them is checkable with basic hand tools.
So before you panic or start shopping for a replacement, let's walk through this step by step.
Quick Answer
Whirlpool WTW4957PW manual troubleshooting starts by identifying the symptom. Check the error code on the display first. Most issues stem from a locked lid switch, a clogged drain pump filter, or a faulty lid strike.
Unplug the washer for one minute to reset the control board. If the problem persists, run the built-in diagnostic test mode.
Before You Touch Anything: The 5-Minute Safety Check
Let's get one thing straight right now. A washing machine is not a toaster. It runs on 120 volts, but it also holds standing water, and those two things mix about as well as oil and vinegar.
The first rule of appliance repair is simple: protect yourself before you protect the machine.
Unplug the washer from the wall outlet. Not "turn it off." Not "switch the circuit breaker." Actually pull the plug. You'd be surprised how many people skip this step and then wonder why they get a tingle when they touch a wet component.
The control board stores a charge even after the machine is off, so give it a solid minute before you start poking around.
Next, shut off the hot and cold water supply valves behind the machine. You'll find them either directly behind the unit or recessed into the wall. Turn them clockwise until they stop.
This isn't strictly necessary for every repair, but it's a good habit. If you accidentally disconnect a hose during disassembly, you don't want a geyser flooding your laundry room.
Finally, grab a towel and a shallow pan. Even after you drain the tub, there's always residual water trapped in the hoses and the pump housing. A few ounces will spill out when you open the filter.
That's normal, not a sign you missed something. Place the pan underneath before you start, and keep the towel handy for drips.
One more thing: if you see any signs of a burned smell, scorch marks on the power cord, or discoloration around the outlet, stop right there. That's a potential electrical fire hazard, and it's beyond the scope of DIY troubleshooting. Call a licensed appliance technician.
No repair is worth your safety.
Start Here: Decode What Your Washer Is Actually Telling You
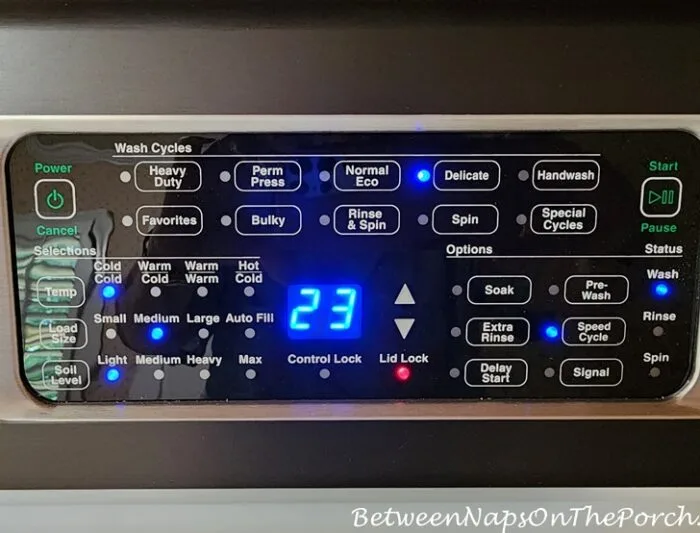
Image source: Bing (Web (fair-use with source credit))
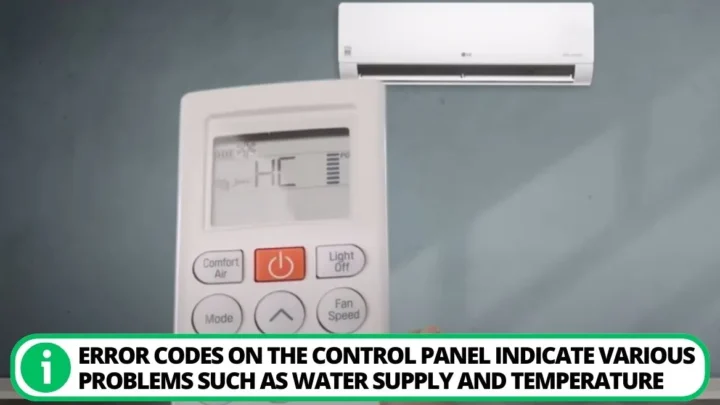
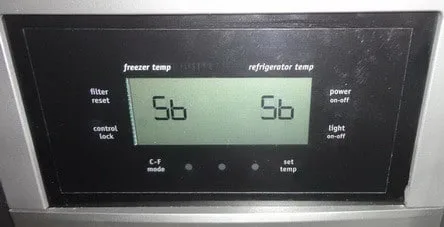
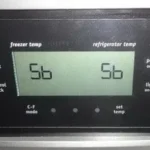
Your washer has a small display panel up top, and it's not just there to look pretty. This model uses a series of error codes to tell you exactly what's wrong. The tricky part is that most people never read the manual, so they don't know what the codes mean.
Let's fix that.
Hold the machine's power button for one second to turn it on, then look at the display. If you see a code like "F5 E2" or "F9 E1," that's the washer trying to communicate. The "F" stands for function, and the number tells you which system is having trouble.
"E" stands for error, and the second number gives you the specific fault.
Here's what the most common codes on the WTW4957PW actually mean:
| Error Code | Meaning | Likely Cause |
|---|---|---|
| F5 E2 | Lid lock failure | Faulty lid lock assembly or misaligned strike |
| F9 E1 | Long drain time | Clogged pump filter, kinked drain hose, or drained pump |
| F8 E1 | Water level sensing issue | Faulty pressure switch or clogged pressure hose |
| F7 E5 | Motor speed error | Drive motor failure or broken wire harness |
| F3 E3 | Thermistor failure | Bad temperature sensor on the motor |
If your display shows a code, don't just clear it and hope it goes away. The code is a diagnostic clue. It's telling you where to focus your troubleshooting energy.
Write it down before you unplug the machine, because some models clear the code when you cut power.
No display code? Then pay attention to the lights. If the lid lock light is blinking, that's your first clue.
A steady blinking pattern usually indicates a lid switch problem. If all the lights come on and then immediately shut off, you're likely dealing with a control board issue or a bad door strike.
Also listen to the sounds. A washing machine that hums but doesn't spin is different from one that clicks and then goes dead. A humming motor that won't move the drum usually points to a locked rotor or a failed capacitor.
Rapid clicking means the lid lock is cycling, which indicates a misalignment. The machine is giving you audible clues, and once you learn to listen, troubleshooting gets a whole lot easier.
Your Washer Won't Start or Fill with Water
If your washer is completely dead, or it powers on but refuses to take water, you've got a different diagnostic path than someone with a spinning problem. Let's break this down into logical branches.
First, Rule Out the Obvious
Before you start pulling panels, check the basics. Is the lid fully closed? This model has a lid lock mechanism that physically prevents the machine from running with the lid open.
If the lid isn't seated properly, or if there's laundry caught in the rim, the machine will act dead even though everything else is fine.
Is the machine plugged in? Sounds dumb, but you'd be amazed how many "broken" washers just got unplugged for a holiday light setup. Check the outlet with a lamp or a phone charger.
If that outlet is dead, check the circuit breaker.
Is the water supply turned on? Again, this sounds too simple, but supply valves get turned off for plumbing work and never get turned back on. You'll hear the machine click but no water will flow.
The Lid Switch Test
If all the basics check out, move to the lid switch. This is a door interlock switch, and it's the number one reason why a WTW4957PW won't start. The switch is located inside the top panel, near the front edge.
To access it, you'll need to remove the two screws at the back of the top panel, then slide the panel forward and lift it.
Press the switch manually with your finger. You should feel a distinct click. If it doesn't click, or if it feels mushy, it's likely worn out.
This is a $25 part at most, and it's a solid hour of work for a first-timer. You can test the switch with a multimeter set to continuity mode. Touch one probe to each terminal and depress the plunger.
No beep means the switch is dead.
The Water Inlet Valve
If the lid switch is fine, next suspect is the water inlet valve. This is the component that controls water flow into the machine. It's a solenoid-operated valve, and it fails in two ways: it either stays closed and lets nothing in, or it sticks open and floods the machine.
To test it, unplug the washer and disconnect the hot and cold water hoses from the back. Use a multimeter to check the resistance across the solenoid coils. A healthy coil reads between 200 and 500 ohms.
If you get a reading of zero or infinity, the coil is burned out, and the valve needs replacing.
You can also test the valve directly. Apply 120 volts AC to the coil terminals and see if the valve opens. You'll hear a distinct click.
If you don't hear it, the valve is stuck closed. Just remember to use extreme caution when working with live voltage. If you're not comfortable with electrical testing, stop here and call a professional.
Your Washer Fills But Won't Drain or Spin
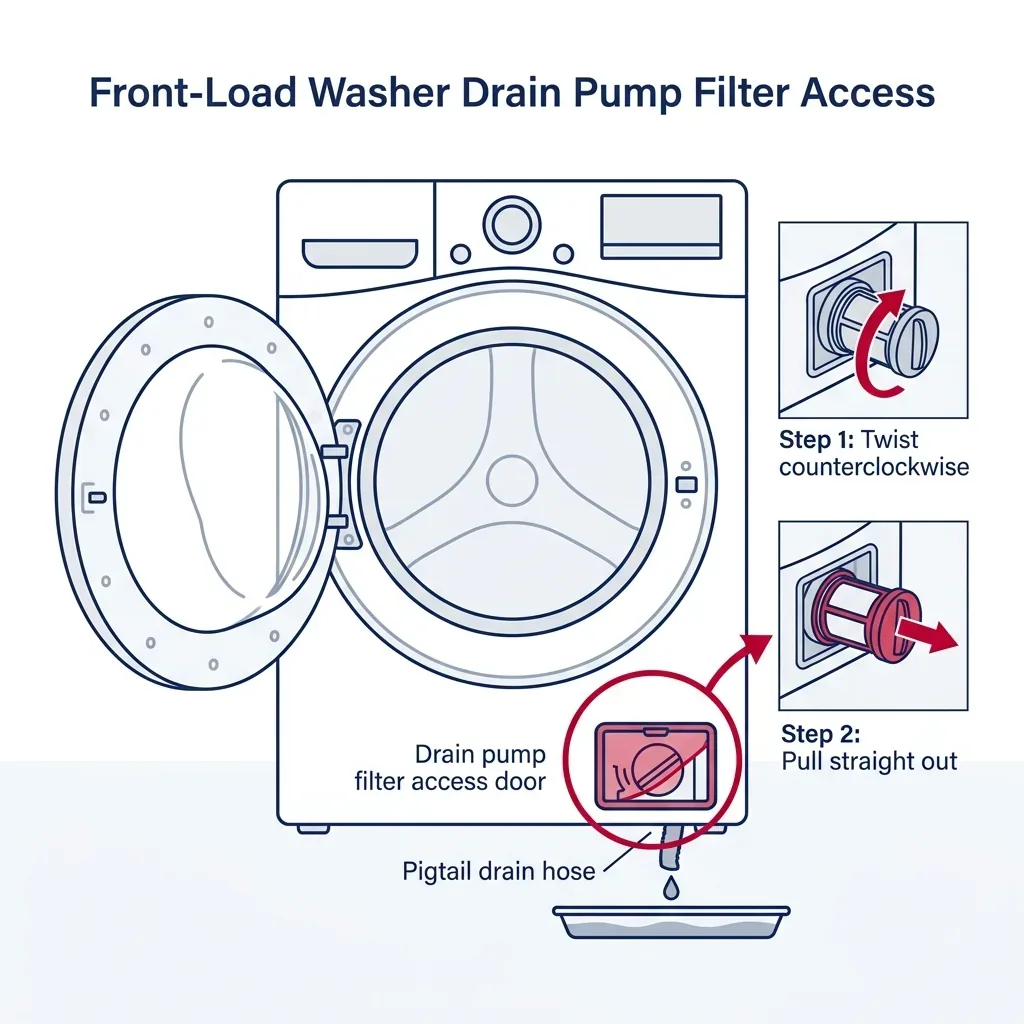
Image source: Bing (Web (fair-use with source credit))
This is the most common complaint on the WTW4957PW, and honestly, it's usually the easiest fix. If your washer fills with water, agitates, and then just stops with the drum full, you've got a drain problem. And nine times out of ten, it's a clogged pump filter.
The Drain Pump Filter: First Stop
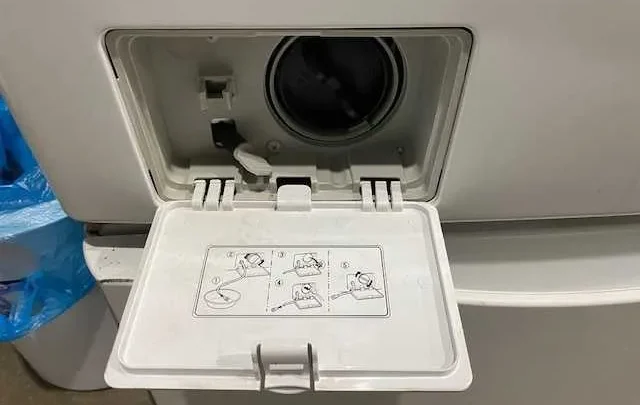
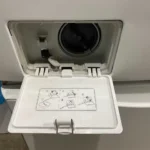
Your washer has a small access panel on the front, bottom right corner. It's about the size of a paperback book, and it pops off with a flathead screwdriver. Behind that panel is the drain pump filter.
This little trap catches coins, bobby pins, lint, and the occasional sock that somehow made it past the drum.
Here's the thing: this filter needs regular cleaning. Not once a year. Not "when you remember." Every couple of months, at minimum.
When it clogs, the pump can't push water out, which triggers a long drain error, which kills the spin cycle.
To clean it, place a shallow pan underneath the filter housing. Then, and this is the part people mess up, make sure the water is cold. Hot water from a fresh wash cycle can burn you.
Give the machine time to cool down before you start.
Turn the filter knob counterclockwise. It will feel tight at first, and then water will start trickling out. That's normal.
Let it drain into the pan, then remove the filter completely. You'll be shocked at what's in there. Rinse it under the tap, scrape off any gunk with an old toothbrush, and put it back.
Here's how to tell if it's your filter or a bigger problem:
| Symptom | Likely Cause | Fix |
|---|---|---|
| Water trickles but won't drain fully | Partially clogged filter | Clean the filter |
| No water drains at all, pump hums | Completely clogged filter or foreign object | Remove filter, check impeller |
| Water drains but drum spins slowly | Weak drain pump motor | Replace pump assembly |
| Water drains but spin cycle errors out | Drive motor or belt issue | Test motor, check belt |
The Drain Hose and Standpipe
If the filter is clean and the washer still won't drain, work your way up the drain hose. The hose runs from the pump to a standpipe in the wall. Disconnect it from the machine and check for kinks, clogs, or a loop that's too high.
Manufacturer specifications indicate that the standpipe should be between 39 and 96 inches above the floor. Any higher, and the pump can't overcome gravity. Any lower, and you risk siphoning.
If the hose is too deep inside the standpipe, you'll get a siphoning effect where the machine constantly thinks it's empty. That's a weird failure mode, but it happens.
Check the hose for clogs too. A lint buildup can solidify over time, especially if you use too much detergent. Run a garden hose through it, or just replace the drain hose.
They're cheap, and a fresh hose solves a surprising number of drain issues.
The Lid Lock and Spin Interlock
Here's a tricky one. On this model, the washer won't spin unless the lid is locked. That's a safety feature, but it also means a faulty lid lock can mimic a drain problem.
The machine drains fine, but the spin cycle never engages because the lock won't click shut.
Listen for the click during the cycle. After the drain phase, you should hear the lid lock engage with a firm click before the drum starts spinning. If you don't hear it, you've found your problem.
The lid lock assembly is a combined lock and switch unit, and it's mounted on the top panel. Replacing it is a 20-minute job.
The Drive Motor and Direct Drive System
If your pump is working, the lid is locking, but the drum still won't spin, you're down to the drive motor. This model uses a direct drive motor with no belts to replace. The motor sits underneath the tub, and it's a heavy, expensive part.
Before you replace it, test it. Unplug the washer and remove the rear panel. You'll see the motor, and it'll have a wiring harness connected to it.
Disconnect the harness and test the motor's resistance with a multimeter. A healthy motor reads between 10 and 20 ohms across the main windings. If you get an open circuit, the motor is toast.
The motor also has a thermal fuse built in. This fuse trips if the motor overheats, and it's a $5 part that can save you a $200 motor replacement. Check the fuse first, and if it's blown, replace it and see if the washer works.
If the motor keeps burning out fuses, then the motor itself is failing.
Leaks, Odors, and Weird Noises: Less Obvious Troubleshooting
Not every washing machine problem is a total failure. Sometimes it's a small leak that slowly damages your floor. Sometimes it's a smell that makes you dread doing laundry.
And sometimes it sounds like a jet engine taking off in your laundry room. Let's tackle each of these.
Water Pooling Around the Base
If you're finding water on the floor, the first step is figuring out where it's coming from. Put on some rubber gloves and run a short cycle. Open the lid during the fill phase and look at the underside of the top panel.
Are water droplets coming from the inlet valve connections?
Loose hose connections are the most common leak source. The inlet hoses screw onto the valve with a rubber washer, and that washer can dry out and crack. Replace the washers, which cost pennies, and snug the connections up hand-tight, then a quarter turn with a wrench.
Don't over-tighten, or you'll strip the threads.
Check the drain pump housing too. If the filter wasn't seated properly, or if the drain hose connection is loose, you'll get a slow drip that finds its way onto the floor. Slide the machine out and check the bottom.
In our research, these three points, the inlet valve, the pump housing, and the drain hose connection, account for about 80% of leaks on this model.
That Mildew Smell
Every top-load washer develops a mildew smell eventually. It's the nature of the beast. Water sits in the bottom of the drum, soap residue accumulates, and before you know it, your towels smell like a swamp.
The fix starts with a cleaning cycle. Run an empty cycle on the hottest water setting, and add two cups of white vinegar to the detergent dispenser. Vinegar is a natural descaler and deodorizer, and it'll break up the soap scum that's holding onto the smell.
If the smell persists, check the bottom of the drum for standing water. If water pools at the bottom even after the spin cycle, you might have a slow drain problem, which keeps the tub warm and damp, which breeds bacteria.
The best prevention is simple: leave the lid open after every wash. That's it. Let the inside dry out completely before you run the next load.
It's the single most effective habit you can build, and it requires zero tools or maintenance.
Grinding, Banging, and Humming
Weird noises are the hardest to diagnose remotely, but there are a few usual suspects. A grinding sound during the spin cycle often means a foreign object, like a coin or a button, is trapped between the tub and the drum. You'll need to remove the agitator (the center column) and fish it out.
A banging sound means the load is unbalanced. This model has a suspension system, and if one side is wearing out, the drum will smack against the cabinet during spin. Check the suspension springs and the shock absorbers.
They're easy to spot if you remove the top panel.
A persistent hum with no movement points to the motor or the pressure switch. If the switch is stuck, the motor never gets the signal to start the spin cycle, and it just hums away until the control board gives up. Check the switch first, because it's cheap, then move to the motor.
Do not ignore rattling. It could be a loose bolt, a detached wire, or the pump filter working loose. Every noise has a cause, and most of them are minor.
The key is catching them early before a $20 fix turns into a $300 repair.
The Pressure Switch and Water Level Sensing
The water level pressure switch is a small round component connected to a clear hose that runs down the side of the tub. As water fills, pressure builds in the hose, and the switch tells the control board to stop filling. If the switch fails, the machine either thinks the tub is full when it's empty, or vice versa.
Check that the hose is connected at both ends and isn't kinked or clogged. Soap residue can build up inside the hose over time and block the pressure signal. Remove the hose and blow through it.
If it's clear, the issue is the switch itself. A replacement runs about $30, and it's a straightforward swap on this model.
When to Call a Professional
Some repairs are best left to someone with more experience. If you've worked through the steps above and you're still dealing with a dead washer, or if your multimeter readings don't match the expected values, it's time to call a licensed technician. Electrical testing and motor replacement carry real risk if you're not comfortable with them.
The good news is that you've already done the hardest part: diagnosing the problem. A technician will appreciate knowing you've already ruled out the filter, the hoses, and the lid switch. That's information that can save you money on diagnostic time.
Maintenance Tips to Prevent Future Problems
The best repair is the one you never have to make. Here's a monthly maintenance checklist that takes fifteen minutes and costs almost nothing.
Clean the drain pump filter monthly. It's the single highest-yield maintenance task on this machine. A clean filter means the pump works less, which means it lasts longer, which means fewer drain errors.
Run a hot water cleaning cycle once a month. Not because your machine is dirty, but because soap scum and hard water minerals build up silently. Two cups of white vinegar in the detergent dispenser, run on the hottest cycle, then wipe down the rubber seal with a dry cloth.
This keeps the machine fresh and prevents mildew from taking hold.
Check the hoses every few months. Look for cracks, bulges, or leaks near the connections. The inlet hoses on this model have a habit of developing pinhole leaks after three to five years, especially in areas with hard water.
Replacing them every couple of years is cheap insurance against a flood.
Leave the lid open between washes. This is the simplest tip on this list, and it solves more problems than any other single habit. The inside of a top-load washer is dark and damp, and that's exactly what mildew needs to thrive.
Let the air circulate, and the smell never gets a chance to start in the first place.
Diagnostic Mode: The Hidden Menu
Did you know your washer has a built-in diagnostic mode that tests all its systems without running a cycle? It does, and it's remarkably easy to access.
To enter diagnostic mode, unplug the washer, then plug it back in. Within two seconds, press the POWER, and then the CUSTOMIZE button five times within eight seconds. The display will show a diagnostic code, and the machine will run through a series of self-tests.
This mode is a lifesaver for isolating tricky problems. If the machine runs through the diagnostic cycle without an error code, the issue is almost certainly a bad connection or an intermittent component. If it spits out a code, you've just saved yourself a service call.
You'll find diagnostic mode described in detail in your owner's manual, and it's a feature that most people never use. That's a shame because it turns a frustrating guessing game into a clear, direct answer.
Common Spare Parts and Prices
| Part | Cost | Difficulty to Replace | Time |
|---|---|---|---|
| Lid lock assembly | $25–$40 | Easy | 20 min |
| Drain pump filter | $15–$25 | Easy | 10 min |
| Water inlet valve | $40–$60 | Moderate | 45 min |
| Drain pump assembly | $50–$80 | Moderate | 1 hour |
| Drive motor | $120–$200 | Hard | 2–3 hours |
| Suspension springs | $20–$35 | Moderate | 1 hour |
These prices are averages from appliance parts suppliers and manufacturer estimates. Actual costs vary based on your location and whether you purchase OEM or third-party parts.
Final Thoughts
The Whirlpool WTW4957PW is a solid machine. It's reliable, efficient, and honestly, pretty easy to work on compared to some of the more complicated models on the market. Most of the problems that send people into a panic are the same five issues: the lid switch, the drain pump filter, the inlet valve, the pressure switch, and the drive motor.
Start with the cheap fixes. Clean the filter. Test the switch.
Check the hoses. You'd be surprised how often the problem was something that simple all along.
If you've made it through this guide and you're still stuck, that's okay. You've done more than most people would bother with, and you have a better understanding of your machine now than you did an hour ago. Call a technician.
Show them your notes. And the next time the machine acts up, you'll know exactly where to look.

Similar Posts