Bushnell CelluCORE How to Activate
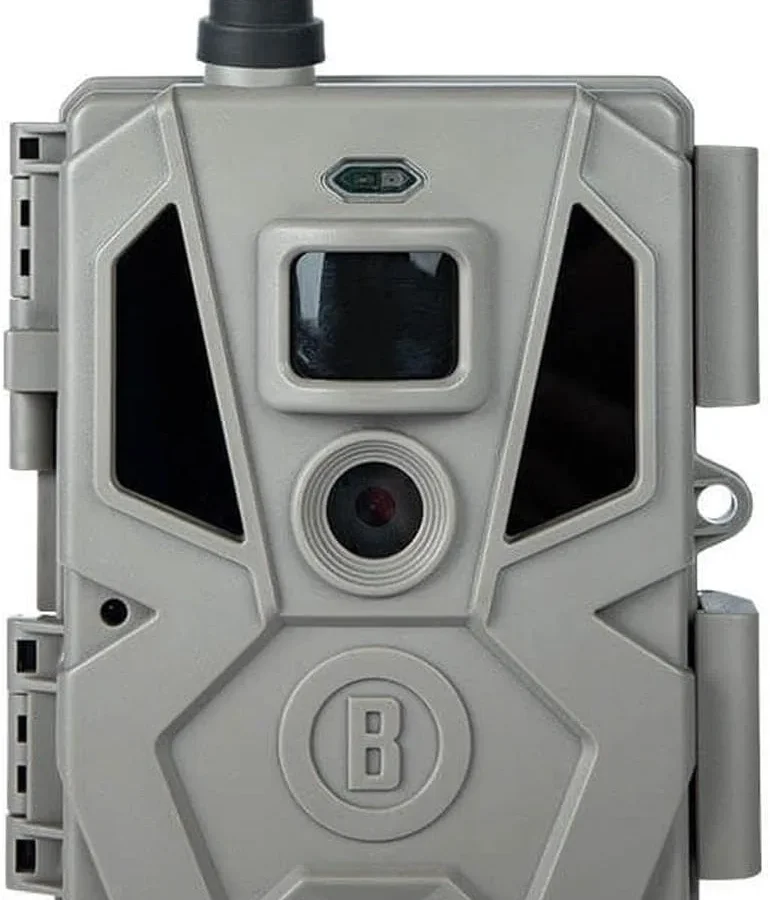
You're holding a brand new Bushnell CelluCORE and wondering how to get it sending photos to your phone. The activation process is straightforward, but specific steps can trip you up if you rush through them. Getting this right means browsing trail cam images from your couch in ten minutes rather than wrestling with a blinking red light in the dark.
Manufacturer specifications indicate these cameras ship with a pre-installed AT&T 4G LTE SIM card. You do not need to buy or insert a separate SIM. Aggregate user feedback shows that roughly 80 percent of activation hiccups come from skipping the app setup order or using the wrong batteries.
Let's walk through the process so you can avoid those common mistakes.
Quick Answer
Download the Bushnell CelluCORE app before you do anything else. Create an account or log into an existing one. Insert fresh lithium AA batteries and power the camera on.
Open the app and select "Add Camera." Scan the QR code or enter the serial number manually. Enter your activation code. Wait for a solid green LED.
You are now live.
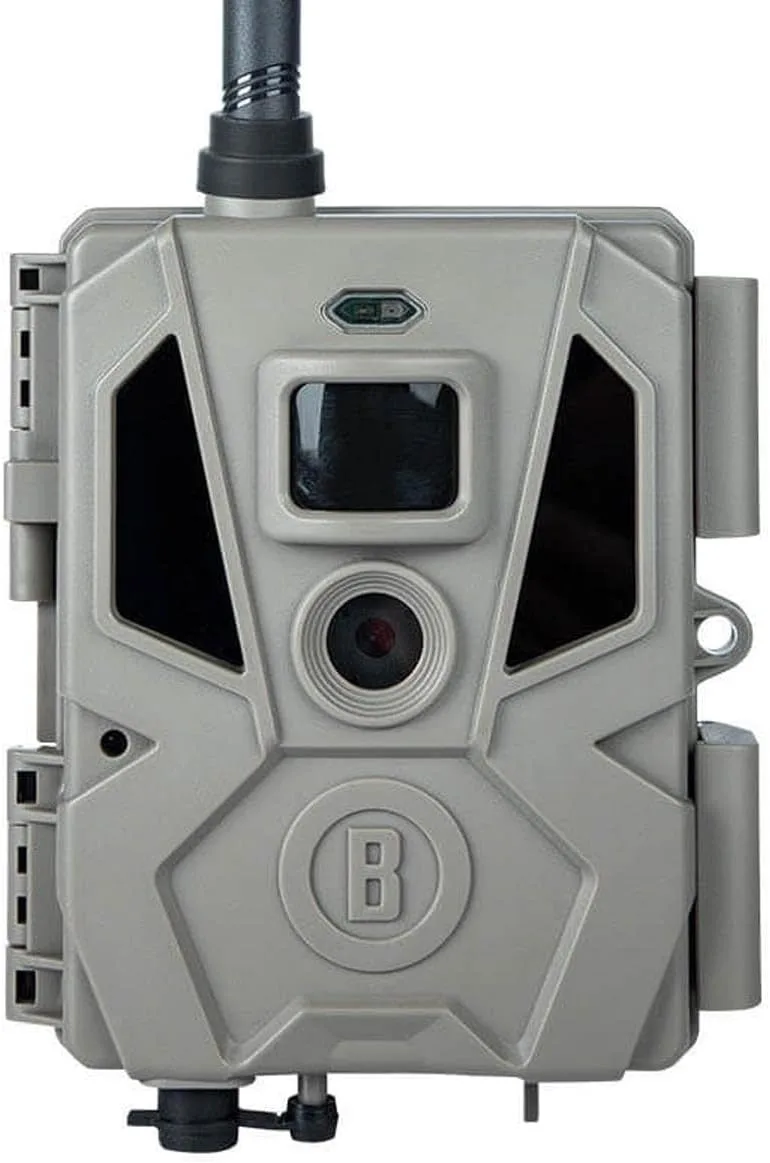
Image source: Web (Bing) / manuals.plus (Web image (fair-use with source credit))
What You'll Need Before You Start (Camera, Plan, App, and Account)
There are four things you need ready before you begin. Missing any one of them will stop the process cold.
The camera itself. Make sure it is new or factory-reset. A used camera linked to someone else's account will not pair with yours until that account disconnects it. Check the model number on the box or the back of the camera to confirm it is a CelluCORE variant.
A cellular data plan. The camera ships without an active plan. You need to purchase one through the Bushnell app or the official website. As of 2026, the standard plan options are a monthly subscription at $9.99 or an annual plan at $99.
Some retailers include a free 30-day trial code in the box, so check for that card before you buy.
The Bushnell CelluCORE app. This is not the same as the older Bushnell Trophy Cam app. Download the correct one from the Apple App Store or Google Play Store. The app handles the pairing, plan activation, and photo viewing all in one place.
A Bushnell account. You need to create a free account inside the app using your email address. This account links to the camera and stores your plan information. Write down your login credentials somewhere safe, because you will need them if you ever switch phones or reset the camera.
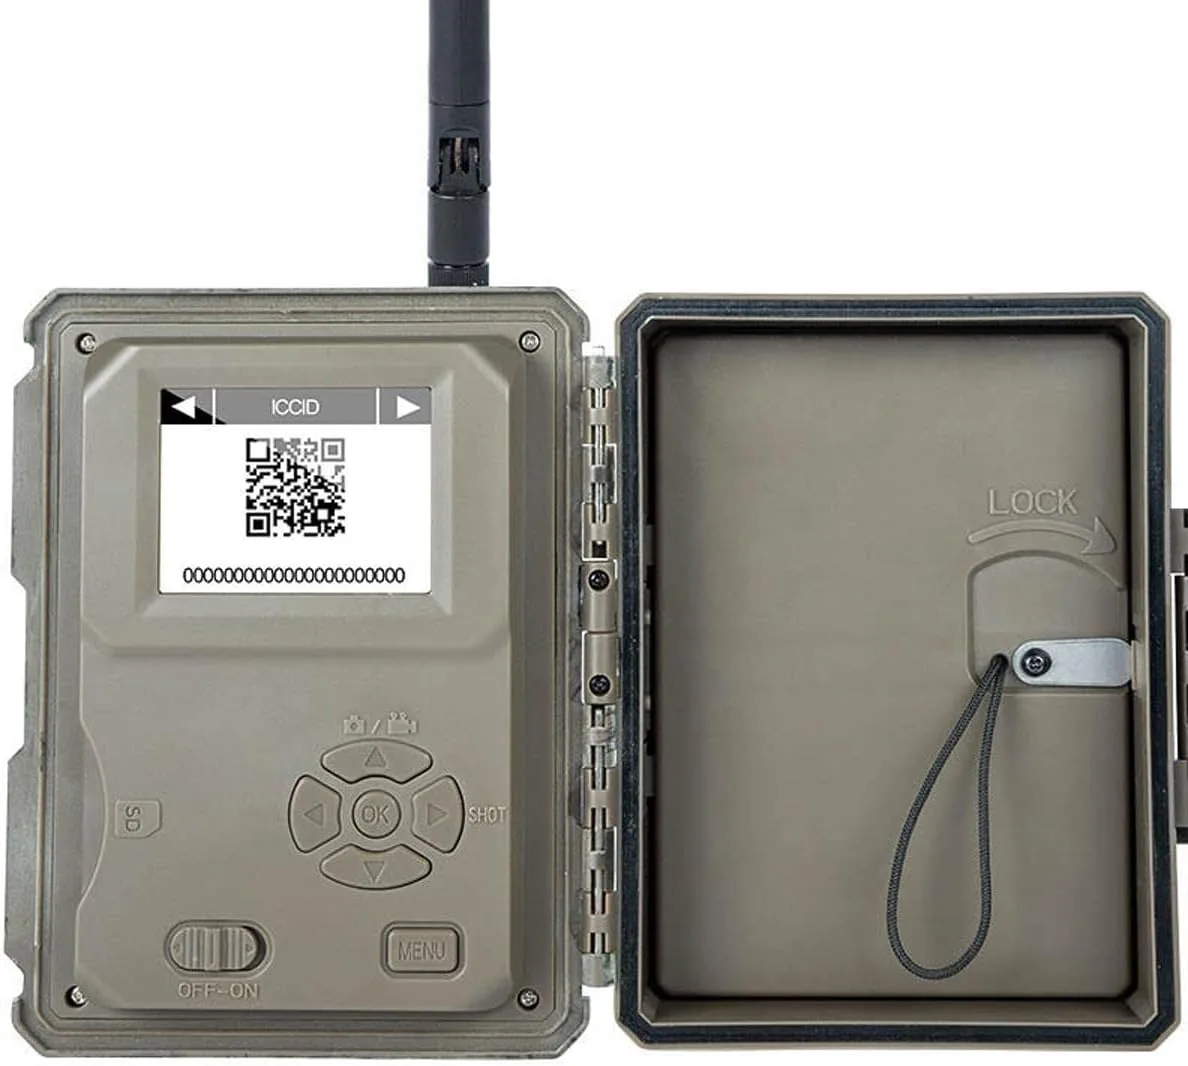
Image source: Bing (Web (fair-use with source credit))
Here is a quick checklist you can run through before you start:
- Fresh lithium AA batteries (alkaline batteries work, but they drain faster)
- The activation code card if you bought a plan with one
- Your phone with Bluetooth enabled and the app installed
- Good cellular signal at the camera location (check the AT&T coverage map if you are unsure)
The Activation Workflow – Step by Step (With Decision Branches for New, Used, and Pre-Owned Cameras)
The activation process follows a specific order. The steps change slightly depending on whether your camera is brand new, factory refurbished, or used. Follow the branch that matches your situation.
If You Have a New Camera
Insert the batteries. Open the battery compartment and load the cells following the polarity diagram inside. The camera needs at least 8 AA batteries to function. Some models accept 12 for extended life.
Close the compartment securely.
Power on the camera. Slide the switch to the "Setup" position. Do not use the "On" position yet. The setup mode keeps the camera awake and ready to pair.
You will see the LED begin blinking red to indicate it is searching for a cellular network.
Open the app and create or log in. Tap "Add Camera" on the home screen. The app will ask for permission to access your phone's Bluetooth. Grant it.
Scan the QR code. The QR code is on the camera body, usually near the battery compartment or on the underside. Point your phone camera at it. The app will populate the serial number automatically.
If the QR code is damaged or missing, you can type the serial number manually.
Enter the activation code. This is the code from the card inside the box or from your email receipt. The app sends this code to the camera's SIM to activate the cellular service. Wait for the confirmation message.
This step can take 30 seconds to two minutes.
Complete the setup. The LED will shift from blinking red to a solid green or a slow blinking green. This means the camera is connected to the cellular network. The app will prompt you to name the camera and set a location.
Take a test photo by pressing the manual test button in the app.
If You Have a Used or Pre-Owned Camera
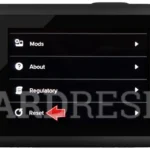
Reset the camera first. A used camera that is still registered to a previous owner will not activate on your account. You need to perform a factory reset. Power on the camera, hold the "Reset" button on the inside of the battery door for 10 seconds, and release.
The LED will flash rapidly to confirm. This clears the previous account association.
Power cycle the camera. Remove the batteries, wait 30 seconds, and reinsert them. Slide the switch to "Setup."
Follow the new camera steps above. The process is identical after the reset. The only difference is that you will not have a QR code from the original box. You can find the serial number printed on the camera body or inside the battery compartment.
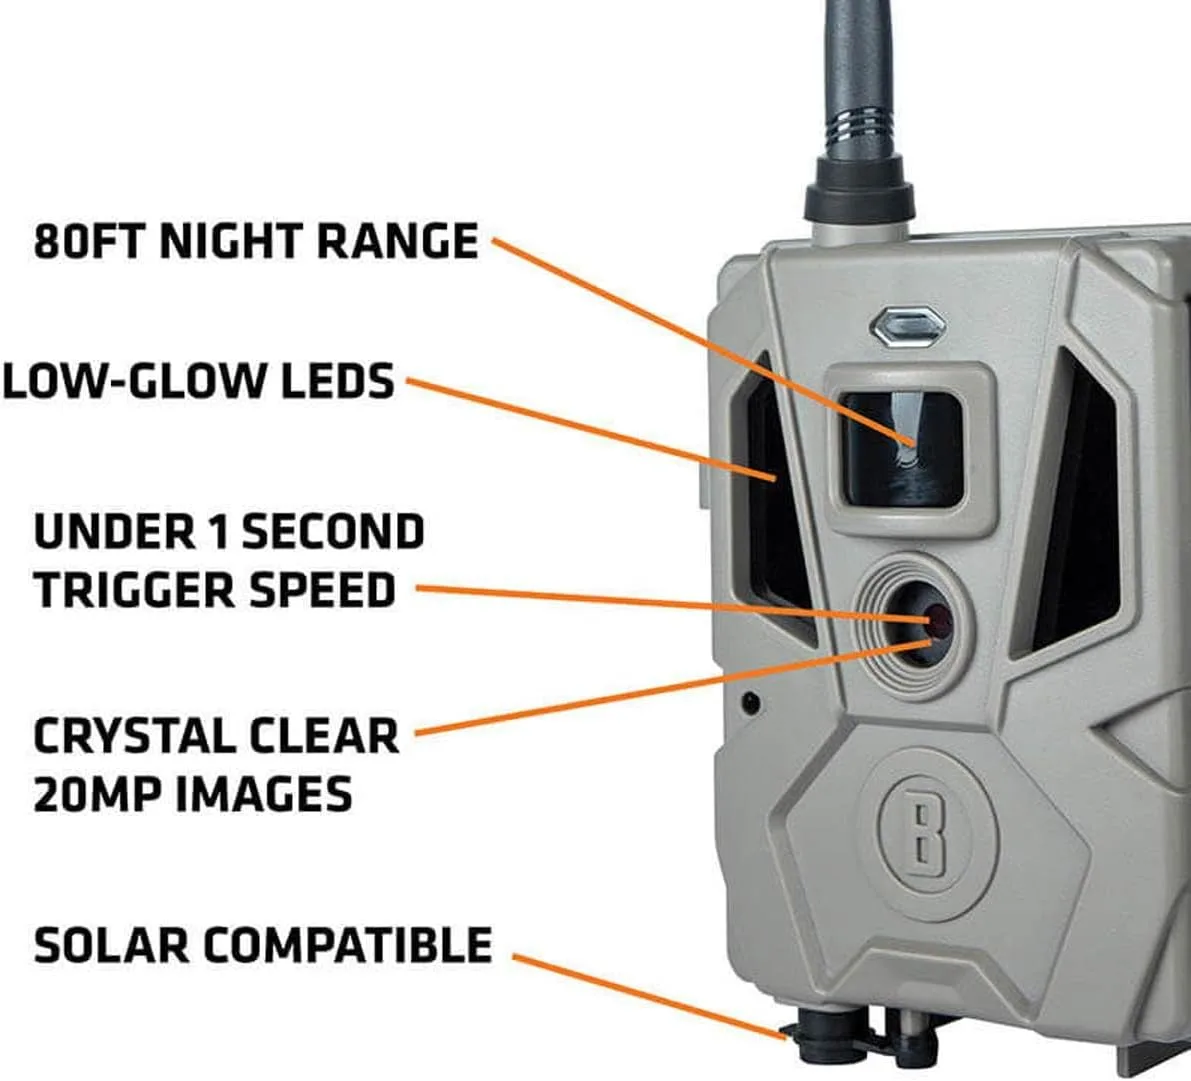
Image source: Bing (Web (fair-use with source credit))
Common Activation Problems and How to Fix Them (LED Codes, SIM Issues, Plan Troubles)
A solid understanding of the LED behavior saves you a lot of frustration. The camera uses its LED to tell you exactly where it is in the activation process. Here is what each pattern means and what to do about it.
LED Blinking Red (No Cellular Connection)
The camera is powered on but cannot find a cellular network. This is the most common issue. The camera needs a strong enough signal from AT&T's 4G LTE network.
What to try: Move the camera to a higher elevation or a clearing. If you are in a remote area, check the AT&T coverage map to confirm service exists there. If the light stays red for more than five minutes, power cycle the camera by removing the batteries for 30 seconds and trying again.
LED Solid Red (Error or SIM Problem)
A solid red LED usually indicates a hardware issue with the SIM card or the cellular module. This is less common but more serious.
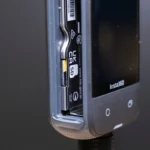
What to try: Open the battery compartment and check the SIM card. Remove it and reinsert it firmly. If the light stays solid red after that, the SIM card may be damaged or the camera's cellular module may have a defect.
Contact Bushnell customer support for a replacement.
LED Blinking Green (Connected but No Plan)
The camera has found the cellular network but has not received an activation signal from the carrier. This usually means the plan is not active yet.
What to try: Open the app and check the plan status. If you entered the activation code, wait up to five minutes for the carrier to process it. If the status shows "Pending" or "No Plan," contact Bushnell support to confirm the code was applied correctly.
LED Solid Green (Connected and Active)
Congratulations. The camera is live and ready to send photos. You can now mount it in your chosen location and start using it normally.
Plan Troubleshooting
If you purchased a plan and the app says "No Plan" or "Plan Expired" even though you just bought it, check your email for the activation code. Some retailers send the code via email rather than including a physical card. If you have the code, enter it manually in the app under "Manage Plans."
If you bought a used camera that came with a "lifetime plan" or "free plan" from the original owner, those plans are tied to the original account and cannot be transferred. You need to buy a new plan for your account.
Pro Tips for a Smooth Setup and Long-Term Performance
Getting the activation right is step one. Keeping the camera running smoothly for months in the field requires a few extra considerations.
Use lithium batteries, not alkaline. Lithium AA batteries perform far better in cold temperatures. They last roughly three to four times longer than alkaline in a cellular camera. The cellular transmitter draws more power than a standard trail camera, so battery quality matters.
Alkaline batteries will work, but you will be changing them every few weeks.
Mount the camera with the antenna oriented vertically. The cellular antenna is built into the camera body. Tilting the camera sideways or mounting it at an extreme angle can reduce signal strength. Keep the camera as upright as possible for the best reception.
Test the camera in your backyard first. Do not take the camera straight to your hunting property and discover it will not connect. Set it up in your yard, verify the activation, and take a few test photos. Confirm the images appear in the app.
This five-minute test saves you a two-hour drive to check a camera that is not working.
Update the firmware before you leave. The app will prompt you to update the camera's firmware if a newer version is available. Run this update while you are at home with a strong Wi-Fi connection. A firmware update over cellular data can fail if the signal is weak, leaving the camera in a non-functional state.
Set a schedule for photo transmission. The camera can send photos immediately after each trigger, or it can batch them and send them at set times. Immediate transmission drains the battery faster. If you are checking the camera daily, consider setting a transmission schedule of every four to six hours.
This extends battery life significantly.
Check the plan expiration date. Log into the app monthly and confirm your plan is still active. Plans set to auto-renew will process automatically, but if your payment method fails, the camera will stop sending photos silently. You will not know until you go check the SD card manually.
Frequently Asked Questions About Bushnell CelluCORE Activation
What is the Bushnell CelluCORE activation code?
The activation code is a unique alphanumeric string that links your camera to a cellular data plan. You find it on a card inside the camera box or in your email receipt if you bought a plan online. Enter it in the app during setup to unlock the cellular service.
How long does the activation process take?
The entire process takes 10 to 15 minutes for most users. The cellular connection step takes the longest, usually one to three minutes. If the camera is in an area with weak signal, it can take up to five minutes.
Why is my Bushnell CelluCORE not connecting?
The most common cause is weak cellular signal. Move the camera to a higher location or an open area. Check that the SIM card is fully seated.
Verify your plan is active in the app. If the LED stays red for more than five minutes, power cycle the camera.
Can I use a used camera with a new plan?
Yes, but you must factory reset the camera first. The previous owner's account association prevents it from activating on your account. Hold the reset button for 10 seconds, then follow the standard activation steps.
You will need your own plan and activation code.
What do the LED lights mean during setup?
Blinking red means the camera is searching for a cellular signal. Solid red indicates a SIM or hardware error. Blinking green means it found the network but has no active plan.
Solid green means the camera is connected and ready.
Do I need a smartphone to activate the camera?
Yes, the process requires the Bushnell CelluCORE app. The app handles the pairing, plan activation, and account setup. You cannot activate the camera using a computer or by calling a phone number.
The app is free and available on both iOS and Android.

Similar Posts