Stealth Cam Fusion How to Connect
If you've typed "Stealth Cam Fusion how to connect" into a search bar, you're probably staring at a new cellular trail camera with a QR code sticker and no idea what to do next. The pairing process takes about 10 minutes, as long as you know the right sequence. This camera uses the Stealth Cam Connect app and a cellular data plan to send photos straight to your phone.
There's no WiFi network to hunt for.
Manufacturer specifications indicate the Fusion can detect movement up to 80 feet away and capture 20-megapixel images. Its 940nm invisible IR LEDs mean you won't spook game with a visible flash. Before any of that works, you have to get the camera talking to the app and the cellular network.
Quick Answer
Connect the Stealth Cam Fusion by installing batteries and a MicroSD card. Download the Stealth Cam Connect app and create an account. Scan the QR code on the camera with the app.
Select a cellular plan and confirm pairing. The camera will test the signal and start sending photos.
What You're Looking At: The Fusion's Key Parts
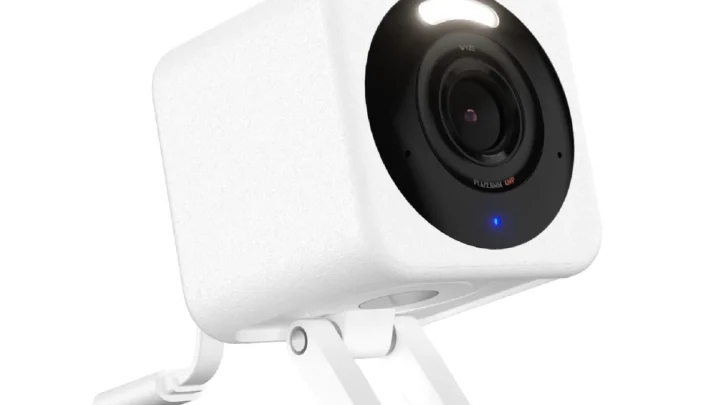
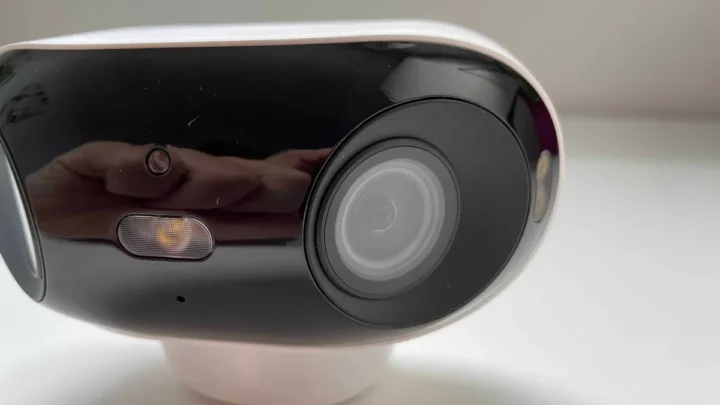
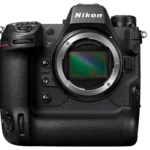
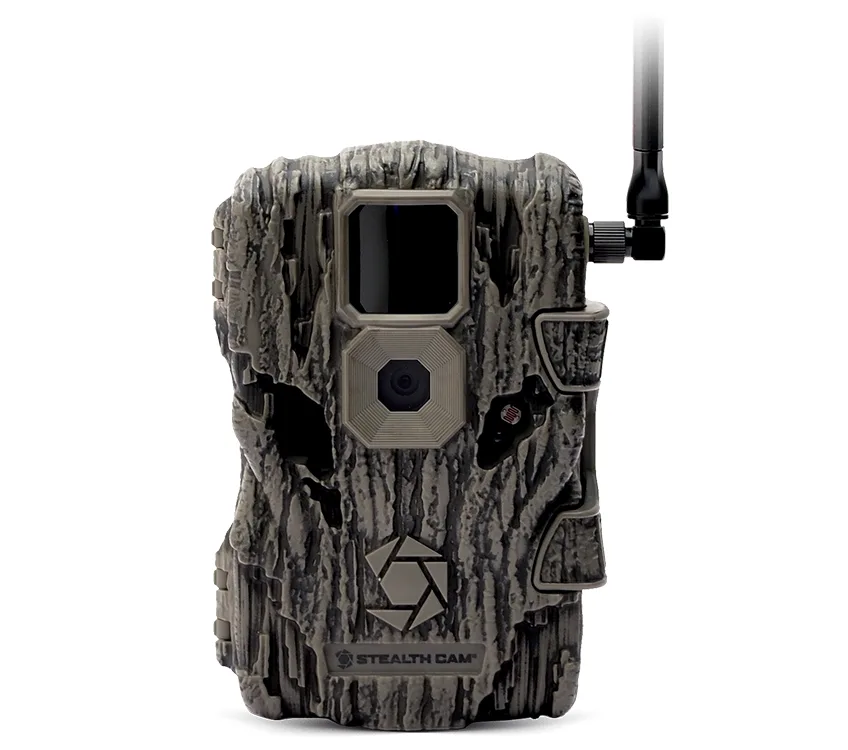
Before you start pressing buttons, it helps to know what you're dealing with. The main body is weather-sealed with a rubber gasket. On the front, you've got the sensor lens, the IR LED array, and a small status LED.
Image source: Bing (Web (fair-use with source credit))
On the bottom, there's a hinged door that opens to reveal the battery tray, the MicroSD card slot, and the SIM card compartment. The battery tray holds 12 AA batteries. On the top edge, you'll find the power switch and the pairing button.
The antenna is integrated into the top of the housing.
The QR code you need to scan is printed on a sticker on the side of the camera or inside the battery compartment. Keep that sticker clean. If it gets scratched or faded, you'll have to enter the camera's serial number manually in the app.
Before You Start: Prep That Saves You Headaches
A few minutes of preparation can prevent the most common frustrations. Here's what you need to have ready before you open the app.
| Item | What you need | Notes |
|---|---|---|
| Batteries | 12 fresh AA alkaline or lithium | Lithium lasts longer in cold weather |
| MicroSD card | 32GB to 512GB, Class 10 or UHS-I | Must be formatted to FAT32 |
| SIM card | Provided with your data plan | Do not insert a SIM from another carrier |
| Smartphone | iOS or Android with Bluetooth | Bluetooth 4.0 or newer |
| App | Stealth Cam Connect | Download from your app store before you go to the field |
Format the MicroSD card in your computer before you insert it. The Fusion uses FAT32, and many cards come formatted as exFAT. If you put an exFAT card in the camera, it won't recognize it.
You'll get a solid red LED that means "card error." The same formatting requirement applies to many trail cameras, and a similar formatting problem on other cameras can cause the same frustration.
Install the batteries with the correct polarity. The diagram inside the tray is clear. Alkaline batteries are fine for most users.
If you're setting up the camera in a cold climate, lithium batteries hold their voltage much better. The manufacturer recommends lithium for extended use below freezing.
Step by Step: Connecting Your Fusion (With What to Look For)
This is the main event. The setup process is a sequence of steps that you need to follow in order. Skipping ahead or going out of order usually causes the camera to refuse to pair.
Step 1: Power on the camera. Slide the power switch to the ON position. The status LED will blink green once. That means the camera is booting up.
After a few seconds, it will blink red if there is no SIM card or no signal. That's normal at this point.
Step 2: Insert the SIM card and MicroSD card. Open the bottom door. Slide the MicroSD card into its slot until it clicks. Then insert the SIM card into the SIM slot.
The card only fits one way. The notch on the corner tells you which orientation.
Step 3: Download and open the Stealth Cam Connect app. If you haven't already, get it from the Apple App Store or Google Play Store. Create an account with your email address and a password. You'll need to verify your email before you can proceed.
Step 4: Tap "Add Camera" in the app. The app will ask for permission to access your camera. Grant it. Then it will open the camera viewfinder.
Point your phone at the QR code on the camera.
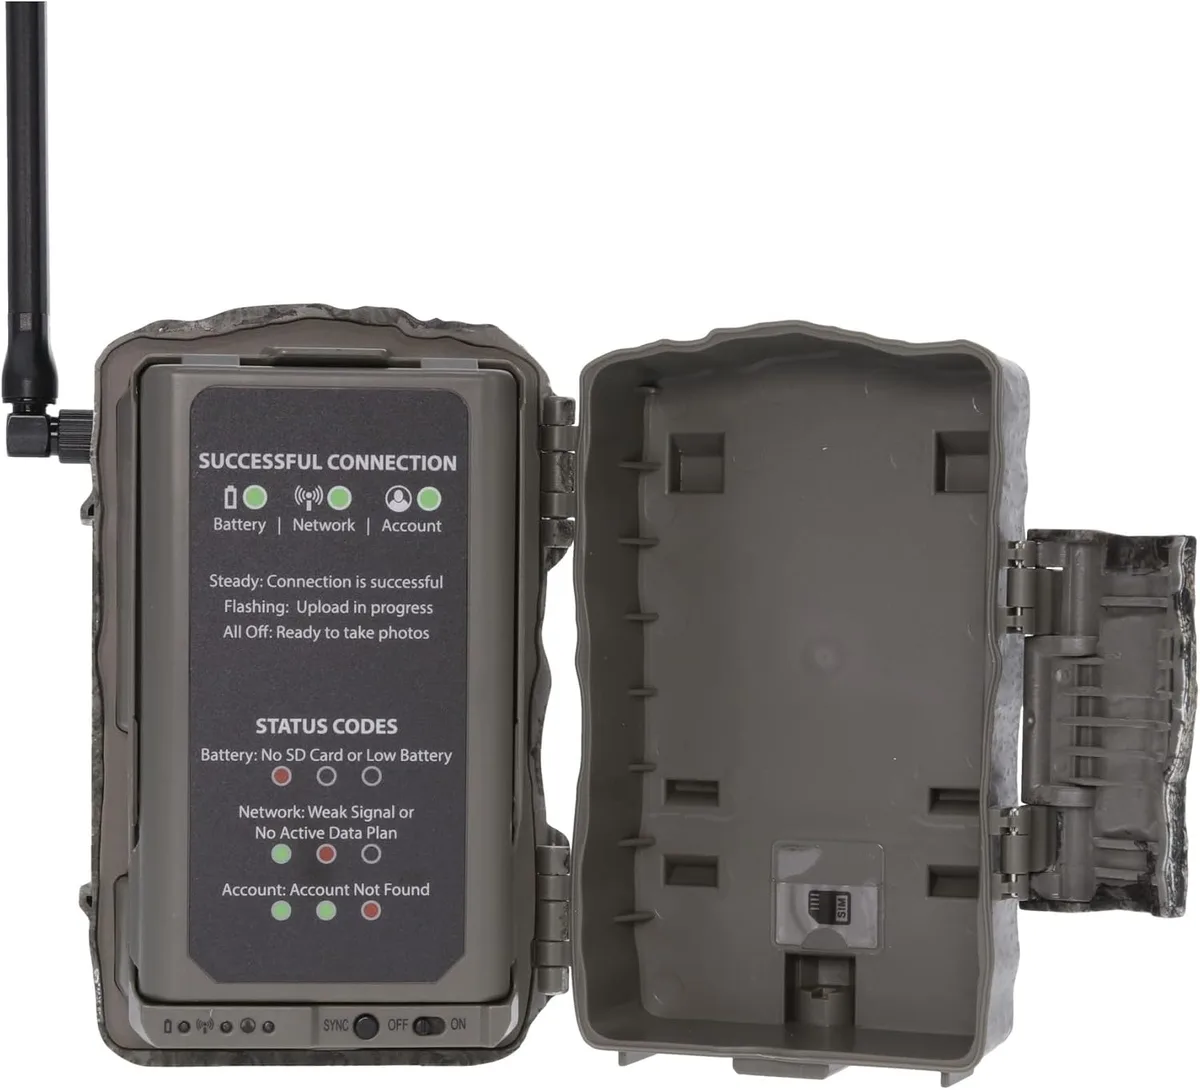
Image source: Bing (Web (fair-use with source credit))
Step 5: Scan the QR code. Hold the phone about 6 to 8 inches from the code. The app will beep and show the camera's serial number. If the code is damaged or the scan fails, you can tap "Enter Manually" and type the serial number.
The serial number is printed under the QR code.
Step 6: Select a cellular plan. The app will show you available data plans. The Fusion works on a specific carrier depending on the model. Most units sold in the US use the AT&T or Verizon network.
Choose a plan that matches how many photos you expect to take per month. A 100-photo plan is fine for scouting. A 1000-photo plan is better for high-traffic areas.
Step 7: Confirm pairing. The camera will attempt to connect to the cellular network. This takes 30 to 60 seconds. The LED will blink green slowly during the attempt.
Once it connects, the LED will turn solid green for a few seconds, then go dark. The app will show "Connected" and display a signal strength indicator.
Step 8: Close the camera door and test. Take a test photo by walking in front of the sensor. Wait 30 seconds. Open the app.
The photo should appear in your feed. If you've dealt with a connection issue on a different device before, you already know that patience during the first pairing is key.
Reading the Lights: What Each Blink Pattern Means
The Fusion's status LED is your main diagnostic tool. It tells you exactly what the camera is doing and where the problem is, if there is one.
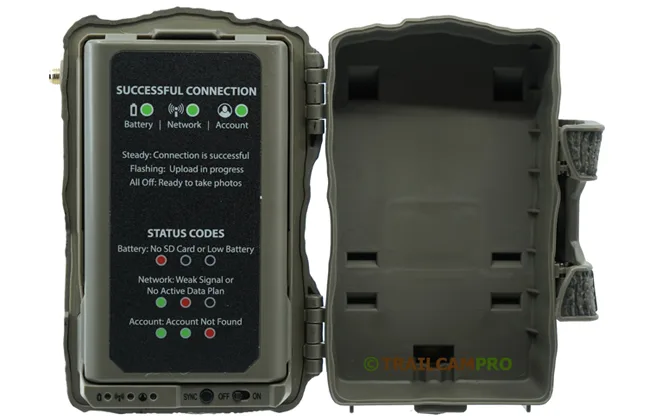
Image source: Web (Bing) / trailcampro.com (Web image (fair-use with source credit))
| LED pattern | What it means | What to do |
|---|---|---|
| Single green flash on power-up | Camera is booting | Wait. Normal. |
| Slow green blink (once per second) | Trying to connect to cellular network | Wait up to 60 seconds. |
| Solid green for 3 seconds | Connected successfully | All good. Camera is active. |
| Fast red blink (twice per second) | No SIM card or SIM card error | Check SIM is inserted correctly. |
| Slow red blink (once every 3 seconds) | Low battery or no cellular signal | Replace batteries or move camera to a better signal area. |
| Solid red | MicroSD card error | Remove and reformat the card to FAT32. |
| No light at all | Dead batteries or power switch off | Check batteries and power switch. |
The most common pattern you'll see when you first set up the camera is the slow red blink. That almost always means the camera is in an area with weak cellular coverage. The camera needs a signal to activate the plan.
If you're in a deep valley or a dense forest, you may need to walk the camera to a higher spot or a clearing to complete the activation. After the plan is active, you can move the camera back to the original location. The camera will still try to send photos even with a weak signal, but transmission may be slow.
Why It Won't Connect: Common Visual Mistakes
Most connection failures come down to things you can see if you know where to look.
The first mistake is the QR code. People try to scan it with the phone camera app, not the Stealth Cam Connect app. The phone camera reads the code as a text string, not a pairing command.
You must use the app's built-in scanner.
The second mistake is the battery polarity. The tray is clearly marked, but it is easy to get one battery backwards in low light. A single reversed battery means the camera gets no power.
The LED stays dark. Double-check each battery as you install it.
The third mistake is the MicroSD card orientation. The slot has a small diagram showing the correct direction. If you force the card in the wrong way, you can damage the pins.
The card should slide in smoothly and click into place. If it does not click, flip it over.
The fourth mistake is the SIM card. The Fusion uses a standard-size SIM card. Some plans mail you a multi-size card with a punch-out.
If you punch out the wrong size, the card will not fit. The camera needs a full-size SIM, not a micro or nano. Check the card size before you insert it.
The fifth mistake is timing. People try to scan the QR code before the camera finishes booting. The camera needs about 10 seconds after power-on before it is ready to pair.
The LED will flash green once to indicate readiness. Wait for that flash.
Getting the Best Signal: Placement and Antenna Tips
The Fusion relies on cellular data, so placement matters more than with a WiFi camera. The internal antenna is directional. It sends and receives best when the front of the camera faces the nearest cell tower.
The camera's front is the side with the sensor lens.
Here are the placement rules that work every time:
- Mount the camera 3 to 4 feet off the ground for deer-sized game. Higher mounts reduce signal strength.
- Face the front of the camera toward open sky. Avoid pointing it into a hill or a thick stand of trees.
- Keep the camera at least 10 feet away from metal objects. Metal fence posts, metal roofs, and vehicle bodies block the signal.
- In hilly terrain, mount the camera on the uphill side of a tree. The signal travels better over open ground than through a ridge.
- Use the camera's signal test feature in the app. The app shows a signal strength meter. If it reads two bars or fewer, move the camera.
If you cannot get a strong signal in your chosen spot, consider a cellular signal booster. These devices amplify the signal from the tower and rebroadcast it to the camera. They require a separate power source and cost about $100 to $200.
For most users, moving the camera 20 feet in any direction is enough.
Battery life also affects signal strength. As the batteries drain, the camera's transmitter puts out less power. The camera may show a weak signal even though the tower is close.
Replace the batteries when the app shows the battery level below 30 percent. Aggregate reviews report that lithium batteries last 30 to 50 percent longer than alkaline in cold conditions.
Frequently Asked Questions
How long does the battery last in the Stealth Cam Fusion?
With 12 alkaline AA batteries and 10 photos per day, expect about 6 months of use. Lithium batteries last longer, especially in cold weather. Heavy transmission settings, like video clips or frequent time-lapse, drain the battery faster.
What MicroSD card should I use with the Fusion?
Use a Class 10 or UHS-I card between 32GB and 512GB. The card must be formatted to FAT32. Cards over 32GB often come as exFAT and need reformatting.
The camera will not recognize an exFAT card. The same formatting requirement applies to avoid card errors on other cameras.
Can I use the Fusion without a cellular plan?
No. The Fusion is a cellular camera. It requires an active data plan to send photos.
You can store photos on the MicroSD card without a plan, but you will not receive them on your phone until you insert the card into a computer.
What does the blinking red light mean?
A slow red blink every 3 seconds means low battery or no cellular signal. A fast red blink twice per second means no SIM card or a SIM card error. A solid red light means a MicroSD card error.
Check the card and reformat it.
How do I reset the Stealth Cam Fusion?
Open the battery door and remove one battery for 10 seconds. Reinsert the battery and power on the camera. This resets the connection without losing your settings.
For a full factory reset, press and hold the pairing button for 10 seconds. The LED will flash red three times to confirm.
Why is my camera not sending photos to my phone?
Check the signal strength in the app. If the signal is weak, move the camera. Check the battery level.
Low batteries can stop transmission. Check the data plan. If you have used all your photos for the month, the camera will stop sending until the plan resets or you add more photos.

Similar Posts