Browning Strike Force How to Set Up
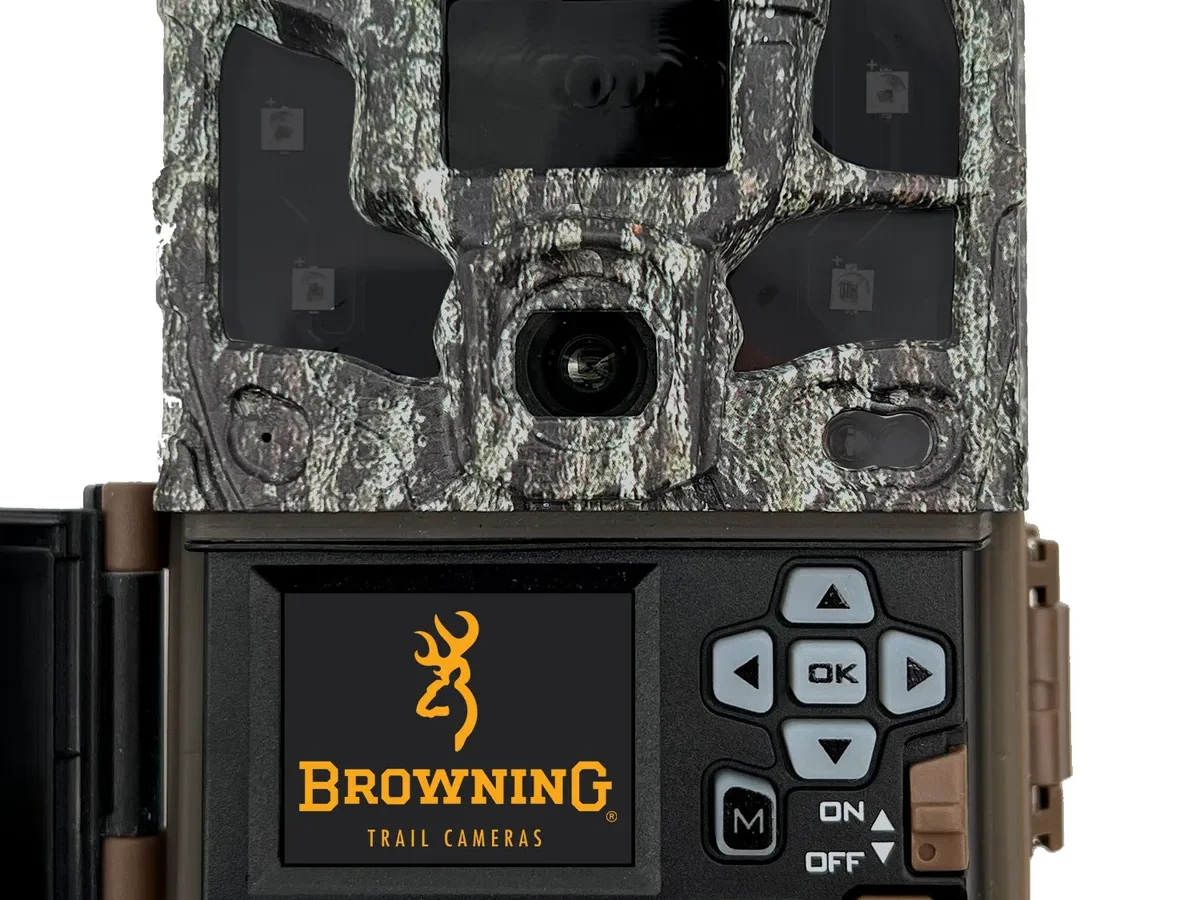
So you just unboxed a Browning Strike Force and you want it in the woods. Fast. But setting it up the right way is the difference between clear scouting photos and a memory card full of blurry grass.
Let's get it right.
The Browning Strike Force detects movement up to 80 feet with a 0.4 second trigger speed. That's fast enough for a walking deer. But those numbers mean nothing if you skip a step during setup.
Here's how to do it.
Quick Answer
Insert a Class 10 SD card. Load eight AA lithium batteries. Hold the power button for three seconds.
Set the date and time. Choose Camera mode. Walk in front of the sensor to test it.
Mount the camera two to three feet high on a tree. Clear brush within ten feet. Lock it and walk away.
Why Setup Matters More Than You Think
A trail camera is a simple device. Sensor, processor, memory card, weatherproof box. But the Browning Strike Force has quirks that trip people up.
The most common issues aren't hardware failures. They're setup errors.
Aggregate reviews report that the number one cause of missed photos is a slow or incompatible SD card. The camera writes data fast. If your card can't keep up, you get nothing.
The second most common problem is battery choice. Alkaline batteries lose voltage in cold weather. A deer walks past at 30 degrees and the camera doesn't trigger.
The third issue is placement. You can have perfect settings. If the camera points at the sun or faces a moving branch, you get a thousand photos of nothing.
The sensor needs a clear field of view. The camera needs shade. Mounting height matters more than most people think.
The Browning Strike Force is a proven camera. It's not the most expensive option. But it's reliable.
The trick is treating the setup as a system. Each step connects to the next.
What You'll Need: Batteries, SD Cards, and the Right Tools
Before you leave the house, gather everything. The camera comes with a mounting strap and a manual. That's it.
Everything else is on you.
The Battery Decision
You need eight AA batteries. Lithium is the clear winner.
| Battery Type | Cold Weather Performance | Typical Life | Risk of Leakage |
|---|---|---|---|
| Lithium (Energizer Ultimate) | Excellent | 6 to 12 months | Very low |
| Alkaline (Duracell, Energizer) | Poor below 40°F | 4 to 8 weeks | Moderate |
| Rechargeable NiMH | Fair | 2 to 4 weeks | Low |
Lithium batteries cost more upfront. They last through a whole season. You don't want to hike out in January to find a dead camera.
The same battery chemistry issues that affect other devices apply here. Cold drains alkalines fast.
The SD Card
The Browning Strike Force requires a Class 10 SD card. Do not use a Class 4 or Class 6 card. The camera will freeze or skip photos.
A 32GB card holds thousands of photos and hundreds of videos. Larger cards may work but need formatting in the camera first. Some models support up to 512GB.
Check your manual.
Format the card in the camera before use. This creates the correct folder structure. A computer formatted card might not work.
This is a common frustration point. Similar SD card issues affect other camera brands too.
The Strap and Tools
The included mounting strap works well. It's heavy duty nylon with a buckle. You can buy a locking metal bracket, but it's not necessary.
A small padlock helps if you're worried about theft. Bring a coin to tighten the strap buckle.
The Full Setup Walkthrough: Bench to Tree
Follow these steps in order. Do not skip the test step.
Step 1: Insert the SD Card
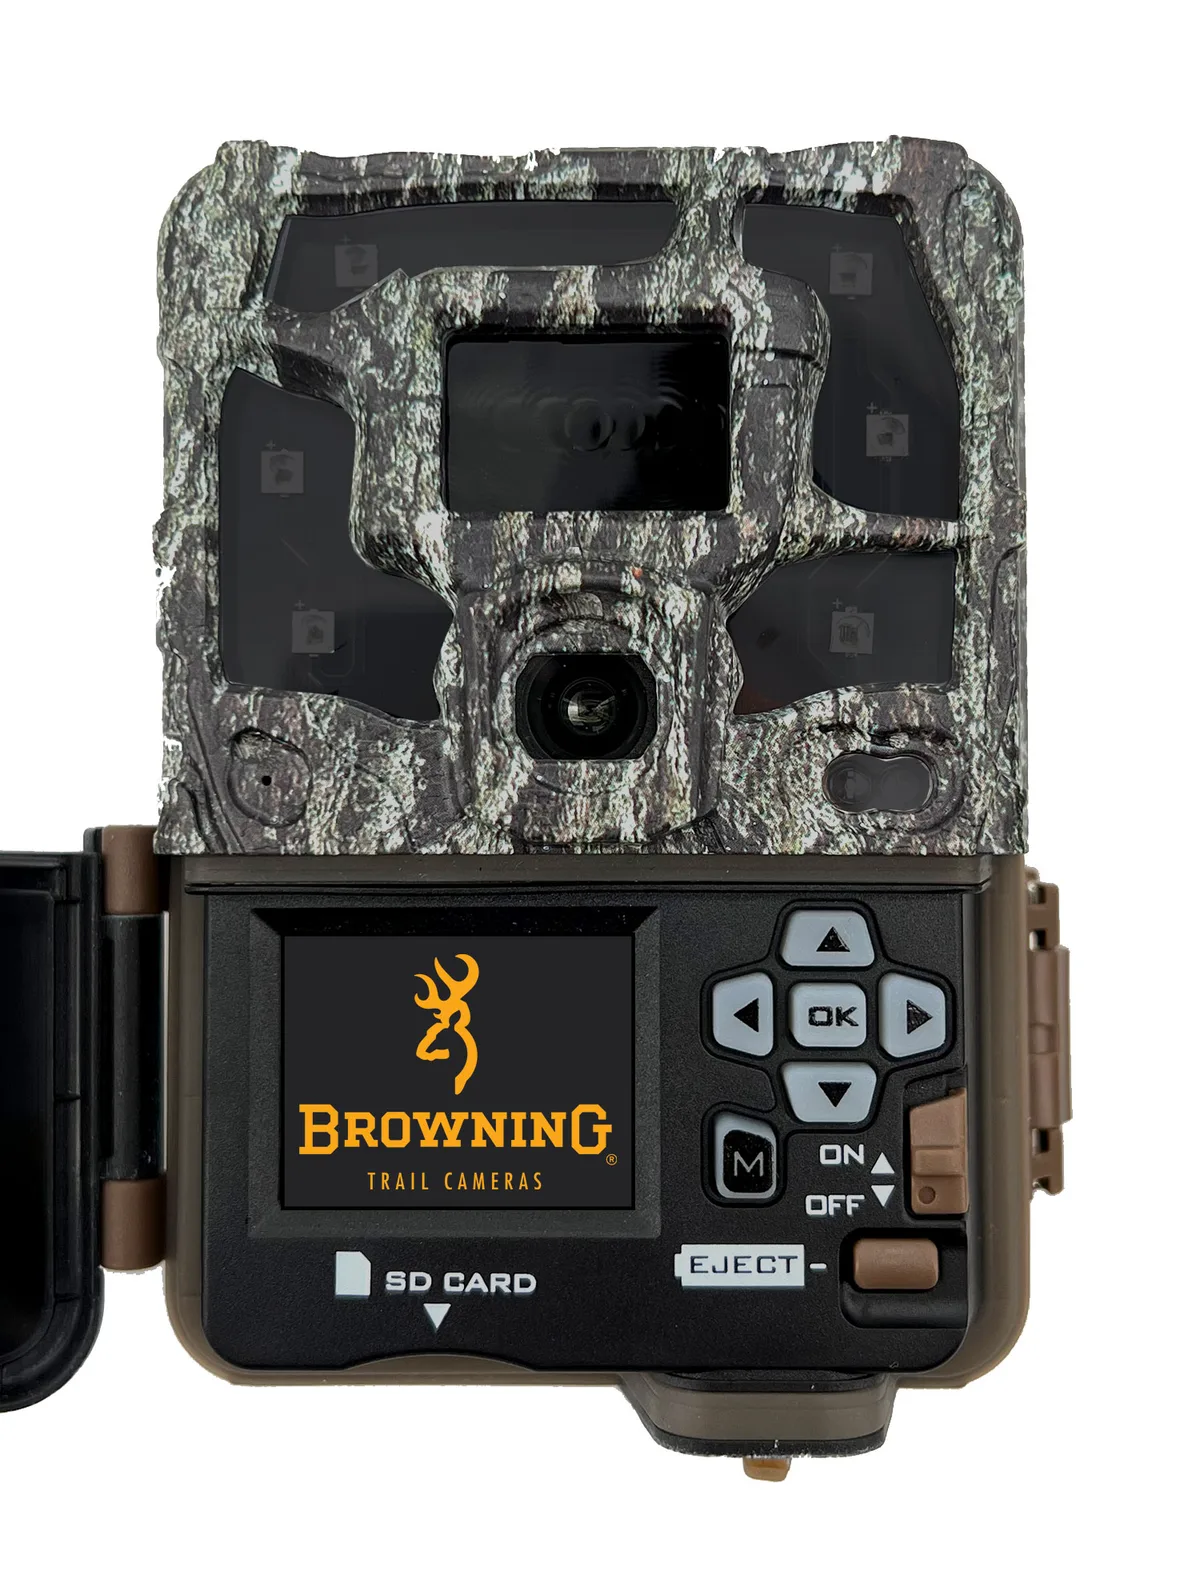
Open the side compartment. Insert the SD card with the label facing the front of the camera. Push until it clicks.
Close the compartment.
Step 2: Insert the Batteries
Open the bottom compartment. Insert eight AA batteries following the polarity marks. The diagram inside shows positive and negative orientation.
Take a photo with your phone before you close it. This helps if you forget later.
Step 3: Power On and Set Date and Time
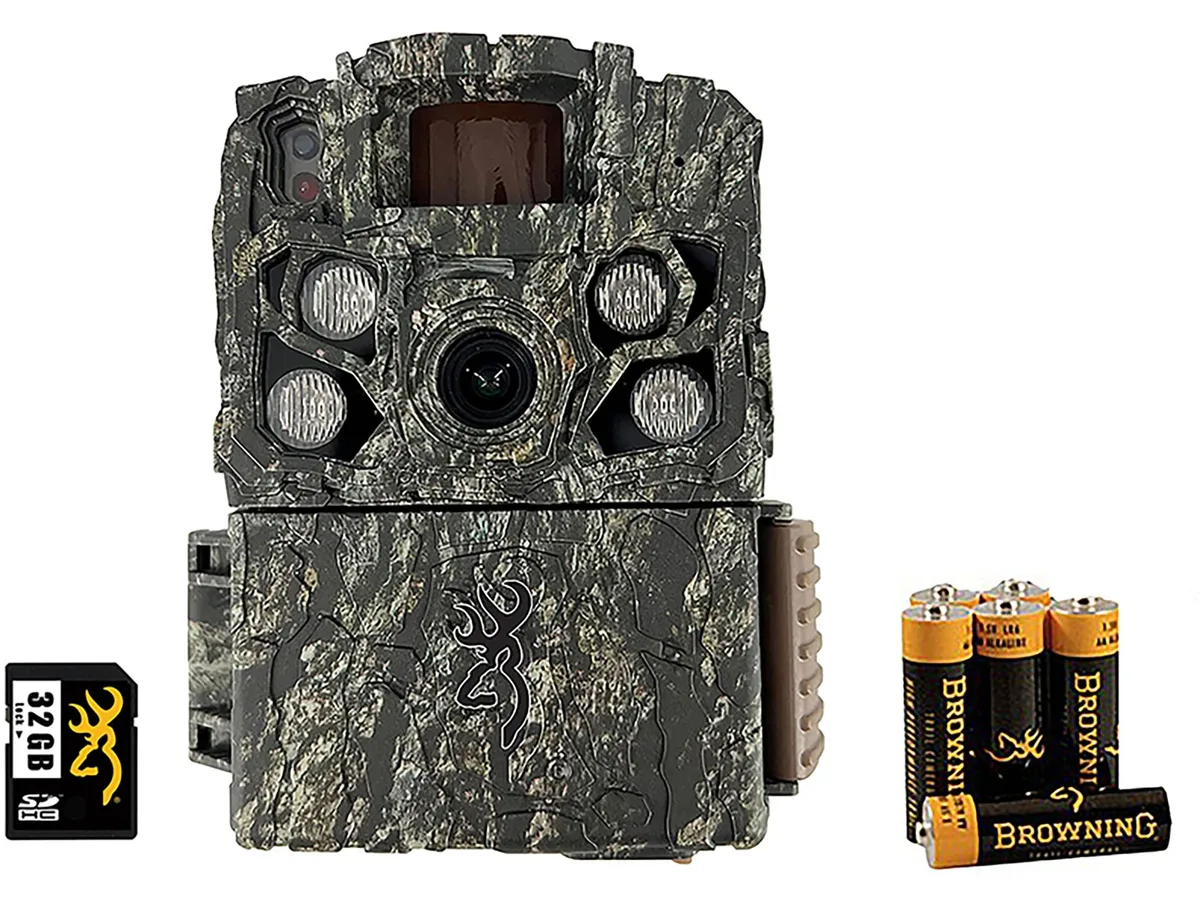
Hold the power button for three seconds. The screen lights up. Press the Menu button.
Use the arrow buttons to navigate to Date and Time. Set the current date and time. This is critical for organizing photos later.
A camera with the wrong date is useless for pattern analysis.
Step 4: Choose Your Mode
The camera offers three modes: Camera, Video, and Camera+Video. For most scouting, Camera mode is best. It takes still photos with a fast trigger.
Video mode records a clip. Camera+Video takes a photo and then records a short video. This uses more battery and fills the card faster.
Step 5: Adjust PIR Sensitivity
The PIR sensor detects heat and movement. Set it to High for open fields. Set it to Medium for trails.
Set it to Low for close range feeders. The default is Medium. That works for most situations.
Step 6: Turn on Test Mode
Find the Test Mode option in the menu. Turn it on. Walk in front of the sensor at about ten feet.
The camera should trigger and take a photo. Check the screen to confirm. If nothing happens, check the sensor for obstructions or battery connections.
Step 7: Mount the Camera
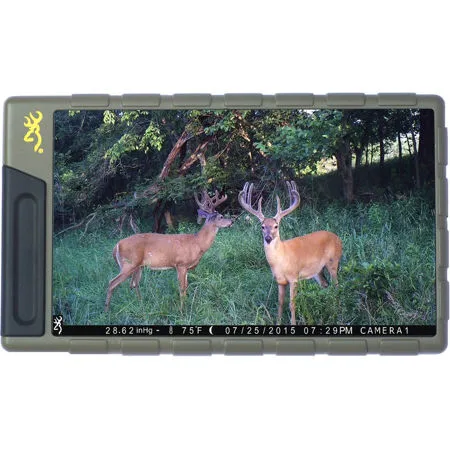
Pick a straight, sturdy tree. Mount the camera two to three feet off the ground. Angle it slightly downward.
Face it north if possible. This keeps the sun from hitting the sensor directly. Use the included strap to secure it.
Tighten firmly.
Step 8: Secure and Lock
If you're on public land, lock the camera. Use a small padlock through the locking latch. The camera has a built in lock loop.
This won't stop a determined thief, but it deters casual theft.
Common Mistakes That Ruin Your Photos
Even experienced users make these errors. Here's how to avoid them.
Using a Non Class 10 SD Card
This is the biggest mistake. The camera writes data constantly. A slow card causes missed triggers and corrupted files.
Always use a Class 10 card.
Forgetting to Format the Card in the Camera
Format the card in the camera. Not in your computer. The camera creates a folder structure that matches its file system.
A computer formatted card may not work.
Mounting Too High
A camera mounted at eye level misses a lot of action. Deer move at ground level. Mount the camera two to three feet high.
This gives you a better angle and a wider detection zone.
Pointing at the Sun
Direct sunlight hits the sensor and causes false triggers. It also washes out daytime photos. Face the camera north or use a shaded location.
Leaving Brush in Front of the Sensor
A single blade of grass swaying in the wind can trigger the camera dozens of times a day. Clear all vegetation within ten feet of the sensor. This includes tall grass, branches, and leaves.
Skipping the Test Mode Step
You think it works. You mount it. You leave.
You come back to a blank card. Test it before you walk away. It takes two minutes.
Setting the Wrong Time Lapse Interval
Time lapse mode takes photos at set intervals regardless of motion. If you set it to one photo every minute for a week, you'll have over 10,000 photos. Use time lapse only for food plots or feeder monitoring.
Pro Tips for Better Photos and Longer Battery Life
These tips come from aggregate user feedback and manufacturer recommendations.
Why Lithium Batteries Last 6 to 12 Months
Lithium batteries maintain stable voltage down to 40 degrees below zero. Alkaline batteries lose voltage as temperature drops. A camera that works in September may fail in November.
Use lithium. It's worth the extra cost.
How to Aim the Camera
The PIR sensor is on the front of the camera. Its detection zone is cone shaped and reaches about 80 feet. Aim the center of the cone at the area where animals move.
Don't point it at a wide open field. Point it at a trail junction or a funnel.
The Science Behind Mounting Height
Mounting height affects the detection zone. At two feet, the sensor covers a wider area but triggers more on small animals. At three feet, the sensor covers a narrower area but is better for deer sized animals.
Two and a half feet is ideal for most situations.
Clear a 10 Foot Zone
Walk to the camera location. Clear all vegetation within a ten foot radius of the sensor. This includes grass, weeds, and low branches.
The result is fewer false triggers and better battery life.
When to Use Time Lapse Mode
Time lapse mode is useful for food plots, mineral licks, and feeders. It takes photos at set intervals regardless of motion. This gives you a complete picture of activity over time.
It's not useful for trails or funnels. Use motion detection for those.
How to Update Firmware
Check the Browning website for firmware updates. Download the file to your computer. Copy it to the root directory of a formatted SD card.
Insert the card into the camera. Power on the camera. The update runs automatically.
This fixes bugs and improves performance.
Quick Troubleshooting Guide
Camera Won't Power On
Check battery polarity. Make sure batteries are fresh. Try a different set of batteries.
If the camera still won't power on, the unit may be defective.
Camera Powers On but Won't Detect Motion
Check that the PIR sensor is clean. Make sure you're not in Test Mode. Verify the camera is not in Time Lapse mode.
Check for obstructions in front of the sensor.
Photos Are Blurry or Washed Out
The camera may be facing direct sunlight. Move it to a shaded location. The lens may be dirty.
Clean it with a microfiber cloth.
Night Photos Are Too Dark
The IR flash range is about 60 feet. If the subject is too far away, the IR won't reach. Move the camera closer to the target area.
Camera Keeps Taking Photos of Nothing
A moving branch or tall grass is triggering the sensor. Clear all vegetation within ten feet of the camera. Reduce the PIR sensitivity setting.
SD Card Errors
The card may be too slow. Use a Class 10 card. Format the card in the camera.
If problems persist, try a different card.
Frequently Asked Questions
How long do the batteries really last?
With lithium batteries and moderate activity, expect 6 to 12 months. With alkaline batteries in cold weather, expect 4 to 8 weeks. Usage frequency and temperature are the biggest factors.
Can I use rechargeable batteries?
Yes, but they don't last as long as lithium. Rechargeable NiMH batteries typically last 2 to 4 weeks. They work fine in warm weather but lose capacity in cold temperatures.
What does the flashing red light mean?
A slow flash means the camera is armed and waiting for motion. A fast flash or solid light during setup indicates the camera is in Test Mode. Refer to your manual for specific patterns.
How do I know if the camera is recording?
When the camera triggers, the red light flashes briefly. You can also check the photo count on the screen after setup. The best way is to use Test Mode and walk in front of the sensor.
Can I use a 64GB or 128GB SD card?
Some models support up to 512GB. Check your manual. If you use a larger card, format it in the camera first.
Stick with a 32GB Class 10 card for reliable performance.
How do I update the firmware?
Download the firmware file from the Browning website. Copy it to the root directory of a formatted SD card. Insert the card into the camera.
Power on the camera. The update runs automatically.
What's the best way to mount on a skinny tree?
Use the included strap. Wrap it around the tree at a slight angle so the camera sits flat. If the tree is too thin, consider mounting on a fence post or using a mounting bracket.
Is the Strike Force weatherproof?
Yes, it's weatherproof. It can handle rain and snow. It is not fully waterproof.
Do not submerge it in water. Keep the battery compartment and SD card slot sealed properly.

Similar Posts































[…] Follow these if/then branches to build your configuration. For a complete walkthrough of the physical setup, refer to the Browning Strike Force setup guide. […]