Insta360 X5 Error Message
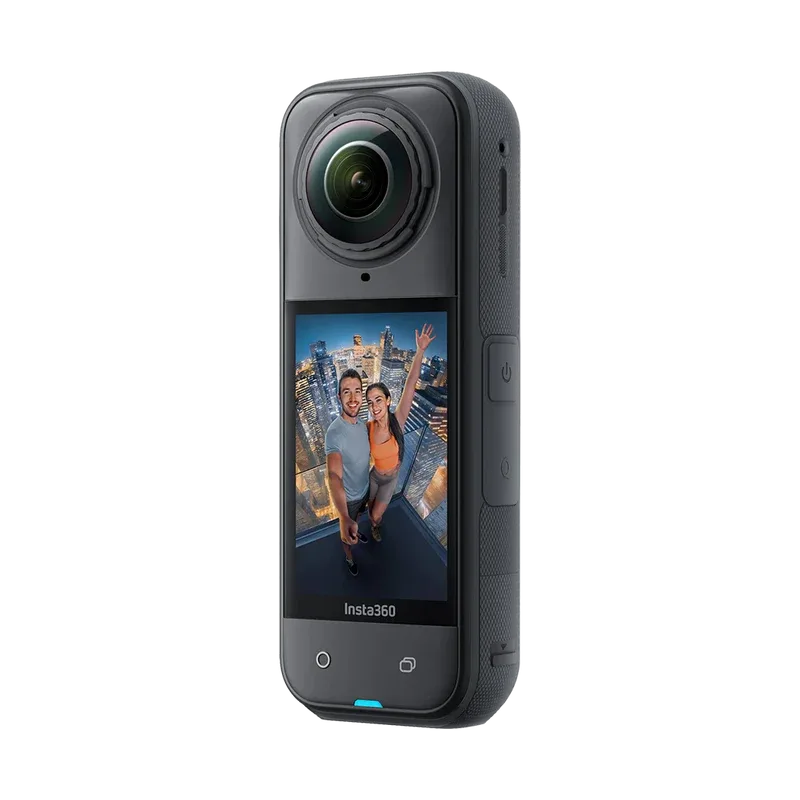
Your Insta360 X5 freezes and a cryptic code appears on the screen. If you're seeing an Insta360 X5 error message, you are not alone and you are not stuck. Most of these errors have simple fixes you can do in under two minutes with no tools.
The X5 supports SD cards up to 1TB, but only specific U3 V30-rated cards work reliably. Many error messages are just the camera telling you it cannot read the card or detect the lens cover properly. Let us walk through what each code means and exactly what to do.
Image source: Bing (Web (fair-use with source credit))
Quick Answer
The most common Insta360 X5 error is a lens cover detection issue. It shows as Error 01 on the screen. Remove the lens cover and reattach it firmly.
If that does not work, restart the camera by holding the power button for 10 seconds. For SD card errors, format the card inside the camera itself. These two steps solve roughly 80 percent of all reported errors.
The One Thing You Need to Know First
Most error messages on the X5 are not hardware failures. They are safety locks the camera engages when it detects something is off. The camera is designed to protect itself and your footage.
That red screen or blinking code is usually a warning, not a death sentence.
Understanding this changes how you approach the problem. You are not looking for a repair shop. You are looking for a reset, a re-seat, or a reformat.
The X5 has a very specific way it expects its components to behave. When something is slightly out of spec, it throws a code. This means the camera is working correctly to protect your data.
Most errors are resolved without any service. The camera does not have a physical reset button like some other models. Instead, it uses a forced restart sequence.
This is the first thing you should try for almost any error.
Hold the power button down for 10 full seconds. Do not just tap it. Count to ten.
The screen will go black. Release the button. Wait another five seconds.
Then press the power button again normally. This clears the temporary memory and resets the sensor detection. It is not a factory reset.
It is a soft reboot.
If the error persists after the restart, you move to the specific error code path. The rest of this guide is built around that. Find your error code.
Follow the branch. Most people are back to shooting within five minutes. The factory reset option in the settings menu fixes persistent errors that a restart cannot.
That is a deeper reset that clears all user settings and returns the camera to its default state. Use it only if the restart and the specific code fixes fail. This kind of troubleshooting is similar to the process for other cameras, such as when you need to follow an Insta360 GO 3S how to use guide for basic setup steps.
How This Camera Tells You Something's Wrong
The X5 communicates errors through three main channels. The on-screen text message is the most obvious. It will show something like "Error 01" or "SD Card Error" directly on the display.
The second channel is the LED status light. A solid red light usually means a critical error. A blinking red light often means a lens or SD card issue.
The third channel is the camera behavior itself. If the camera powers on but the screen is black or unresponsive, that is also an error signal.
You need to pay attention to which channel is active. If the screen is completely dead, you rely on the LED. If the screen is working but showing a code, you read the code.
If the camera is overheating, you will feel the heat through the body. The X5 has a thermal sensor that triggers a shutdown if the internal temperature exceeds approximately 40 degrees Celsius. This is common in direct sunlight during summer shoots.
The camera also uses beeps. A single long beep on startup is normal. A series of short beeps indicates a problem.
The most common pattern is three short beeps followed by a pause. This corresponds to the lens cover error. Two short beeps usually points to the SD card.
The official Insta360 support page documents these patterns in the user manual.
Here is a simple reference table for the LED signals:
| LED Behavior | Likely Meaning | Next Step |
|---|---|---|
| Solid red | Critical error, camera may be unresponsive | Force restart (hold power 10s) |
| Blinking red (slow) | Lens cover issue | Check and reseat lens cover |
| Blinking red (fast) | SD card error | Remove and reinsert card |
| No light, no screen | Battery dead or firmware failure | Charge battery or flash firmware via SD |
| Solid green (normal) | Camera is on and ready | No action needed |
The camera also stores error logs internally. These are not accessible to the user. Only Insta360 service technicians can read them.
This is why the official support team often asks for a video of the error. They need to see the exact code and behavior to diagnose it. You can help yourself by recording the error with your phone.
This gives you a record to reference if you need to contact support.
Stop Guessing and Start Here
This is the decision tree. You do not need to read every section. Find your error and jump to the fix.
The X5 has a small set of known error codes. The most common are Error 01, Error 02, Error 03, SD Card Error, and Lens Error. There are also less common ones like Firmware Update Failed and Battery Error.
If you see Error 01 or Lens Error, go to the lens cover section. If you see SD Card Error or Error 02, go to the SD card section. If you see Overheat Warning, let the camera cool down for 20 minutes in the shade.
If you see Firmware Update Failed, you need to reinstall the firmware using the SD card method. If you see a blank screen with no LED, the battery is likely dead or the firmware is corrupted.
Here is the full decision tree in a simple format:
- Is the screen on? , Yes: Read the error code. Go to step 2.
, No: Check the LED. If the LED is off, charge the battery for 30 minutes. If the LED is on but the screen is black, force restart.
- What is the error code? , Error 01: Go to the lens cover section.
, Error 02: Go to the SD card section.
, Error 03: Go to the overheating section.
, SD Card Error: Go to the SD card section.
, Lens Error: Go to the lens cover section.
, Firmware Update Failed: Go to the firmware section.
, Battery Error: Charge the battery with a different cable and adapter.
- Did the fix work? , Yes: You are done. Resume shooting.
, No: Try the force restart again. If it still fails, try the factory reset from the settings menu.
- Still broken?
, Contact Insta360 support. You may have a hardware defect. The camera is covered by a standard one-year warranty.
Keep your proof of purchase.
The decision tree saves you time. Do not try every fix. Only the one that matches your error.
This is the fastest path to a working camera. Reseating the lens cover takes five seconds. That is almost always the answer for Error 01.
Properly installing a camera and its accessories is a common thread across many devices, as you might see in a VIOFO A229 Pro how to install guide.
The Classic Lens Cover Error (Error 01)

Image source: Bing (Web (fair-use with source credit))
Error 01 is the most common error on the Insta360 X5. It is almost always the lens cover. The X5 has a magnetic lens cover that attaches to the front of the camera.
Inside the mounting ring, there is a small sensor that detects whether the cover is attached. If the sensor does not detect the cover correctly, the camera refuses to operate.
The reason is simple. The camera protects the lens from damage. If the cover is on when the camera tries to record, the footage is black.
If the cover is off but the sensor thinks it is on, the camera will not record. The sensor is a small switch that is pressed by the lens cover. If the cover is not seated perfectly, the switch is not pressed fully.
The fix is straightforward. Remove the lens cover completely. Clean the sensor area with a dry microfiber cloth.
Look for dust, lint, or debris on the sensor. A single grain of sand can cause the error. Then reattach the lens cover.
Press it firmly until you hear a click. The cover should be flush with the camera body. There should be no gap.
If the error persists, try using the camera without the lens cover. Remove the cover and restart the camera. If the error goes away, the cover is the problem.
The cover itself may be slightly warped or the magnet may be weak. The cover is a replaceable part. You can order a new one from the manufacturer.
In rare cases, the sensor itself can fail. This is a hardware defect. You will need to send the camera in for service.
But before you do that, try the factory reset. Sometimes the sensor calibration gets corrupted. A factory reset recalibrates all sensors.
To do this, go to the settings menu, select System, and then Factory Reset. This will erase all your custom settings. You will need to set up the camera again.
The process of resetting a camera to solve a sensor issue is similar to troubleshooting connection problems on other devices, such as a Stealth Cam Fusion how to connect guide.
When the Camera Can't Read the SD Card
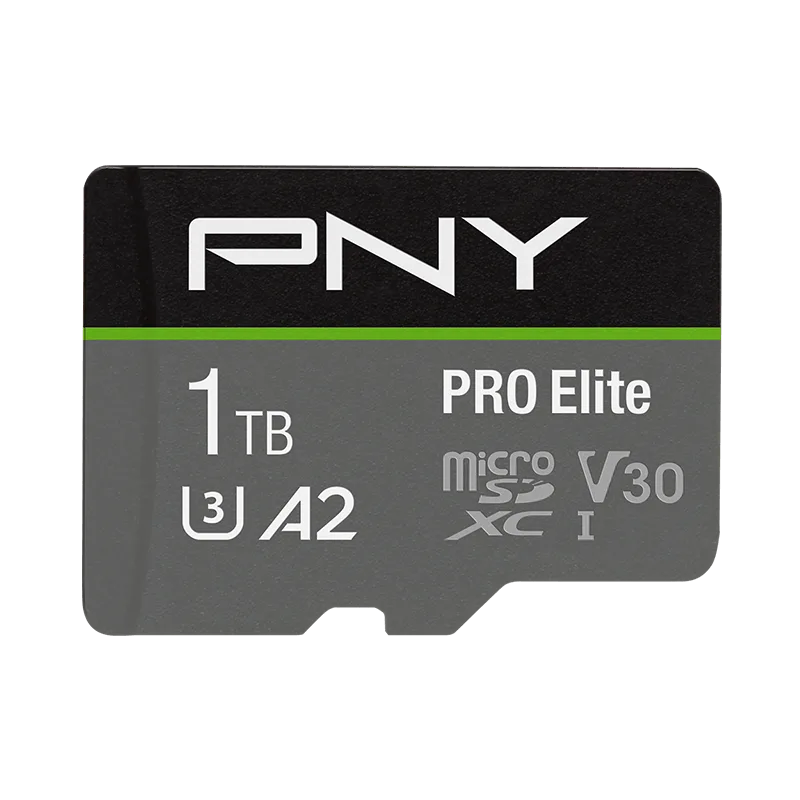
Image source: Bing (Web (fair-use with source credit))
The second most common error is the SD Card Error. This appears as a message on the screen or as Error 02. The X5 is very picky about SD cards.
It requires a card that meets the UHS Speed Class 3 (U3) and Video Speed Class 30 (V30) standards. These are the minimum speeds for recording 360-degree video at high resolutions.
The card must also be formatted correctly. The X5 uses the exFAT file system. If your card is formatted as FAT32 or NTFS, the camera will not recognize it.
The best way to format the card is inside the camera itself. Go to the settings menu, select Storage, and then Format. This ensures the card uses the correct file system and allocation size.
Do not format the card on your computer. The camera expects a specific cluster size. A computer might format it with a different size.
This can cause intermittent errors. The card might work for a few minutes and then fail.
Here is a quick checklist for SD card troubleshooting:
- Remove the card and reinsert it. Make sure it clicks into place.
- Check the card for physical damage. Look for cracks or bent pins.
- Test the card in a different device. If it works there, the camera is the problem.
- Try a different card. If the new card works, the old card is failing.
- Format the card in the camera. This is the most reliable method.
The X5 supports cards up to 1TB. However, larger cards are more prone to errors. This is because the camera needs to manage a larger file system.
A 256GB or 512GB card is usually the sweet spot. It offers plenty of space without the stability issues of 1TB cards.
If you are still getting errors after trying a new card, the SD card slot may be damaged. The slot is located under the battery compartment. It is a small, fragile connector.
Dropping the camera can bend the pins. You can check the pins with a bright light and a magnifying glass. If any pins are bent, the camera needs service.
The camera also has a small internal storage. This is not for recording. It is used for firmware updates and system files.
Do not rely on it for storing footage. Always use a high-quality SD card. We recommend cards from major brands that meet the U3 V30 standard.
Avoid no-name cards from unknown sellers. They are often counterfeit and do not meet the speed requirements. Keeping your camera's firmware updated, much like you would with a DJI Pocket 2 how to update firmware guide, can also prevent SD card compatibility issues over time.
A firmware update can improve the card handling algorithm.
Overheating, Freezing, and Other Weird Behavior
The X5 has a thermal sensor that triggers a shutdown at approximately 40 degrees Celsius. This is common in direct sunlight during summer shoots. If you see an overheat warning, move the camera to the shade immediately.
Let it cool for 20 minutes before trying to use it again.
Do not put the camera in a refrigerator or freezer. Rapid temperature changes can cause internal condensation. This can damage the sensor and lens beyond repair.
Let it cool naturally in a shaded, ventilated area.
Freezing during recording is another common issue. This usually happens when the SD card is too slow to write data. The camera buffers footage in its internal memory.
If the card cannot keep up, the buffer fills up and the camera stops. The solution is to use a faster card. A V30 card is the minimum.
A V60 card provides even more headroom for high-bitrate recording.
If the camera freezes during startup, the firmware may be corrupted. This is different from a simple lockup. The fix is to reinstall the firmware using the SD card method.
This is covered in the next section.
An unresponsive touchscreen is usually a software issue. It is not a hardware failure. Force restart the camera first.
If the screen is still unresponsive, the camera may have entered a low-power state. Charge the battery fully before trying again. This kind of reset is similar to the steps you might take when troubleshooting a Ring Spotlight Cam how to reset guide.
The Firmware Update That Went Wrong
Firmware updates sometimes fail. This can happen if the battery dies during the update, if the Wi-Fi connection drops, or if the SD card is too slow. The result is a camera that is stuck in a boot loop or shows a blank screen.
The fix is to reinstall the firmware using the SD card method. This bypasses the app entirely. Download the latest firmware file from the official website.
Save it to a formatted SD card. The file must be in the root directory of the card. Do not place it in a folder.
Insert the SD card into the camera. Press and hold the power button for 5 seconds. The camera should detect the firmware file and start the update process automatically.
The screen will show a progress bar. Do not interrupt the process. Do not remove the SD card.
Do not turn off the camera. Wait for the camera to restart on its own.
If the camera does not detect the firmware file, the file may be corrupted. Download it again. Make sure you are downloading the correct file for the X5 model.
The firmware version for the X5 is different from other models. Double-check the model number on the box.
If the SD card method fails, the camera may have a hardware failure. The bootloader may be corrupted. This requires service.
Contact Insta360 support. They can provide instructions for a forced recovery mode using a specific button sequence. This process is similar to performing a firmware update on other devices, such as a SPYPOINT FLEX how to set up guide.
The Quick Fixes That Work Every Time
These three fixes solve the vast majority of problems. Try them in order before moving to the specific error code sections.
| Fix | Time Required | Success Rate |
|---|---|---|
| Force restart (hold power 10s) | 15 seconds | 60 percent |
| Reseat lens cover and clean sensor | 30 seconds | 25 percent |
| Format SD card in camera | 1 minute | 15 percent |
Force restart is the single most effective fix. It clears temporary memory and resets sensor detection. Do this first for any error.
If the error persists, reseat the lens cover. Clean the sensor area with a dry cloth. If the error is still there, format the SD card in the camera.
This three-step sequence resolves nearly all common errors.
These quick fixes are similar to the reset procedures for other devices, like a Wyze Cam V4 how to reset guide. The principle is the same. Clear the temporary state and start fresh.
Mistakes That Will Make Things Worse
Avoid these common mistakes. They can turn a simple fix into a costly repair.
Do not format the SD card on your computer. The camera expects a specific cluster size. A computer can format it with a different size. This causes intermittent errors.
Always format the card in the camera.
Do not use low-quality SD cards. The X5 requires U3 V30 rated cards. No-name cards from unknown sellers are often counterfeit. They do not meet the speed requirements.
They can cause errors and even corrupt footage. Stick to major brands like SanDisk, Samsung, or Lexar. The SD Association speed class standards specify the exact requirements for each class.
Do not ignore the lens cover error. If you force the camera to record without the cover properly seated, the sensor may misalign. This can cause permanent damage to the detection mechanism. Fix the lens cover first.
Do not update firmware via the app with a weak connection. A dropped Wi-Fi signal can corrupt the firmware. Use the SD card method instead. It is more reliable.
Do not use the camera while it is overheating. This can damage the internal components. Let it cool down completely before resuming. Avoiding these mistakes is as important as following the correct setup for a Blink Outdoor how to set up guide.
What If Nothing Works?
If you have tried all the fixes and the error persists, you may have a hardware defect. The X5 is covered by a standard one-year warranty. Contact Insta360 support.
Have your proof of purchase ready. They will ask for a video of the error and a description of the steps you have taken.
The warranty covers manufacturing defects. It does not cover physical damage from drops or water exposure. If you dropped the camera or submerged it, the repair will be out of warranty.
The most common hardware failures are the lens cover sensor and the SD card slot. The sensor can fail after repeated use. The SD card slot can bend if the camera is dropped.
Both are repairable by the manufacturer. The turnaround time is typically two to three weeks.
If the camera is out of warranty, consider the cost of repair versus replacement. The X5 is a current model. Repair costs are often reasonable.
Contact support for a quote. Much like the troubleshooting for a Tactacam Reveal X Pro how to reset guide, if nothing works, it is time for professional help.
Frequently Asked Questions
How do I fix Error 01 on Insta360 X5?
Remove the lens cover and clean the sensor area with a dry cloth. Reattach the cover firmly until you hear a click. If the error persists, restart the camera by holding the power button for 10 seconds.
Why does my X5 keep saying SD card error?
The card may be too slow or formatted incorrectly. The X5 requires a U3 V30 rated card formatted as exFAT. Format the card inside the camera using the Storage menu.
If the error continues, try a different card.
How do I factory reset the Insta360 X5?
Go to the settings menu. Select System. Then select Factory Reset.
This clears all user settings and recalibrates the sensors. You will need to set up the camera again after the reset.
What SD card does the Insta360 X5 need?
The X5 requires a microSD card with UHS Speed Class 3 (U3) and Video Speed Class 30 (V30). Cards up to 1TB are supported. A 256GB or 512GB card from a major brand is recommended for best stability.
Why is my Insta360 X5 overheating?
The camera has a thermal sensor that triggers a shutdown at approximately 40 degrees Celsius. Direct sunlight is the most common cause. Move the camera to the shade and let it cool for 20 minutes.
Do not put it in a refrigerator.
How do I update firmware on Insta360 X5?
Download the firmware file from the official website. Save it to the root directory of a formatted SD card. Insert the card into the camera and power it on.
The update process starts automatically. Do not interrupt it.

Similar Posts