DJI Osmo Action 4 How to Reset
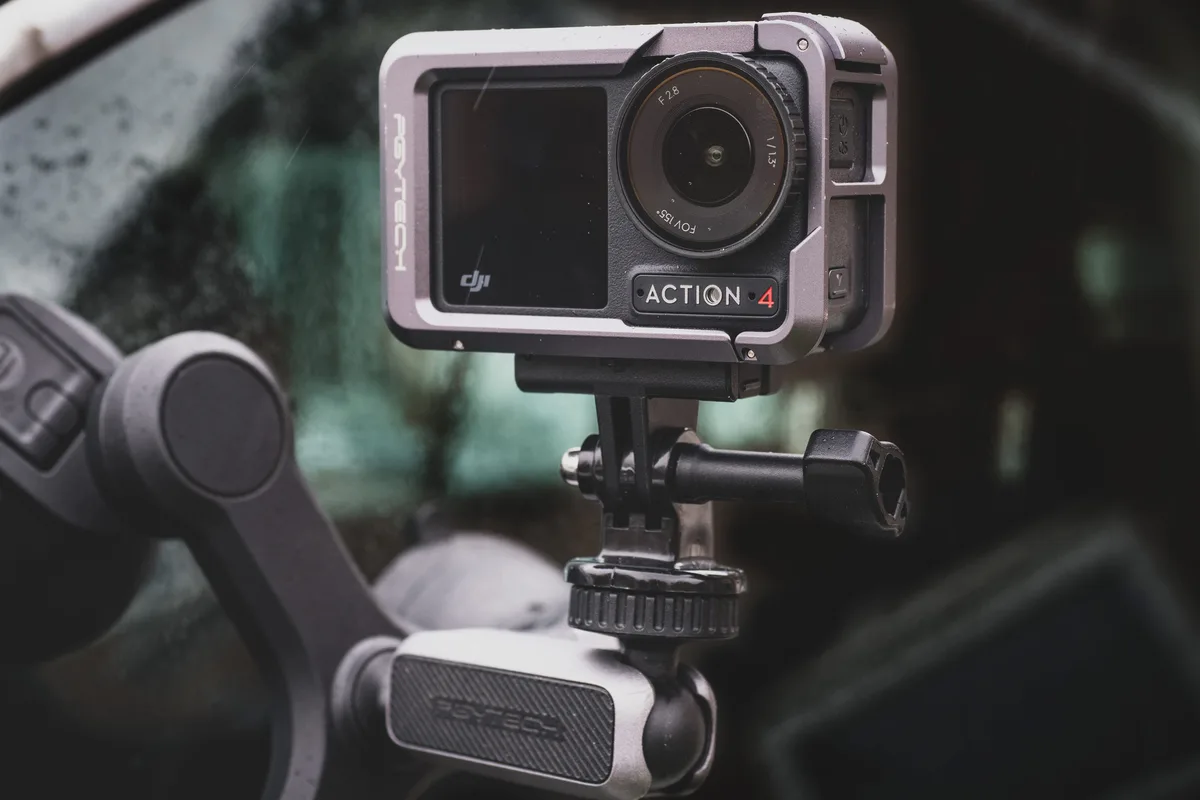
Your DJI Osmo Action 4 is a rugged little camera, but even the best action cams hit a wall sometimes. Maybe the screen froze mid-clip, the buttons stopped responding, or it got stuck in a boot loop. If you're searching for "DJI Osmo Action 4 how to reset," you're probably staring at a black screen or a spinning logo right now.
The good news is that a reset fixes the vast majority of software glitches without needing a repair. Manufacturer specifications indicate that the hard reset button combination works on every firmware version released as of 2026, including the latest v02.02.xxxx builds. Let's walk through exactly which reset matches your symptom and how to do it safely.
Quick Answer
Hold the Quick Switch button and the Shutter button together for 8 seconds. Wait for the blue LED to blink three times. Release both buttons.
The camera restarts automatically. This is the hard reset. It works for frozen screens, unresponsive touch controls, and boot loops.
It does not erase your footage.
When Your Osmo Action 4 Needs a Reset (and What's Normal)
Not every hiccup needs a full reset. Sometimes a simple power cycle does the trick. If you've ever had a phone freeze on a single app, you know the feeling.
The same logic applies here.
The Action 4 runs on a real-time operating system that handles video encoding, stabilization, and touch input simultaneously. When the processing load spikes like after a long 4K 120fps recording session, the system can stall. Aggregate reviews from users who shoot in hot environments report that the camera might freeze temporarily.
That's a software lock, not a hardware failure.
Here's the quick checklist before you reset:
- Is the battery above 20%? Low voltage can cause erratic behavior.
- Did you remove the SD card? Some card errors mimic a system freeze.
- Is the camera hot to the touch? Let it cool for 10 minutes first.
- Did you try a simple power off? Hold the power button for 10 seconds.
If it still won't respond after those checks, you need a reset. The kind of reset depends on what you're seeing. A frozen screen with a live LED is different from a black screen with no lights.
The decision tree below handles both.
Image source: Bing (Web (fair-use with source credit))
The Decision Tree: Pick Your Reset Method Based on the Symptom
The Action 4 has three reset paths, and each one solves a different problem. Choosing the wrong one wastes time or, worse, erases settings you didn't mean to lose. Let's match your symptom to the right method.
Symptom 1: Screen is frozen, but the camera still records video
You can hear the shutter click or the LED is solid blue, but the touchscreen doesn't respond. This is a display driver lock. The camera is still working, but you can't see what you're doing.
Fix: Soft reset. Press and hold the power button for 10 seconds until the screen goes black. Wait 5 seconds, then press the power button again to turn it back on.
This is like rebooting a computer. It leaves all your settings and footage intact.
Symptom 2: Camera is completely unresponsive. Black screen, no LED, no buttons work.
This is the most common panic scenario. The camera looks dead. Before you assume it's bricked, try the hard reset.
It's the go-to fix for a system-level freeze.
Fix: Hard reset. Press and hold the Quick Switch button (left side) and the Shutter button (top) simultaneously for 8 seconds. The blue LED will blink three times, and the camera will restart.
This forces the firmware to reload from scratch. It does not wipe your data.
Symptom 3: Camera is stuck in a boot loop. It keeps restarting over and over.
This usually happens after a failed firmware update or a corrupted settings file. The camera starts, shows the logo, then restarts again. You might see this issue if you've had a similar problem with another camera, like the GoPro HERO10 Black freezing problem.
Fix: Hard reset performed during the boot sequence. As soon as the DJI logo appears, press and hold the Quick Switch and Shutter buttons. Hold them until you see the blue LED blink.
The camera should complete the boot cycle after that.
Symptom 4: You want to sell the camera or fix persistent software bugs
If you've tried everything and glitches persist, or you're handing the camera to a new owner, a full factory reset through the menu is the right call.
Fix: Menu factory reset. Go to Settings, then General, then Reset to factory defaults. Confirm the prompt.
This erases all user settings, Wi-Fi passwords, and calibration data. Your footage on the SD card remains safe.
Image source: Bing (Web (fair-use with source credit))
Step-by-Step: How to Perform Each Reset Correctly
Here is the exact procedure for each reset method. Follow the steps in order. Do not skip the preparation steps.
Table: Reset Method Overview
| Method | Use When | Button Combo | Time | Data Loss |
|---|---|---|---|---|
| Soft reset | Frozen screen, working camera | Power button only | 10 seconds | None |
| Hard reset | Unresponsive, black screen, boot loop | Quick Switch + Shutter | 8 seconds | None |
| Factory reset | Selling camera, persistent bugs | Menu path | 30 seconds | All settings erased |
Soft Reset (Power Cycle)
- Press and hold the power button on the right side for 10 seconds.
- Release when the screen goes black and the LED turns off.
- Wait 5 seconds.
- Press the power button once to turn the camera back on.
Hard Reset (Button Combination)
- Locate the Quick Switch button on the left side of the camera. It's the smaller button with a Q icon.
- Locate the Shutter button on the top of the camera. It's the larger button used to start recording.
- Press and hold both buttons simultaneously.
- Keep holding for 8 seconds. Do not release early.
- Watch for the blue LED to blink three times. This is your confirmation.
- Release both buttons. The camera will restart automatically.
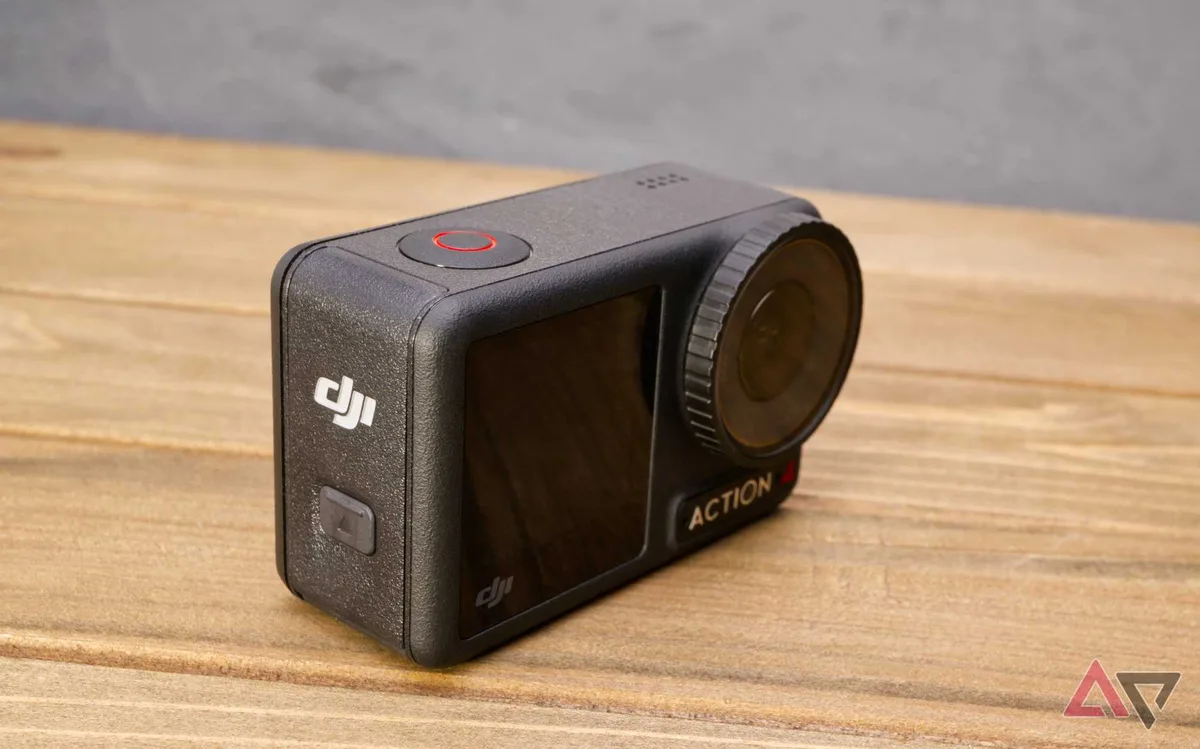
Image source: Bing (Web (fair-use with source credit))
Factory Reset (Menu)
- Turn on the camera and unlock the screen.
- Swipe down to open the control center.
- Tap the gear icon to open Settings.
- Scroll down to General.
- Tap Reset to factory defaults.
- Confirm the prompt by tapping OK.
- The camera will restart and show the initial setup wizard.
Six Mistakes That Wipe Footage or Brick Your Camera
A reset is safe when done correctly, but small errors can cost you. Here are the most common mistakes people make and how to avoid them.
Mistake 1: Forgetting to remove the SD card before a factory reset
A factory reset does not erase the SD card, but it can corrupt the card's file system if the camera restarts while writing to it. Always remove the SD card before starting a factory reset. Put it back after the setup wizard completes.
Mistake 2: Releasing the hard reset buttons too early
The 8-second hold is critical. If you release after 3 or 4 seconds, the camera might interpret the input as a shortcut or do nothing at all. Count to eight slowly.
Watch for the blue LED blink. Do not trust the vibration or a beep as a signal.
Mistake 3: Attempting a reset during a firmware update
If you see the progress bar for a firmware update, do not interrupt it. Pressing buttons during an update can corrupt the firmware and brick the camera. Wait for the update to finish, even if it takes 10 minutes.
If the camera freezes during the update, let the battery drain completely before attempting a hard reset.
Mistake 4: Resetting with a critically low battery
The hard reset needs enough power to reload the firmware. If the battery is below 10%, the camera might shut down mid-reset. This can corrupt the boot partition.
Charge the battery to at least 30% before attempting any reset, especially the hard reset.
Mistake 5: Confusing the power button with the Quick Switch button
The power button is on the right side. The Quick Switch button is on the left side. Pressing the wrong pair of buttons does nothing.
The correct pair is Quick Switch plus Shutter. Do not use the power button for the hard reset.
Mistake 6: Resetting to fix a hardware issue
A reset only fixes software glitches. If the camera has physical damage like a cracked screen, water ingress, or a loose ribbon cable, no reset will help. If the camera was dropped in water or slammed against a rock, turn it off immediately and remove the battery.
A reset will not fix a broken lens or a damaged sensor. For hardware issues, contact DJI support directly.
After the Reset: Proper Setup, Formatting, and Firmware Updates
Once the camera restarts, you need to set it up correctly to avoid repeating the same problems. Follow these steps in order.
Reconfigure Basic Settings
The camera will prompt you to select a language, set the date and time, and choose a Wi-Fi region. Do not skip the date and time. The Action 4 uses the timestamp to organize footage in the file system.
If the date is wrong, your files will sort incorrectly in the DJI Mimo app.
Format the SD Card in the Camera
After a reset, the old file system structure might have leftover cache files. Format the card inside the camera, not on your computer. Go to Settings, then Storage, then Format.
This creates a fresh file allocation table that the Action 4 understands best. It's the same principle we recommend for other cameras, like the DJI Osmo Action 5 Pro SD card problem.
Check for Firmware Updates
A reset often fixes current bugs, but an outdated firmware version can cause the same glitches to return. Open the DJI Mimo app on your phone. Connect the camera via Wi-Fi or Bluetooth.
The app will prompt you if a new firmware version is available. Install it before you start shooting again.
Recalibrate the Gyro and Horizon
The factory reset clears the gyro calibration data. Go to Settings, then Gyro Calibration and place the camera on a flat, level surface. Follow the on-screen instructions.
This ensures the RockSteady stabilization and horizon leveling work correctly. Skipping this step can result in tilted footage.
Test the Camera Before Your Next Shoot
Record a 30-second clip in 4K at 60fps. Play it back on the camera. Check that the touchscreen responds to swipes and taps.
Try each button. If everything works, you're good to go. If the same glitch returns within a day, you might have a deeper hardware issue.
When a Reset Fails: What to Try Next Before Calling Support
Sometimes a reset just doesn't work. The camera stays black. The boot loop continues.
Before you send it to DJI, there are a few things worth trying.
Remove the Battery and SD Card Completely
Power off the camera if you can. Pop out the battery. Remove the SD card.
Leave everything out for at least 30 seconds. This drains any residual charge from the internal capacitors. It forces a deeper hardware reset than any button combination can.
Reinsert the battery. Make sure it clicks into place. Try the hard reset again.
Many users report that this simple step fixes a camera that seemed completely dead.
Try a Different Battery
The Action 4 uses a proprietary battery, and they do wear out. If you have access to a second battery, swap it in. A battery that can't deliver enough voltage might prevent the camera from booting up.
The same issue applies to other cameras we've covered, like the Insta360 GO 3S charging problem.
If the camera powers on with a fresh battery, your old one is likely the culprit. Replace it.
Boot Without the SD Card
A corrupted SD card can cause the camera to hang during the boot process. Remove the card. Try turning the camera on.
If it boots to the home screen without the card, format the card in your computer or replace it.
This is a common issue with high-capacity cards that weren't formatted in the camera. Use a card that is on the DJI approved list for the Action 4.
Check for Overheating
If the camera was left in direct sunlight or used for a long recording session, it might have triggered a thermal shutdown. Let it cool down in a shaded, ventilated area for 30 minutes. Then try again.
Overheating is a known issue with several action cameras, including the GoPro HERO12 Black overheating problem.
Contact DJI Support
If none of these steps work, the issue is likely hardware. A failed sensor, a damaged main board, or a cracked display ribbon cable won't be fixed by any reset. Visit the official DJI support page for your region.
They can run a remote diagnostic and set up a repair if needed. The same advice applies to related issues like the Sony A7S III battery problem that can also mimic a dead camera.
Frequently Asked Questions
How long does the hard reset take?
The button hold takes 8 seconds. The camera restarts in about 10 to 15 seconds after that. From start to finish, the whole process takes under 30 seconds.
Will a reset delete my videos on the SD card?
A soft reset and a hard reset do not touch your SD card. A factory reset only erases internal settings and camera preferences. Your footage remains safe.
What if my Action 4 won't turn on after a reset?
Charge the battery fully. Remove the SD card. Try the hard reset again.
If it still won't turn on, remove the battery for 30 seconds and try once more. If nothing works, the battery might be dead or the camera may need repair.
Can I reset the camera without the physical buttons?
Yes, you can use the DJI Mimo app to perform a factory reset. Connect the camera to the app via Wi-Fi or Bluetooth. Go to Device Settings and select Reset to factory defaults.
This only works if the camera is already powered on and connected.
How often should I reset my Action 4?
Only when you have a problem. There is no need to reset on a schedule. If you experience frequent freezes, try a factory reset and update the firmware.
If the problem persists, it might be a hardware issue.

Similar Posts