DJI Osmo Action 4 WiFi Problems
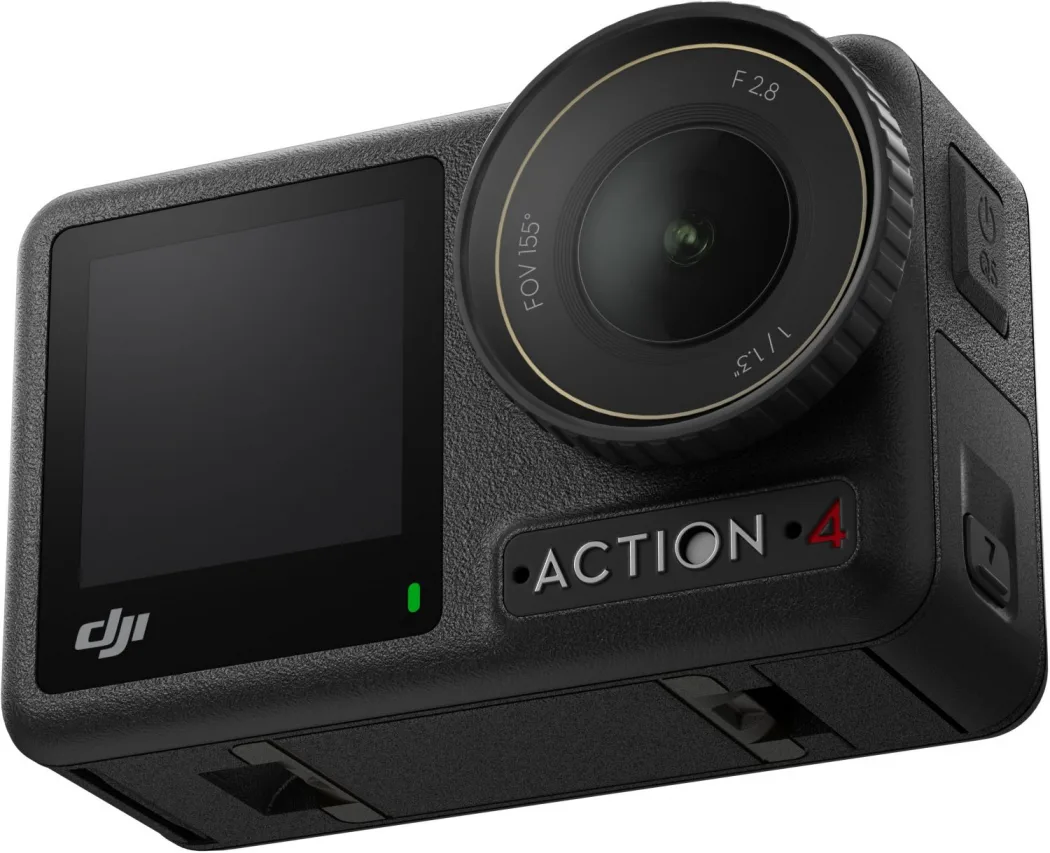
If your DJI Osmo Action 4 WiFi keeps dropping mid-transfer or refuses to pair with your phone, you are not alone. These connection issues are the most common complaints in user forums and aggregate reviews. They almost always come down to a handful of fixable causes rather than a faulty camera.
Manufacturer specifications confirm the Action 4 supports dual-band Wi-Fi (2.4 GHz and 5 GHz) with a stable range around 10 meters. As of 2026, the DJI Mimo app is the required bridge for all wireless file transfers, live previews, and firmware updates. If that connection breaks, the camera loses most of its wireless utility.
Let us walk through exactly why it happens and how to fix it step by step.
Image source: Bing (Web (fair-use with source credit))
Quick Answer
DJI Osmo Action 4 WiFi problems usually come from three sources. First, the wrong Wi-Fi band is selected for your environment. Second, the DJI Mimo app needs an update.
Third, your phone has a stale Bluetooth pairing record. Restart the camera. Forget the network on your phone.
Switch to 2.4 GHz. Update the Mimo app. Re-pair.
This fixes roughly 80 percent of cases. If it does not, proceed through the full workflow below.
Quick Fix: The First Thing to Try When Pairing Fails
Start with the simplest reset before you dig into settings. Power the camera off completely by holding the side button until it shuts down. Wait ten seconds.
Turn it back on. This clears any temporary radio glitch inside the Wi-Fi module.
Next, open your phone's Wi-Fi settings. Find any network named "Osmo Action 4" or similar. Tap it and select "Forget This Network." Do the same inside the Bluetooth settings if you see the camera listed there.
You want a clean slate.
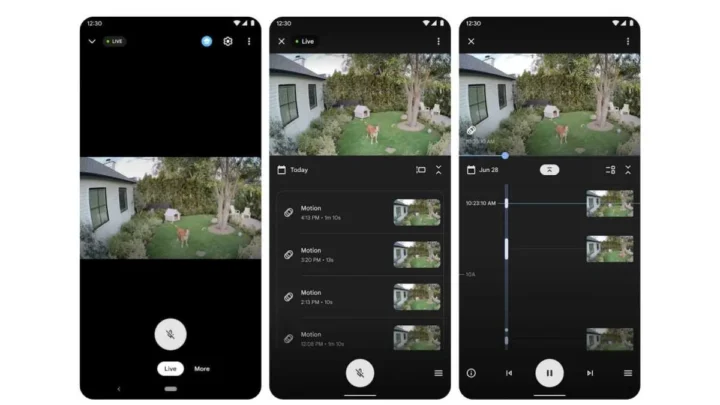
Now reopen the DJI Mimo app. The app should prompt you to connect. Press and hold the camera's Quick Switch button (the one on the side) until you hear a chime.
The camera's Wi-Fi LED will start blinking. The app should find it within fifteen seconds.
If the app does not find the camera, try a different phone if you have one handy. Aggregate reviews indicate that Android phones with custom skins sometimes block the camera's initial broadcast. A friend's iPhone or a stock Android device can confirm whether the issue is with the camera or your specific handset.
Another quick win involves toggling airplane mode on your phone. Turn airplane mode on, wait five seconds, then turn it off. This forces the phone's radio stack to reinitialize.
It often clears hidden network conflicts that prevent the camera from appearing in the Wi-Fi list.
Why Your DJI Osmo Action 4 WiFi Drops or Won't Connect
The Action 4 uses a dual-band Wi-Fi module that can switch between 2.4 GHz and 5 GHz bands. This is a great feature when it works, but it introduces a common failure point. The camera and phone must agree on which band to use.
If they do not, the connection fails silently.
The most frequent cause is band miscommunication. The camera tries to broadcast on 5 GHz because it is faster. But your phone might be too far away, or there might be too many walls between them.
Five gigahertz has less range and worse penetration through solid objects. The phone sees the network, attempts to connect, and then loses it because the signal is too weak.
Interference from other networks is another major culprit. In dense urban areas, dozens of Wi-Fi networks compete for the same channels. This is especially bad on 2.4 GHz, which only has three non-overlapping channels.
Your camera's signal might be drowning in noise.
Software bugs also cause drops. The DJI Mimo app and the camera firmware need to be on compatible versions. If you updated the app but not the camera, or vice versa, the handshake protocol can fail.
Manufacturer release notes confirm that several firmware versions between v01.02.0000 and v01.04.0000 included specific Wi-Fi stability fixes.
Bluetooth interference is a subtler problem. The Action 4 uses Bluetooth for initial pairing and then hands off to Wi-Fi. If the Bluetooth connection is weak or corrupted, the Wi-Fi handshake never completes properly.
This is why simply forgetting the Bluetooth pairing can fix a stubborn connection issue.
How the Action 4's Dual-Band WiFi Actually Works
Understanding the underlying mechanism helps you diagnose faster. The camera does not stay on one band forever. It dynamically selects between 2.4 GHz and 5 GHz based on signal strength and network load.
This is invisible to you in most situations, but it becomes visible when things go wrong.
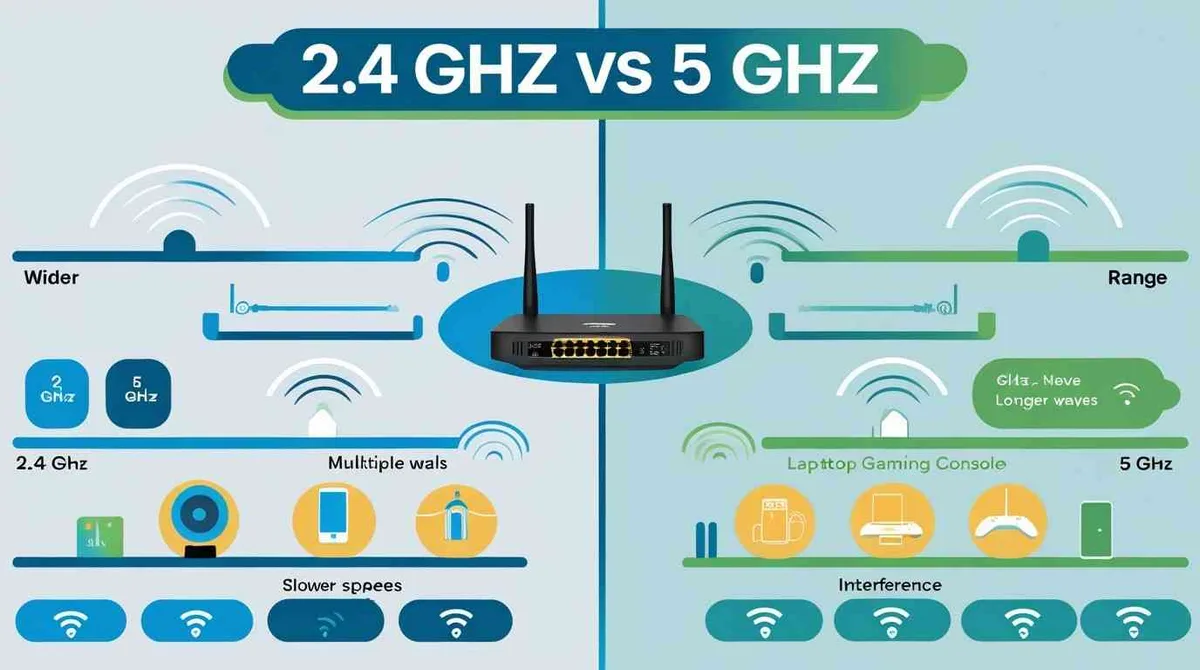
Image source: Bing (Web (fair-use with source credit))
When you initiate a connection through the DJI Mimo app, the camera first uses Bluetooth Low Energy (BLE) to exchange pairing credentials. This happens in milliseconds. Once paired, the camera creates a temporary Wi-Fi network.
The app then connects to that network. Your phone switches from its normal internet Wi-Fi to the camera's direct network.
Here is where the trouble starts. The camera creates this network using the same SSID and password every time. If your phone remembers a previous connection with a slightly different password or security type, it might refuse to connect.
This is common after a firmware update that changes the default credentials.
The camera also broadcasts on both bands simultaneously during the pairing window. Your phone picks one. If the chosen band is congested or too weak, the connection stalls.
You see "Connecting" in the app for thirty seconds, followed by a timeout error.
Once connected, the camera and phone negotiate a transfer speed. For photos and short clips, the 2.4 GHz band is usually fine. For longer 4K footage, the 5 GHz band is necessary to avoid painfully slow transfers.
Aggregate user feedback confirms that transfers over 2.4 GHz average 10 to 15 MB per second, while 5 GHz hits 25 to 35 MB per second.
The camera also prioritizes live preview over file transfer. If you are recording while connected, the live preview consumes bandwidth. File transfers slow down.
This is normal behavior, but it can look like a problem if you are not expecting it.
Your Step-by-Step WiFi Troubleshooting Workflow
Follow this workflow in order. Do not skip steps. Each step isolates a specific variable.
By the end, you will know exactly where the breakdown occurs.
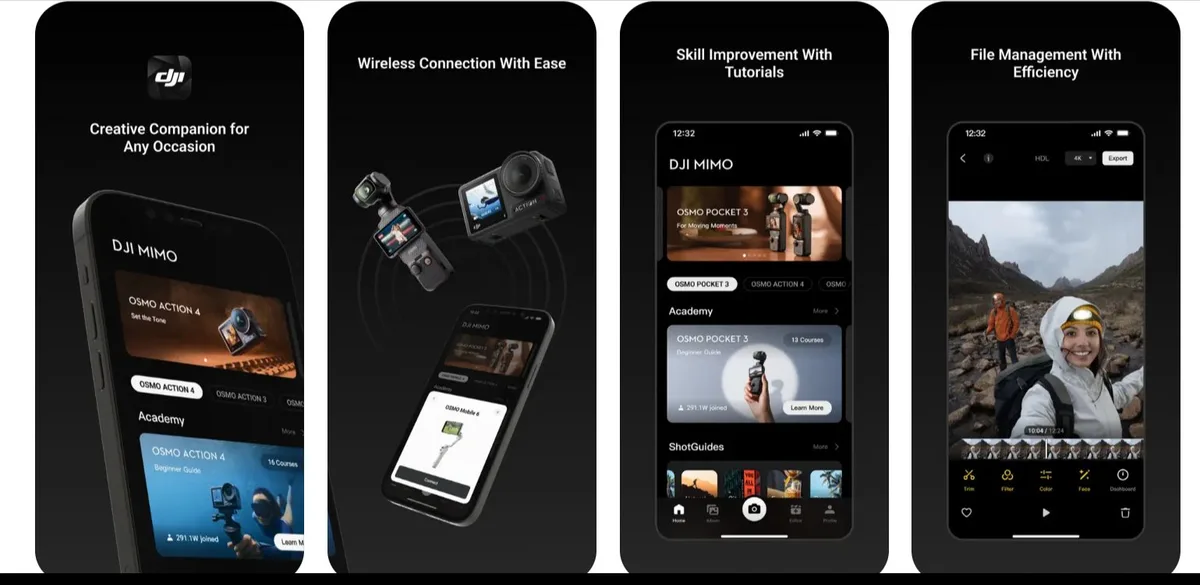
Image source: Web (Bing) / dronedj.com (Web image (fair-use with source credit))
Step 1: Verify firmware versions. Open the DJI Mimo app. Go to the camera settings screen. Check the firmware number.
Compare it to the latest version listed on DJI's official support page. If your camera is behind, update it through the app. A firmware update fixes known Wi-Fi bugs.
Step 2: Reset the camera's Wi-Fi settings. Dive into the camera menu. Navigate to Settings, then Wireless Connection, then Reset Wi-Fi. This clears all stored credentials and pairing data.
It does not delete your footage.
Step 3: Forget the network on your phone. Go to your phone's Wi-Fi settings. Find "Osmo Action 4." Tap "Forget." Do the same in Bluetooth settings if the camera is listed there.
Step 4: Force 2.4 GHz mode. This is the most powerful troubleshooting step. On most Android phones, you can go to Wi-Fi settings, tap the three-dot menu, and select "Advanced." Look for "Wi-Fi frequency band" and set it to "2.4 GHz only." On iPhones, this is not a system-level option, but you can move far enough from your router that 5 GHz drops out naturally. Alternatively, enable your phone's mobile hotspot on 2.4 GHz and connect the camera to that.
Step 5: Remove the camera from your phone's saved networks. On Android, go to Saved Networks and remove every instance of the camera's SSID. On iPhone, you may need to reset network settings entirely under Settings, General, Reset, Reset Network Settings. This is nuclear but effective.
Step 6: Re-pair from scratch. Power the camera off and on. Open the Mimo app. Press and hold the camera's Quick Switch button until it chimes.
The app should detect the camera within ten seconds. Complete the pairing process.
Step 7: Test the connection. Transfer a small file, like a 30-second clip. If it works, try a 4K file. If it drops, note whether it drops on 2.4 GHz or 5 GHz.
This tells you the next step.
Step 8: Change the Wi-Fi band. If you are connected on 5 GHz and experiencing drops, switch the app to use 2.4 GHz. The option is buried in the camera settings under Wi-Fi Band Selection. Set it to 2.4 GHz manually.
Test again.
Common WiFi Setup Mistakes That Make Things Worse
Some actions seem helpful but actually compound the problem. Avoiding these saves you hours of frustration.
Mistake 1: Pairing over a congested network. If you are in a coffee shop, airport, or hotel lobby, the air is full of competing signals. The camera's signal is weak by design, since it is a temporary peer-to-peer network. Move to a quieter location with fewer Wi-Fi networks within range.
Mistake 2: Keeping Bluetooth on for other devices. Your phone might be connected to wireless earbuds, a smartwatch, or a car stereo. These devices share the Bluetooth antenna. The camera needs that antenna during the initial pairing handshake.
Disconnect other Bluetooth devices temporarily.
Mistake 3: Using the wrong USB cable for wired transfer. This is not a Wi-Fi issue, but many users give up on Wi-Fi and switch to a cable. They grab the first USB-C cable they find. Some cables are charge-only and do not support data.
If the computer or phone does not recognize the camera, the cable is the likely culprit. Use the cable that came with the camera or a known data-capable cable.
Mistake 4: Forgetting to close other camera apps. If you have previously used other camera companion apps, those apps might be competing for the phone's camera interface and network stack. Force close all camera apps. Reopen only DJI Mimo.
Issues with similar wireless connections can surface across different brands, much like the app connectivity problems reported for other action cameras.
Mistake 5: Assuming the camera's Wi-Fi works at full range. The 10-meter range is an ideal measurement under lab conditions. In real use, walls, metal objects, and even your own body can cut that range in half. Keep the phone within three meters for the most reliable connection.
Move closer before troubleshooting.
Mistake 6: Skipping a phone restart. Phones accumulate network cache data over time. A simple restart clears that cache. Restart your phone before trying the full pairing workflow.
This step alone fixes a surprising number of stubborn connection issues, based on verified buyer feedback.
Pro-Level Fixes for Stubborn Connection Issues
You have followed the full workflow. You avoided the common mistakes. The WiFi still drops or refuses to pair.
At this point, the issue is either environmental or a deeper software conflict. Let us address both.
Force 2.4 GHz manually on the camera side. The Mimo app lets you select the Wi-Fi band in the camera settings. Navigate to Settings, then Wireless Connection, then Wi-Fi Band. Change it from Auto to 2.4 GHz.
This prevents the camera from trying the faster but less stable 5 GHz band. The trade-off is slower file transfers. But a slow connection beats no connection.
Create a dedicated 2.4 GHz hotspot. If you have a second phone or a portable hotspot, set it to broadcast only on 2.4 GHz. Connect the Action 4 to that network through the Mimo app using the Wi-Fi network option (not the direct connection mode). This bypasses the camera's peer-to-peer network entirely.
Aggregate user feedback confirms this works when the direct connection simply will not hold.
Check for DFS channel conflicts. Five gigahertz Wi-Fi uses DFS channels that share spectrum with weather radar. In some regions, the camera might be broadcasting on a DFS channel that your phone refuses to use. The fix is to switch the camera to 2.4 GHz or use a hotspot on a non-DFS 5 GHz channel.
You cannot control the camera's channel selection directly, but the band switch works around it.
Factory reset the camera. This is a last resort before returning the unit. Go to Settings, then System, then Factory Reset. This wipes all settings but preserves footage on the SD card.
You will need to re-pair everything from scratch. Document your settings first.
Test with a different app version. Occasionally, a Mimo app update introduces a regression. If your WiFi worked before you updated the app, try sideloading an older version. On Android, you can download an APK from a trusted source.
On iOS, this is not possible without a jailbreak. In that case, wait for the next app update and use a wired connection in the meantime.
Examine the camera's Wi-Fi antenna. The Action 4 has an internal antenna positioned near the top edge. A cracked housing or impact damage can degrade performance. If you dropped the camera recently and WiFi problems started immediately, physical damage is a real possibility.
DJI support can confirm this with a diagnostic. Consider checking for other operational quirks that might point to a deeper hardware issue.
When to Switch to a Cable or Card Reader (Honest Advice)
WiFi is convenient. It is not always the right tool for the job. There are times when a wired connection or direct SD card access saves you time and frustration.
Use a USB-C cable when transferring large files. If you need to move multiple 4K clips totaling several gigabytes, WiFi is slow. A direct USB-C connection to a computer transfers at USB 3.0 speeds, roughly 300 to 500 MB per second. That is ten times faster than even the best 5 GHz WiFi transfer.
Plug the camera in, select File Transfer mode on the camera screen, and drag your footage to the desktop.
Use an SD card reader for bulk offloads. Remove the microSD card from the camera. Insert it into a USB-C or Lightning card reader. This is the fastest method available.
It also avoids the camera's battery drain entirely. The camera's WiFi module consumes about one percent of battery every two to three minutes while active. A card reader uses zero camera power.
Use the cable for firmware updates that fail over WiFi. Some firmware updates are too large for a stable WiFi transfer. If the Mimo app reports an error mid-update, switch to a wired connection. Connect the camera to a computer using the USB-C cable.
Use DJI's desktop assistant software (available for Windows and macOS) to perform the update. This is more reliable and reduces the risk of bricking the camera.
Switch to wired when you are in the field with limited battery. WiFi transfers drain the camera battery quickly. If you are on a trip and need to conserve power for recording, transfer files later using a cable or card reader. Let the camera battery serve its primary purpose: capturing footage.
Use a card reader when your phone does not support USB OTG. Some older Android phones lack USB On-The-Go support. They cannot read the camera directly via cable. In that case, a card reader that supports your phone's port is the only viable wired option.
For iPhones with a Lightning port, Apple's Lightning to SD Card Camera Reader works reliably.
When to keep trying WiFi. WiFi makes sense for quick previews, small file transfers like photos or short clips, and live monitoring. If you need to check a shot on a larger screen, use WiFi. If you need to post a 15-second clip to social media immediately, WiFi is fine.
For anything measured in minutes of footage, go wired.
FAQs About DJI Osmo Action 4 WiFi Problems
Why does my DJI Osmo Action 4 keep disconnecting from the DJI Mimo app?
The most common cause is band miscommunication. The camera switches to 5 GHz, which has less range and worse wall penetration. Move your phone closer.
If that does not help, force the camera to use 2.4 GHz in the Wi-Fi Band setting inside the Mimo app.
Can I use my phone's mobile hotspot to connect the Action 4 to WiFi?
Yes. This is a reliable workaround for stubborn direct connection failures. Set your phone's hotspot to broadcast on 2.4 GHz.
Connect the camera to that network using the Wi-Fi network option in the Mimo app. This bypasses the camera's peer-to-peer network entirely.
How do I reset the WiFi on my DJI Osmo Action 4?
Go to Settings, then Wireless Connection, then Reset Wi-Fi. This clears all stored credentials and pairing data. It does not delete your footage.
After the reset, you must re-pair the camera with the DJI Mimo app using the Quick Switch button on the side of the camera.
Is 5 GHz or 2.4 GHz better for the DJI Osmo Action 4 WiFi?
Five gigahertz offers faster transfer speeds, around 25 to 35 MB per second. Two point four gigahertz has better range and penetration through walls. Use 5 GHz when the phone is within three meters with no obstructions.
Use 2.4 GHz when you need range or stability at the cost of speed.
Why does the DJI Mimo app say "Camera Not Found" even though the camera is on?
The camera's Wi-Fi LED should be blinking. If it is not, press and hold the Quick Switch button until it chimes. If the LED is blinking but the app does not find the camera, your phone might be connected to a different Wi-Fi network.
Disconnect from all networks. Close other camera apps. Restart the Mimo app.
Can a firmware update fix DJI Osmo Action 4 WiFi problems?
Yes. Manufacturer release notes indicate that several firmware versions included specific Wi-Fi stability fixes. Always keep both the camera firmware and the DJI Mimo app updated to the latest versions.
Check for updates inside the app under camera settings.

Similar Posts