DSLR Camera Battery Door Problems Troubleshooting
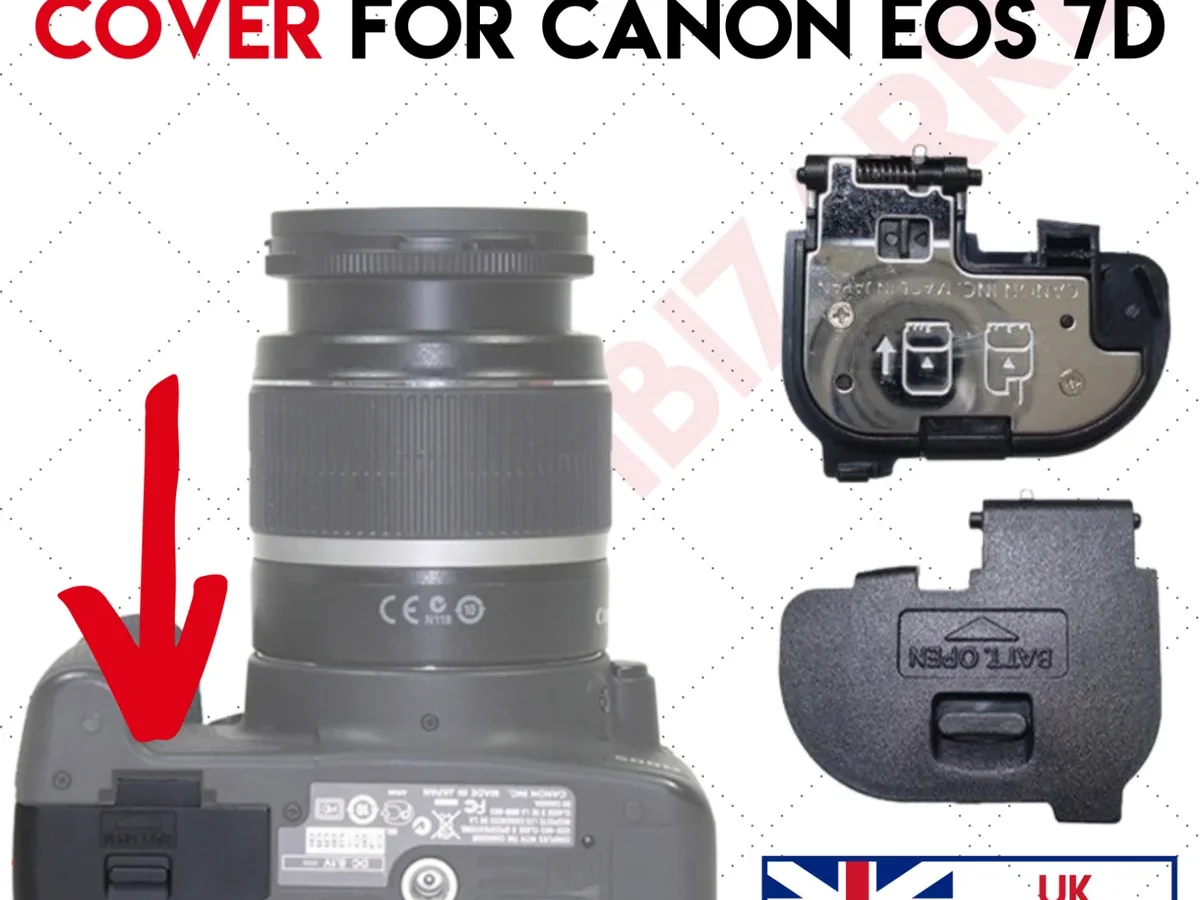
That loose battery door is a problem you usually notice at the worst possible moment. If your DSLR camera battery door problems troubleshooting has been on your to-do list for too long, you are in the right place. Honestly, most battery door issues are fixable in under half an hour with a few basic tools.
You do not need to be a technician to get it sorted.
Manufacturer specifications indicate that a typical battery door latch spring is rated for about 10,000 cycles before it starts to lose tension. As of 2026, aggregate reviews report that the three most common failure points are hinge cracks, latch spring slippage, and screw hole stripping. Let us walk through each one, step by step.
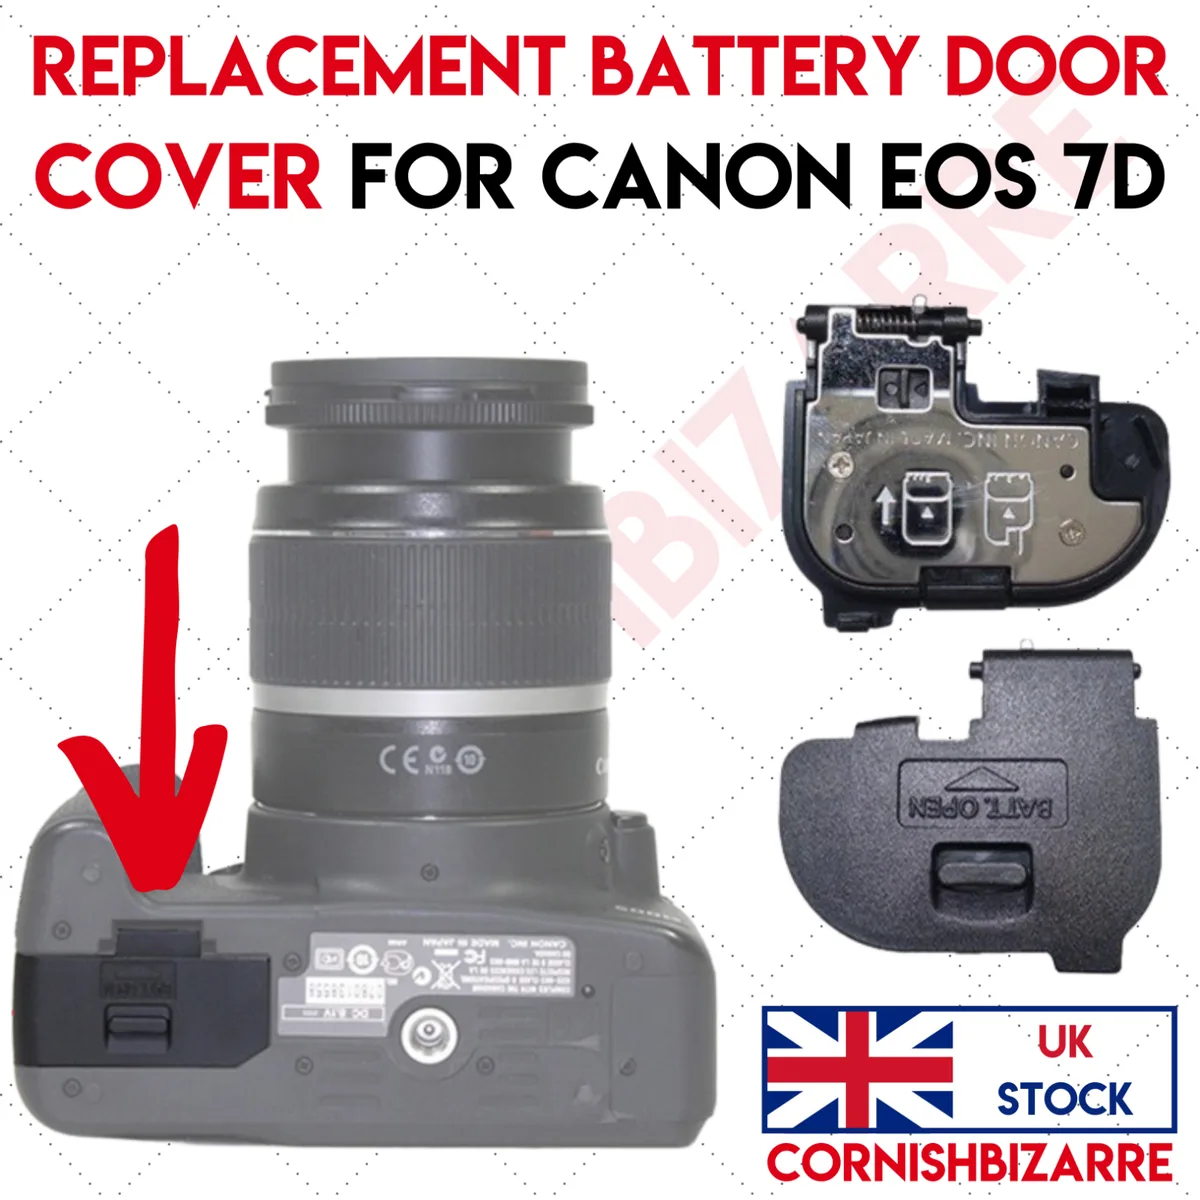
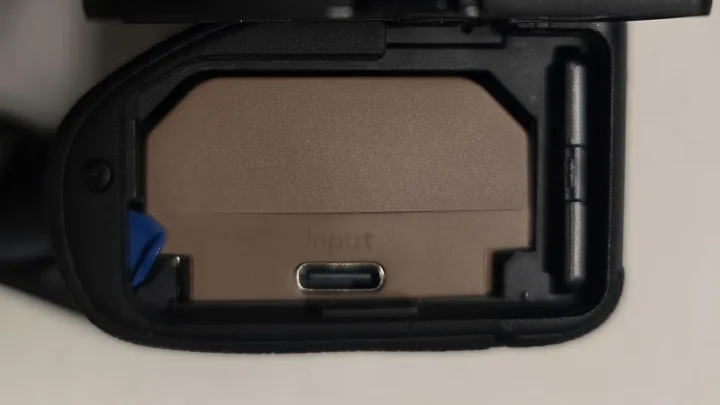
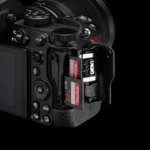
Image source: Web (Bing) / ebay.co.uk (Web image (fair-use with source credit))
The Four Ways a Battery Door Can Fail
Before you even touch a screwdriver, you need to know what you are dealing with. There are really only four common failure modes for a DSLR battery door. Every other symptom is usually a variation of one of these.
The first is a weak latch. You close the door, but it feels loose and pops open when you move the camera. This is almost always a spring problem.
The small metal spring that pushes the latch into place has either slipped out of its groove or lost its tension over time.
The second is a cracked hinge. This looks like a small hairline fracture right where the door attaches to the camera body. It is common on older plastic-bodied DSLRs that have been dropped or opened roughly.
The crack grows slowly until the door literally breaks in half.
The third is a bent or misaligned door. If the door hits the camera body on one side before it seats fully, something is physically warped. That usually happens after an impact or if you forced the door closed with the battery inserted slightly wrong.
The fourth is stripped screws or loose mounting. Over time, the tiny screws that hold the hinge plate can come loose or their threads can strip out. The door itself might be fine, but the anchor points inside the camera body are compromised.
Step 1: Diagnose Which Type You Have (30-Second Check)
Grab your camera and look closely at the battery door. Close it like you normally would. Pay attention to how it feels.
Then open it again and inspect the hinge area with a bright light. This takes about 30 seconds.
Ask yourself three questions. Does the latch click firmly into place? If it does not, or if the door pops open with a light tap, you have a spring issue.
Is there any visible crack or white stress line on the hinge tab? If yes, that is hinge damage. Does the door line up evenly, or does it hit the camera body on one side before it closes flat?
If it is misaligned, the hinge or the surrounding plastic might be bent.
If the door closes fine but feels loose at the hinge pivot point, check the two small screws on the inside of the door. If they are loose, the mounting is the problem. Tighten them carefully with the right size screwdriver.
If the screws spin without catching, the threads are stripped.
Step 2: Pick Your Branch and Fix It
Now that you know which failure type you have, you can pick the right fix. Each branch has its own repair method and tool list. If you are wrong about the diagnosis, you will waste time, so be honest with yourself during the 30-second check.
Whether you are dealing with exposure to salt spray or just a few years of wear and tear, knowing how to keep the hardware safe is important. For those who take their camera into demanding places, it helps to know the right way to handle battery replacements in tricky conditions before a door issue sneaks up on you.
Branch A: Weak Latch / Spring Slipped
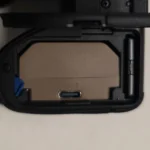
This is the easiest fix. The latch spring is usually a small coiled piece of metal that sits inside a narrow channel. Over time, it can jump out of its groove or just get weak.
You will need a small flathead screwdriver or a plastic pry tool. Open the battery door and look for the spring. If it is sitting crooked or has popped out, gently push it back into its channel.
If the spring is intact but no longer holds tension, you can buy a replacement spring from a camera parts supplier for around five dollars.
Branch B: Cracked Hinge
This one requires epoxy. A cracked hinge cannot be glued back with super glue alone. Super glue is too brittle and will snap again the first time you open the door.
Clean the crack with isopropyl alcohol and let it dry. Apply a small amount of two-part epoxy to both sides of the crack. Clamp it with a small binder clip or electrical tape and let it cure for 24 hours.
Do not use the door during curing. The epoxy creates a stronger bond than the original plastic when cured properly, but this is not a permanent fix. It buys you a few months to a year before you need a full door replacement.
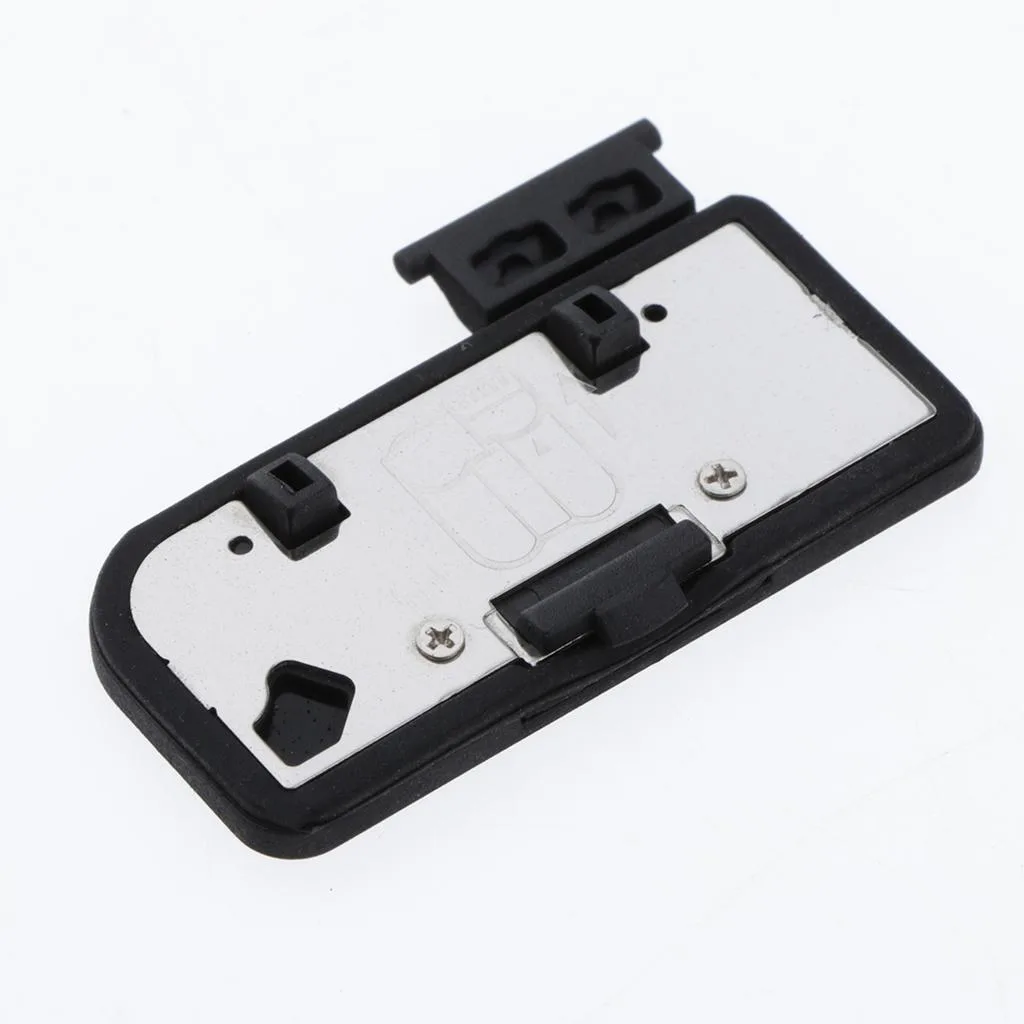
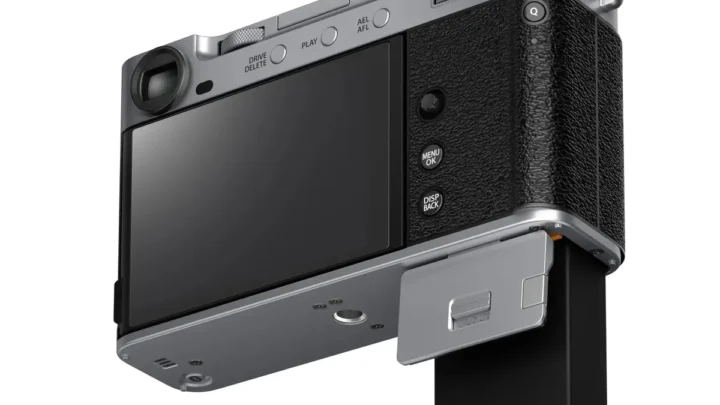
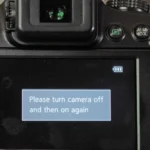
Image source: Web (Bing) / ebay.com.au (Web image (fair-use with source credit))
Branch C: Bent or Misaligned Door
If the door is bent, you need to gently straighten it. Place the door on a flat, hard surface. Use a small padded block or a folded cloth to protect the plastic.
Apply light, even pressure to bend it back into shape. Go slowly. Too much force will crack the plastic.
If a plastic pin inside the hinge is deformed, you can file down the high spot with a fine-grit sandpaper. Test the alignment frequently. Stop as soon as the door closes evenly.
Branch D: Stripped Screws or Loose Mount
Stripped screw holes are frustrating. One fix is to use a slightly larger screw, but that is risky because you can damage the camera body further.
A better approach is to fill the stripped hole with a small piece of plastic from a toothpick or a drop of epoxy. Let it dry completely, then carefully reinsert the original screw. Tighten it gently.
Over-tightening will strip the hole again.
Temporary Workarounds (When You Are in the Field)
Sometimes you are on location and you do not have a screwdriver or epoxy handy. You still need to shoot. These temporary fixes will hold the battery door closed for a few hours or days, depending on how rough you are with the camera.
A strip of gaffer tape is the gold standard. It sticks well, leaves minimal residue, and is easy to remove. Wrap it around the camera body directly over the battery door.
Two layers is usually enough.
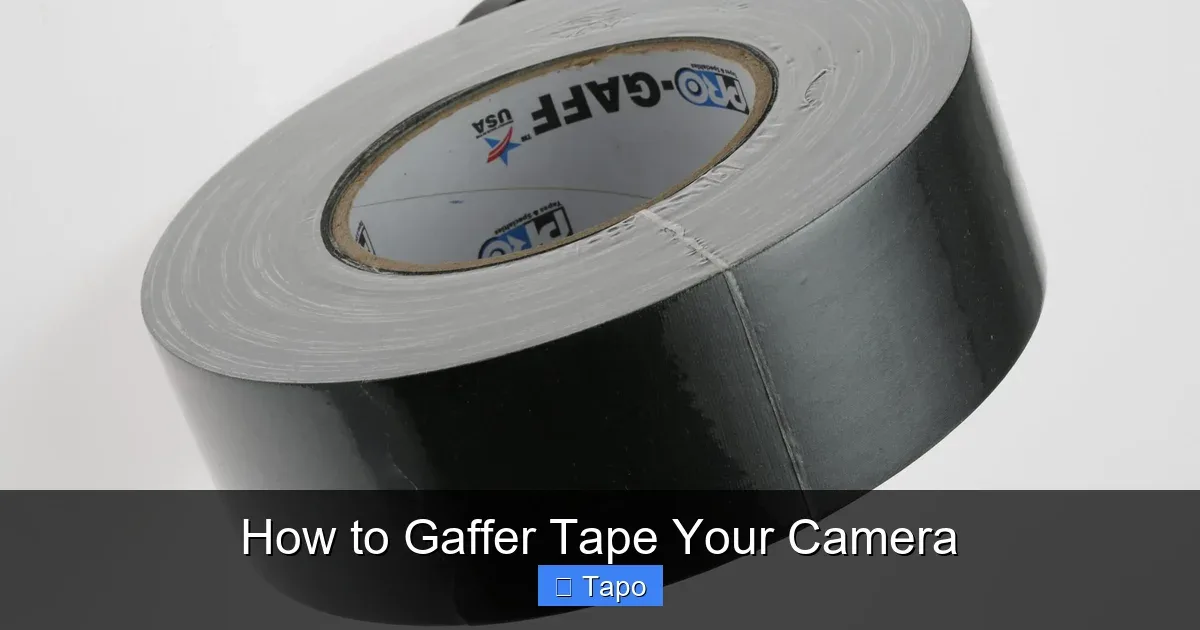
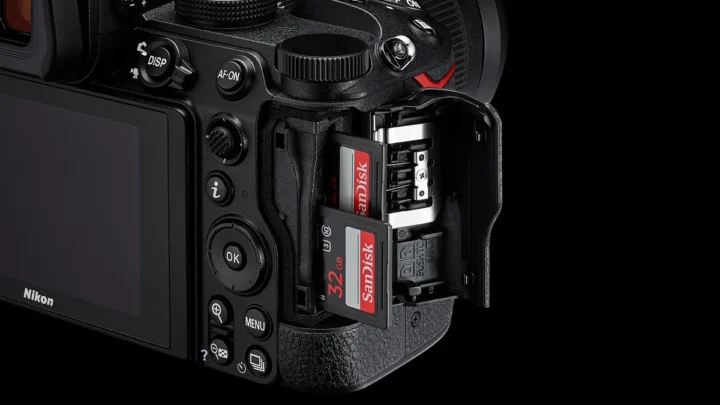
Image source: Web (Bing) / surveillanceguides.com (Web image (fair-use with source credit))
A rubber band can work in a pinch. Loop it around the body from the battery door to the tripod mount. It applies consistent pressure to keep the door shut.
This is not ideal because it can slip off, but it works for short shoots.
In extreme cases, a tight-fitting neoprene camera cover can hold the door in place. It is not a real fix, but it keeps the battery from falling out while you finish the job.
If you are shooting in wet or humid conditions, a door that will not seal completely is a real risk. Checking the camera's seals before a dive is part of routine maintenance. You might want to learn how to test the camera's waterproof seal if water exposure is a concern on your next outing.
The "Do Not Do This" List: Mistakes That Backfire
There are a few common mistakes that turn a simple repair into a broken camera body. Avoid these at all costs.
Do not use super glue on any moving part of the door hinge. Super glue is too rigid. It will crack under the stress of opening and closing, and it can seep into the hinge joint and glue the door shut permanently.
Do not over-tighten the hinge screws. The plastic threads in the camera body are delicate. Tighten them until they just feel snug, then stop.
If you hear a click or a crunch, you have stripped the hole. That turns a door problem into a full camera body repair.
Do not force the door closed if it does not line up perfectly. Forcing it can crack the hinge or break the latch. Step back and recheck the alignment before you apply pressure.
Do not ignore a cracked hinge. A hairline crack will grow with every opening. Repair it early or replace the door before it snaps completely.
A broken hinge drops the battery out as soon as you pick up the camera.
Do not use electrical tape as a permanent fix. Electrical tape degrades in heat and UV light. It gets sticky and messy and can leave residue inside the battery compartment that is difficult to clean.
For any camera that sees regular use in challenging environments, knowing general troubleshooting steps often means catching small problems before they become big ones.
When to Throw in the Towel (and Buy a New Door or Camera)
Not every battery door problem is worth repairing. If the camera body itself is cracked around the hinge mount, no amount of epoxy will fix it properly. The plastic has failed structurally, and a replacement door will not seat correctly against a damaged frame.
In that case, a new door is wasted money.
Look at the cost math before you order parts. A third-party replacement door runs between $8 and $25. An OEM part costs $20 to $40.
Professional repair labor adds another $50 to $150 on top of the part. If your camera body is an older entry-level model worth $200, spending $150 on repair makes no sense.
| Option | Cost | Best For |
|---|---|---|
| DIY hinge epoxy repair | $5–$10 | Temporary fix, 6–12 months |
| Third-party replacement door | $8–$25 | Older bodies, budget builds |
| OEM replacement door | $20–$40 | Reliable fit and finish |
| Professional repair | $50–$150 | Newer or high-value bodies |
| Battery grip workaround | $50–$250 | Bypass the door entirely |
Here is a useful rule of thumb. If the repair costs more than half the camera's current resale value, put that money toward a new body instead. For serious shooters, upgrading to a newer model often brings better autofocus, higher resolution, and a fresh battery door all at once.
A battery grip is another smart alternative. It mounts through the tripod socket and holds a second battery outside the camera, so the broken door simply stays shut and untouched.
Customer support pages from Canon and Nikon both list official part numbers for battery doors. You can find your model's diagram and order the correct replacement directly. That is the most reliable route when you want a guaranteed fit.
For those who shoot in wet environments, learning how to clean saltwater from camera gear properly can prevent corrosion around the battery contacts and hinge screws. That small habit extends the life of any repair you make.
Frequently Asked Questions
Can I super glue a battery door hinge?
No. Super glue is too brittle for a moving joint. It will crack and fail the first time you open the door.
Use two-part epoxy instead, and let it cure for 24 hours.
How much does a replacement battery door cost?
Third-party doors cost between $8 and $25. OEM doors from Canon or Nikon run $20 to $40. Professional installation adds roughly $50 to $150 in labor.
What should I do if my battery door will not latch?
Check the spring first. It likely slipped out of its channel or lost tension. Push it back into place or buy a replacement spring for about $5.
Is gaffer tape a safe temporary fix?
Yes, for a few hours or a single shoot. Wrap two layers around the body over the door. Do not leave it on for weeks, because the adhesive can become tacky in heat.
Will a battery grip work with a broken door?
Yes. A battery grip mounts through the tripod socket and uses its own battery. You can leave the broken door closed and never touch it again.
How long does an epoxy hinge repair last?
Expect 6 to 12 months with normal use. The epoxy holds well, but the surrounding plastic is still stressed. Plan a permanent door replacement soon after.

Similar Posts