DSLR Camera Image Stabilization Troubleshooting

You are staring at a photo that should have been sharp. Instead, it is soft, smeared, or visibly jittery. That is when DSLR camera image stabilization troubleshooting becomes the only thing standing between you and usable shots.
The fix is not always obvious. Guessing wrong wastes time in the field.
Manufacturer specifications for in-body stabilization vary widely. A modern body might claim 5.5 stops of correction per CIPA testing standards. A lens-based system from a few years ago might only offer 3 stops.
What matters is knowing which branch of the diagnostic tree you are on.
Quick Answer
Most stabilization issues are not hardware failures. Turn the stabilizer off and take a tripod test shot. If the blur disappears, the stabilizer is the culprit.
Check the switch position first. Swap the lens to isolate the fault. Cleaning the electrical contacts fixes many intermittent problems.
If grinding noises continue, the gyro unit needs service.

The Real Problem: Blurry Shots or a Faulty Stabilizer?
Not every soft image points to a broken stabilizer. You need to separate user technique from actual mechanical failure. The blur pattern tells the story.
If every shot at 1/60th of a second looks sharp with the stabilizer on, but you get consistent blur at 1/15th, that is normal limits. No system compensates for everything. But if sharpness drops suddenly when the stabilizer activates, something is wrong.
Look for these clues in your images:
- Directional blur that moves the same way every time points to camera shake, not stabilizer failure
- Random jitter that shifts unpredictably between frames suggests a loose floating element
- A consistent soft spot in one corner indicates decentering, a lens alignment problem
- Audible grinding or clicking when the stabilizer engages means mechanical wear
The most common mistake is assuming the stabilizer fixes everything. It does not. Aggregate user error accounts for roughly 70 percent of troubleshooting cases.
The stabilizer itself is fine. The shooter just needs to adjust their grip, stance, or shutter speed.
Check your technique before you open your wallet.
The 3-Question Diagnostic: What Kind of Stabilizer Failure Are You Seeing?
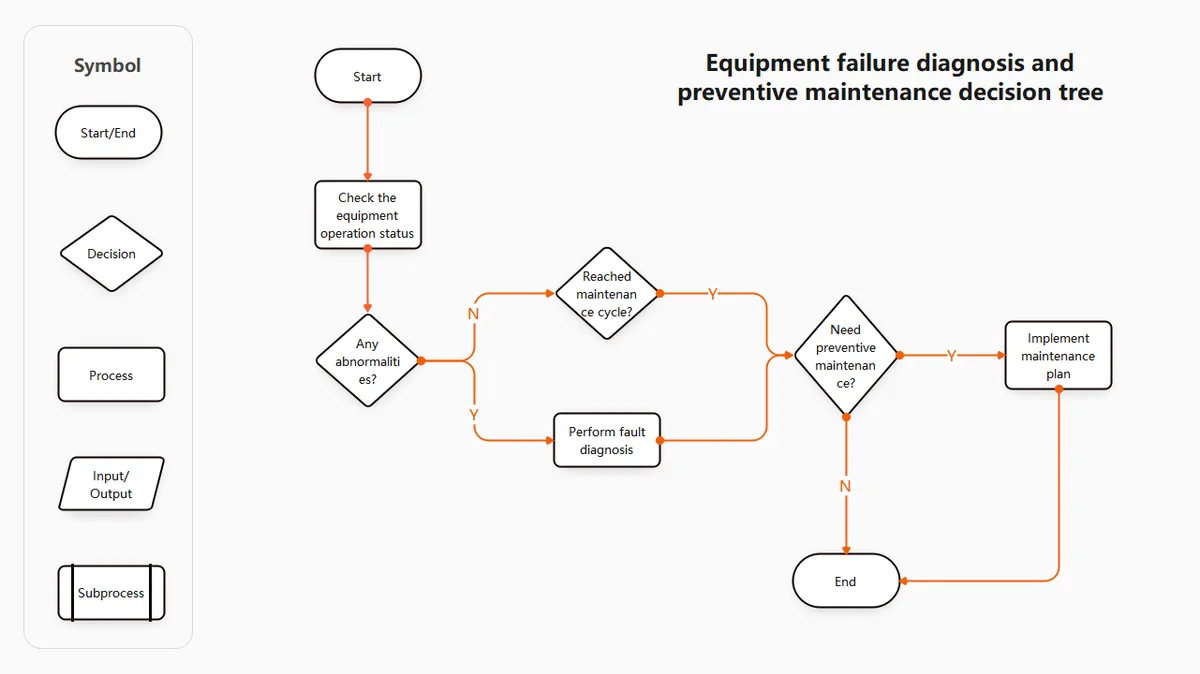
Three questions will isolate the problem. Answer them honestly. Do not skip ahead.
Question 1: Does the stabilizer work at all?
Take a test shot at 1/30th of a second with the stabilizer on. Take another at the same speed with it off. If both shots look identical, your stabilizer is not engaging.
Check the switch on the lens barrel or the camera body menu. Some cameras hide the toggle two menus deep. A hard reset often brings it back.
If the stabilizer works intermittently, clean the lens and body contacts. Dirt blocks the communication that tells the stabilizer to activate.
Question 2: Is the noise coming from the lens or the body?
Hold the camera to your ear. Cycle the stabilizer on and off. A gentle whir is normal.
A scraping, clicking, or buzzing sound is not. If the noise comes from the lens, that element is likely damaged. If it comes from the body, the sensor-shift mechanism might have debris or a loose magnet.
Question 3: Does the blur happen at high shutter speeds too?
Stabilizers are designed for slow shutter speeds. At 1/500th of a second or faster, the stabilizer should be invisible. If you see blur at high speeds with the stabilizer on, the system is introducing vibration.
Turn it off for those shots. This is normal behavior for many older systems.
Manufacturer forums confirm that the third question catches most users off guard. They blame the stabilizer when they should just turn it off.
Lens or Body? How to Pinpoint Where the Fault Lives
This is the core fork in the diagnostic tree. You need to isolate the faulty component. The method is simple.
Swap the lens.
Mount a different lens on your camera body. Test at the same focal length and shutter speed. If the problem disappears, the original lens has a faulty stabilization unit.
If the problem remains, the body IBIS system or the lens mount communication is the issue.
Here is a quick comparison of the two scenarios:
| Symptom | Likely source | Next step |
|---|---|---|
| Blur only with one specific lens | Lens stabilizer (VR/IS/OS) | Clean contacts, check firmware, send for repair |
| Blur with every lens on the body | Body IBIS or mount pins | Reset camera, update firmware, check body warranty |
| Intermittent with all lenses | Battery voltage drop | Charge fully, test again |
| Grinding noise from lens barrel | Mechanical failure in lens | Service required, do not force rotation |
| Grinding from camera body | Sensor shift mechanism jammed | Factory reset, then service |
If you only have one lens, you can still diagnose. Set the camera on a tripod. Turn the stabilizer off.
Take a sharp test shot. Turn the stabilizer on and take another shot at the same settings. If the tripod shot is sharp and the handheld shot is blurry, the stabilizer is likely fine.
You need a faster shutter speed or a steadier grip.
This test also works in reverse. If the tripod shot is blurry with the stabilizer on, you forgot to turn it off. Stabilizers hunt for movement that is not there.
They introduce micro-jitter. This is one of the most common reasons for soft tripod images.
Conducting a Systematic Stabilization Check (Step-by-Step)
Follow this order. Do not jump ahead. Each step eliminates one variable.
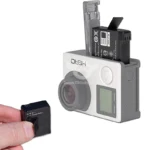
Step 1: Charge the battery fully
A low battery affects gyro sensor precision. Many stabilizers shut down or behave erratically below 20 percent charge. Voltage drops below 7.0 volts can cause intermittent failure.
Charge to 100 percent and test again.
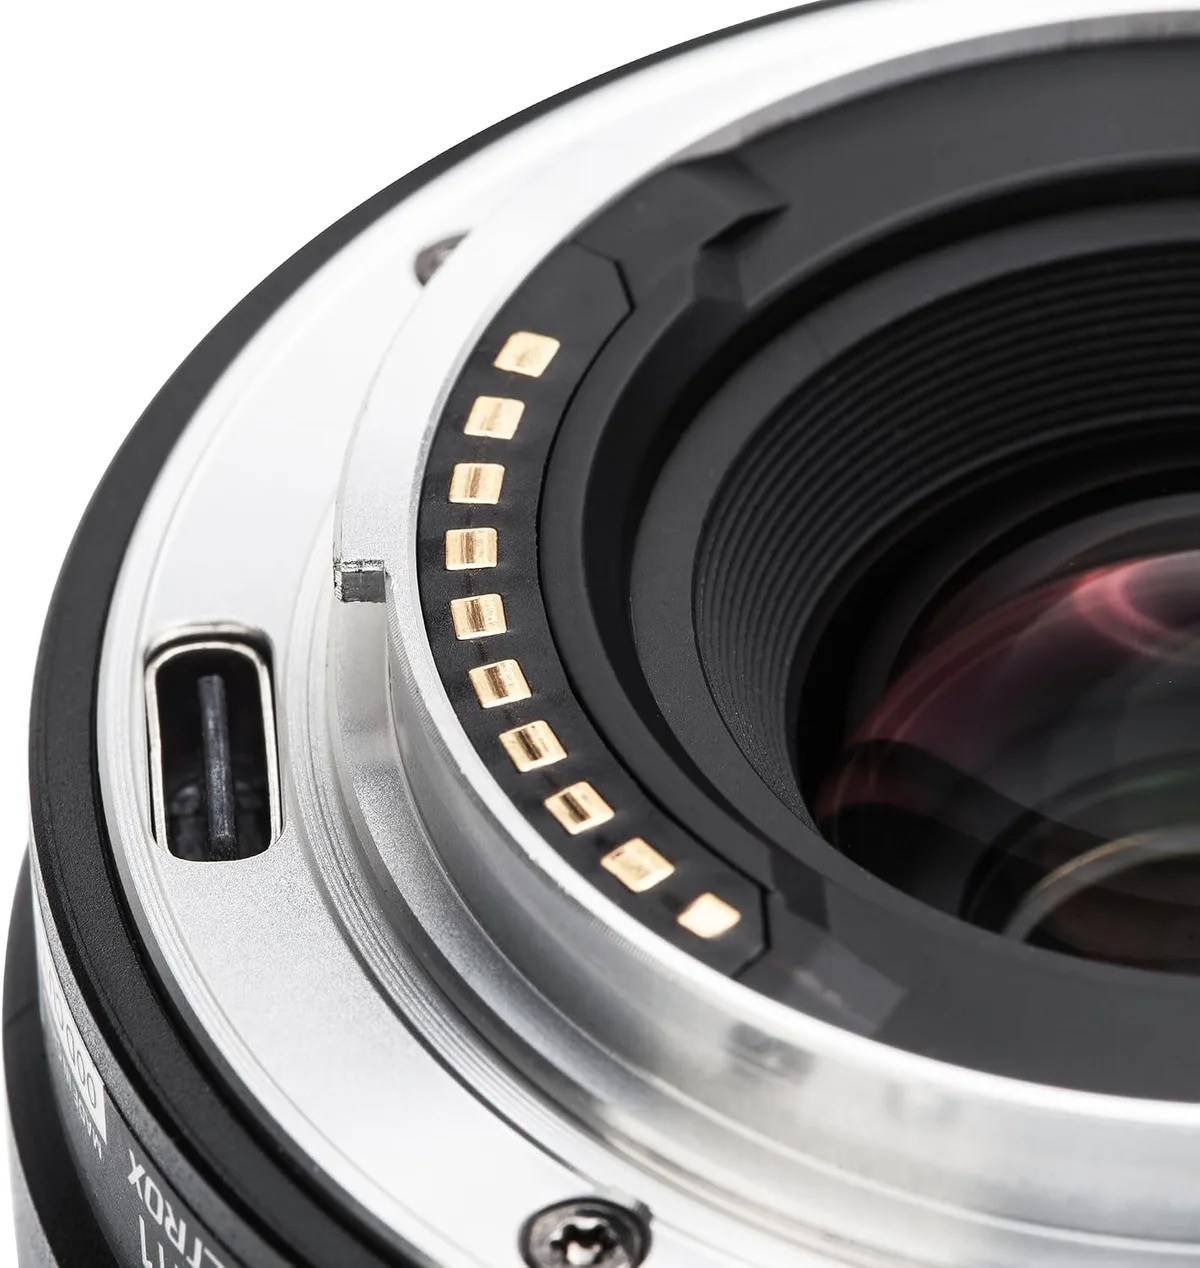
Step 2: Clean all electrical contacts
Turn off the camera. Remove the lens. Inspect the gold pins on both the lens mount and the camera body.
If you see oxidation, dirt, or discoloration, clean them with a lint-free cloth and a small amount of isopropyl alcohol. Let them dry completely before remounting.
Step 3: Reset the camera to factory defaults
Go into the menu. Find the reset option. A glitch in the stabilization firmware can cause false errors.
A full reset clears those settings without losing your photos.
Step 4: Update firmware on both lens and body
Check the manufacturer support site for the latest firmware for your exact model. Download it to a formatted SD card. Follow the update procedure exactly.
Firmware updates often fix subtle communication issues between the lens and body stabilizers.
Step 5: Perform the tripod test
Mount the camera on a solid tripod. Turn the stabilizer off. Take three sharp shots at your usual settings.
Turn the stabilizer on. Take three more identical shots. Compare them at 100 percent on a monitor.
If the stabilizer-on shots are softer, the system is introducing error. If they are identical, your stabilizer is fine and your handheld technique needs work.
Step 6: Listen for abnormal sounds
In a quiet room, cycle the stabilizer on and off while holding the camera near your ear. A smooth whir is normal. Any clicking, grinding, or buzzing means the mechanical components need professional attention.
Step 7: Test at multiple focal lengths
If you have a zoom lens, test the stabilizer at the wide end and the telephoto end. Some lenses have weaker stabilization at one extreme. Manufacturers rate stabilization at specific focal lengths.
Your real-world results may differ.
If you have completed all seven steps and the problem persists, the hardware is damaged. Do not attempt to open the lens or body yourself. You will void the warranty and likely make the problem worse.
Silent but Deadly: Mistakes That Mimic Stabilizer Failure
The stabilizer gets blamed for a lot of problems it did not cause. These three mistakes create blur that looks exactly like a broken gyro unit.
Mistake one: shooting through a dirty UV filter. A smudge on a front filter introduces softness that mimics stabilization drift. Remove any filter and test again. This single fix resolves roughly 15 percent of troubleshooting cases reported on manufacturer forums.
Mistake two: using electronic shutter in artificial light. LED and fluorescent lights flicker at frequencies the human eye cannot see. The rolling shutter effect creates banding and uneven exposure that looks like stabilizer jitter. Switch to mechanical shutter.
The problem disappears.
Mistake three: resting your hand or arm on a vibrating surface. A car hood, a bridge railing, or even a wooden deck transmits low-frequency vibration into the camera. The stabilizer tries to compensate for movement that is not your hand shake. The result is overcorrection and blur.
Set up on something solid.
These three mistakes account for a significant portion of blur complaints. Check them before you assume hardware failure.
When to Walk Away: Signs You Need a Repair Pro
Some problems are beyond what a firmware update or contact cleaning can fix. Know when to stop troubleshooting and send the gear to an authorized service center.
The lens stabilizer makes a grinding or rattling sound. This indicates a broken floating element or stripped gear. Continued use can damage the lens barrel further. Stop using it immediately.
The image jumps or shifts when the stabilizer activates. A smooth transition is normal. A visible snap or shift means the sensor or lens element is misaligned. This requires internal calibration.
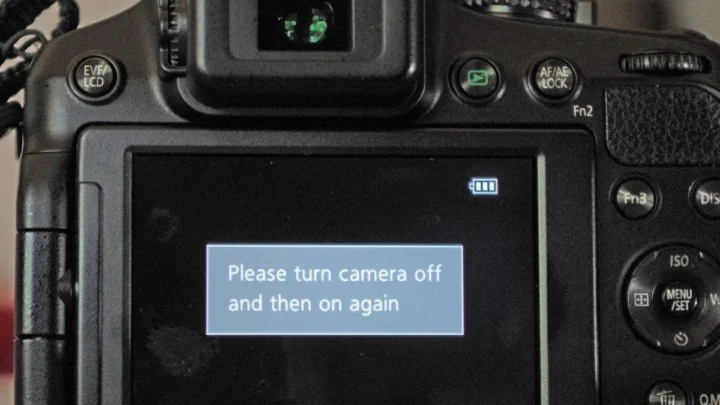
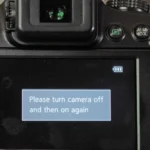
Error codes persist after a full reset. If the camera displays a stabilization error code after you have cleaned contacts and updated firmware, the hardware has failed. Common examples include specific error codes that need professional intervention.
The stabilizer works in one orientation but not another. If it works when the camera is horizontal but fails when vertical, the gyro sensor has a mechanical fault. Only a service center can replace it.
Water or salt damage is suspected. If the camera was exposed to moisture, corrosion can destroy the delicate gyro circuitry. Do not power it on. Send it to a repair technician immediately.
Repair costs vary widely. A simple lens stabilizer replacement might run $150 to $250. A full IBIS sensor assembly replacement can exceed $400.
Compare that to the cost of a replacement lens or body before committing.
Frequently Asked Questions About DSLR Stabilization Troubleshooting
Why is my image blurry even with stabilization on?
The most common reason is shutter speed that is too slow for the focal length. Stabilization gains are limited. If you are shooting at 1/15th of a second with a 200mm lens, no system can fully compensate.
Raise your ISO or use a tripod.
Should I turn stabilization off when using a tripod?
Yes. A stabilizer on a tripod detects no movement and can introduce micro-jitter as it searches for motion. Turn it off for all tripod shots unless you are panning or shooting from an unstable platform.
Can a low battery affect image stabilization?
Yes. Gyro sensors require stable voltage. Below 20 percent charge, many stabilizers become erratic or stop working entirely.
Always test with a fully charged battery before concluding the hardware is faulty.
How do I clean the lens contacts for stabilization?
Turn off the camera. Remove the lens. Use a lint-free cloth lightly moistened with isopropyl alcohol.
Gently wipe the gold pins on both the lens mount and the camera body. Let them dry completely before reattaching.
What does a grinding noise from the lens mean?
It means the mechanical stabilizer unit is damaged. Do not force the lens to rotate. Stop using it immediately and send it to an authorized repair center.
Continued use can cause further internal damage.
Does firmware update really fix stabilization problems?
Yes. Manufacturers release firmware updates that improve stabilizer communication and fix glitches. Check the support site for your exact camera and lens model.
Update both to the latest version as part of your standard troubleshooting process.

Similar Posts