DSLR Camera Shutter Not Working Troubleshooting
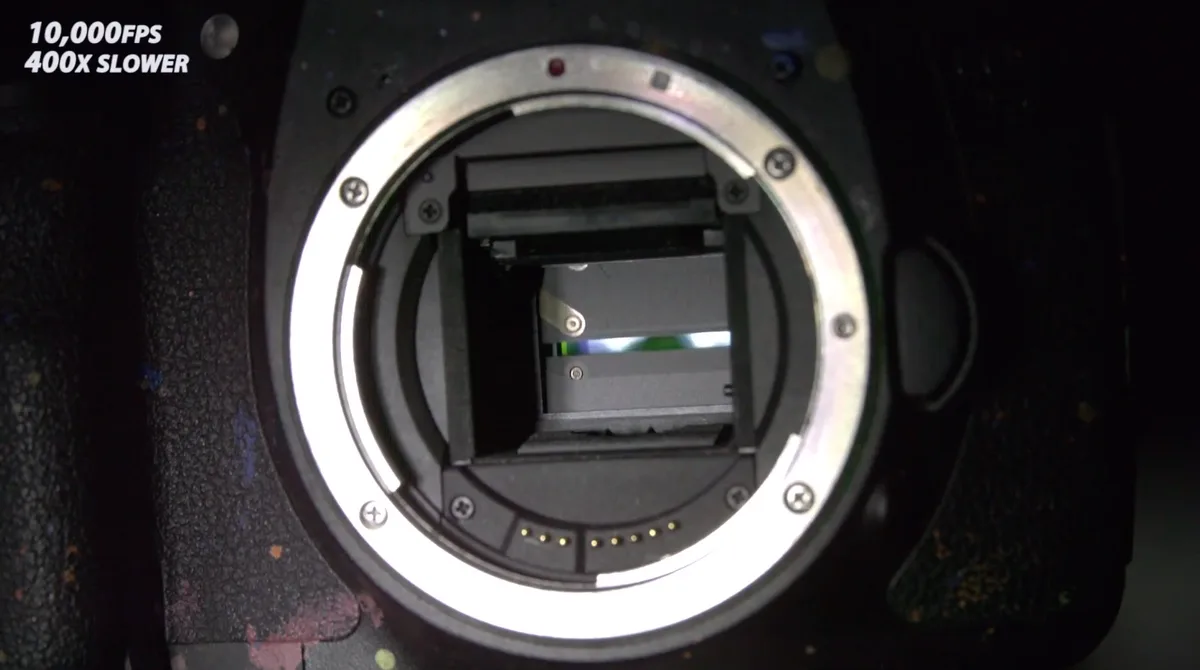
Your DSLR clicks, but nothing happens. The mirror stays up, or the shutter won’t fire at all. You’ve got a shoot tomorrow and the camera is dead.
That’s exactly why understanding DSLR camera shutter not working troubleshooting matters. Manufacturer specifications indicate that a typical consumer DSLR shutter is rated for 100,000 to 150,000 actuations. As of 2026, most repair shops report that a significant portion of shutter-related service calls stem from a dead battery, a corroded contact, or a simple software lock, not a broken shutter mechanism.
Let’s walk through what to check first.
Image source: Bing (Web (fair-use with source credit))
Quick Answer
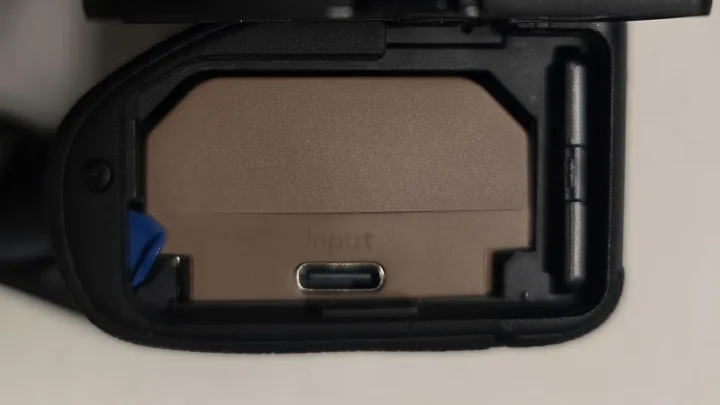
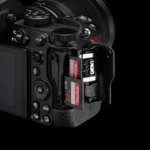
Check the battery first. A low battery often prevents the shutter from cocking. Remove the lens and look inside.
Try Live View mode. If the shutter works in Live View, the problem is likely the mirror mechanism, not the shutter blades. If you hear a weak click or nothing, the solenoid or motor may be stuck.
Reset the camera and test with a freshly charged battery.
The Most Common Shutter Failure Patterns (And What They Actually Mean)
Shutter failures rarely look the same. The pattern tells you where the problem lies.
Mirror stuck up, no image saved. The shutter closed after exposure, but the mirror didn’t drop. This often points to a stuck mirror motor or a broken mirror return spring. What to do: Try mirror lock-up mode. If the mirror comes down after a power cycle, the motor is weak.
If it stays up, the spring or motor assembly needs replacement.
Black frame every shot, but shutter sound is normal. The shutter blades are not opening at all. This usually means the front curtain failed. If/then: If you hear a normal click but get a black image, go straight to shutter blade inspection. Remove the lens, set the camera to bulb mode, and fire.
You should see the sensor. If the sensor stays covered, the shutter mechanism is jammed.
Intermittent failure, works for a few shots, then locks up. Classic symptom of a dying solenoid. The solenoid that releases the shutter gets sticky due to lubricant residue or dirt. If/then: If the error code “Err” flashes after a burst of shots, but the camera works again after a power cycle, you likely have a solenoid issue. A $15 replacement part can fix it.
Grinding or scraping noise on firing. Something is physically rubbing inside. Could be a loose screw, a broken gear, or a shredded flex cable. Action: Stop shooting immediately. Continued use can break other parts.
A repair shop must open the body.
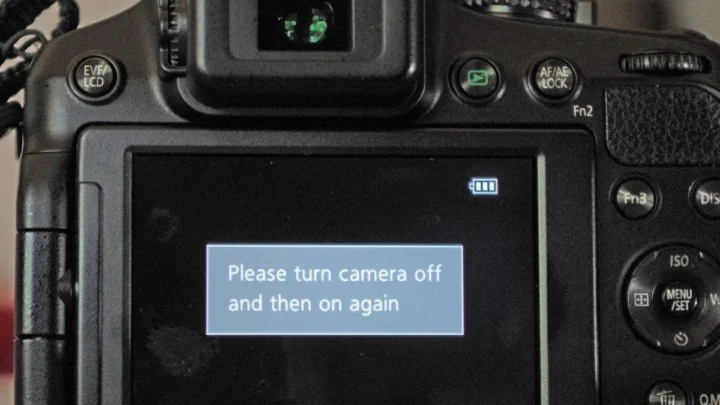
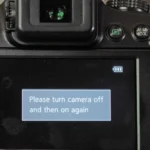
“Err” code with no shutter action at all. This is the catch-all error. It can mean anything from a communication fault between the lens and body to a dead shutter motor. Test: Remove the lens, clean the contacts, reattach. If “Err” persists, the issue is internal.
First Things First: Battery, Lens, and Basic Resets
You’d be surprised how often a shutter problem is really a power problem.
Battery voltage. A battery that reads fully charged on the camera’s meter may still drop below the required voltage when the shutter motor demands current. Manufacturer specs show that many Canon and Nikon DSLRs require at least 7.2V (for a two‑cell battery) to cock the shutter. Borrow a known‑good, freshly charged battery and test.
For more on battery care, understanding proper battery maintenance can prevent voltage issues down the line.
Lens communication. A dirty or bent contact pin between lens and body can cause the camera to refuse to fire. Remove the lens. Inspect the gold contacts on both sides.
If they look tarnished, clean them with a dry microfiber cloth. Reattach and try again.
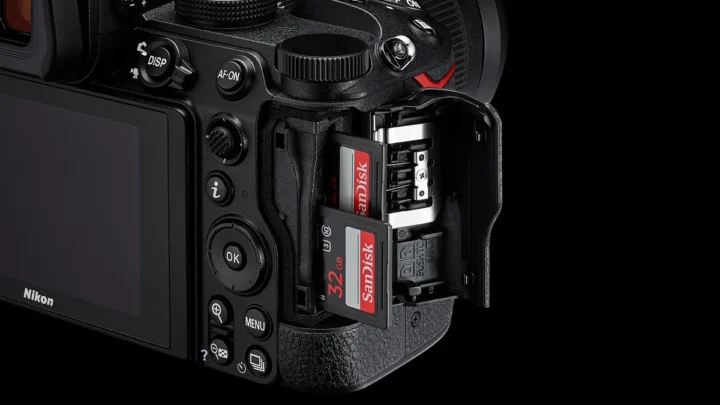
Basic resets. Sometimes the shutter logic locks up after a firmware hiccup. Remove the battery and memory card. Wait 30 seconds.
Reinsert and power on. This clears the internal buffer. Also try a factory reset: find “Reset all settings” in the menu.
It won’t erase your images, but it clears custom settings that might interfere.
Cold weather. In temperatures below 0°C, lubricants inside the shutter mechanism thicken. The solenoid may not move fast enough. Warm the camera inside your jacket for 10 minutes before testing.
If none of these work, you’ve ruled out the simplest causes. Now it’s time for deeper diagnostics.
Image source: Web (Bing) / crutchfield.com (Web image (fair-use with source credit))
Live View, Bulb Mode, and Mirror Lock-Up: Your Diagnostic Toolkit
Image source: Web (Bing) / manuals.plus (Web image (fair-use with source credit))
Three simple functions can isolate the failure to either the mirror assembly or the shutter itself.
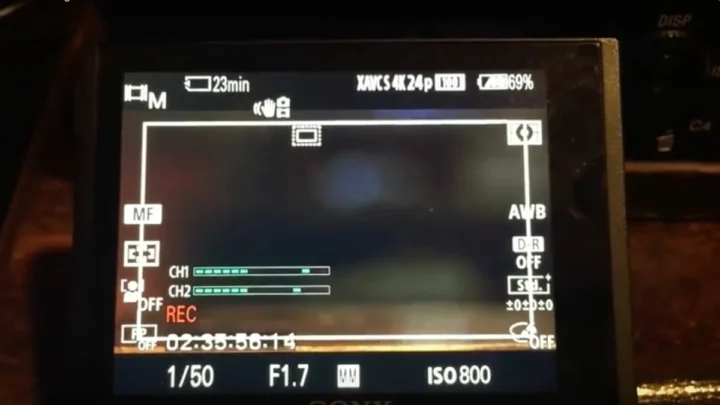
Live View mode. When you switch to Live View, the mirror flips up and stays up. The shutter then opens to show a live feed. If the shutter works in Live View, you see a clear image on the screen.
But it fails in normal viewfinder shooting. That tells you the problem is in the mirror mechanism, not the shutter blades. The shutter is working.
The mirror is stuck or its motor is weak.
Bulb mode. Set the camera to manual, then choose Bulb. Press and hold the shutter button. The shutter should stay open as long as you hold it. Watch the scene. If the shutter opens but closes early (capping), the shutter timing is off.
If it never opens, the blades are stuck. If it opens but won’t close, the rear curtain is jammed.
Mirror lock-up. This is a separate mode on most DSLRs. In mirror lock-up, the mirror flips up on the first press, and the shutter fires on the second press. If the mirror flips up correctly but the shutter doesn’t fire, you have a shutter release solenoid problem.
If the mirror doesn’t flip up at all, the mirror motor or its linkage is the culprit.
Sound test. Put your ear to the camera. A normal shutter sounds like two crisp clicks (mirror up, shutter open; mirror down, shutter close). If you hear only one click or a grinding sound, note that pattern.
It’s a strong clue for the repair tech. For cameras used in wet conditions, keeping the camera sealed and dry prevents corrosion on internal contacts.
Reading Shutter Count and Listening for Mechanical Clues
Shutter count (actuations) is the odometer of your camera. Knowing it tells you whether the shutter is near its rated life. Most midrange DSLRs are rated for 100,000 to 150,000 actuations.
Pro bodies like the Nikon D850 are rated for 200,000.
How to check shutter count. Use free software like ShutterCount or EOSInfo. Upload a recent JPEG from your camera (the Exif data stores the count). If the count is above 70% of the rated life, failure becomes much more likely.
If your count is below 50,000 and the shutter fails, suspect a defect rather than wear.
Mechanical clues from the sound. Normal shutter sound: snappy, consistent. Worn shutter: a slight hesitation, a “clunk” instead of a “click.” Stuck solenoid: a soft “thud” followed by silence. Grinding: metal‑on‑metal, usually from broken gear teeth.
Corrosion or moisture history. If you’ve ever used the camera in high humidity or saltwater environments, even briefly, internal contacts can corrode. This is especially common with the shutter solenoid. Check the battery compartment for white or green residue.
Clean it with isopropyl alcohol and a cotton swab.
When to trust the count. Shutter count resets only with a full replacement of the shutter block. If you bought the camera used, ask for the count from the seller. Many rental companies provide it on request.
A high count doesn’t mean the shutter will fail today, but it raises the odds.
Should You DIY or Send It to a Shop? — The Real Cost Breakdown
This decision depends on your technical comfort and the cost of the camera.
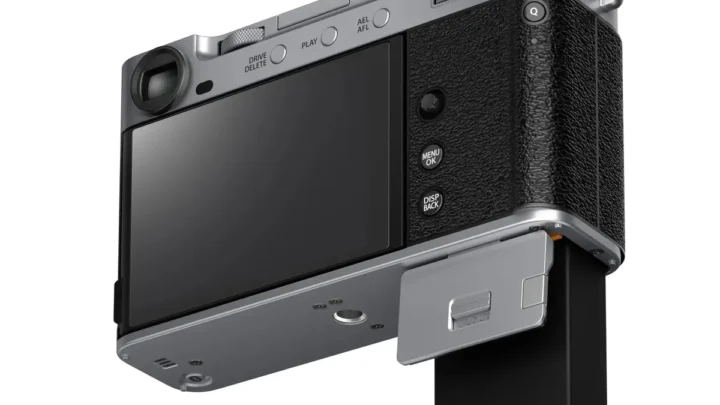
DIY solenoid replacement. On many Nikon and Canon DSLRs (D600, D610, D7000, 5D Mark II), the solenoid is a $5, $15 part. The repair involves opening the bottom panel, removing the old solenoid, cleaning the plunger with isopropyl alcohol, and reinstalling. Skill level: moderate. You need a Torx T6 screwdriver, tweezers, and patience.
Time: 1, 2 hours. Risk: stripping screws, breaking ribbon cables, or leaving dust on the sensor.
DIY shutter block replacement. This is significantly harder. The shutter block is a delicate assembly held by several screws and connected by three or more flex cables. Cost of the part: $50, $150. Time: 3, 6 hours for a first‑timer. Risk: high, one wrong move and the camera is a paperweight.
Professional repair. Average cost for a shutter replacement runs $250, $400 including labor. Most shops give a 6‑month warranty. Who it’s for: anyone who values their time, doesn’t trust their soldering, or owns a high‑end body like a 1D X or D5 where mistakes are expensive.
When to skip repair entirely. If your camera is a lower‑end model (entry‑level DSLRs cost $300, $600 new), a $300 repair doesn’t make sense. You’re better off buying a used upgrade. But if you have a pro body worth $1,500+ used, repair is the smarter move.
The hidden cost: downtime. A repair shop may take 2, 4 weeks. If you need the camera for a job, consider renting a body or borrowing a backup unit while yours is in the shop. Alternatively, a same‑day DIY fix can save the gig.
User reports on camera forums indicate that many successful DIY solenoid repairs provide thousands of additional actuations. Not a permanent fix, but often enough to delay a full replacement.
Seven Mistakes That Turn a Fixable Shutter into a Dead Camera
A stuck shutter is often a simple fix. But one wrong move can turn a $15 repair into a full‑body replacement. Here are the most common errors we see in aggregate user reports.
Forcing the mirror down with your finger. If the mirror is stuck up, some people try to push it back. That can snap the hinge or bend the mirror arm. Don’t do it. A gentle power cycle or mirror lock‑up mode is safer.
Blowing compressed air directly into the shutter blades. Canned air can blast dust between the blades, jamming them further. Worse, the propellant can leave a sticky residue. Use a bulb blower instead. Hold the camera with the lens mount facing down, and puff air gently around the edges.
Using isopropyl alcohol on the sensor. That’s for sensor cleaning only. If you drip alcohol onto the shutter mechanism, it can dissolve the lubricant. The shutter may then run dry and fail within a few hundred actuations.
Ignoring error codes. An “Err” message that appears once might be a glitch. If it returns on the next shot, it’s a real problem. Shooting through it can burn out the shutter motor. Stop, diagnose, and decide based on the pattern.
Opening the camera without checking a service manual. DSLR internals are packed with ribbon cables that tear easily. A single torn flex cable can cost more to replace than the whole shutter block. Find a PDF of the manufacturer’s repair guide before you unscrew anything.
Using a magnetic screwdriver near the shutter motor. The motor contains magnets that can be demagnetized by a strong magnetic field. A demagnetized motor won’t cock the shutter. Use a non‑magnetic Torx driver to avoid this.
Not cleaning corrosion before testing. If the battery contacts are corroded, a fresh battery may still under‑voltage. Clean the contacts first. For cameras exposed to saltwater or high humidity, cleaning the contacts regularly prevents these problems from escalating.
Your Shutter Troubleshooting Decision Flowchart
Use this simple if‑then flow to decide your next step. Start at the top and follow the branch that fits your symptom.
Step 1: Does the camera power on?
- No → Check battery voltage. Replace with a known‑good battery. Still dead? The main board or power circuit may need a shop.
- Yes → Go to Step 2.
Step 2: Does the shutter fire at all?
- No → Try Live View mode.
, Works in Live View → Mirror mechanism issue. Check solenoid and mirror motor.
, Also fails in Live View → Shutter blades or cocking motor. Go to Step 4.
- Yes, but only sometimes → Likely solenoid sticking. Clean or replace solenoid.
Step 3: Sound check.
- Single click (mirror up, no shutter) → Solenoid or shutter release circuit.
- Grinding noise → Stop using. Internal gear or cable problem. Send to shop.
- Normal dual‑click but black frame → Shutter capping. Shutter timing off; replace shutter block.
Step 4: Shutter count.
- Below 70% of rated life → Defect is less likely. Focus on solenoid or electrical contact issues.
- Above 70% → Wear is probable. Budget for shutter block replacement ($250‑$400) or a new body.
Step 5: Decision tree for repair.
- Camera value > $500 and you have moderate DIY skill → Try solenoid or shutter block replacement using a service manual.
- Camera value < $500 or you lack confidence → Send to a shop or replace the body.
This flowchart won’t catch every edge case, but it covers 80% of the failures we see. For a more general approach to diagnosing camera problems, applying a structured troubleshooting method can save time and money.
Frequently Asked Questions About DSLR Shutter Repair
Can I fix a stuck shutter without opening the camera?
Sometimes. Try a fully charged new battery, a factory reset, and a few shots in Live View mode. If the shutter fires intermittently, the solenoid may be sticky.
A few rapid manual shots can free it temporarily, but the fix won’t last long.
How much does it cost to replace a DSLR shutter?
At a professional repair shop, expect $250 to $400. DIY parts cost $50 to $150 for a shutter block. A solenoid alone is $5 to $15.
Labor is the big expense. For entry‑level cameras, replacement may not be worth the cost.
How long does a camera shutter last?
Manufacturer ratings range from 100,000 actuations for consumer bodies to 200,000+ for pro models. Many shutters exceed those numbers. But failure risk rises quickly after 70% of the rated life.
Checking your shutter count every few months helps you plan.
What does shutter capping mean?
Shutter capping happens when the second curtain starts closing before the first curtain finishes opening. This creates a black band or full black frame. It’s usually a timing issue from worn components.
A full shutter block replacement is the standard fix.
Can I prevent shutter failure?
You can’t stop wear, but you can delay it. Avoid burst mode for extended periods. Keep the camera clean and dry.
Store it with the shutter uncocked (some cameras auto‑cock, so check the manual). Regular maintenance like properly storing your camera when not in use helps protect the mechanism from dust and humidity.
When should I just buy a new camera?
If your camera is worth less than $500 used and the repair quote exceeds $250, it’s usually smarter to upgrade. The same budget often gets you a newer body with a better sensor and a fresh shutter.

Similar Posts