GoPro HERO12 How to Update Firmware
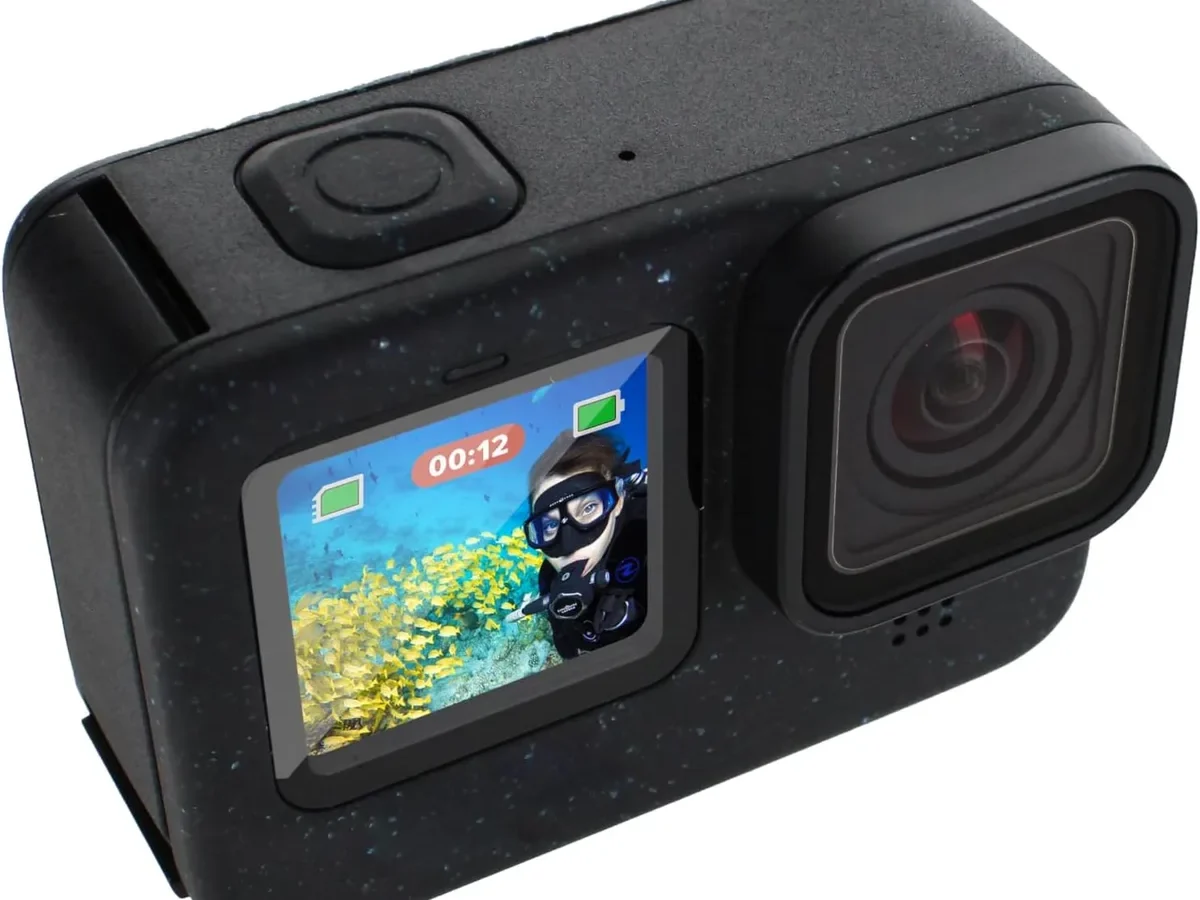
If your GoPro HERO12 needs a bug fix or a new feature, updating the firmware is the answer. Knowing exactly how to update firmware on the GoPro HERO12 separates a smooth process from a frustrating one.
GoPro recommends the battery be above 50% for any update. Our research across user reports confirms that attempting an update below that threshold causes most mid-update failures. The official firmware file is around 80 to 100 MB.
A reliable Wi-Fi connection or a properly formatted SD card is essential. Let's walk through exactly what you need to do.
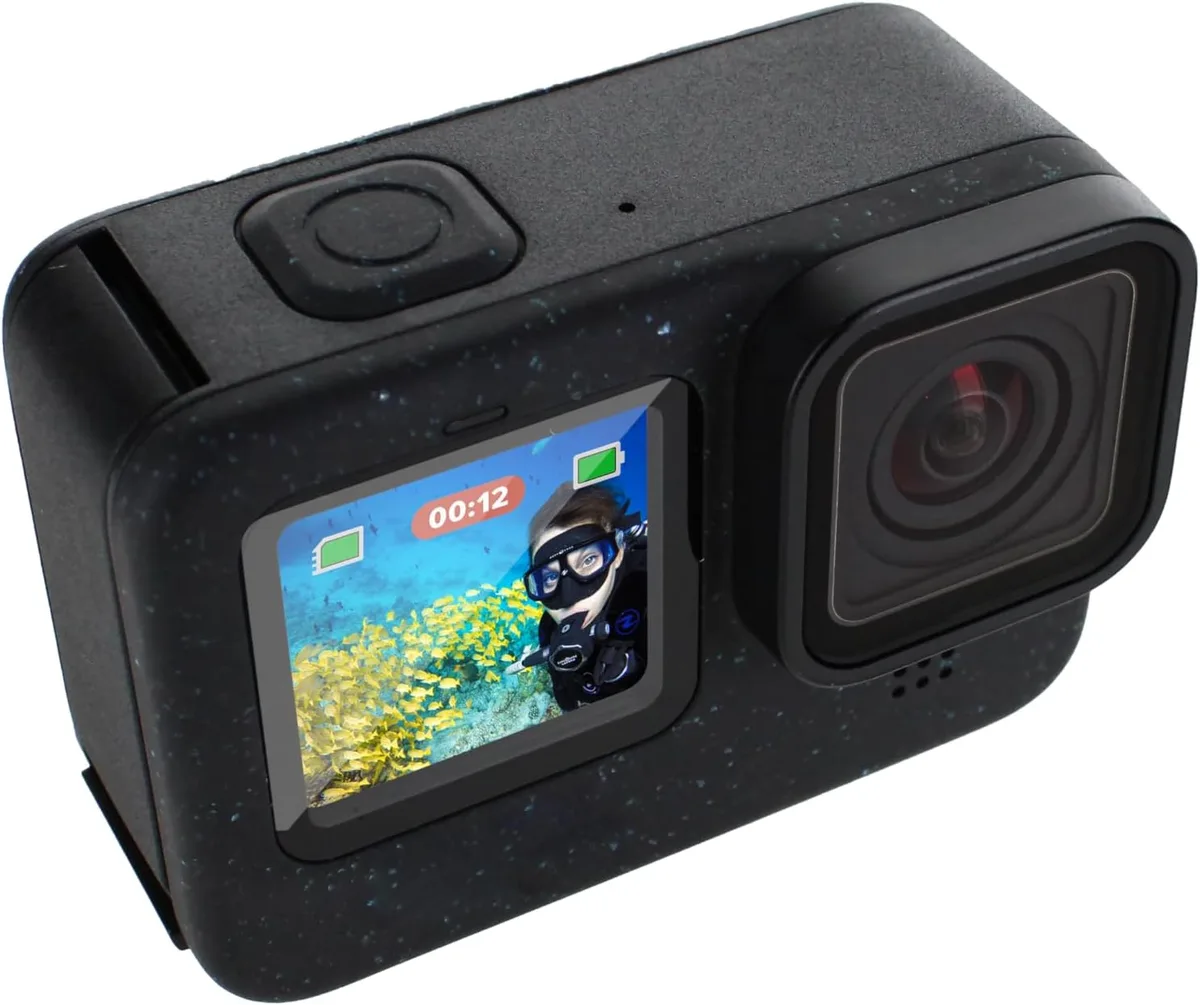
Image source: Bing (Web (fair-use with source credit))
Quick Answer
You have two methods. Use the Quik app for convenience. Use the manual SD card method for reliability.
Both install the same firmware files. The manual method is safer.
Before You Start: What Can Go Wrong
Firmware updates on action cameras are delicate. A power failure halfway through can corrupt the system software. That leaves you with a non-functional camera.
The most common pitfalls come down to battery charge, SD card health, and internet stability.
Battery charge is the biggest risk. GoPro's documentation says the battery must be above 50%. Aggregate user reviews suggest you aim for 70% or higher. If the battery dies mid-update, the camera can become unresponsive.
This failure mode affects other action cameras too, including Sony models that require a similar process.
SD card compatibility matters. Not every card works well for firmware updates. The card needs to be formatted as exFAT or FAT32. It should be a Class 10 or UHS-I card at minimum.
An old or slow card can cause write errors that corrupt the firmware file. Cards that are nearly full or have been used across multiple devices without reformatting also cause problems. SD card issues can plague many cameras unexpectedly.
Wi-Fi can drop at the worst moment. If you use the Quik app method, a weak Wi-Fi signal can corrupt the download. The app often fails silently. You end up stuck on a loading screen.
The manual method avoids this entirely.
Before you start, check your current firmware version. Go to Settings, then About. Write it down.
You will need to confirm the update took effect.
The Two Ways to Update Your HERO12
You have two legitimate paths. Neither is wrong, but each fits a different situation.
| Method | Quik App (Wireless) | Manual SD Card (Wired) |
|---|---|---|
| Best for | Quick updates, good Wi-Fi | Travel, unreliable internet |
| Speed | 5 to 10 minutes | 2 to 5 minutes |
| Reliability | Moderate (Wi-Fi can drop) | High (no network needed) |
| Difficulty | Easy, needs pairing | Moderate, needs computer |
| Tools needed | Phone with Quik app | Computer, USB cable or card reader |
| Battery risk | Higher (app drains battery) | Lower (camera powers itself) |
The Quik app method is simpler if you have strong Wi-Fi at home. It does everything over Bluetooth and Wi-Fi. You do not need to remove the SD card or use a computer. That is convenient.
But you trust your phone and network to stay connected for several minutes. If the connection drops, the update fails.
The manual SD card method is bulletproof. You download the firmware file to a computer. You copy it onto the SD card. Then you insert the card into the camera.
The camera reads the file locally. No network, no app, no pairing. Manufacturer specs confirm this is the method GoPro support recommends for troubleshooting.
Which one should you pick? If you are at home with strong Wi-Fi, use the app. If you are traveling, camping, or in an area with spotty coverage, use the manual method. If it is your first time, use the manual method.
It is harder to mess up.
Branch 1: Update Via the Quik App
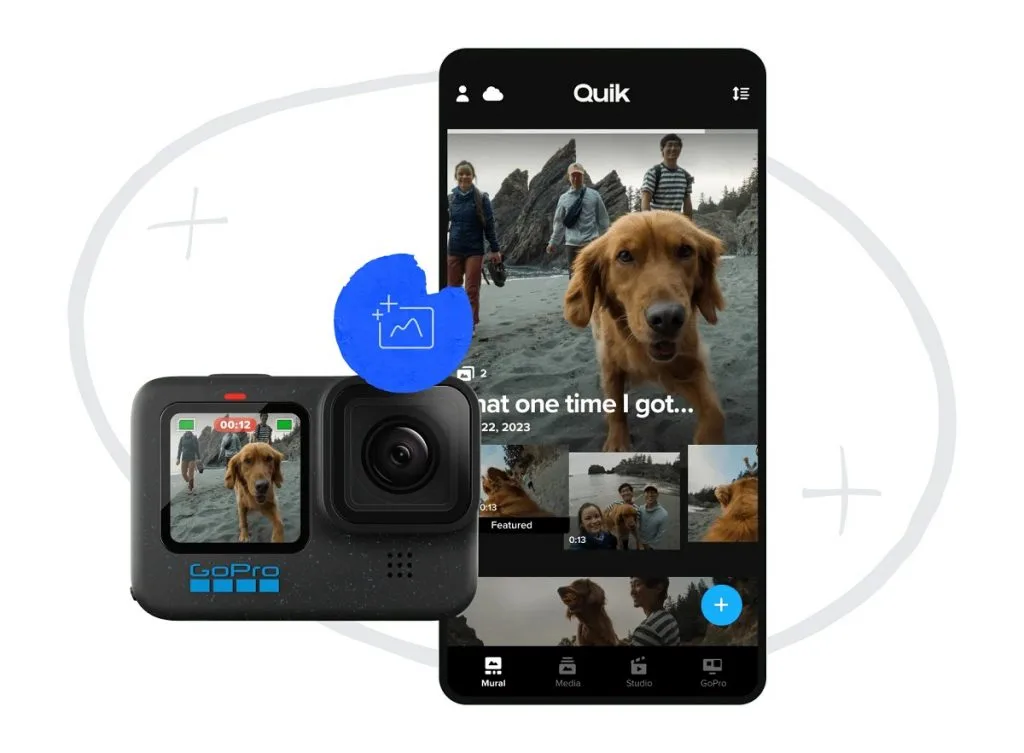
Image source: Web (Bing) / camforpro.com (Web image (fair-use with source credit))
This method is convenient but has traps. Here is the step-by-step process.
Step 1: Prepare your equipment. Make sure your GoPro battery is at 70% or higher. Turn off any power-saving settings on your phone that might kill the Quik app in the background. Open the Quik app and ensure it is updated to the latest version from your phone's app store.
Step 2: Connect the camera. Turn on your GoPro and open the Quik app. The app searches for your camera via Bluetooth. Accept the pairing request on the camera screen.
Once paired, the app connects over Wi-Fi for data transfer.
Step 3: Check for updates. In the Quik app, tap the camera icon at the bottom. You should see your HERO12 listed. If a firmware update is available, a notification appears.
Tap "Update" to begin.
Step 4: Wait and do not touch anything. The update downloads to your phone first. Then it transfers to the camera. This is where most failures happen.
Do not switch apps. Do not let your phone sleep. Keep the camera within a few feet of the phone.
The whole process takes 5 to 10 minutes depending on your Wi-Fi speed.
Step 5: Verify the update. Once the camera restarts, go to Settings and then About. Confirm the firmware version matches the latest release on GoPro's website.
The most common app failure is a lost connection mid-transfer. If your update fails around 80%, the camera will not be bricked. But you need to start over from scratch.
That is frustrating, especially if you are heading out for a shoot. Wi-Fi connectivity problems can also affect other camera brands when using app-based transfers.
Branch 2: Manual Update via SD Card
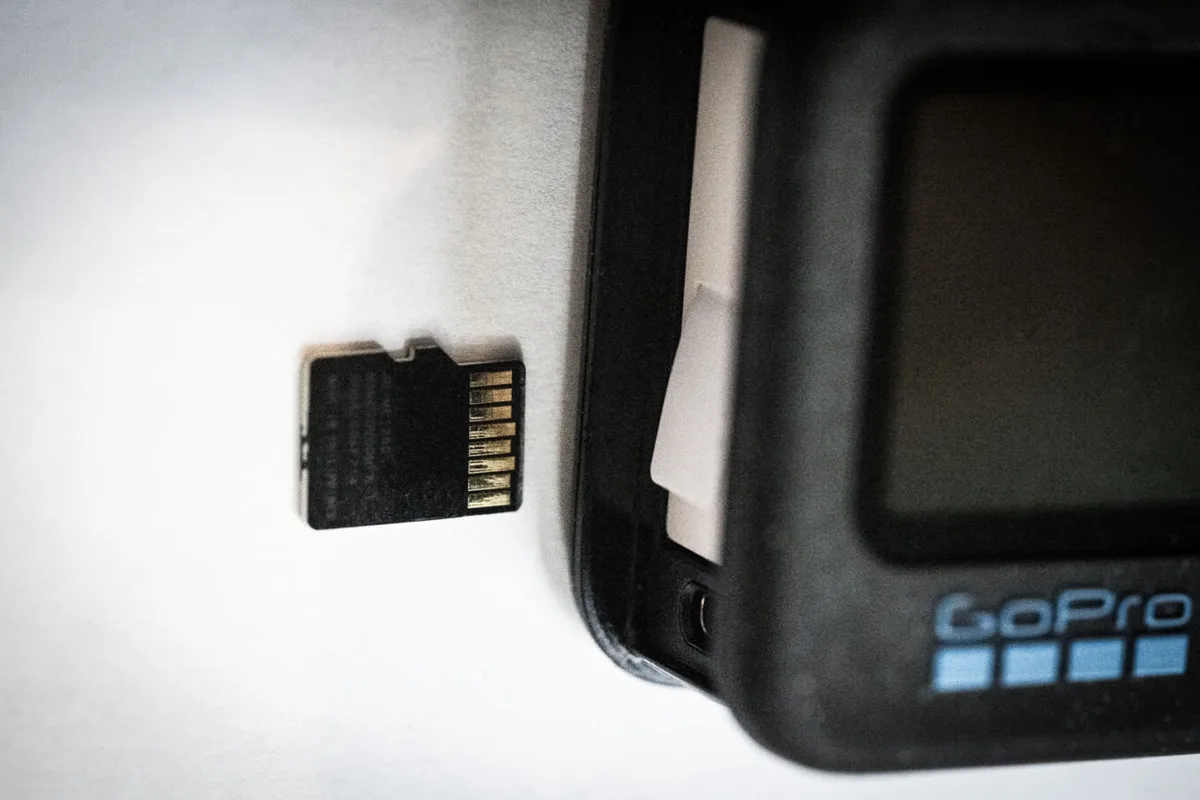
Image source: Web (Bing) / havecamerawilltravel.com (Web image (fair-use with source credit))
This is the method experienced users and GoPro support recommend when the app fails. It removes all wireless variables.
Step 1: Prepare your SD card. Ensure your card is formatted correctly. GoPro prefers exFAT for cards over 32 GB. Use FAT32 for 32 GB or smaller.
You can format the card in the camera itself by going to Preferences, then Format SD Card. That guarantees compatibility. A fresh format clears out old files that could interfere with the update.
Step 2: Download the firmware file. Go to the official GoPro website. Navigate to the firmware download page for HERO12 Black. Download the ZIP file.
It will be named something like hero12_update.zip. Do not rename it. Do not open it.
Just save it to your computer.
Step 3: Copy the file to the SD card. Remove the SD card from your camera. Insert it into your computer using a card reader or USB cable. Navigate to the root directory of the SD card.
Copy the ZIP file directly onto the card. Do not put it inside a folder. The camera looks for the file at the root level.
Step 4: Safely eject the SD card. Always eject the card from your computer before removing it physically. This prevents file corruption.
Step 5: Insert the SD card and power on the camera. Turn off the camera. Insert the card. Turn the camera back on.
The camera detects the firmware update file and prompts you to install it. Press the shutter button to confirm.
Step 6: Wait for the update to complete. The camera shows a progress bar. Do not touch any buttons. Do not remove the battery.
Do not remove the SD card. The update takes about 2 to 3 minutes. When it finishes, the camera restarts automatically.
Step 7: Delete the firmware file. After the update, go to Settings and then About to confirm the version. Then remove the SD card and delete the ZIP file. Leaving it on the card causes the camera to prompt you to update again each time you power on.
This method is slower upfront because you need a computer. But it is far more reliable. Local file, no network, no room for error.
It follows the same fail-safe pattern used for updating firmware on many dedicated cameras.

Similar Posts