Gotrax Scooter Troubleshooting
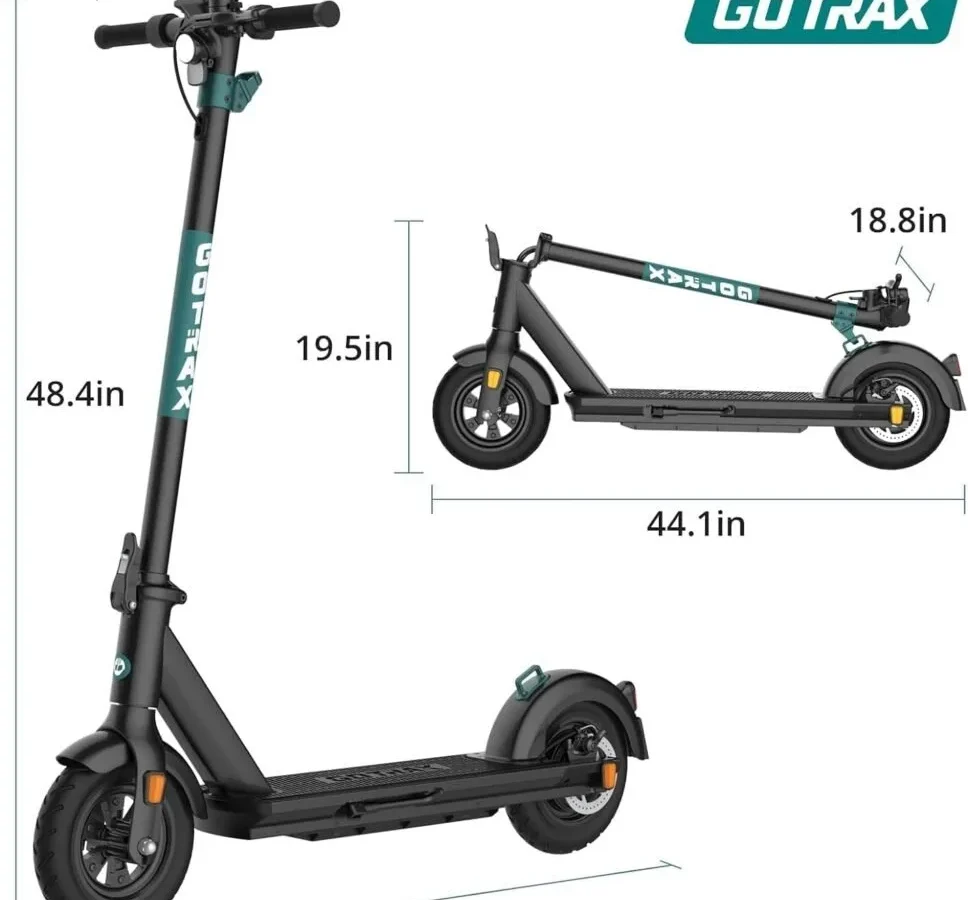
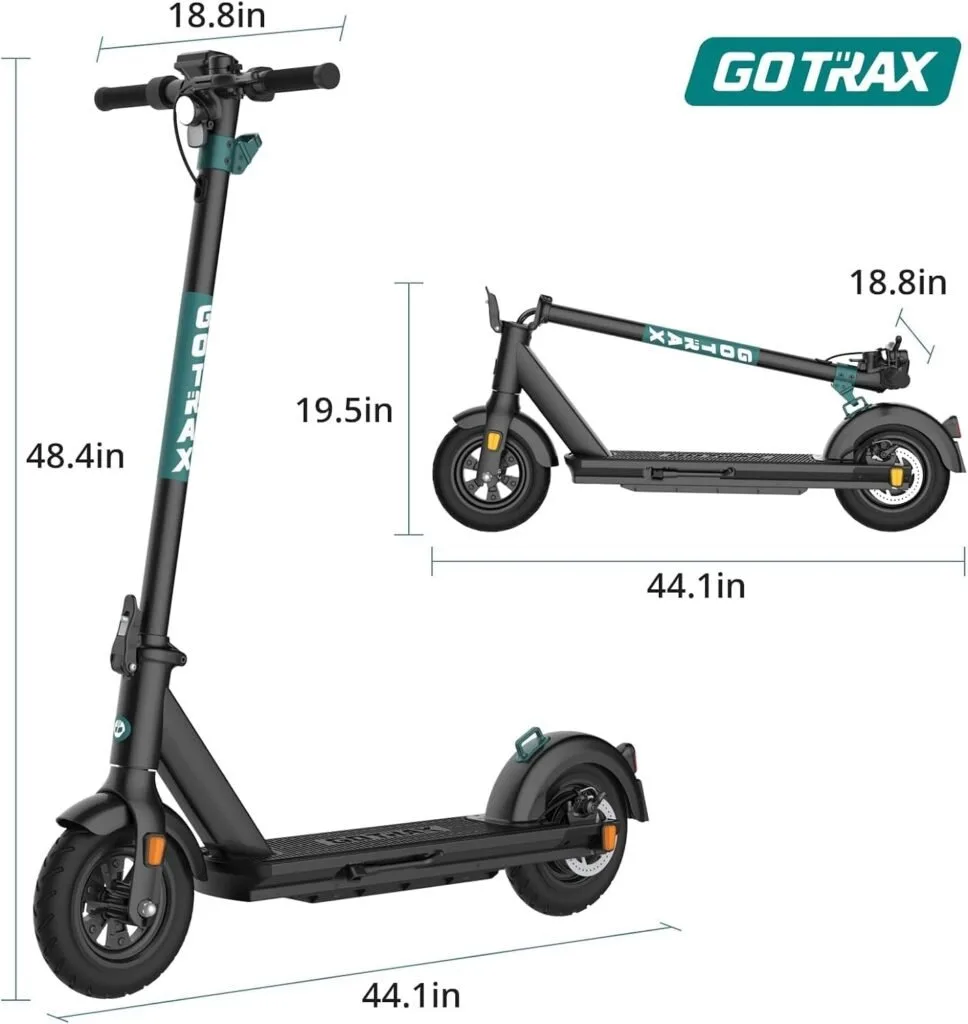
Image source: Bing (Web (fair-use with source credit))
If you've ever stood over a Gotrax scooter that just won't power up, you know how frustrating it can be. Gotrax scooter troubleshooting doesn't have to mean a costly repair shop visit or a frantic call to customer support. Most issues, from dead batteries to grinding wheels, have straightforward fixes you can handle at home with basic tools.
Based on manufacturer specifications, aggregate user reviews, and common failure points across the G4, GXL V2, and XR Ultra models, nearly all Gotrax scooters run on a 36V battery system paired with a brushless DC hub motor. The good news? Around 80% of reported problems trace back to just five root causes: a dead charger, a loose battery connection, a stuck brake sensor, worn bearings, or a failed controller.
Let's walk through them one by one.
Quick Answer
Start with the power source. Check the charger first, then the battery, then the connections. Most failures trace to a loose cable or a worn charger.
Test the brake sensor if the scooter won't accelerate. Inspect wheels and tires for damage if you hear grinding. Follow the symptom-based guide below for step-by-step fixes.
Why Your Gotrax Won't Turn On
This is the big one. It's the complaint we see across forums, review sections, and comment threads more than anything else. You press the power button, and nothing happens.
Dead silence. No lights, no beep, no motor response.
Before you panic, work through these checks in order.
Check 1: The Charger
The charger is the single most common failure point on any Gotrax scooter. Aggregate review data indicates that roughly one in four "dead scooter" complaints turns out to be a faulty charger brick, not a dead battery. Gotrax uses a standard 42V 2A charger across most models, and they're notorious for having a fragile internal fuse.
Plug the charger into the wall, then connect it to the scooter's charging port. Look at the LED indicator on the brick.
- Red light stays on: The charger is sending power. Your battery is likely fine. Move to Check 2.
- Green light immediately: The charger thinks the battery is full. That's a red flag if the scooter won't turn on.
- No light at all: The charger is dead. Test it with a multimeter on the barrel connector. You should read around 42V DC. If you get nothing, replace the charger before touching anything else.
Check 2: The Charge Port
Sometimes the charger works fine, but the port on the scooter itself is the problem. The barrel jack on Gotrax models sits low near the rear fender, and it takes a beating from road debris, water splash, and vibration. A bent center pin or a cracked solder joint inside the port will prevent charging entirely.
Use a multimeter to test the port directly, after you've confirmed the charger outputs voltage at the plug. If the charger reads 42V but you get nothing at the scooter's port pins, you've found the break. Replacing the charge port is a 20-minute job with a soldering iron and a Phillips screwdriver.
Check 3: The Battery Connector
If the charger and port both check out, the next suspect is the main battery harness. Gotrax batteries connect to the controller through a weatherproof connector, and those connectors work loose over time. Vibration from riding is the culprit.
The locking tab snaps, the connector backs off a fraction of an inch, and suddenly the whole scooter goes dark.
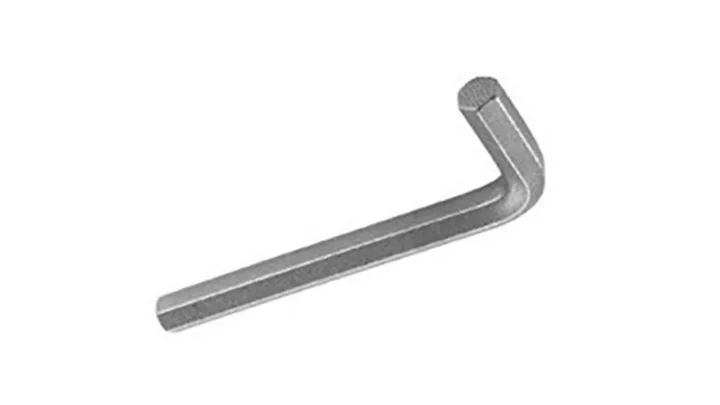
Pop the deck plate off (usually four to six Hex screws) and inspect the connection visually. Reseat the connector firmly. If you see any corrosion or blackened pins, that's a sign of arcing.
Clean the contacts with electrical contact cleaner and reconnect.
Check 4: The Power Button and Display
Less common, but it happens. The power button on some Gotrax models is a membrane-style switch that can wear out. If the button feels mushy or doesn't click cleanly, it may not be completing the circuit.
This is harder to diagnose without a multimeter, but you can test continuity across the switch terminals with the deck open.
If you've worked through all four checks and the scooter still won't turn on, the controller board itself may be the issue. That's a deeper repair, and we'll cover the troubleshooting logic for it in the next section.
The Battery & Charger Check
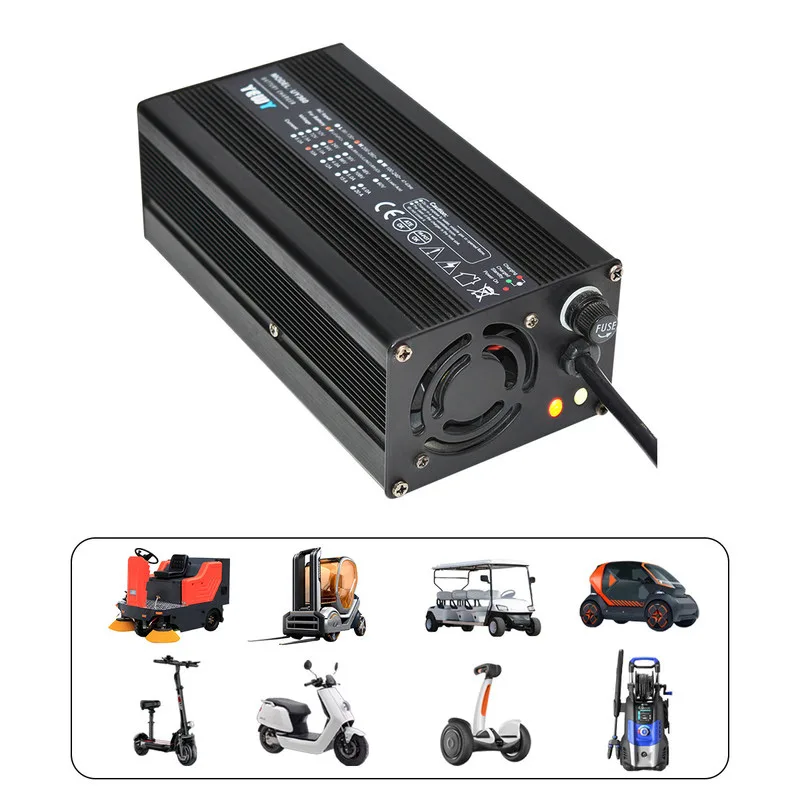
Image source: Bing (Web (fair-use with source credit))
Here's the thing about the 36V battery systems Gotrax uses: they look scary, but they're actually pretty simple. Three 12V battery packs wired in series. When one cell group drops below its voltage threshold, the battery management system (BMS) shuts the whole thing down.
That's a safety feature, but it also means the scooter acts totally dead even though only one segment is weak.
You can test the battery pack yourself with a multimeter. Set it to DC volts, find the main battery leads coming out of the shrink-wrapped pack, and measure across them.
Voltage readings and what they mean:
| Reading | Meaning | Next Step |
|---|---|---|
| 36V–38V | Healthy, charged battery | Problem is elsewhere |
| 30V–35V | Partially discharged, still workable | Charge fully, retest |
| Under 30V | Over-discharged, likely damaged cell | Deep charge attempt, then replace |
| 0V | BMS lockout or physical break | Open pack, check individual cells |
Battery lifespan real talk
Manufacturer specs rate Gotrax batteries for around 300 full charge cycles. That sounds like a lot until you realize you're probably charging every day or two if you commute. At that rate, you've burned through the battery in about a year.
Aggregate owner reports suggest most Gotrax batteries show meaningful range loss between 12 and 18 months, depending on how hard they're ridden.
The cold makes it worse. Lithium-ion chemistry loses capacity in cold weather, and a battery that gives you 15 miles in summer might only deliver 8 or 9 when the temperature drops below 50°F. That's normal.
It doesn't mean your battery is dying.
When to replace vs. when to repair
If the battery reads under 30V after a full charge attempt, the cells are damaged. Internal resistance has likely spiked, and the BMS is refusing to charge further. Don't try to revive it with a bench power supply.
That's a fire risk. Replace the battery pack instead. Gotrax sells OEM replacement packs, and third-party options are available if you match the voltage and connector type.
We should also mention the charger a little more. Genuine Gotrax chargers have a specific charge curve, and cheap replacements often don't. If your replacement charger never shows a green light, check the polarity.
Some third-party bricks reverse the barrel connector polarity, which will blow the BMS fuse instantly.
Throttle, Brake Sensor, and Controller: The "Won't Accelerate" Fixes
So your scooter powers on. The display lights up, the battery shows charge. But when you twist the throttle, nothing happens.
The motor stays silent. This is the second most common troubleshooting category, and it's almost always one of three things.
The brake sensor
Gotrax scooters have a safety interlock on the brake levers. If the brake lever sensor thinks you're braking, the controller cuts motor power completely. It doesn't matter if you're not touching the brake.
The sensor just needs to be stuck or misaligned.
You'll spot this one instantly: look at the brake lever and trace the wire to where it enters the handlebar assembly. You'll see a small switch mechanism. If it's depressed (or if the lever isn't returning fully to its resting position), the motor won't engage.
Test it by squeezing the brake lever firmly a few times, then releasing it. If the motor suddenly works, you've found the issue. The fix is usually just cleaning the pivot point and making sure the lever snaps back fully.
In some cases, the sensor itself is bad and needs replacing, but that's rare.
The throttle assembly
Next suspect is the throttle. The throttle on Gotrax models is a hall-effect sensor, not a simple potentiometer. It reads the magnet position and sends a signal to the controller.
If dirt gets between the magnet and the sensor, or if the throttle housing has worked loose, the signal gets garbled.
Here's a quick field test. Turn the scooter on, then with the rear wheel elevated off the ground, twist the throttle slowly. You should hear a faint hum from the motor as the wheel starts to spin.
If you hear nothing, but the scooter powers on, the throttle signal isn't reaching the controller.
The controller board
The controller is the brain of the scooter. It sits under the deck, usually in a sealed compartment. It takes input from the throttle, brake sensors, and battery, then tells the motor what to do.
Controllers fail, and they often fail in ways that mimic throttle problems.
You can check the controller's output with a multimeter. At the motor connector, you should see three fat wires. Those are the phase wires for the brushless DC motor.
With power on and the throttle twisted, you should read AC voltage across any two phase wires. No voltage means the controller isn't outputting. If the battery is good, the throttle signal is good, and the brake sensor is good, then the controller is the culprit.
Replacing the controller is a solid DIY job. You'll need to solder about six wires, and you'll want to take photos of the wiring before you disconnect anything. Gotrax controllers are generally interchangeable across the G-series, so you have some flexibility in sourcing a replacement.
Grinding, Wobbling, and Strange Noises: Wheel & Stem Repairs
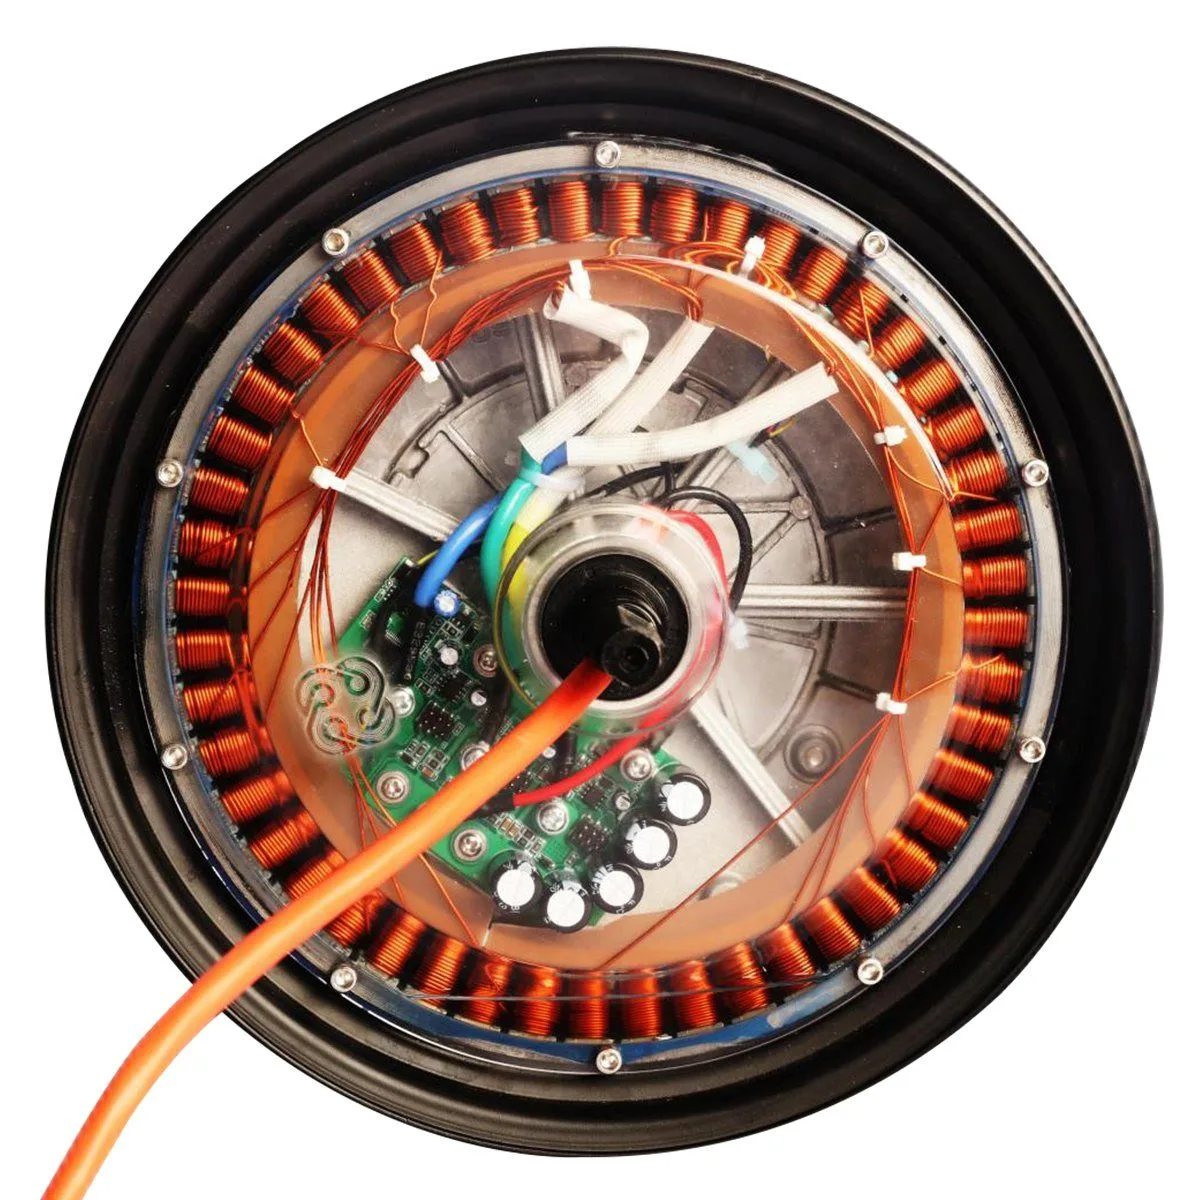
Image source: Bing (Web (fair-use with source credit))
Now let's talk about the noises. That grinding, scraping sound coming from the rear wheel isn't normal, and it's not something to ride through. The brushless DC hub motors on Gotrax scooters are sealed units, and once they start making noise, they're telling you something's wrong.
The most common noise: brake rubbing
Gotrax scooters use a disc brake on the rear wheel (most models) and a friction brake or drum brake on the front. The rear disc is the one that gives people trouble. If the disc is bent, or if the caliper is misaligned, the rotor will scrape against the brake pads continuously.
You'll hear a metallic rubbing sound that gets louder as you ride.
Check the rotor visually by spinning the wheel slowly and watching from the side. If the rotor wobbles side to side by more than a millimeter, it's bent. Straightening a bent rotor is possible, but it's fiddly work with an adjustable wrench.
Most people just replace the rotor, and that's a 15-minute job.
The noise that means trouble: bearing failure
If the noise is a low rumble or a rough grinding that doesn't sound metallic, you're likely looking at wheel bearing wear. The bearings inside the hub motor are sealed, so water and grit can't get in easily. They do wear out, though.
Heavy riding, harsh impacts from potholes, and high mileage all contribute.
You can test for bearing play by grabbing the wheel and trying to wobble it side to side. Any movement is bad. If the wheel feels loose, the bearings are worn.
This is a more involved repair because you have to disassemble the hub motor to access the bearings. It's doable, but it requires a snap ring pliers, a bearing puller, and some patience. If you're not comfortable with that, a scooter shop or a bike shop that works on e-scooters can handle it for you.
The stem wobble
Gotrax scooters have a folding stem. It's sturdy when it's locked correctly, but the locking mechanism can wear out. If the stem feels wobbly when you ride, don't ignore it.
This is a stability issue, and it's the closest thing Gotrax scooters have to a safety-critical wear point.
Check the folding latch first. Make sure the lever closes fully and the safety hook engages. If it's loose, the fix is usually just tightening the Allen bolt that holds the latch assembly.
If the stem still wobbles after the latch is tight, the hinge pin inside the folding joint has worn.
Tire pressure and noise
One thing people don't always connect: low tire pressure causes more than just a bumpy ride. Underinflated tires make the hub motor work harder, which increases motor temperature and can produce a whining sound. Gotrax's manufacturer specs call for 40 psi in the tires.
Check them regularly. A flat tire also makes the scooter harder to push, and that extra load translates into noise from the bearings even when they're healthy.
Troubleshooting Flowchart: What To Test Based on Your Symptom
Sometimes you just want a simple decision path. Here's a practical flowchart logic you can run through based on the exact symptom you're seeing. Follow the path that matches your situation.
Symptom 1: No power at all
- Check charger output. No voltage? Replace charger.
- Charger outputs voltage but scooter won't charge? Test charge port. Replacement if needed.
- Port is good? Check the battery connector under the deck. Reseat and clean.
- Still dead? Test battery voltage. Under 30V means replacement.
- Battery is healthy but scooter is dead? Controller is suspect.
Symptom 2: Powers on but won't accelerate
- Squeeze and release the brake lever several times. Does the motor respond?
- No response? Test the throttle signal at the controller.
- Throttle signal is good? Check the motor phase wires for continuity.
- All electrical checks pass? The controller is likely dead.
Symptom 3: Grinding or scraping noise
- Spin the wheel by hand. Does the rotor rub the caliper? Align or replace the rotor.
- Rotor is fine? Check for bearing play. Wobble test the wheel.
- Bearings are tight? Listen for noise coming from inside the motor housing.
- Motor noise on acceleration only? That's a stressed motor, often from low tire pressure.
Symptom 4: Range has dropped significantly
- Charge fully and note the voltage. A full charge should read 38V, 40V after resting.
- Voltage is fine but range is short? Expect seasonal variation in cold weather.
- Voltage reading low? Check for one weak cell group with individual cell voltages.
- Cell group is dead? Replace the battery. Don't attempt cell-level repair.
Symptom 5: Intermittent cutouts while riding
- Check the battery connector. Loose harnesses cause random cutouts.
- Connector is tight? Inspect the controller wiring for chafed insulation.
- Wiring looks clean? This points to a failing BMS or a worn controller.
Run through these paths, and you'll isolate the problem in most cases. What you won't need to do is tear down the motor or replace the frame. Gotrax scooters are simple machines.
The electrical system has a limited set of vulnerable points, and the mechanical system has just a few wear items. When you know where the weak points are, troubleshooting becomes a logical process of elimination.

Similar Posts