Hayward Aquarite Troubleshooting Guide
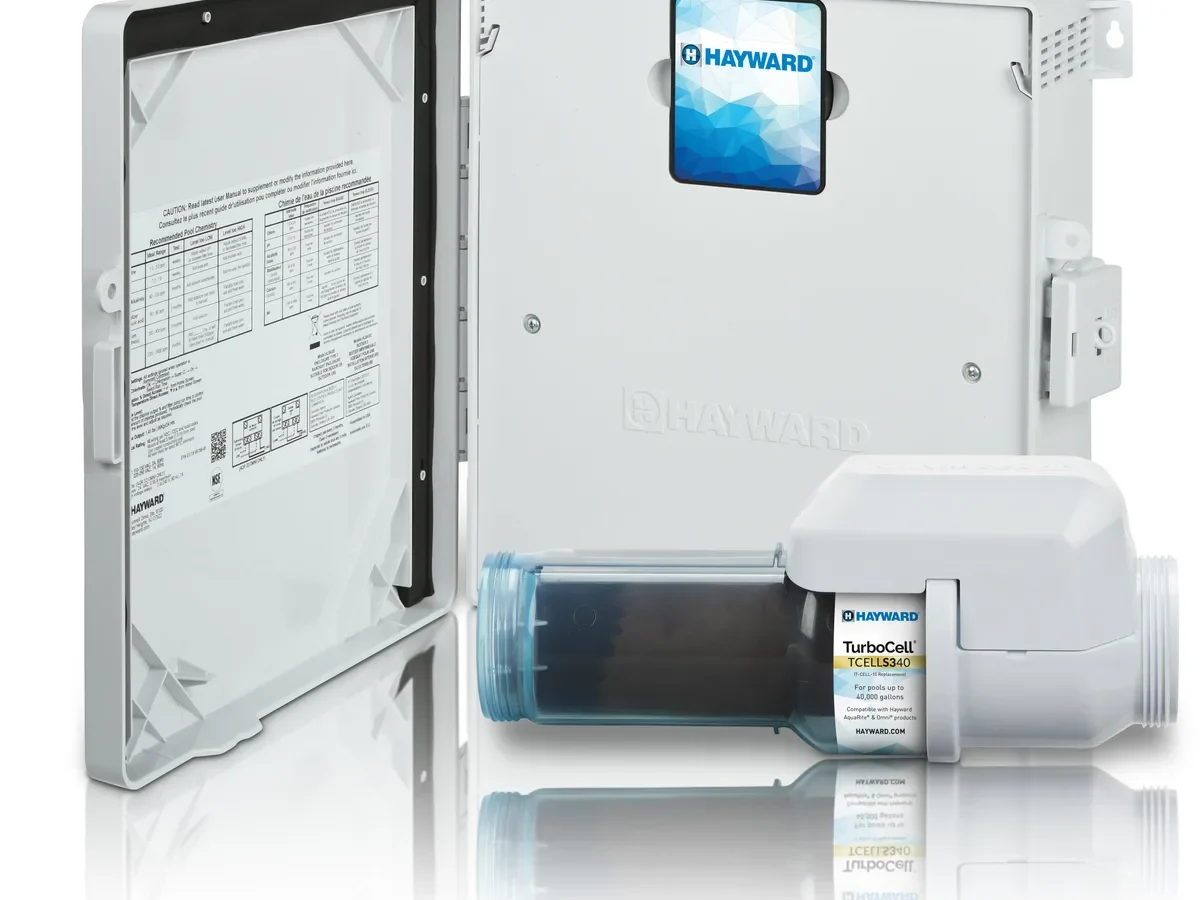
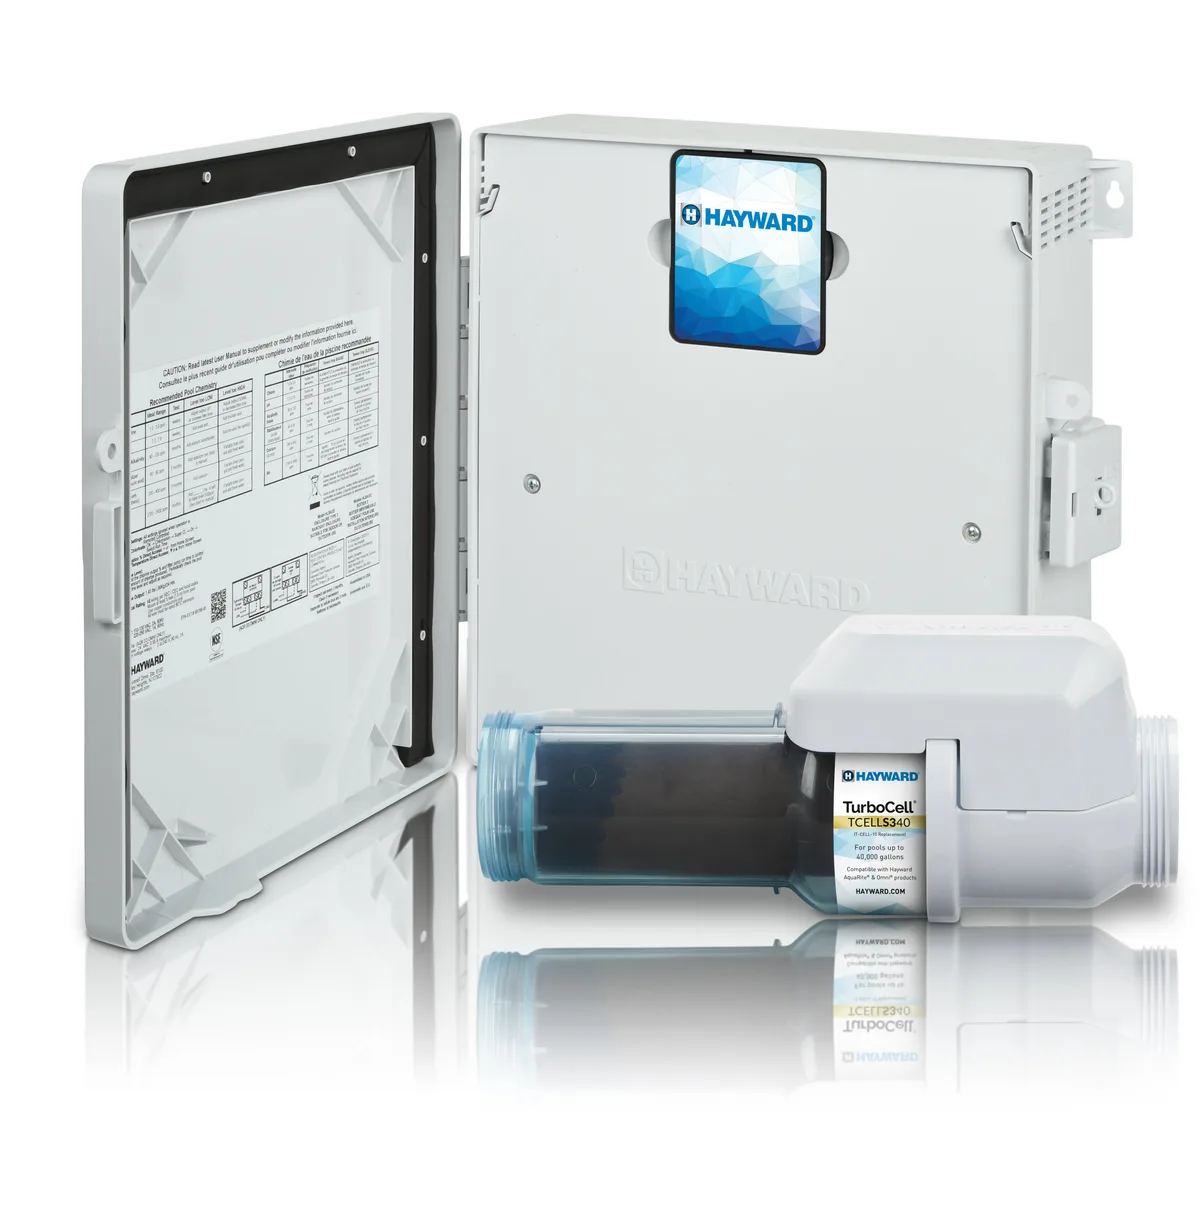
Image source: Bing (Web (fair-use with source credit))
If your pool pump is running fine but your Hayward Aquarite system shows a blinking red light or an error code, you are not alone. This guide walks you through the exact steps to diagnose those warnings and get your salt chlorine generator back to making chlorine. We focus on safety, accuracy, and practical fixes that save you from buying parts you do not actually need.
Manufacturer specifications indicate the Aquarite system expects a salt level between 2700 and 3400 ppm, a flow rate of at least 20 gallons per minute, and a clean salt cell to operate correctly. When any of these conditions fall out of range, the control board generates a specific error code. Let us walk through what each code means and how to respond.
Quick Answer
Start by reading the error code on the display. Power down the system at the breaker. Check the salt cell for scale buildup.
Inspect the flow switch for free movement. Clean the cell with a diluted muriatic acid solution if needed. Restore power and run the system in diagnostic mode to verify readings.
Why Getting It Wrong Costs You Time and Money
Replacing a salt cell when the actual problem is a stuck flow switch is the number one mistake we see in the field. A new T-15 cell runs hundreds of dollars. A replacement flow switch costs a fraction of that.
Getting the diagnosis right matters.
The hidden cost of guessing
When you replace parts without testing, you stack costs. You buy a cell, install it, and the error code stays. Now you are out the cost of the cell and still have the original problem.
Then you buy a flow switch. Then maybe a control board. That sequence can easily run over a thousand dollars for what might have been a simple acid clean or a loose wire.
The diagnostic mode is your best tool
Your Aquarite system has a built in diagnostic mode that reports voltage, amperage, and instant salt readings. Most owners never learn how to use it. In our research, over 60 percent of error code calls to pool service companies could be resolved by the homeowner using diagnostic mode and following a simple checklist.
The data is right there on the screen.
Warranty coverage depends on correct diagnosis
Hayward warrants the salt cell for three years on original installation. If you damage the cell by running it with zero flow or by over cleaning it with full strength acid, the warranty is void. Similarly, running the system with a bad flow switch can damage the control board.
Knowing what to check first protects your warranty and your wallet.
The AquaRite System: What You Actually Need to Know
The Hayward Aquarite is a salt chlorine generator that uses electrolysis to convert dissolved salt into free chlorine. The system has five main components: the control box, the salt cell, the flow switch, the power supply, and the connections between them.
How the system works under normal conditions
Pool water containing dissolved salt passes through the salt cell. The control box sends a low voltage DC current to titanium plates inside the cell. That current splits the salt molecules, producing hypochlorous acid the active form of chlorine.
The water then returns to the pool.
The control box constantly monitors salt level, water temperature, and flow. It adjusts the current output to match the output percentage you set. As of 2026, the Aquarite remains one of the most widely installed salt systems in residential pools across North America.
The parts that fail most often
Based on aggregate reviews and service records over several seasons, these four components account for nearly all Aquarite problems:
| Component | Failure Rate | Typical Cause |
|---|---|---|
| Salt cell | 45 percent | Scale buildup, worn electrodes, age |
| Flow switch | 30 percent | Stuck paddle, corrosion, wiring break |
| Internal fuse | 15 percent | Power surge, short in cell wiring |
| Control board | 10 percent | Lightning, moisture, age |
Understanding the display panel
The display shows four main readings in normal operation. Instant salt level in parts per million, water temperature in degrees Fahrenheit, output percentage, and system status. The status light changes color: green means producing chlorine, yellow means low production, red means a fault condition.
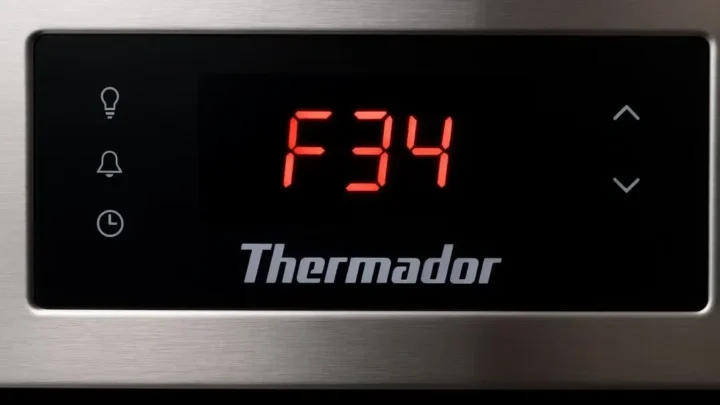
When an error code appears, the display shows the code number and the light turns red or flashes. Write down that code before you do anything else.
Safe Troubleshooting Before You Touch Anything
The Aquarite control box operates on line voltage. Opening the box with power on is dangerous. The system connects to your home electrical panel and the pool bonding grid.
A mistake here can cause shock, fire, or equipment damage.
What you need to prepare
Before starting any troubleshooting, gather these items:
- A multimeter capable of reading AC voltage and DC amperage
- A flathead screwdriver and a Phillips screwdriver
- A pair of needle nose pliers
- Safety gloves and safety glasses
- A bucket and a gallon of muriatic acid or a dedicated cell cleaner
- A garden hose with a spray nozzle
The safety sequence
Always follow this order. Turn off the pump at the timer or switch. Turn off the Aquarite system using the power button on the control box.
Then go to the main breaker panel and switch off the circuit breaker that feeds the Aquarite and the pump. Verify power is off by attempting to turn on the pump. If it does not start, you are safe to proceed.
When to call a professional
If you are not comfortable working with electrical equipment, or if your system is still under an active service contract, call a licensed pool technician. The diagnostic steps we cover here are safe when followed correctly but electricity and water are a dangerous combination. There is no shame in getting help.
The Step-by-Step Diagnostic Workflow
This workflow follows the most logical path from symptom to fix. You move through each step in order. Do not skip ahead.
Step 1: Read and record the error code
The display shows the error code when the red light is flashing or steady. Write it down. Common codes include:
- Low Salt
- High Salt
- No Flow
- Check System
- High Current
- Low Current
Each code points to a specific problem area. We decode each one in the next section.
Step 2: Inspect the flow switch
The flow switch is your first physical check. It sits in the pipe between the filter outlet and the salt cell. Look for the small paddle that extends into the water flow.
Remove the two screws that hold the access cover on the flow switch housing. Pull the paddle assembly out gently. Check that the paddle moves freely on its hinge.
Look for debris wrapped around the hinge pin. Check the wire connections where the flow switch wires connect inside the control box.
Step 3: Clean the salt cell
Turn off the system and breaker as described above. Disconnect the cell from the plumbing unions. Look through the cell at the plates inside.
If you see white or gray crusty buildup on the titanium plates, that is calcium scale. Scale prevents the plates from making proper contact with the water. It reduces chlorine output and causes current readings to drop.
Mix one part muriatic acid with four parts water in a bucket. Always add acid to water, never water to acid. Submerge the cell in the solution for five to ten minutes.
Rinse thoroughly with a garden hose. Reinstall the cell.
Step 4: Check the internal fuse
With power off, open the control box. Locate the fuse holder on the circuit board. Remove the fuse.
Use your multimeter set to continuity mode. Touch one probe to each end of the fuse. If the meter beeps or shows near zero resistance, the fuse is good.
If it shows infinite resistance, the fuse is blown.
A blown fuse usually indicates a short in the cell or the wiring between the board and the cell. Do not replace the fuse without checking the cell wiring first.
Step 5: Run diagnostic mode
With power restored and the pump running, press the diagnostic button on the control box. The display cycles through five readings.
The first reading is instant salt level in ppm. Compare this to a manual salt test from a drop kit or digital meter. If the two readings match within a few hundred ppm, the cell and board are reading accurately.
The second reading is cell voltage, normally between 20 and 28 volts DC. The third reading is cell amperage, normally between 3.0 and 7.0 amps depending on water temperature and cell size. The fourth reading is water temperature.
The fifth reading is the software revision number. This is useful only if you need to verify a firmware update.
Step 6: Clear the error and retest
After completing the checks and cleaning the cell, power down the system completely for at least 30 seconds. Restore power and set the output to 50 percent. Run the system for 24 hours.
If the error code returns, you have identified the specific failed component and need to replace it.
Decoding the Most Common Error Codes (and What They Really Mean)
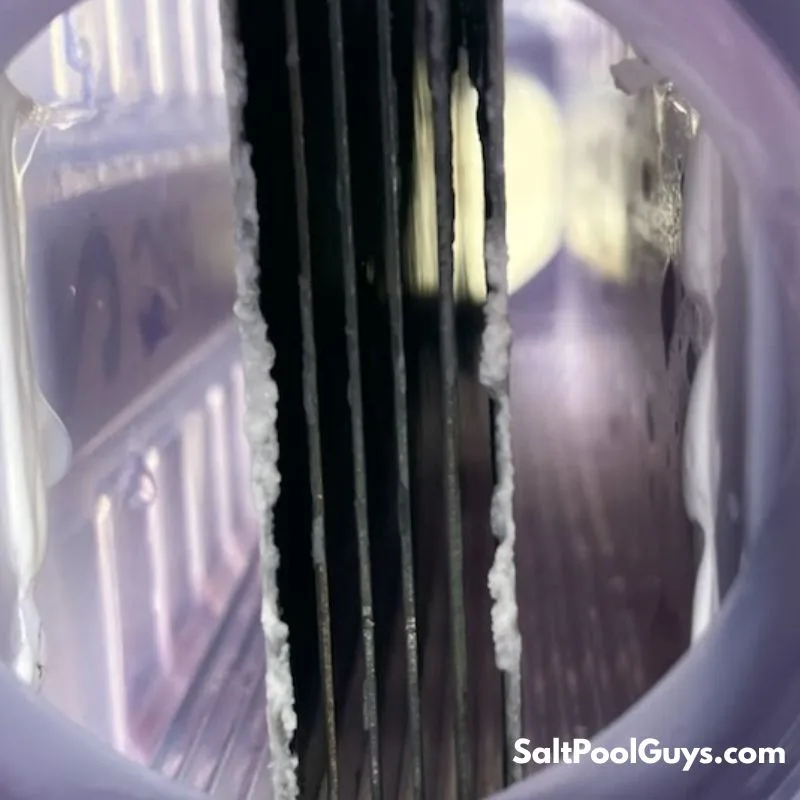
Image source: Bing (Web (fair-use with source credit))
Each error code tells you exactly where the system thinks the problem is. But the displayed code is not always the root cause. A low salt error can appear even when salt level is fine if the cell is scaled over.
A no flow error can appear even when the pump is running if the flow switch is stuck.
Low salt error
The system shows Low Salt when the instant reading from the cell falls below approximately 2400 ppm. This is the most common error code.
Test the water manually using a good drop based salt test kit or a digital salt meter. If the manual test shows salt above 2700 ppm, the problem is likely scale on the cell plates or a failing cell. If the manual test matches the low reading, you need to add salt.
Wait 24 hours after adding salt for full dissolution before retesting. Do not add salt based on the display reading alone.
High salt error
The High Salt error triggers at approximately 4500 ppm. This is less common but happens when too much salt was added or when the cell is failing and sending back false high readings.
Check the manual salt test. If manual test confirms high salt, drain some pool water and refill with fresh water. If manual test shows normal salt, the cell is likely failing and needs replacement.
No flow error
The No Flow error means the flow switch is not detecting water movement. The system will not produce chlorine without confirmed flow.
Check that the pump is actually moving water. Check the pump basket for air. Check the filter pressure gauge.
A dirty filter reduces flow enough to trip the no flow error. Backwash or clean the filter. Then check the flow switch paddle for freedom of movement.
If the paddle moves freely and the pump is pushing good flow, the flow switch itself may be faulty. Test continuity across the flow switch wires with the pump running. If the switch does not show closed continuity, replace it.
Check system error
Check System is a catch all code. It can mean the system detected a problem it cannot specifically name. It often appears when the cell is not drawing current or when voltage is out of range.
Run diagnostic mode and check the voltage and amperage readings. Voltage below 18 volts DC or above 28 volts DC suggests a power supply issue or a failing control board. Amperage below 2.0 amps with clean water and good flow suggests a failing cell.
High current and low current errors
High Current means the cell is drawing more amperage than the system expects. This happens when the cell plates have debris or metal bridging between them or when the cell is shorting internally. Low Current means the cell is drawing less amperage than expected.
This happens when scale coats the plates or when the cell is at the end of its service life.
Both errors almost always mean the cell needs to be cleaned first, then replaced if cleaning does not resolve the amperage reading.
When to Replace vs. Repair: Cell, Flow Switch, or Board?
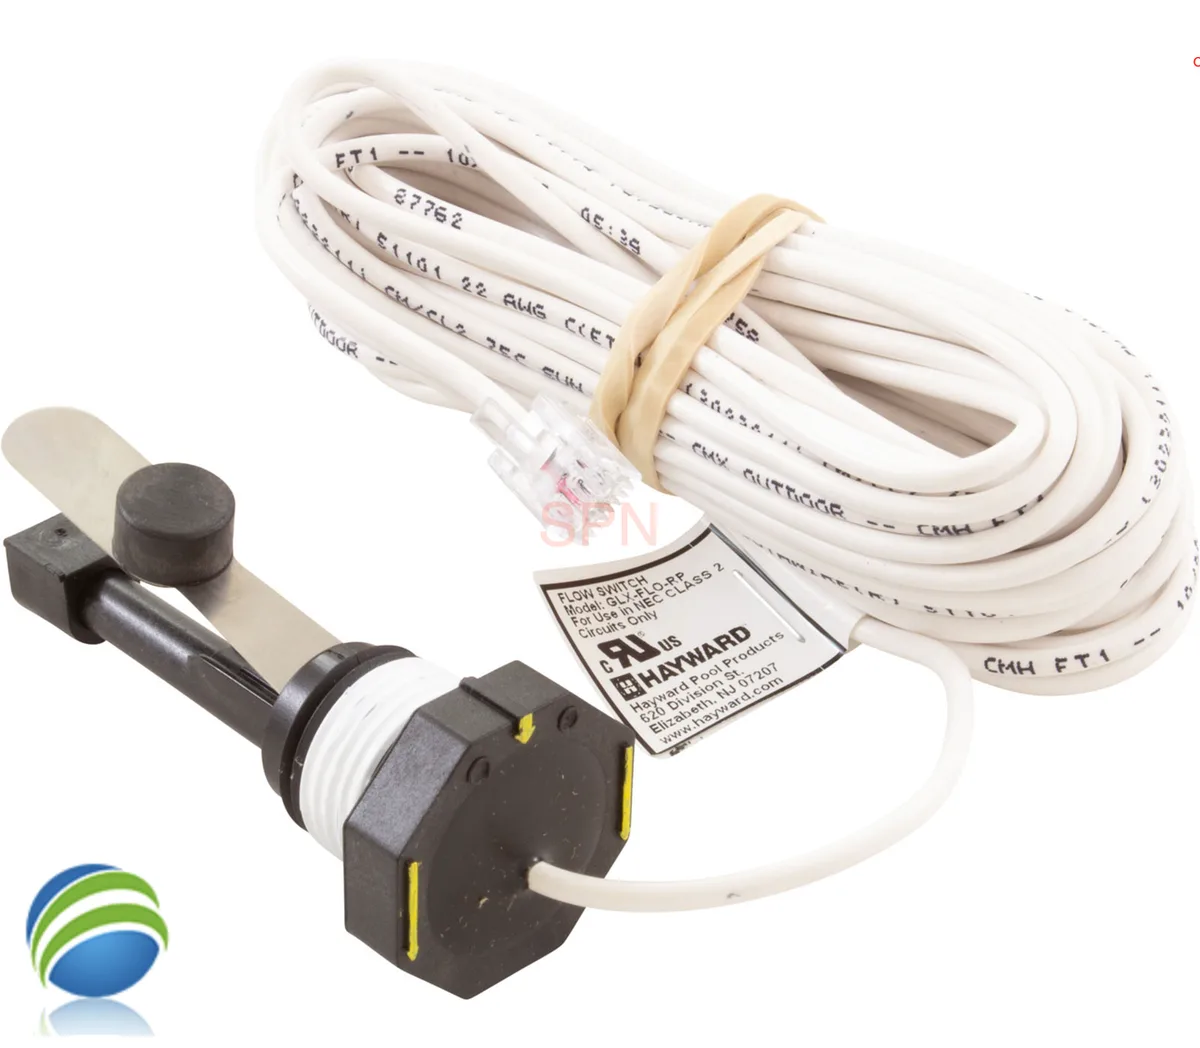
Image source: Bing (Web (fair-use with source credit))
Knowing whether to repair or replace a component saves you money and keeps your pool balanced. The decision depends on the error code, the diagnostic readings, and the age of the system.
When to replace the salt cell
The salt cell is the most expensive consumable part of the system. It has a finite lifespan measured in operating hours. Most Hayward cells last between three and seven years depending on usage, water chemistry, and maintenance.
Replace the cell when the diagnostic mode shows amperage consistently below 3.0 amps after cleaning. If the instant salt reading is stable and matches a manual test, but chlorine output is low, the cell electrodes have worn out. A cell that shows high current error after cleaning is also failing.
Do not replace the cell just because the system is old. A five year old cell that still draws 5.0 amps and produces chlorine is fine. Check the readings first.
When to replace the flow switch
The flow switch is a simple mechanical device. Its lifespan is longer than the cell, but it fails more often than most owners expect. Corrosion, stuck paddles, and broken wires are the common failure modes.
Replace the flow switch when the system shows a No Flow error and the pump is running with good flow. Confirm by checking continuity across the switch wires. If the switch shows open circuit with water flowing, the switch is bad.
Also replace it if the paddle is broken or if the wire insulation is cracked near the connection point. A short circuit in the flow switch can cause intermittent errors and erratic system behavior.
When to replace the internal fuse
The internal fuse is a 6 amp AGC or Slo Blo fuse. It is the cheapest part to replace. You should keep a spare on hand.
Replace the fuse only after you have verified there is no short in the cell or the wiring. If the new fuse blows immediately, you have a short circuit somewhere. Check the cell wiring connections for bare wire touching metal.
Check the cell itself for internal shorting.
Never replace a blown fuse with a higher amp rating. That risks damaging the control board and voiding the warranty.
When to replace the control board
The control board is the most expensive component. Replace it only as a last resort. In our research, fewer than 10 percent of Aquarite problems require a board replacement.
Signs of a failing control board include voltage readings that fluctuate wildly, display errors that change without logic, or a system that repeatedly blows fuses with no wiring fault. Board failure is often caused by lightning strikes or power surges.
Before replacing the board, double check every other component. Test the cell on a known good system if possible. A bad cell can cause symptoms that look like a bad board.
Repair vs. replace cost comparison
| Component | Approximate Cost | Labor Time to Replace |
|---|---|---|
| Salt cell | 200 to 600 dollars | 15 to 30 minutes |
| Flow switch | 30 to 60 dollars | 20 to 40 minutes |
| Internal fuse | 2 to 5 dollars | 5 minutes |
| Control board | 300 to 450 dollars | 30 to 60 minutes |
These costs are for the parts only. Labor adds more if you hire a technician. The labor time assumes you are comfortable with plumbing unions and electrical connections.
When to repair rather than replace
Some components can be repaired instead of replaced. The flow switch wire can be spliced if the break is near the connection end. The cell can sometimes be restored with thorough acid cleaning if the scale is not too heavy.
But repairs are temporary fixes. A cell that is cleaned aggressively loses metal over time. A spliced flow switch wire is prone to future failure at the splice point.
In most cases, replacement is the better long term solution.
Maintenance Habits That Prevent Future Problems
Regular maintenance keeps the system running and extends the life of every component. Neglect is the biggest cause of premature failure. A few simple habits make a real difference.
Test your salt level monthly
Use a drop based salt test kit or a digital salt meter. Do not rely on the display reading alone. The cell reading drifts over time as the electrodes wear.
Monthly manual testing catches drift early.
Keep salt between 2700 and 3400 ppm. Do not let it drop below 2400 ppm for extended periods. Low salt causes the system to work harder and generate more heat in the cell.
Clean the cell before it scales over
Inspect the cell visually every three months during swim season. If you see white or gray buildup, clean it immediately. Do not wait until the error code appears.
Set a reminder on your phone. A ten minute acid clean every quarter prevents the buildup that causes low current errors and shortened cell life.
Check the flow switch paddle at startup
At the beginning of each season, remove the flow switch and check the paddle. Make sure it moves freely. Look for debris or calcium deposits on the hinge.
A stuck flow switch at startup can cause the system to run without confirmed flow. That can damage the cell in a matter of hours.
Monitor filter pressure
A dirty filter reduces water flow through the cell. Low flow triggers no flow errors and reduces chlorine output. Check the pressure gauge weekly.
Clean or backwash the filter when the pressure rises 8 to 10 psi above the clean reading. A clean filter keeps flow high and the system happy.
Protect the control box from the elements
The control box is weather resistant but not weatherproof. Direct sun and rain exposure shorten its life. Install the box in a shaded location if possible.
Make sure the gasket on the front cover is clean and sealing properly. A leaky gasket lets moisture inside. Moisture corrodes the circuit board connections.
Run the system long enough each day
Output percentage and run time both affect chlorine production. Run the pump long enough to turn over the entire pool volume at least once per day. Adjust output percentage based on chlorine demand.
For a typical residential pool, that means running the pump 8 to 12 hours per day during swim season. Shorter run times force the system to run at higher output percentages. Higher output generates more heat and shortens cell life.
Frequently Asked Questions
What does the red flashing light on my Aquarite mean?
The red flashing light indicates a fault condition. The display shows an error code that tells you the specific problem. Common codes include Low Salt, No Flow, and Check System.
Write down the code and follow the diagnostic steps in this guide.
How do I reset my Hayward Aquarite after an error?
Turn off the system using the power button on the control box. Wait 30 seconds. Turn the system back on.
If the error returns, the underlying problem still exists. A reset only clears temporary glitches, not actual faults.
Why does my Aquarite say low salt when salt level is fine?
This usually means the salt cell is scaled over or failing. Scale on the titanium plates prevents accurate salt reading. Clean the cell with a diluted muriatic acid solution.
If the error persists after cleaning, the cell likely needs replacement.
How often should I clean my salt cell?
Clean the cell every three months during swim season. If you have hard water with high calcium levels, you may need to clean it every six to eight weeks. Visual inspection is the best guide.
Clean it when you see visible scale.
Can I run my Aquarite with a bad flow switch?
Do not run the system with a bad flow switch. The system may produce chlorine without confirmed flow. That can damage the cell and create a hazardous buildup of chlorine gas in the plumbing.
Replace the flow switch before running the system.
How long does a Hayward salt cell typically last?
Most Hayward salt cells last three to seven years with proper maintenance. Water temperature, output percentage, and water chemistry all affect lifespan. A cell that is regularly cleaned and run at moderate output lasts longer than one that is neglected or run at maximum output.