How to Clean an Action Camera
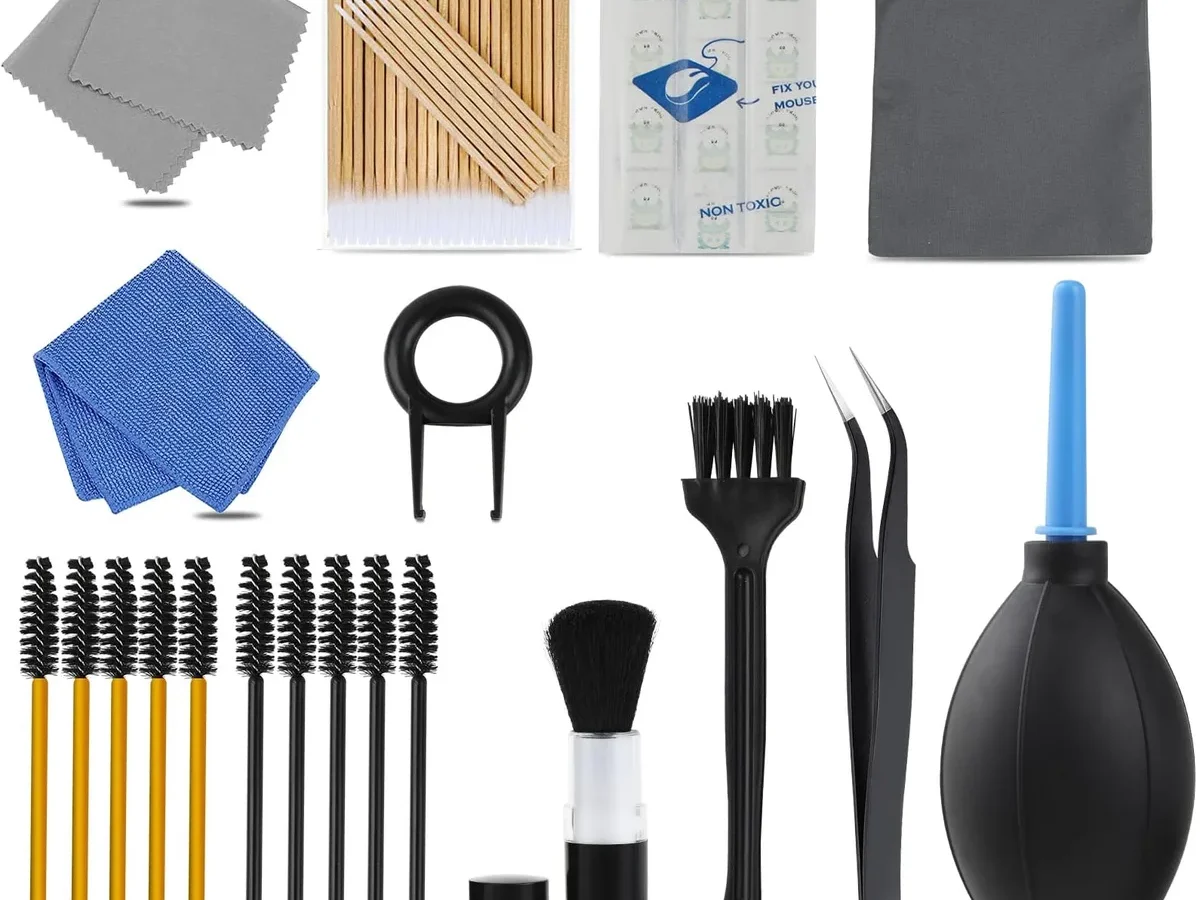
You want to know how to clean an action camera without scratching the lens, ruining the waterproof seal, or muffling the audio. It is a fair question, because a single wrong move with a paper towel or alcohol wipe can cost you a hundred dollars in repairs. In our research, the most common cause of action camera failure is not a drop or a dunk.
It is improper cleaning that lets water inside or grinds grit into the glass.
Manufacturer specifications indicate that the waterproof seals on models like the GoPro Hero and DJI Osmo Action rely on a thin layer of silicone grease and a perfectly clean O-ring groove. Even a single grain of sand caught in that seal can breach the IPX8 rating. As of 2026, the standard practice recommended by the industry is to treat each component like a separate problem.
The lens, the housing, the microphone port, and the rubber seal all need different tools and techniques. Let us walk through the decision tree so you get this right the first time.
Quick Answer
Rinse your camera with fresh water after every saltwater use. Remove the housing and lens cover. Clean the lens with a microfiber cloth.
Use a dry brush for the microphone port. Lubricate the O-ring with silicone grease. Let all parts dry before reassembly.
Never use alcohol on the lens or rubber seals.
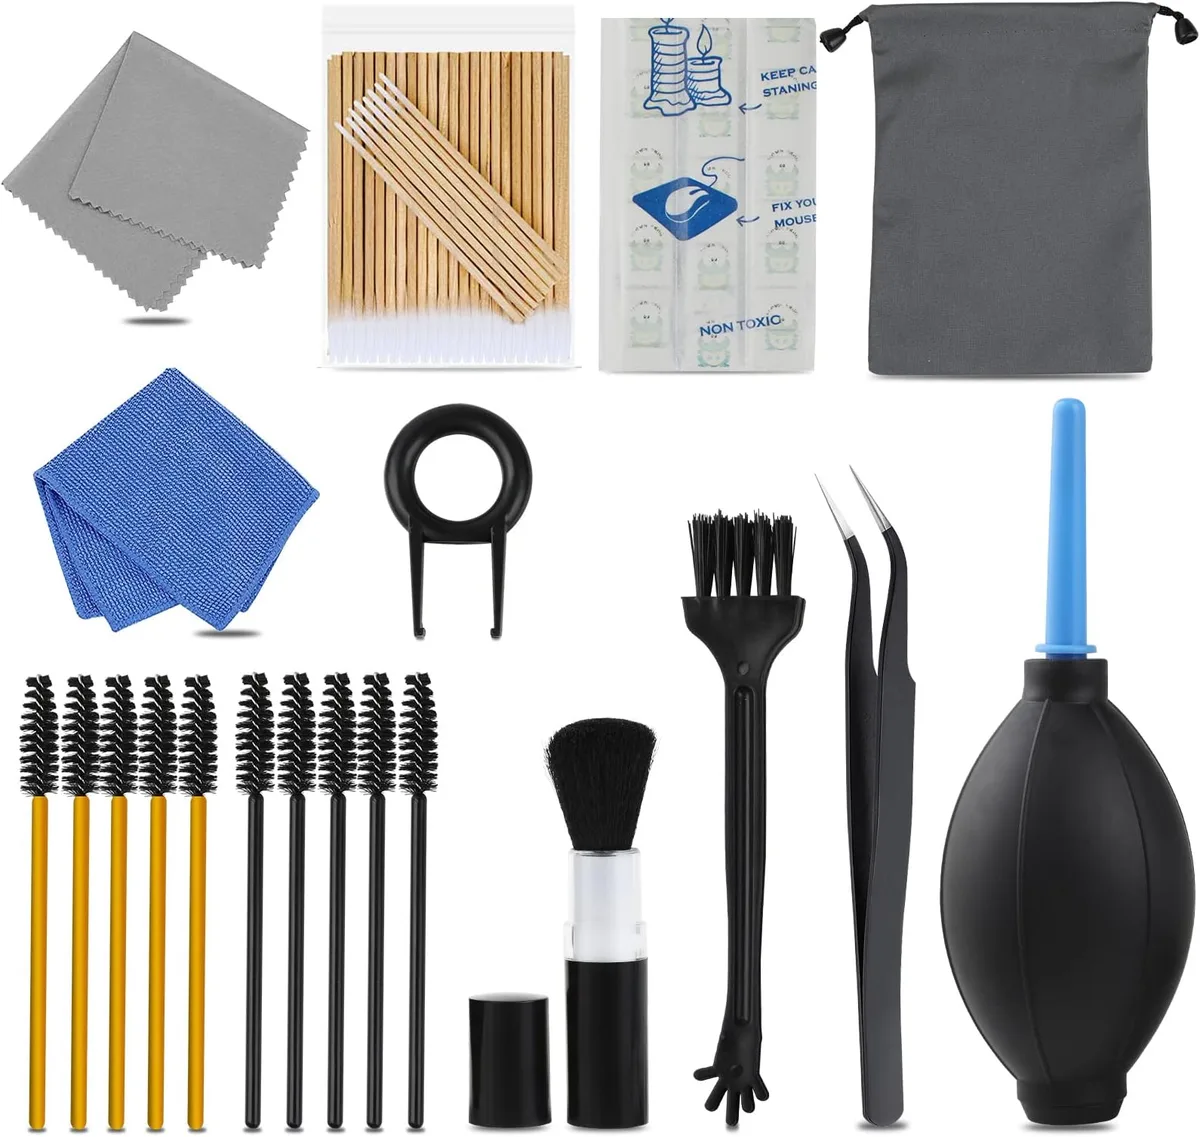
Image source: Web (Bing) / amazon.co.uk (Web image (fair-use with source credit))
Why "Just Wipe It" Is the Wrong Answer for Action Cameras
The problem with a single cleaning method is that your action camera is not one piece of equipment. It is a collection of parts with different tolerances and vulnerabilities. The glass lens cover has a hydrophobic coating that can strip off with harsh chemicals.
The rubber O-ring sealing the housing can dry out and crack if exposed to alcohol. The tiny microphone port is a cavern for pocket lint and salt crystals that a wipe will only push deeper.
The lens. A microfiber cloth designed for eyeglasses works beautifully on a clean lens. But if you wipe dry sand, mud, or salt crystals across the surface, you are essentially rubbing fine grit against the coating. The result is micro-scratches that soften the image and create lens flare.
The housing. The clear plastic case is tougher than the lens, but it scratches easily when you rub it with a dry cloth while grit is still present. Many users report that their housing looks foggy or hazy after just a few months. That haze is micro-abrasions from improper cleaning.
The O-ring. This small rubber seal is the only thing between your camera and a flooded housing. Per the International Electrotechnical Commission (IEC) standard 60529 for ingress protection, the seal must be clean, lubricated, and free of deformation. A single grain of sand or a dried-out spot can let water seep in during a dive.
The microphone port. The small mesh or foam cover protects the internal microphone. When you wipe it, you push debris into the mesh. Over time, the audio becomes muffled.
The only safe way to clean that port is with a dry, soft brush.
Diagnose First: What's Dirty, Where, and How?
Before you touch anything, look at the camera. The type of dirt determines the cleaning method. You will damage the camera if you use the wrong approach for the wrong grime.
Here are the four scenarios you need to identify.
Saltwater residue. If you have been in the ocean, you will see white crystalline deposits on the housing, lens, and mounting points. Saltwater is the most aggressive contaminant. It crystallizes as it dries, and those crystals are sharp.
They can scratch the lens and housing if you wipe them dry. The correct approach is a freshwater soak before any wiping.
Mud and sand. After a muddy mountain bike ride or a sandy beach session, the camera and housing are caked. The risk here is that sand gets trapped in the hinge of the housing, the mounting threads, and the O-ring groove. The correct approach is a gentle rinse with low-pressure water to remove the bulk, then a soft brush to dislodge particles from crevices.
Fingerprint smudges and dust. This is the most common scenario for everyday vloggers and travelers. The lens has greasy smudges, and the screen has fingerprints. The risk is low, but if you use a dirty cloth, you can still scratch the coating.
The correct approach is a clean microfiber cloth and a lens cleaning pen for stubborn spots.
Dust inside the housing. If you see dust specks on the lens or sensor after opening the housing, you have a different problem. The dust got in during a battery or memory card swap. The correct approach is to use compressed air to blow the dust out.
Never wipe the inside of the housing with a cloth, because static can attract more dust.
Image source: Web (Bing) / amazon.sg (Web image (fair-use with source credit))
The 3 Cleaning Workflows
Once you have diagnosed the dirt, follow the correct workflow. Each branch covers the lens, housing, O-ring, microphone port, and screen.
Workflow 1: Saltwater Exposure
Step 1. Rinse the entire camera and housing with fresh water immediately after use. Do not wipe. Do not wait.
The goal is to dissolve the salt crystals before they harden. Use a gentle stream of tap water or a bowl of distilled water. Soak the housing for 5 to 10 minutes.
Step 2. Remove the camera from the housing. Inspect the O-ring. If you see any salt crystals in the groove, rinse the O-ring and groove separately.
Do not use a cloth on the O-ring. Use your fingers to gently wipe the ring clean under running water.
Step 3. Clean the lens with a microfiber cloth. If the lens is still wet from the rinse, dab it dry. Do not rub.
If you see salt residue, use a lens cleaning pen with a carbon tip to gently lift the crystals.
Step 4. Clean the microphone port with a dry, soft-bristled brush. Do not use water or a cloth. The water can penetrate the mesh and damage the internal microphone.
Step 5. Lubricate the O-ring with a thin layer of silicone grease. Apply a pea-sized amount to your finger. Run the O-ring through your fingers to coat it evenly.
Wipe off any excess.
Step 6. Let all parts dry completely in open air before reassembly. Do not use heat or direct sunlight. Drying time is about 30 minutes to 2 hours depending on humidity.
Workflow 2: Mud and Sand
Step 1. Remove the camera from the housing. Do not open the housing while it is still caked with mud. The grit can fall into the seal.
Step 2. Rinse the housing and camera body with low-pressure water. Do not use a hose on full blast. The water pressure can force water into the charging port or speaker mesh.
Step 3. Use a soft brush to dislodge sand from the mounting threads, the hinge, and the O-ring groove. A toothbrush works well, but make sure the bristles are soft.
Step 4. Clean the lens with a microfiber cloth. If the camera was in mud, the lens may have a film of fine silt. Use a lens cleaning pen to lift the silt without scratching.
Step 5. Clean the microphone port with a dry brush. If sand is stuck in the mesh, use a piece of tape to gently lift it. Do not use a pin or needle.
Step 6. Dry all parts and reassemble.
Workflow 3: Everyday Smudges and Dust
Step 1. Use a clean microfiber cloth to wipe the lens and screen. Use a circular motion with light pressure.
Step 2. For stubborn fingerprints, use a lens cleaning pen. The brush end removes dust. The carbon tip lifts oil.
Step 3. Use canned air to blow dust out of the speaker grille and microphone port. Hold the can upright. Keep it 20 cm from the camera.
Do not shake the can.
Step 4. Wipe the housing with a slightly damp cloth. Do not use soap. If the housing is greasy, use a drop of mild dish soap diluted in water.
Step 5. Dry all parts and store with the housing open to prevent mold.
Image source: Web (Bing) / bestbuy.com (Web image (fair-use with source credit))
Mistakes That Ruin Your Waterproof Seal and Lens Coating
The most expensive mistakes happen when you rush. Let us go through the common errors and how to avoid them.
Using alcohol on the lens or O-ring. Isopropyl alcohol at 70% concentration is fine for cleaning the plastic housing. It is not fine for the glass lens coating or the rubber O-ring. Alcohol strips the hydrophobic coating from the lens and dries out the rubber.
The result is a lens that smudges easily and a seal that cracks. Use alcohol only on the exterior of the housing.
Wiping dry sand or salt. If you take a dry cloth to a camera that has sand or salt crystals on it, you are grinding those particles into the lens and housing. The scratches are permanent. Always rinse first.
Forgetting to lubricate the O-ring. A dry O-ring does not seal as well. It can also pinch or roll out of the groove when you close the housing. Aggregate user reviews report that the most common cause of a flooded housing is a dry or dirty O-ring.
Using paper towels. Paper towels contain wood fibers that are harder than glass. They will scratch the lens and housing. Use only microfiber cloths designed for eyeglasses or camera lenses.
Cleaning the microphone port with liquid. Water or alcohol can seep into the mesh and damage the internal microphone. Once the microphone is damaged, the audio is permanently muffled. Use only a dry brush.
Reassembling wet parts. If you put the camera back into the housing while any part is still damp, you trap moisture inside. That moisture can fog the lens during the next use. In severe cases, it can cause corrosion.
Wait until everything is dry.
For a deeper look at keeping your camera gear in top shape, you might find our guide on cleaning a delicate lens element helpful. The same principles apply: soft cloths, no alcohol, and a gentle touch.
Pro Tips for Keeping Your Camera Clean Between Adventures
The best cleaning is the cleaning you never have to do. A few habits between trips keep the grime from building up in the first place. These small steps save you time and protect the camera from unnecessary wear.
Rinse after every saltwater session. This is the single most important habit. Saltwater begins to crystallize within minutes of drying. Those crystals are sharp enough to scratch the lens and housing.
Make it a routine: the moment you finish filming, dunk the camera in fresh water. Even if you cannot do a full cleaning, a quick rinse prevents damage.
Store the camera with the housing open. After cleaning, leave the housing door unlatched. This allows air to circulate inside. It prevents moisture from getting trapped and growing mold or mildew.
In humid climates, this is critical. Many users report ruined lenses from storing the camera closed while still damp.
Keep the O-ring lubricated on a schedule. Do not wait until the seal looks dry. Lubricate the O-ring every three to six months, depending on how often you use the camera. A thin layer of silicone grease keeps the rubber supple and helps it seat properly.
Mark it on your calendar if you have to.
Use a dedicated lens cloth. Do not use the same microfiber cloth for the lens and the housing. The housing can pick up grit that will transfer to the lens. Keep one cloth for the lens only.
Wash it by hand with mild soap every 20 uses. Let it air dry. Do not use fabric softener.
Clean the mounting threads. The threaded mount on the bottom of the camera collects sand, dust, and salt. Use a dry brush to clean the threads every few uses. If the threads get clogged, the camera may not mount securely.
A loose mount can cause the camera to fall during a ride or run.
Inspect the microphone port before each use. A quick look with a flashlight can reveal lint or debris. If you see anything, use a dry brush to remove it. This takes ten seconds and prevents muffled audio that ruins a day of footage.
For more on keeping your camera gear in working order, our guide on storing your equipment properly covers the same principles of temperature, humidity, and cleanliness. The same rules apply to action cameras.
Frequently Asked Questions
Can I use alcohol wipes to clean my action camera lens?
No. Alcohol strips the hydrophobic coating from the lens. This coating helps water bead off and makes cleaning easier.
Once it is gone, the lens smudges more easily. Use a dry microfiber cloth or a lens cleaning pen instead.
How do I get sand out of the microphone port?
Use a dry, soft-bristled brush. A clean toothbrush or a makeup brush works well. If sand is stuck in the mesh, use a piece of tape to gently lift it out.
Do not use a pin, needle, or compressed air near the mic port, as that can push debris deeper.
What should I do if my lens is scratched?
Scratches on the lens cover are usually permanent. If the scratch is on a removable lens cover, you can replace it. DJI and some GoPro models have replaceable covers.
If the scratch is on the main lens, a camera repair shop can assess the damage. In most cases, you will need to live with the scratch or replace the unit.
How often should I replace the O-ring on my action camera?
Replace the O-ring every six to twelve months, or after 50 open and close cycles. Inspect it before every use. If you see cracks, flat spots, or deformation, replace it immediately.
O-rings are cheap. A flooded camera is not.
Why does my action camera fog up after cleaning?
Fogging means moisture is trapped inside the housing. You likely reassembled the camera while it was still damp. Disassemble the housing and let all parts dry completely for one to two hours.
You can also use a silica gel packet inside the housing to absorb residual moisture.
Can I use a compressed air can to clean the camera body?
Yes, but keep the can upright and at least 20 cm from the camera. Do not shake the can. The propellant can spray out as a cold liquid if the can is tilted.
That liquid can damage the lens coating or seep into the microphone port. Use short bursts only.
Your Decision Chart: Which Cleaning Route to Take
Here is a quick reference to match your situation to the correct workflow. Use this table to decide before you start.
| If you see this | Use this workflow | Key tool |
|---|---|---|
| White salt crystals or ocean film | Saltwater workflow | Freshwater soak, microfiber cloth |
| Caked mud or wet sand | Mud and sand workflow | Low-pressure rinse, soft brush |
| Greasy fingerprints or dust | Everyday smudges workflow | Microfiber cloth, lens pen |
| Dust inside the housing | Blow with compressed air | Canned air, dry brush |
| Fogged lens after cleaning | Dry all parts fully | Silica gel, open air drying |
The simple rule of thumb is this: rinse first, then inspect, then choose your method. If you are unsure, start with the gentlest approach. A soft brush and a dry microfiber cloth are safe for almost any situation.
Save the water and soap for when you actually need it.
Your action camera is built to handle extreme environments, but it needs careful cleaning to keep working. Treat each component with the right tool and the right technique. Your footage will stay sharp, your audio will stay clear, and your camera will last through many more adventures.

Similar Posts
































