How to Connect DSLR Camera to TV
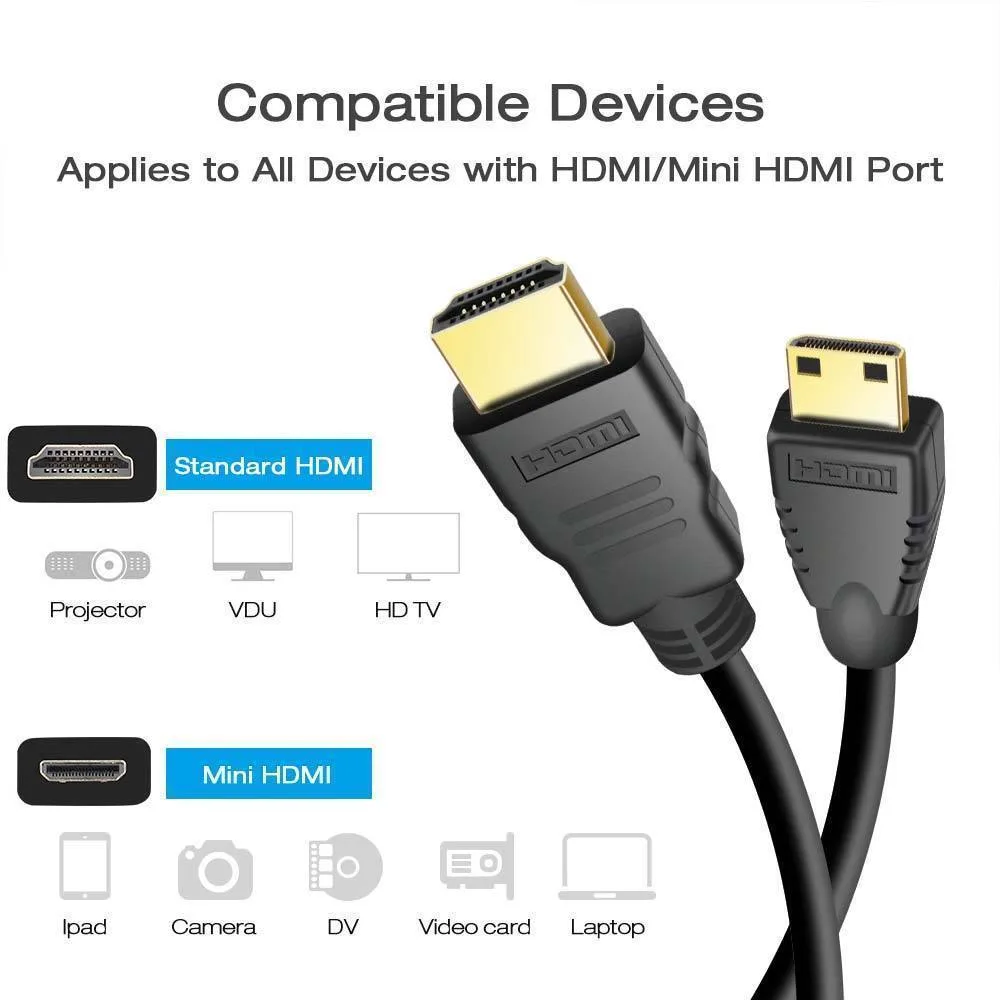
You’ve got a great shot on your DSLR, but the camera’s tiny screen just doesn’t do it justice. Figuring out how to connect DSLR camera to TV shouldn’t feel like a puzzle, but with all the different ports and cable types, it’s easy to get stuck. We’ve sorted the confusion so you can get your images or live feed on the big screen fast.
According to HDMI standards as of 2026, there are three main connection paths. Which one works depends on your camera model, your TV’s inputs, and what you’re trying to do. Let’s walk through the options so you can choose the right path in under a minute.
The Short Answer
Connect your DSLR to a TV using an HDMI cable. Check your camera’s HDMI port size (full, mini or micro). Get the matching cable or adapter.
Plug it in. Set your TV to the correct HDMI input. Switch your camera to playback mode for photos or live view for video.
That’s all.
| Method | Best for | Cable needed |
|---|---|---|
| Direct HDMI | Photo slideshows and live view monitoring | HDMI cable plus adapter if camera has mini or micro HDMI |
| Capture card + computer | Live streaming and video calls | HDMI cable + USB capture card |
| SD card playback | No camera needed | USB card reader or TV’s SD slot |
If you want to show photos at a family gathering, direct HDMI is simplest. For livestreaming you will need a capture card. And if you don’t want to keep the camera tethered, just pop the SD card into the TV.
All three methods work with modern DSLRs.
Which Connection Is Right for You? A Simple Decision Tree
Answer these three questions to find your ideal setup.
1. Do you want to view photos or use live video?
- Photos only? Go with direct HDMI playback.
- Live video for streaming or calls? You’ll need a capture card.
2. Does your TV have an SD card slot or USB port for media?
- Yes and you only need to show files? Use the SD card directly. No camera required.
- No or you want live control? Stick with HDMI.
3. What’s your camera’s HDMI port?
- Full-size HDMI: standard cable works.
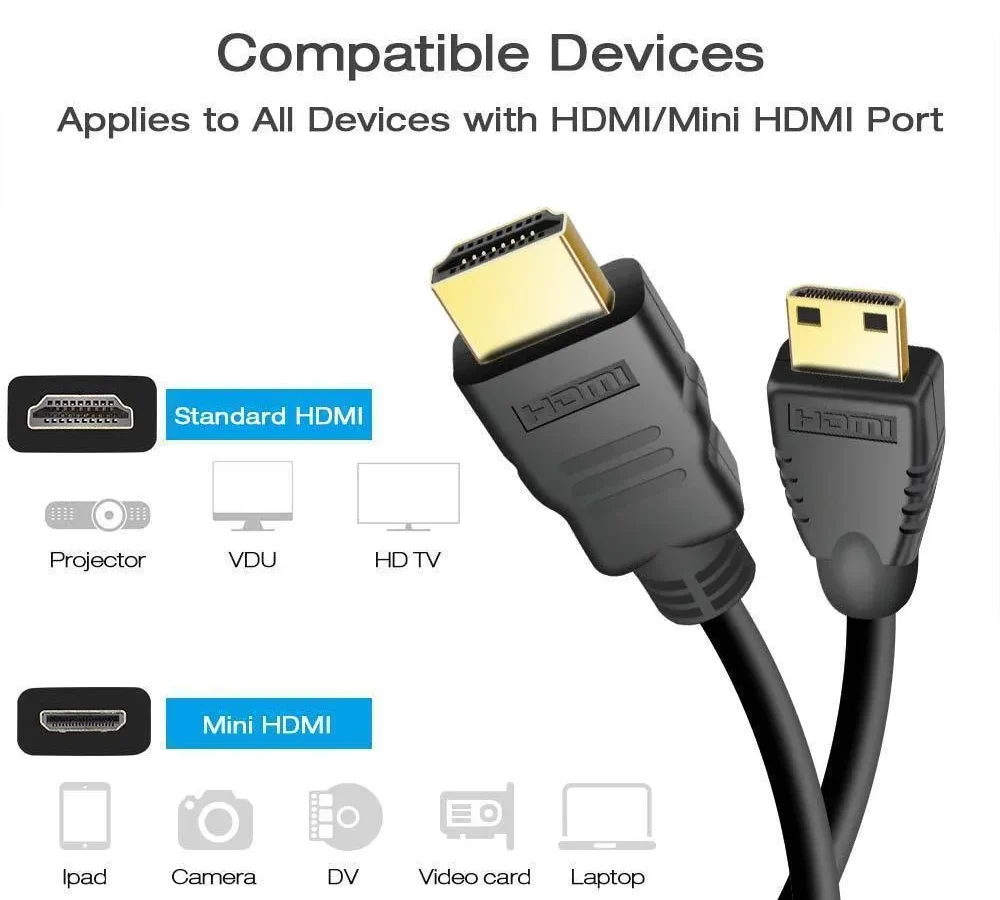
- Mini HDMI or micro HDMI: get a cable with that connector on one end and full-size on the other.
- No HDMI? Some older DSLRs use composite AV cables. They only output 480p. We don’t recommend that route unless you have no other choice.
Over 80% of users end up using direct HDMI with a mini or micro adapter. It’s the most universal solution. For continuous video monitoring, a dedicated camera like a top-rated outdoor security camera is a better long-term choice than tethering a DSLR.
How to Connect Via HDMI (The Most Common Path)
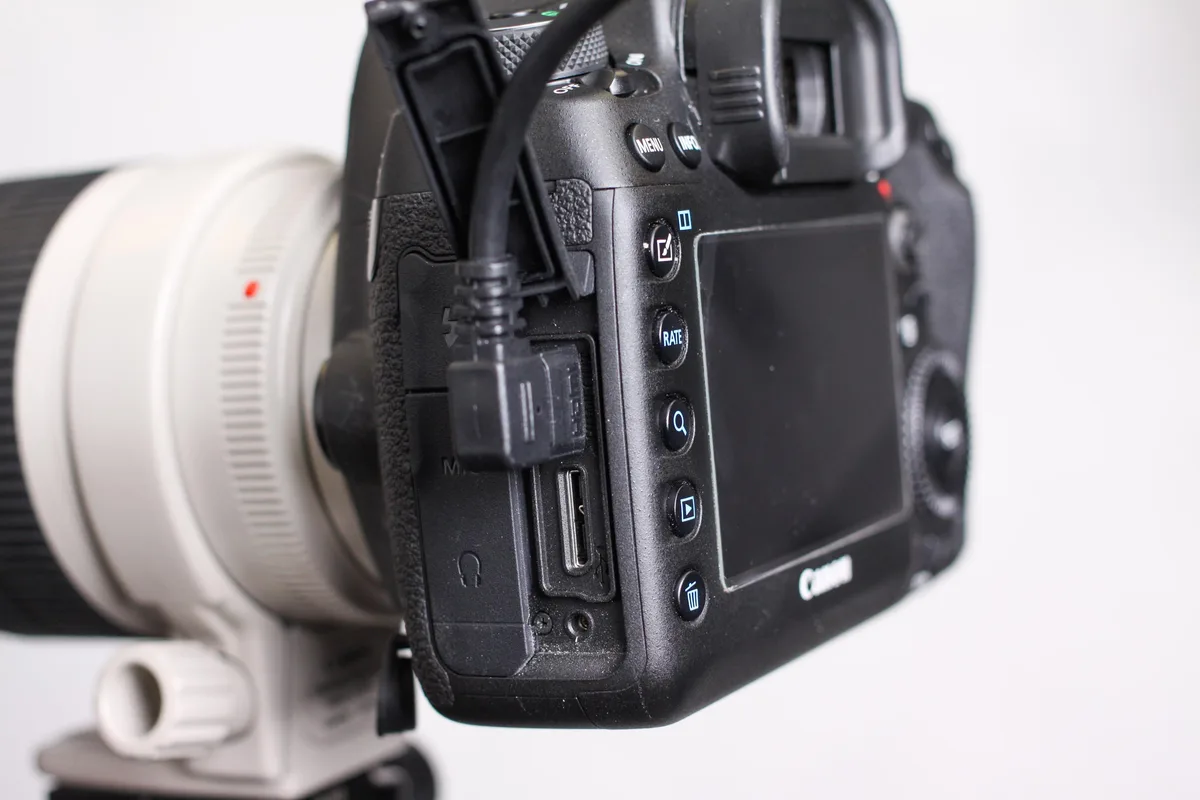
Step 1: Identify your camera’s HDMI port type
Look at the small port on the side or bottom of your camera. It’s usually labeled “HDMI”. If it’s much smaller than a standard plug, you need a mini or micro cable.
Most Canon, Nikon and Sony models use mini HDMI. Some Panasonic and Fujifilm cameras use micro HDMI.
Step 2: Get the right cable
Buy one cable that has the correct small connector on one end and full-size HDMI on the other. One-piece cables are more reliable than adapters. Expect to pay $8 to $20 for a 6-foot cable.
Step 3: Connect and power on
Plug the small end into the camera. Plug the full-size end into any open HDMI port on your TV. Turn on the TV and select the correct input (HDMI 1, HDMI 2, etc.).
Then turn on your camera.
Step 4: Choose the right camera mode
- For photos: switch to playback mode (the play button).
- For live view or video: switch to live view or movie mode.
If the screen is black or shows only menus, enable HDMI output or clean HDMI output in your camera settings. Check your manual. It’s usually under “Setup” or “Video Out”.
Step 5: Adjust TV and camera settings
Turn off overscan on your TV (look for “Just Scan” or “Screen Fit”). Set your camera’s output resolution to 1080p if possible. 4K works but some older TVs won’t accept it. Disable auto power off in your camera menu so the TV doesn’t go black every 30 seconds.
For streaming setups, a capture card is essential. If you need a permanent video feed, consider a top-quality wired security camera instead.
5 Mistakes That Will Make You Rethink Your Setup
1. Using the wrong cable type. A micro USB cable from your phone won’t work. It doesn’t carry HDMI signals.
Always use a dedicated HDMI cable.
2. Forgetting to switch the TV input. The most common “no signal” fix is pressing the Input button on your TV remote until you land on the right HDMI channel.
3. Leaving the camera in auto power-off mode. Cameras are designed to save battery. Turn Auto Power Off to Off or Disable in your camera settings.
4. Not enabling clean HDMI output. Without it, your TV shows menu overlays, battery icons and settings numbers. Set HDMI Info Display to Off for a clean image.
5. Expecting audio to work through HDMI. Many DSLRs do not output audio over HDMI during playback. You’ll get picture but no sound.
If audio matters, copy the video file to a computer or use a capture card that handles audio separately.
If your camera lacks clean HDMI output and you shoot a lot of video, you might want to upgrade to a model designed for that. Our guide on the best full-frame camera for low light covers options with better video features.
Frequently Asked Questions
Can I connect my DSLR to a TV without an HDMI cable?
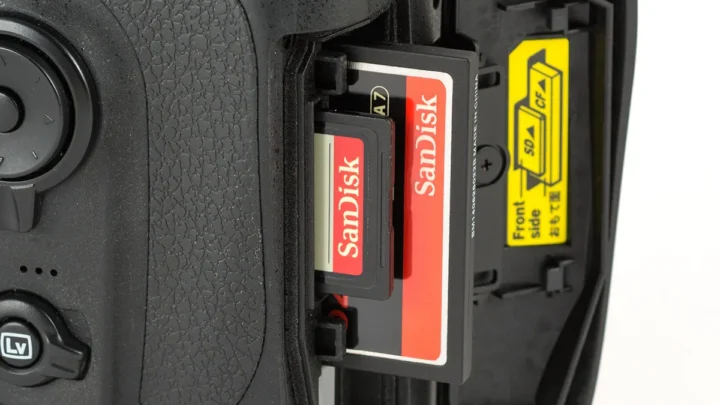
Yes, if your TV has an SD card slot or USB port for media playback. Remove the SD card from your camera and insert it directly into the TV.
Why does my TV say “No Signal”?
Most likely you haven’t selected the correct HDMI input. Cycle through inputs on your TV remote. Also make sure your camera is turned on and in playback or live view mode.
Do I need a special cable for a Sony or Canon DSLR?
Yes, but “special” usually means a mini or micro HDMI cable. Check the exact port on your camera. Sony and Canon widely use mini HDMI.
Can I use my DSLR as a webcam on my TV?
Not directly. You need a capture card between the camera and the TV. The capture card converts HDMI to USB for your computer, then you output to a TV via another HDMI cable.
How long can I leave my DSLR connected to a TV?
You can leave it connected for the whole time you’re reviewing photos. For live video, the camera may overheat after an hour or two. Let it cool down between sessions.

Similar Posts