How to Set up a Mirrorless Camera
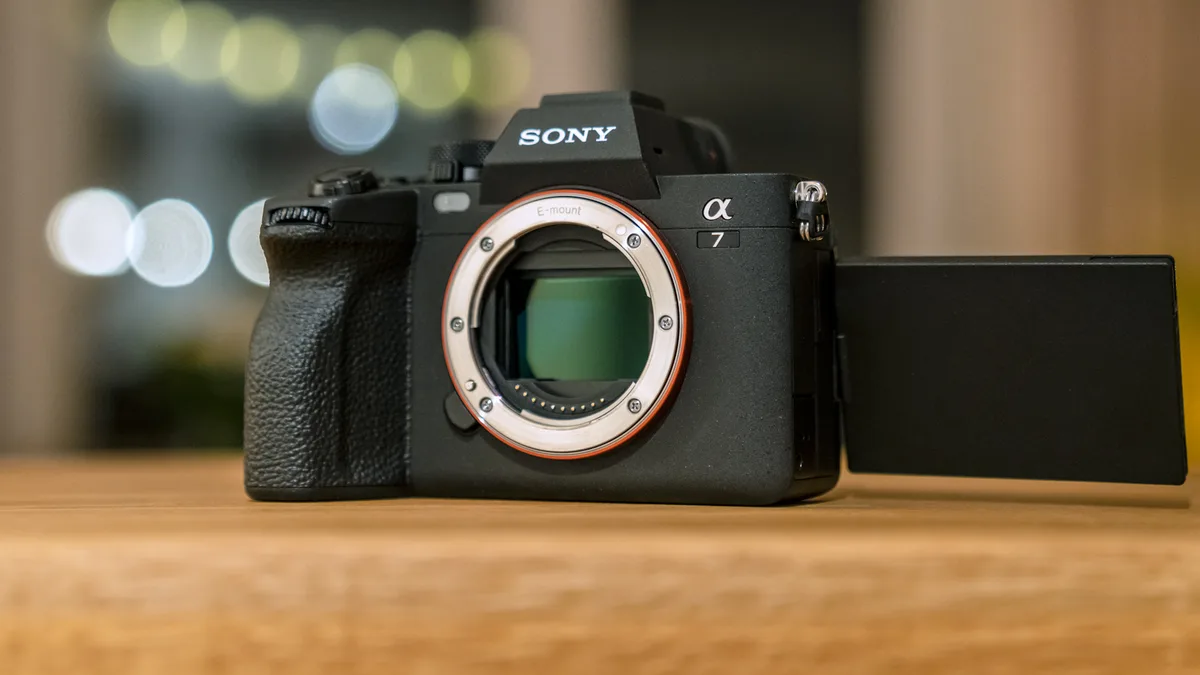
You just got your first mirrorless camera. It's smaller than you expected, and the menu system looks like a spaceship's control panel. Understanding how to set up a mirrorless camera is the key to unlocking its potential.
The first few minutes with your new gear set the tone for everything that follows.
Per CIPA standards, mirrorless cameras typically offer 300 to 700 shots per battery charge. That's notably less than DSLRs. This is one of the main reasons you need to focus on the right settings before you head out.
As of 2026, most modern mirrorless cameras charge via USB-C and share similar menu structures.
Quick Answer
Set up your mirrorless camera in six steps. Charge the battery fully before first use. Insert a compatible memory card.
Attach the lens by aligning the mount index. Set the date and time. Format the card inside the camera.
Adjust autofocus mode, file format, and white balance. Then you're ready to shoot.
Why Your Camera's Setup Depends on What You See (and What You Need Before You Start)
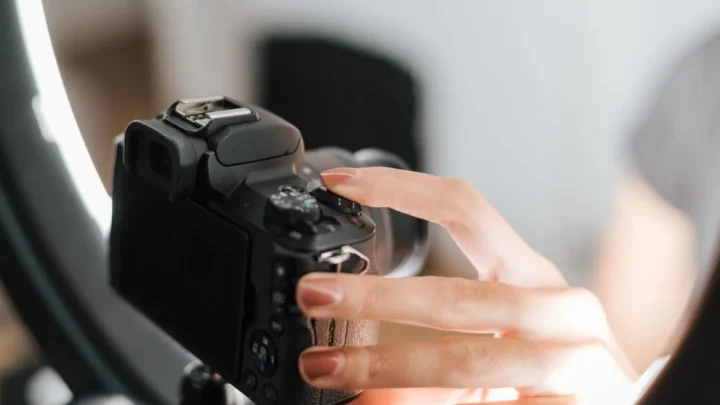
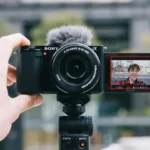
Mirrorless cameras show you everything through the electronic viewfinder or LCD screen. What you see is what you get. That's why the setup process is so visual compared to old DSLRs.
The EVF shows your exposure, white balance, and focus in real time. You can see changes as you make them. This is a huge advantage once you know what to look for.
Image source: Web (Bing) / cined.com (Web image (fair-use with source credit))
You need three things before you start. A charged battery. A compatible memory card.
A lens that matches your camera's mount. That's the entire physical setup.
Many people skip reading the quick start guide. Don't be one of them. Per manufacturer specifications, the quick start guide shows you where every slot and button is located.
This saves you from guessing.
Your camera's battery needs to be charged before first use. Most modern mirrorless cameras charge via USB-C. Some come with a dedicated charger.
Check which one you have.
Memory cards come in different speeds and sizes. For a first setup, any card rated UHS-I or faster at 64GB or 128GB works fine. You can upgrade to faster cards later.
The lens mount is the most critical connection. Align the white dot on the lens with the white dot on the camera body. Twist until you hear a click.
Never force it.
Check the lens contacts for any dust or debris before mounting. A clean connection ensures proper autofocus and communication. This is similar to mounting a lens on any digital camera body.
Also verify that your battery is the correct model for your camera. Using a third-party battery can cause performance issues or damage. Stick with the manufacturer's recommended batteries.
Physical Setup: Battery, Memory Card, Lens, and Strap
Let's start with the physical parts. You need to install the battery and insert the memory card. Then attach the lens and secure the strap.
Do these in order.
First, open the battery door on the bottom of the camera. Insert the battery with the contacts facing inward. Push until it clicks into place.
Close the door.
Next, insert the memory card. The slot is usually inside the battery compartment or on the side of the camera. The card only goes in one way.
Don't force it.
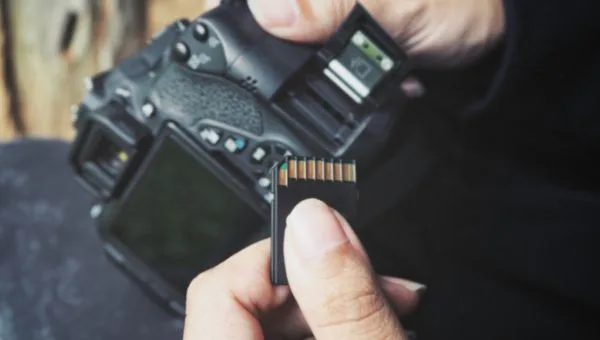
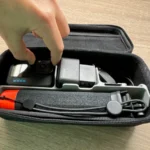
Image source: Web (Bing) / orah.co (Web image (fair-use with source credit))
Format the card inside the camera after you turn it on. This ensures the file system is correct. Never format a card on your computer for a mirrorless camera.
You can find more on formatting your memory card inside the camera.
Now attach the lens. Remove the body cap and the rear lens cap. Align the mounting index marks.
Twist the lens clockwise until it locks. You should hear a click. This is the same process as fitting a lens to any interchangeable-lens camera.
The strap is easy to overlook but important. Thread the strap through the strap lug on the camera body. Feed it through the plastic buckle.
Pull tight. A dropped camera is a broken camera.
Use the manufacturer's instructions for strap threading. The way you do it matters. A loose strap leads to accidents.
Double-check your knots.
Some cameras have a strap hook that moves. Make sure it's in the correct position before threading. This prevents the strap from coming loose during use.
If you have a tripod plate, attach it now. This saves you from fiddling with it later. It's one less thing to worry about when you're in the field.
First Power-On: Date, Time, Language, and Formatting Your Card
Press the power button. It's usually on the top right of the camera. The screen will light up.
You'll see a language selection screen.
Choose your language. The next screen asks for the date and time. Set these correctly.
The date and time are embedded in your photo files. This helps you organize your photos later.
Many cameras also ask for your time zone. Set this too. It matters for GPS tagging and file organization.
Skip this step and your photos will display wrong dates.
After setting the date and time, the camera will ask if you want to format the memory card. Say yes. Formatting prepares the card for your specific camera.
It creates the correct folder structure.
Formatting erases everything on the card. If you're using a new card, this is fine. If you're reusing a card, make sure you've backed up your photos first.
You should back up your camera photos regularly.
Some cameras offer a quick format and a full format. The quick format is fine for most uses. The full format takes longer but checks for bad sectors.
Use the full format if you're having card issues.
After formatting, you're ready to move to the core settings. The camera is now functional. It just needs to be configured for your shooting style.
Formatting every time you use a new card is a good habit. It prevents file system errors. It also ensures your camera writes to the card correctly.
Make this part of your routine.
The Core Settings to Change Right Away (AF, Drive, File Format, White Balance, ISO)
You don't need to change every menu item. You just need to change five key settings. These affect how your camera shoots from the start.
First, set the autofocus mode. Most mirrorless cameras default to AF-S (single autofocus). This works for still subjects.
For moving subjects, switch to AF-C (continuous autofocus). The camera will track the subject.
Second, set the autofocus area. Your camera might default to wide area. This lets the camera choose what to focus on.
Switch to single point or flexible spot for more control. You can adjust the focus points to match your subject.
Third, choose your file format. Most cameras shoot JPEG by default. Switch to RAW if you want to edit your photos later.
Or use RAW+JPEG for a JPEG preview and a RAW file for editing. RAW files take more space.
Fourth, set the white balance. Auto white balance works well for most situations. If you're shooting under consistent light, use a preset like daylight or tungsten.
You can set the white balance manually for accurate colors.
Fifth, set your ISO. Auto ISO is a good starting point. Set a maximum ISO limit, usually 3200 or 6400 depending on your camera.
This prevents the camera from using too high an ISO in low light.
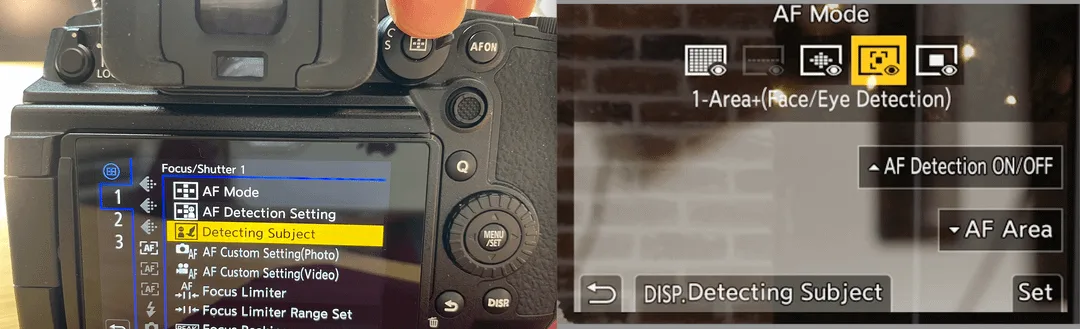
Image source: Web (Bing) / reddit.com (Web image (fair-use with source credit))
These five settings cover most shooting situations. You can adjust them as you learn. The key is to start with a solid foundation.
Change one setting at a time and see what it does.
Drive mode is another setting to check early. It controls how many photos the camera takes when you press the shutter. Single shot is fine for most beginners.
Continuous low or high is useful for action shots.
Customizing Buttons, the Touchscreen, and the Viewfinder
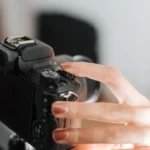
Mirrorless cameras let you customize buttons and controls. This is one of their best features. You can set up the camera to match your shooting style.
Start with the function buttons. Most cameras have two or three Fn buttons. Assign them to settings you use most often.
ISO, white balance, and autofocus mode are common choices. Check your camera manual for the list of assignable functions.
The touchscreen is useful for setting focus points. You can tap the screen to focus on a specific area. This is faster than using the joystick.
Some cameras let you use the touchscreen for menu navigation too.
The electronic viewfinder has its own settings. You can adjust the brightness and color. Some cameras let you set the refresh rate.
A higher refresh rate reduces lag but uses more battery. This is similar to using live view on a digital camera.
Diopter adjustment is on the side of the viewfinder. This adjusts the viewfinder to your eyesight. Turn the dial until the text in the viewfinder is sharp.
This is important for glasses wearers.
The LCD screen brightness can be adjusted. Set it to a comfortable level. Too bright and you'll overexpose your photos.
Too dim and you'll underexpose them. Use the histogram to check your exposure.
Many cameras let you customize the menu. You can create a custom menu with your most used settings. This saves time in the field.
Add your favorite settings to the My Menu section.
The touchscreen can be set to different modes. Some cameras let you use it for focus and shoot. Others let you use it for menu navigation only.
Set it to what works for you.
Common Setup Mistakes (and How to Spot Them on Your Screen)
Even experienced photographers make setup errors. The good news is that mirrorless cameras show you the problem in real time. You just need to know what to look for.
The most common mistake is forgetting to remove the lens cap. Check your viewfinder. If you see black or a dark shadow, the cap is still on.
This happens more often than you'd think.
Another frequent error is incorrect autofocus mode. If your camera won't lock focus, check the AF mode. It might be set to manual focus.
Look for an MF indicator on the screen. Switch back to AF-S or AF-C.
A blurry viewfinder could mean the diopter needs adjustment. Turn the small dial near the viewfinder. Stop when the text and icons look sharp.
This is a simple fix that many people miss.
Wrong white balance causes color casts. If your photos look too orange or too blue, check the WB setting. Auto white balance usually fixes this.
If not, switch to a preset that matches your light source.
Overexposed or underexposed images often come from wrong exposure compensation. Look for a +/- icon on the screen. Reset it to zero if you see a positive or negative number.
You can adjust the exposure settings to get the right brightness.
Battery issues are another common problem. If the camera won't turn on, check the battery orientation. Insert it with the contacts facing inward.
If it still won't power up, charge the battery fully.
Memory card errors happen when the card isn't formatted correctly. Format the card inside the camera. This fixes most card issues.
If the error persists, try a different card.
Setting the wrong file format is easy to miss. If you're running out of space quickly, check if you're shooting RAW+JPEG. Switch to JPEG only if you don't need RAW files.
Touchscreen issues can be frustrating. If the screen isn't responding, check if touch AF is enabled. Some cameras let you disable the touchscreen in the menu.
Re-enable it if needed.
Frequently Asked Questions
How long does it take to set up a mirrorless camera?
The physical setup takes about 10 minutes. Adjusting the core settings adds another 15 minutes. Customizing buttons and menus takes 30 minutes to an hour.
Total setup time is roughly one hour for a thorough configuration.
Do I need to format my memory card every time?
No, but it's a good habit. Format the card when you first use it. Format again if you experience errors.
Regular formatting prevents file system corruption. Always back up your photos before formatting.
Should I shoot in RAW or JPEG?
Shoot RAW if you plan to edit your photos. Shoot JPEG if you want ready-to-use images. RAW+JPEG gives you both options.
RAW files take more space but offer more editing flexibility. Start with RAW+JPEG and decide later.
What autofocus mode should I use for beginners?
Start with AF-S for still subjects. Switch to AF-C for moving subjects. Use Auto AF if you're unsure.
Auto AF lets the camera decide between the two modes. This is a safe starting point for most situations.
Why is my camera battery draining so fast?
Mirrorless cameras use more power than DSLRs. The EVF and LCD screen drain the battery. Turn off Wi-Fi and Bluetooth when not in use.
Reduce the screen brightness. Carry a spare battery for longer shoots. Check our tips for improving battery life for more details.
How do I clean the camera sensor?
Use a blower to remove loose dust. For stubborn spots, use a sensor cleaning kit. Never use compressed air or canned air.
Follow the manufacturer's cleaning instructions. If you're unsure, take it to a professional.

Similar Posts