How to Use Trail Camera for Deer
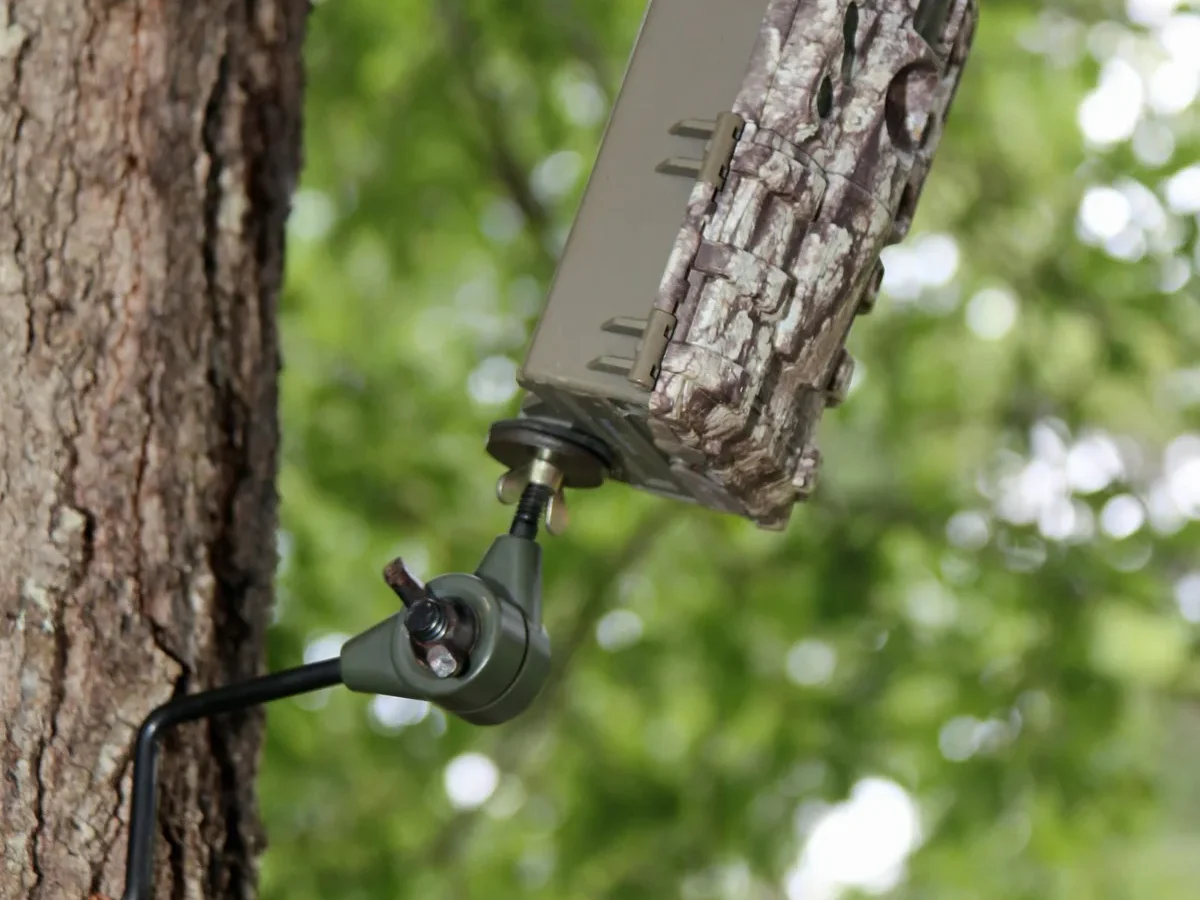
You've strapped a trail camera to a tree, but all you're getting is pictures of swaying grass and the neighbor's cat. That's the reality for most hunters who are learning how to use trail camera for deer. The good news is that getting useful intel on mature bucks isn't complicated.
It just requires the right approach.
Manufacturer specifications show that cameras with a trigger speed of 0.3 seconds or faster capture over 90 percent of passing deer. Slower cameras miss more than half. As of 2026, even budget models can deliver that speed.
But speed alone won't help if you put the camera in the wrong spot or set it up wrong.
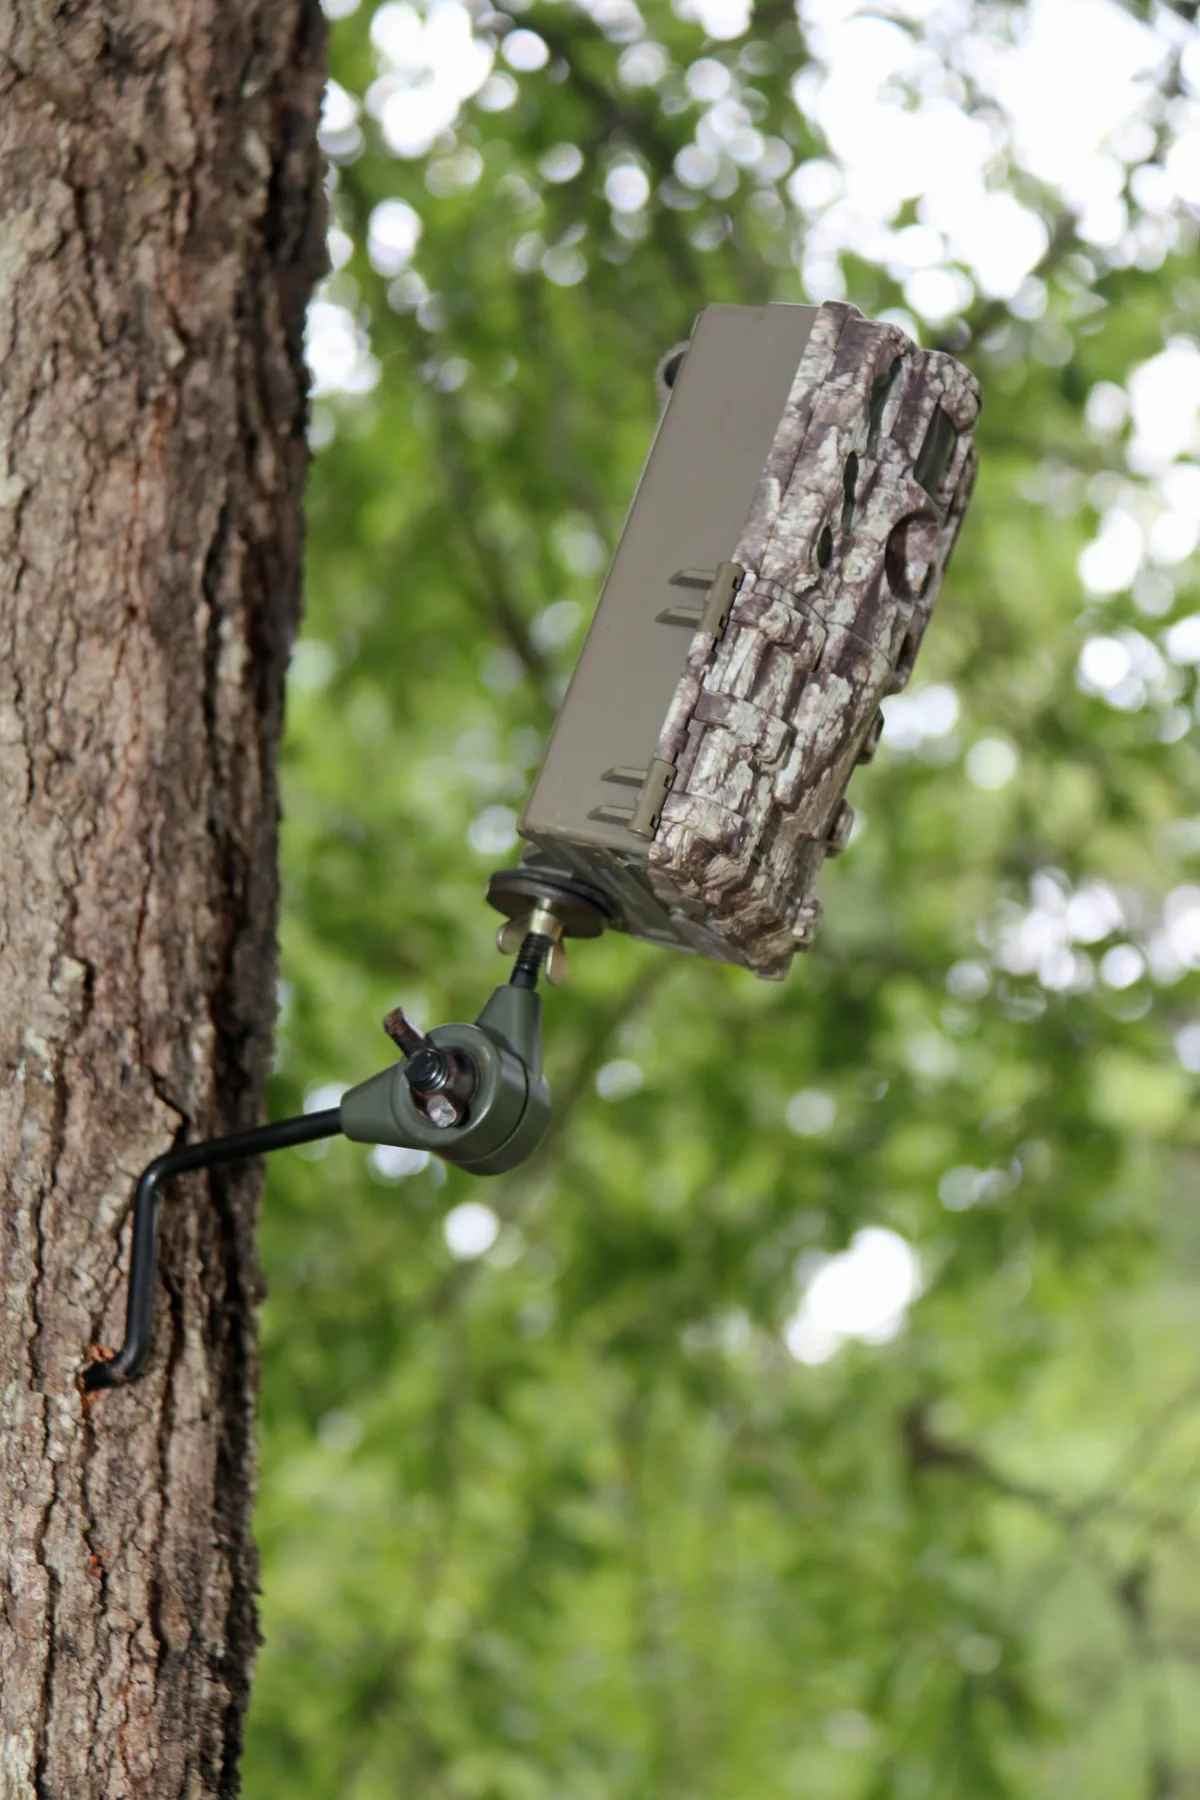
Image source: Web (Bing) / greatdaysoutdoors.com (Web image (fair-use with source credit))
Why Your Trail Camera Setup Probably Isn't Working (And How to Fix It)
Most trail camera problems come down to three things. Location, settings, and maintenance. Fix those, and your results will change fast.
False triggers lead the list of complaints. Wind moving grass or branches sets off the passive infrared sensor. The fix is simple.
Clear the detection zone. Cut back tall grass and trim branches within the camera's field of view. You want a clean corridor from the camera to about 30 feet out.
If you're not getting deer at all, the camera is in the wrong spot. You need to find natural travel routes. Trails between bedding areas and food sources are your best bet.
Look for fresh sign like rubs, scrapes, and tracks. Mature bucks use the same paths repeatedly when they feel safe.
Poor image quality usually means wrong settings or low batteries. Use the highest resolution your camera supports. Most cameras offer 12MP to 20MP options.
That's plenty for identifying individual deer. Replace alkaline batteries with lithium cells. Lithium lasts three to four times longer and performs better in cold weather.
If your camera stops working mid-season, check the SD card first. Corrupted cards are a common issue. Format the card inside the camera, not on a computer.
This prevents file system errors that can lock up the device.
The Two Most Important Decisions You'll Make Before Setting Up
The two decisions that shape your entire scouting season happen before you leave the house. First, choose between a cellular camera and a standard SD card model. Second, decide where to put it based on what you want to learn.
Cellular cameras send photos directly to your phone. They cost more upfront and require a data plan. But they save you from walking in and spooking deer.
Standard cameras are cheaper and have no monthly fees. You have to visit them to pull cards. That creates human pressure on your property.
For private land with limited access, a standard camera works fine. For public land or remote spots, cellular is worth the investment. You can check photos from home.
You only walk in when you need to move the camera. A dependable budget wildlife camera can serve both purposes if you choose wisely.
The second decision is about camera height and angle. Deer are most visible at 24 to 36 inches off the ground. That's knee to mid-thigh height.
Angle the camera slightly downward. This captures the full body and antler profile. It also reduces false triggers from the sun.
If you're targeting a specific buck, aim the camera at a known scrape or trail junction. For general inventory, set it on a main trail. For food plot monitoring, place it at the edge of the plot, not in the middle.
Deer are more comfortable at the edges.
Where to Place Your Camera: A Decision Tree Based on Sign and Season
Your camera placement depends on three variables. The time of year, the type of sign you find, and your specific goal. Here's how to decide.
If it's summer (June to August), focus on food sources. Soybeans, clover, and alfalfa draw deer daily. Place cameras 20 to 30 feet from the food source edge.
Point them toward the trail leading in, not the food itself. This captures deer before they enter the field.
If it's early fall (September to October), look for rub lines and scrapes. Bucks are establishing territory. Set cameras 15 to 20 feet from active scrapes.
Angle the camera to catch the scrape and the approach trail. This reveals which bucks are using the area and when.
If it's the rut (November), focus on travel corridors between bedding and feeding areas. Research from the University of Georgia Deer Lab confirms that deer use the same routes repeatedly. Does move through these funnels.
Bucks follow them. Set cameras on the narrowest points of the corridor. Think creek crossings, fence gaps, and ridge saddles.
If it's post-season (December to February), target bedding areas. Bucks are recovering and moving less. Place cameras on trails leading out of thick cover.
Use time-lapse mode to capture movement patterns without triggering the sensor.
For general herd inventory, set cameras on main trails 100 to 200 yards from food sources. Use a wide detection zone and let the camera do the work. Keep the lens clean to prevent dust and moisture from blocking the view.
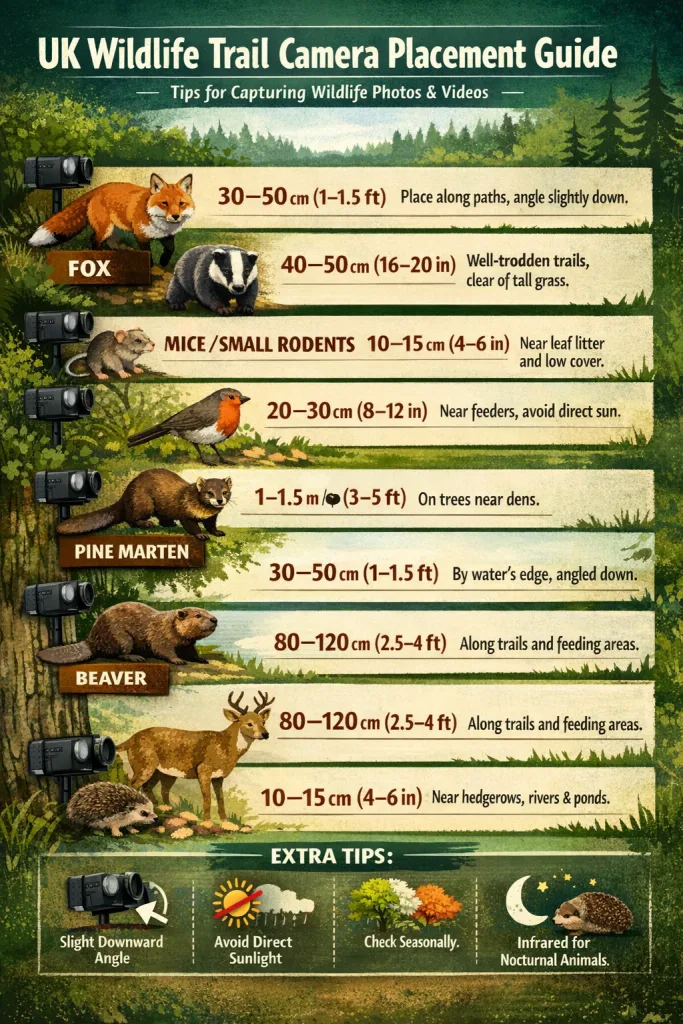
Image source: Web (Bing) / pakatak.co.uk (Web image (fair-use with source credit))
How to Set Your Camera Settings for Deer (Not for Squirrels)
Getting the settings right separates useful data from thousands of useless photos. Here's what to adjust for deer.
Set trigger speed to the fastest option. Most cameras offer 0.2 to 0.5 seconds. A fast trigger catches a walking buck in frame.
A slow trigger catches an empty trail. For deer, 0.3 seconds or faster is ideal.
Choose photo mode over video for most setups. Photos use less battery and fill SD cards slower. They give you a clear look at antler configuration and body condition.
Use video only at scrapes or during the rut when you want to see behavior.
Set resolution to 12MP or 16MP. Higher resolutions create larger files but don't improve identification. Anything above 20MP is overkill for trail cameras.
It just fills your card faster.
Use multi-shot mode. Set the camera to take 3 photos per trigger event. This captures the deer in different positions.
You get a better look at antler points and tine length. A single shot might miss the best angle.
Turn off the time-lapse feature unless you're monitoring a food plot. Time-lapse fills cards quickly with photos of empty fields. Use it only when you know deer are present at specific times.
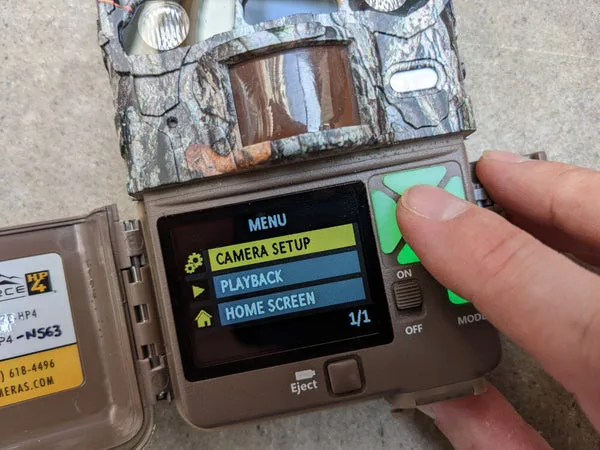
Image source: Bing (Web (fair-use with source credit))
5 Common Trail Camera Mistakes That Cost You Bucks
Mistake 1: Setting the camera too high. Many hunters mount cameras at eye level. That's too high for deer. Mount at 24 to 36 inches for the best body and antler shots.
This also keeps the camera low enough to catch smaller deer and fawns.
Mistake 2: Not clearing the detection zone. Tall grass and moving branches cause false triggers. They also block the view of passing deer. Clear a path from the camera outward for at least 30 feet.
Trim branches and cut tall grass.
Mistake 3: Using alkaline batteries. Alkaline batteries die fast in cold weather. They lose power as temperatures drop. Lithium batteries last three to four months in the field.
They perform well in freezing conditions. The extra cost is worth it.
Mistake 4: Checking cameras too often. Every time you walk in to pull a card, you leave scent. You alert deer to your presence. Mature bucks will shift their patterns.
Pull cards every 3 to 4 weeks during the season. Use cellular cameras to avoid this problem entirely.
Mistake 5: Ignoring SD card maintenance. Always format the SD card inside the camera. Never delete individual photos from a card in your computer. This creates file fragmentation that causes errors.
Replace cards every season to prevent failure. Store your cameras in a dry place during the off-season to prevent moisture damage.
How to Maintain Your Cameras and Pull Cards Without Spooking Deer
The way you maintain your cameras matters as much as where you place them. Every visit leaves a scent trail. Every footstep alerts deer to your presence.
Mature bucks will shift their patterns if they feel pressure.
Pull cards every 3 to 4 weeks during the pre-season. During the rut, extend that to 4 to 6 weeks. The extra movement is worth the risk of missing a few photos.
Deer are more active during the rut, and they're less cautious about human scent.
Always approach your camera from downwind. Walk in with the wind in your face. This carries your scent away from bedding areas and travel routes.
Wear rubber boots to minimize ground scent. Use scent-killing spray on your clothing and gear.
Check batteries and SD cards before you leave the house. Carry spares in a sealed plastic bag. Replace batteries at the first sign of voltage drop.
Lithium batteries maintain full power until they die. Alkaline batteries fade gradually and cause missed photos.
Clean the camera housing and lens during each visit. Use a microfiber cloth for the lens. Wipe the housing with a damp cloth to remove dust and spider webs.
These small obstructions can trigger false images or block the view.
At the end of the season, remove all cameras from the field. Store them in a dry, temperature-controlled space. This prevents moisture damage and battery corrosion.
Trail Camera FAQs: The Questions That Actually Matter
How often should I check my trail camera?
Every 3 to 4 weeks during the pre-season. Every 4 to 6 weeks during the rut. Checking too often creates human pressure that pushes mature bucks away.
Use a cellular camera if you need daily updates.
What is the best height for a trail camera?
24 to 36 inches off the ground. That's knee to mid-thigh height. This captures the full body and antler profile.
It also reduces false triggers from the sun and wind. Higher cameras miss smaller deer and fawns.
Do trail cameras spook deer?
Yes, if you check them too often. The camera itself does not spook deer. The human scent and noise from visits do.
Mature bucks learn to avoid areas with heavy human traffic. Keep visits to a minimum.
What SD card should I use for a trail camera?
Use a 32GB SD card formatted in the camera. 32GB holds 20,000 to 30,000 12MP images. That's enough for several months of use. Avoid cards larger than 64GB.
They can cause compatibility issues with older cameras.
How long do trail camera batteries last?
Lithium batteries last 3 to 6 months depending on usage. Alkaline batteries last 1 to 2 months. Cold weather cuts alkaline life in half.
Lithium is the better choice for any serious scouting effort.
The Final Decision Guide: What to Do Next Based on Your Situation
If you're new to a property, start with a standard SD card camera. Place it on a main trail near a food source. Use a 32GB card and lithium batteries.
Check it after 3 weeks. Review the photos to learn deer movement patterns.
If you're targeting a specific buck, use a cellular camera. Place it on a known scrape or travel corridor. Set it to take 3 photos per trigger.
Check the images from your phone. Only walk in when you need to adjust the camera.
If you're managing a property for herd health, use multiple cameras. Place one at a food source, one on a main trail, and one near a bedding area. Use time-lapse mode on the food source camera.
Use standard mode on the trail and bedding cameras.
If you're hunting public land, use a cellular camera with a security cable. Mount it on a tree that is not near the main trail. Use a lock to prevent theft.
Check the images from your phone. Never reveal your camera location to others.
If you're in the post-season, focus on bedding areas. Use time-lapse mode to capture movement patterns. This helps you identify core areas for next season.
Avoid walking near bedding areas until late winter.
The best camera setup is the one you don't have to visit. Cellular cameras give you that freedom. Standard cameras work if you limit visits and use good scent control.
Choose based on your budget and your tolerance for human pressure. Check your state's wildlife agency website for specific regulations on trail camera use in your area.

Similar Posts
































