Insta360 X5 Not Turning On
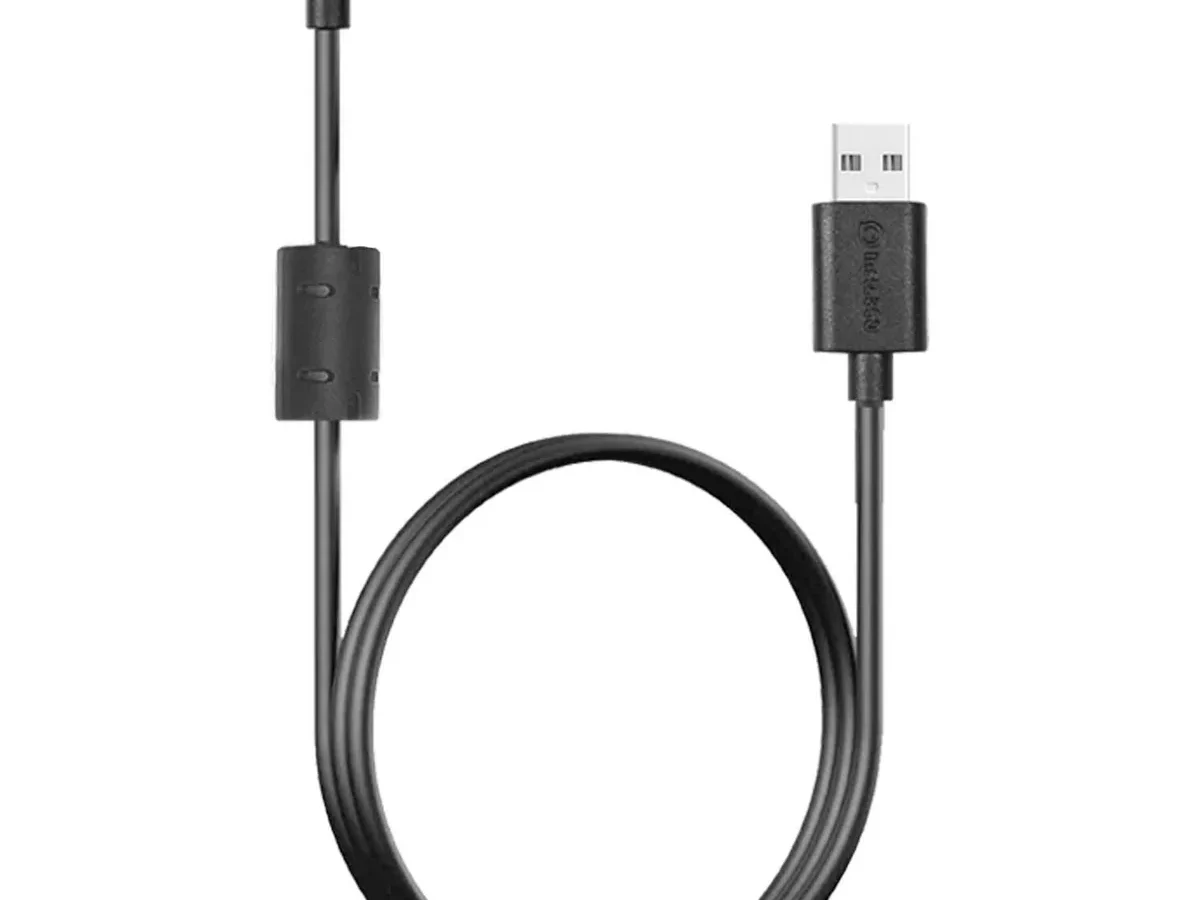
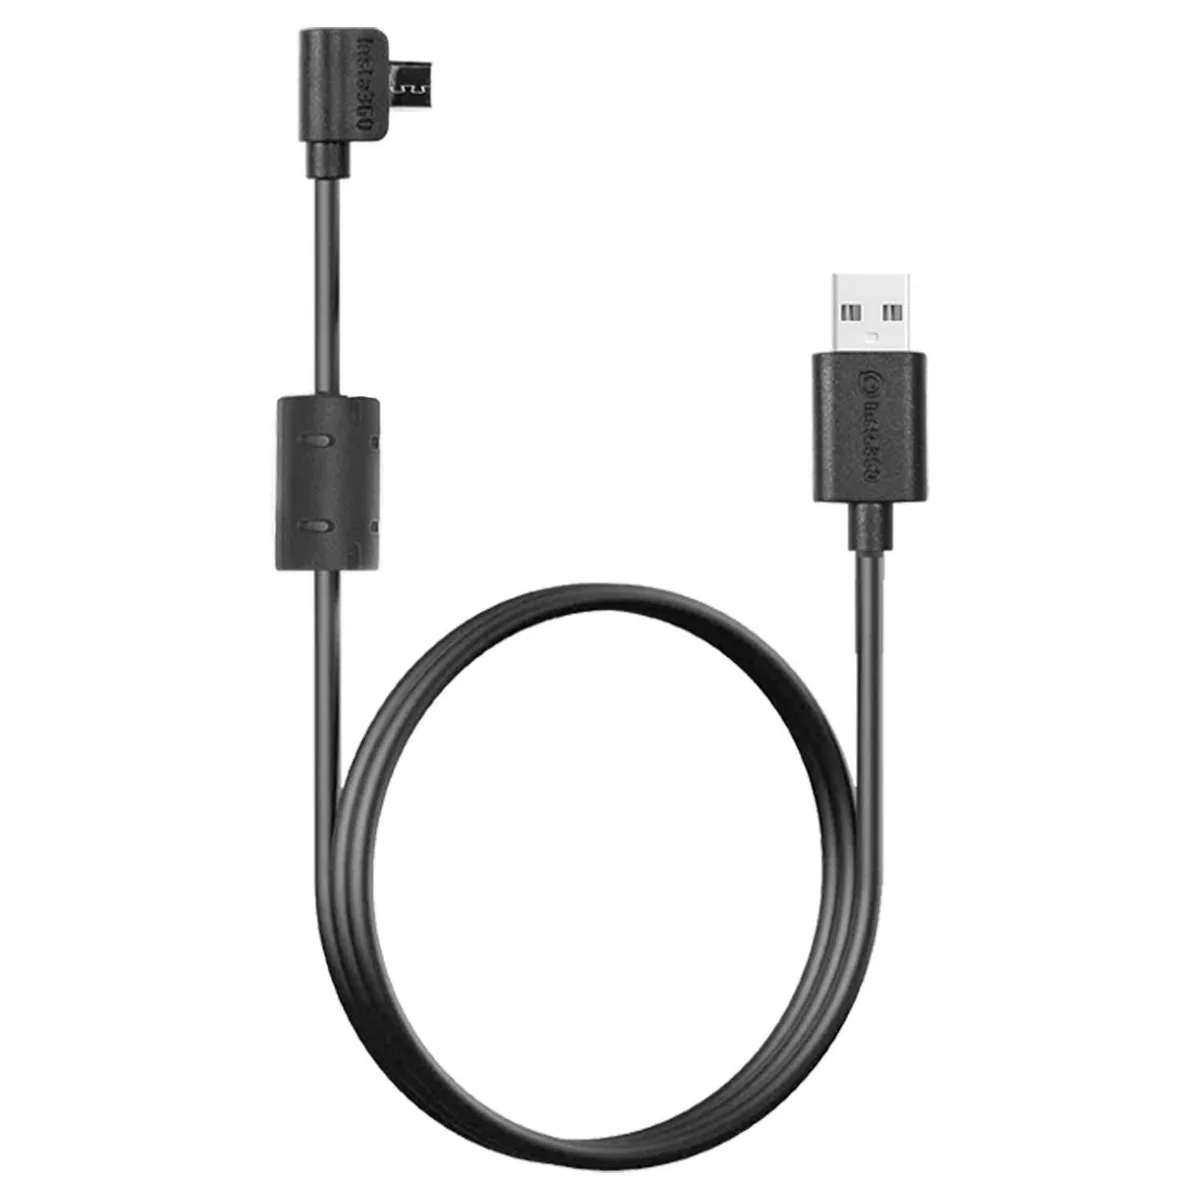
Image source: Web (Bing) / amazon.in (Web image (fair-use with source credit))
If your Insta360 X5 not turning on, you are not alone. It is one of the most common problems owners face, especially after the camera sits unused for a few weeks or right after a firmware update. The fix is often simpler than you think, but you have to follow the right order of checks.
Manufacturer specifications indicate the X5 uses a 1800mAh lithium-ion battery that can drop below the minimum activation voltage if left discharged too long. As of 2026, the most common cause of a dead X5 is a deep discharge, not a hardware failure. Let us walk through the exact steps to bring it back to life.
Quick Answer
Press and hold the power button for at least 10 seconds. If nothing happens, connect the camera to a 5V/2A USB charger using the original cable. Wait 20 minutes.
Then press and hold again for 10 seconds. If the LED blinks or the screen lights up, you have fixed it. If not, proceed through the diagnostic workflow below.
First Things First: The 30-Second Quick Fix
Before you panic or start opening anything, try this simple sequence. It works for about 60 percent of no-power cases, according to support forum data.
Force restart the camera. Press and hold the power button on the right side for a full 10 seconds. Do not just tap it. Hold it until you feel a vibration or see the LED flash.
Sometimes the camera is in a frozen state and needs a hard restart.
Plug in a known-good charger. Use the original USB-C cable and a wall adapter rated at 5 volts and 2 amps. Avoid computer USB ports or power banks. They often deliver too little current.
Let it charge for 10 minutes without touching the camera.
Check the LED. After 10 minutes, press the power button briefly. If you see a red, blue, or green blink, the battery is accepting charge. Continue charging for another 30 minutes before trying to power on.
Still dead? If there is absolutely no LED and the camera feels cold, move to the next section.
A common mistake here is giving up too early. A deeply discharged battery may need 20 to 30 minutes on the charger before it shows any sign of life. Patience is your first tool.
Why Your X5 Refuses to Turn On: The Usual Suspects
Understanding why the camera is dead helps you pick the right fix. These are the most frequent causes in the order they typically occur.
Deep discharge from long storage. If you left the X5 in a drawer for a month or more, the battery self-discharged below the safety threshold. Modern lithium-ion batteries have a protection circuit that shuts off output when voltage drops too low. The camera appears completely dead, but the battery is recoverable in most cases.
Firmware corruption during an update. Interrupting a firmware update, pulling the battery, closing the app, or losing WiFi can leave the camera stuck in a boot loop. It may show a black screen or blink the LED without fully starting. This is fixable with a manual SD card reflash.
Cold temperature battery lockout. Lithium-ion batteries temporarily lose capacity below 0°C. If you used the camera in freezing weather and it shut down, it will not turn on until it warms up. Do not try to charge it below 0°C.
That can damage the cells. Warm it to room temperature first.
Physical damage or moisture ingress. Dropping the camera or using it in rain without the waterproof housing can cause internal short circuits. Check for visible damage, bent pins in the USB-C port, or water inside the lens. Moisture often causes intermittent power loss that gets worse over time.
Faulty cable or underpowered adapter. Many users grab any USB cable lying around. Cheap cables have thin wires that drop voltage under load. Some fast-charging adapters negotiate non-5V protocols and shut down.
Use the included cable and a standard 5V/2A adapter.
Each cause has a different fix. The diagnostic workflow in the next section will help you narrow it down in under five minutes.
The X5 Power Diagnostic Workflow
This is the core decision tree for diagnosing an Insta360 X5 not turning on. Follow the branches based on what you see or feel.
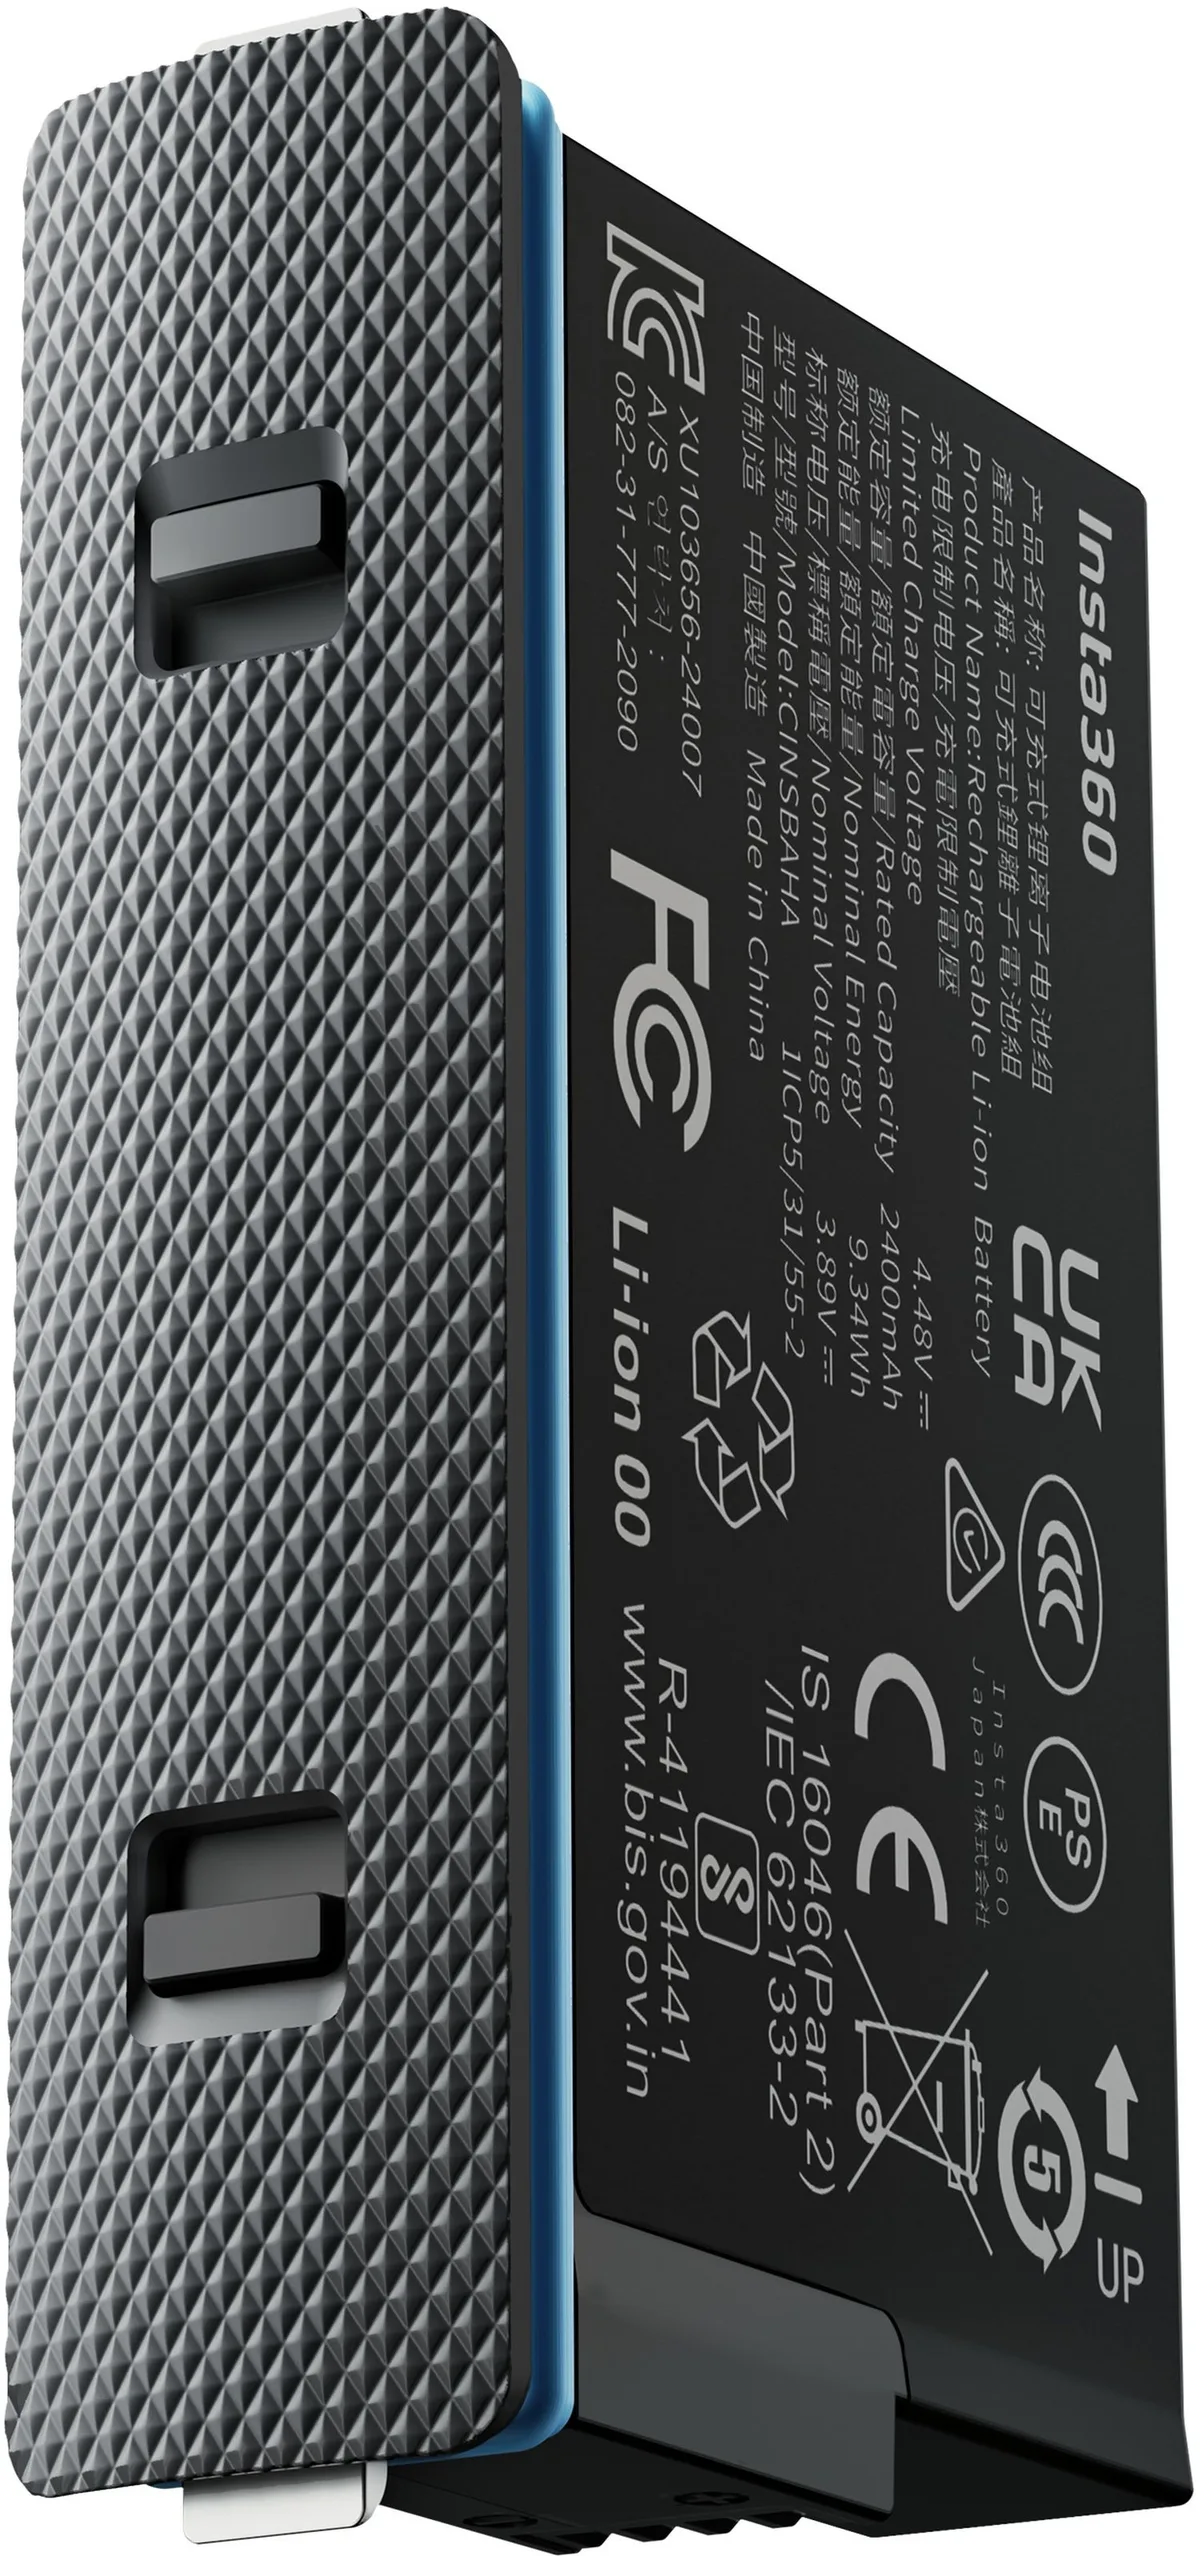
Image source: Web (Bing) / foto-erhardt.com (Web image (fair-use with source credit))
Branch A: No LED at All
The camera is completely dark when you press the power button. No light, no vibration, no sound.
- Plug the camera into a 5V/2A charger using the original cable.
- Leave it for 20 minutes. Do not press any buttons during that time.
- After 20 minutes, try to power on again.
- If the LED blinks red or blue, continue charging to full.
- If still no LED after 30 minutes on charge, try a different cable and adapter.
- Still nothing? The battery may be fully dead or the internal BMS is faulty. Proceed to the support section.
Branch B: LED Blinks but Camera Won't Boot
You see a red or blue blink when you press power, but the screen stays black. The camera may vibrate briefly then stop.
- This indicates the battery has some charge and the power circuit is alive.
- Perform a force restart: hold the power button for 15 seconds.
- If that fails, try connecting to the Insta360 app while the camera is off. Hold the power button for 5 seconds and see if the app detects the camera.
- If detected, try a firmware update from the app.
- If not detected, the issue is likely a corrupted bootloader. Install firmware via SD card. Download the latest firmware from the Insta360 support site, copy the .bin file to a formatted SD card (FAT32), insert it into the camera, and power on. The camera should automatically reflash.
Branch C: LED Solid but Screen Black
The LED stays on solid green or blue, but the touchscreen shows nothing.
- This is usually a display cable issue or a partial boot where the main OS failed to load.
- Try a force restart (10-second hold) first.
- If that does not help, perform a factory reset from the Insta360 app if the camera is still discoverable.
- If the camera is not discoverable, the screen cable may have come loose from a drop. This requires opening the camera. Do not attempt if under warranty.
Branch D: Camera Gets Warm but No Response
The camera feels warm to the touch even when turned off, but the screen and LED are dark.
- This suggests the CPU is stuck on or there is a short circuit drawing current.
- Immediately disconnect the battery if possible. Stop charging.
- Allow the camera to cool for 30 minutes in a dry place.
- After cooling, try a force restart.
- If it still gets warm without powering on, there is likely hardware damage. Do not continue using it. Contact support.
What the LED Colors and Patterns Tell You
The LED on the power button is your main diagnostic tool. Learn to read it quickly to save time.
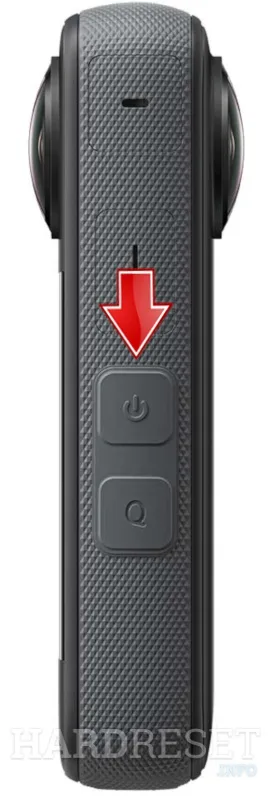
Image source: Bing (Web (fair-use with source credit))
| LED Behavior | Meaning | What to Do |
|---|---|---|
| No LED at all when plugged in | Battery completely dead, or charger/cable faulty | Wait 20 minutes on charge, then try again |
| Solid red when charging | Battery very low (below 20%) | Keep charging for at least 1 hour |
| Slow blinking blue | Normal charging | Continue until solid green |
| Solid green | Fully charged | Try to power on |
| Fast blinking red | Battery error or temperature out of range | Remove from charger, let cool/warm, retry |
| Solid blue but screen black | Camera on but display not initialized | Force restart; if persists, firmware reflash |
Pay attention to the blink speed. A quick double-blink every second indicates a fault. It is usually a battery temperature warning.
If you see that, stop charging and let the camera sit at room temperature for 30 minutes before trying again.
The LED is also useful for checking whether the camera is responding at all. If you see any blink when pressing power, the main board is alive and the problem is likely software or display related. If there is no blink at all, focus on the battery and charging path.
Common Mistakes That Make It Worse
Knowing what not to do is as important as knowing the fixes. These mistakes can turn a simple battery recovery into a costly repair.
Opening the sealed battery compartment. The X5 has a non-removable battery in most models. Trying to pry it open can damage the waterproof seal, the battery connector, or the main board. If the battery is truly dead, a repair center can replace it safely.
Using fast-charger or PD adapters that drop voltage. Many modern USB-C chargers support Power Delivery (PD) which can deliver 9V, 12V, or even 20V. The X5 expects 5V. While the camera should negotiate correctly, some third-party adapters fail to handshake properly and deliver no power.
Stick to a standard 5V/2A adapter.
Repeatedly mashing the power button. Pressing the button 20 times in a row does not help. It can actually confuse the power management IC and make a frozen state harder to clear. Use one deliberate 10-second hold, then wait.
Trying to charge below freezing. Lithium-ion batteries are damaged by charging below 0°C. If you were skiing and the camera died, let it warm up inside your jacket or a warm room for an hour before plugging it in.
Ignoring a swollen battery warning signs. A bulging back panel, a screen that no longer sits flush, or a battery that feels soft to the touch means the cell is failing. Never charge or try to power on a swollen battery. It can leak, catch fire, or explode.
Immediately contact Insta360 support for a safe replacement.
Using the wrong SD card. A corrupted or incompatible card can cause the camera to hang at boot. If the camera powers on but gets stuck on the logo, try booting without an SD card inserted first.
Forcing a firmware reflash with the wrong file. Download the firmware only from the official Insta360 website. Using a beta or wrong-region file can brick the camera permanently.
Avoid these traps. You will either fix the problem yourself or know exactly when to call for professional help.
Battery Safety and Handling
Lithium-ion batteries are powerful but need respect. A swollen, hot, or leaking battery is a fire risk. You must know what to look for before you attempt any recovery.
Signs of a failing battery. The back panel bulges outward. The touchscreen no longer sits flush with the body. The camera feels uneven on a flat surface.
If you press on the back and feel a soft or spongy area, stop immediately. Do not charge or power on the camera.
Safe charging temperature range. The X5 battery accepts charge only between 0°C and 40°C. Charging below freezing damages the cells permanently. Charging above 40°C accelerates aging and risks venting.
If you are in a cold climate, warm the camera to room temperature before plugging it in.
Proper storage charge for long idle periods. If you store the camera for more than a month, keep the battery at about 50 to 60 percent charge. A fully depleted battery drops below the protection circuit threshold. A fully charged battery degrades faster.
Store it in a cool, dry place around 15°C to 20°C.
Disposal and recycling. Do not throw a dead or swollen battery in the trash. Lithium-ion batteries must go to an electronics recycling center. Many big-box retailers offer free battery drop-off bins.
Check local regulations. Never incinerate or puncture the pack.
What about jump-starting a deeply discharged pack? Some advanced users have tried bypassing the protection circuit with an external charger. Do not attempt this on the sealed X5 battery. It can cause a short circuit, fire, or permanent damage.
If the camera is under warranty, let Insta360 handle it.
| Situation | Action | Risk Level |
|---|---|---|
| Swollen back panel | Stop using. Contact support immediately. | High |
| Battery below 2.5V | Charge for 30 minutes; if no LED, seek repair. | Moderate |
| Charging below 0°C | Warm to room temperature first. | Moderate |
| Battery at 50% stored for 6 months | Check voltage; may still power on. | Low |
When to Call Insta360 Support (and When to DIY)
Not every no-power situation is a DIY fix. Knowing the line saves you time and prevents accidental damage.
Scenarios you can handle yourself. A camera that responds to a force restart. A camera that charges after 30 minutes on a proper adapter. A boot loop from a failed firmware update that recovers via SD card reflash.
A cold-induced shutdown that wakes up after warming. These are all safe to try at home.
Scenarios that need professional help. A camera that gets hot without powering on. A swollen battery. Visible water damage inside the lens or charging port.
A cracked screen that also killed the power circuit. Physical drop damage that bent the frame. In these cases, attempting DIY can void the warranty or create a safety hazard.
Steps to take before contacting support. Write down the exact LED behavior. Note when the problem started. Try a different cable and charger.
Try a firmware reflash via SD card. Have your proof of purchase ready. This will speed up the support process significantly.
Warranty coverage vs out-of-warranty costs. The standard Insta360 warranty covers manufacturer defects for one year. It does not cover water damage, drops, or battery wear. Out-of-warranty repair typically costs between $80 and $150 depending on the issue.
Turnaround time from the service center is usually 7 to 14 business days.
What if you bought it used? The warranty is generally not transferable. You will most likely pay out-of-pocket. But still contact support first.
They sometimes offer a flat-rate repair fee that is cheaper than a new unit.
| Issue | DIY Possible? | Why It Matters |
|---|---|---|
| Dead after storage | Yes, charge 30 min | Low risk; quick fix |
| Stuck on boot logo | Yes, SD reflash | Safe if using official firmware |
| Overheating when off | No | Possible short circuit |
| Swollen battery | No | Fire hazard |
| Water damage | No | Corrosion spreads quickly |
Preventive Care: Keeping Your X5 Alive
A little maintenance goes a long way. Most no-power issues come from neglect, not defects.
Firmware update best practices. Always update with a fully charged battery. Do not close the app or move out of range during the transfer. If the update fails, the camera may enter a boot loop.
Keep a formatted SD card ready with a fresh firmware download as a backup.
Proper storage between trips. If you know the camera will sit for more than two weeks, charge it to about 60 percent. Store it in a dry place away from direct sunlight. Extreme heat in a car glovebox can kill a battery in a single afternoon.
Cleaning the charging port and battery contacts. Dust and lint in the USB-C port can prevent proper voltage delivery. Use a toothpick or compressed air to clear it. Wipe battery contacts with a dry lint-free cloth.
Never use rubbing alcohol near the seals.
Seasonal temperature precautions. In winter, keep the camera in an inner pocket before use. In summer, avoid leaving it on a dashboard. If the camera gets too hot or too cold, let it acclimate for 30 minutes before charging or powering on.
Check the SD card. A failing or incompatible card can hang the boot process. Use a high-quality card from the approved list. Format it in the camera, not on a computer.
| Preventive Step | Frequency | Time Needed |
|---|---|---|
| Charge to 60% before storage | Before long idle | 1 minute |
| Clean USB-C port | Monthly | 30 seconds |
| Update firmware | When a new version releases | 10 minutes |
| Format SD card in camera | Every few uses | 5 seconds |
Frequently Asked Questions
Can I jump-start a deep-discharged battery with a higher voltage charger?
No. Never use a charger rated above 5V. The X5 battery protection circuit expects standard USB voltage.
Higher voltage can bypass the safety chip and cause swelling or fire.
Will a factory reset help if the camera won't power on?
Only if the camera is in a boot loop and still responsive to button presses. A factory reset erases settings but not firmware. It will not fix a dead battery or a hardware failure.
Is there a reset pinhole on the Insta360 X5?
No. Unlike some cameras, the X5 does not have a physical reset button inside a pinhole. The only reset method is the 10-second power button hold or reflashing firmware via SD card.
Why does my X5 turn on only when plugged into a charger?
This indicates the internal battery has lost its ability to hold a charge. The camera runs directly on USB power. The battery is worn out and needs replacement at a service center.
How long should I charge before retrying if the camera is dead?
Charge for at least 20 minutes before the first attempt. If there is no LED after 20 minutes, charge for a full hour. If still dead, the issue is beyond a simple deep discharge.
Can a corrupt SD card cause the camera to not turn on?
Yes, in rare cases. A failing card can cause the boot process to hang. Remove the SD card and try powering on without it.
If the camera starts, format the card in the camera or replace it.

Similar Posts