How to Use an Underwater Camera for Diving
So you've got an underwater camera and you're heading out on your next dive. Maybe you've already seen washed-out footage or struggled with fogged lenses. Learning how to use an underwater camera for diving isn't complicated, but it does ask for a different approach than shooting on land.
The water changes everything. Colour, light, and your own movement all shift.
According to NOAA's ocean optics research, red wavelengths are absorbed within about 4.5 metres (15 feet) of depth. That's why your shots look green or blue without correction. You'll need either a filter or custom white balance to bring colours back.
Let's walk through the gear and workflow that actually work at depth.
How to Use an Underwater Camera for Diving
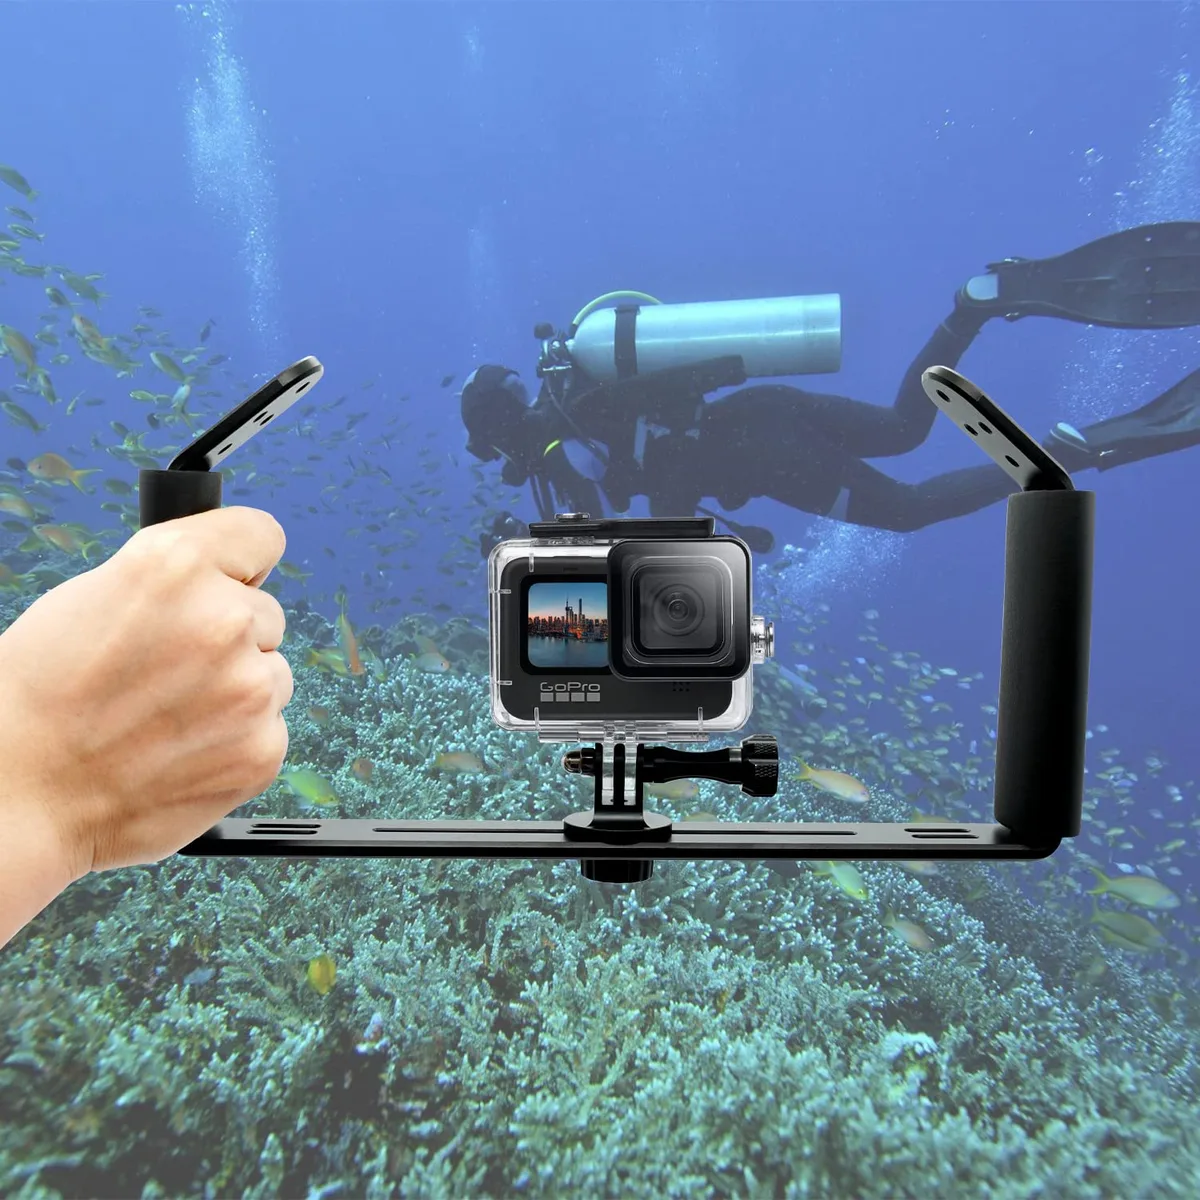
Image source: Web (Bing) / amazon.com (Web image (fair-use with source credit))
Quick Answer
Set your camera to manual or aperture priority. Use a strobe or video light to restore colour. Hold a grey card or palm 15 cm away for white balance.
Shoot at 1/100 second or faster to freeze fish motion. Keep your buoyancy neutral and never chase the subject.
Which Underwater Camera Should You Even Use?
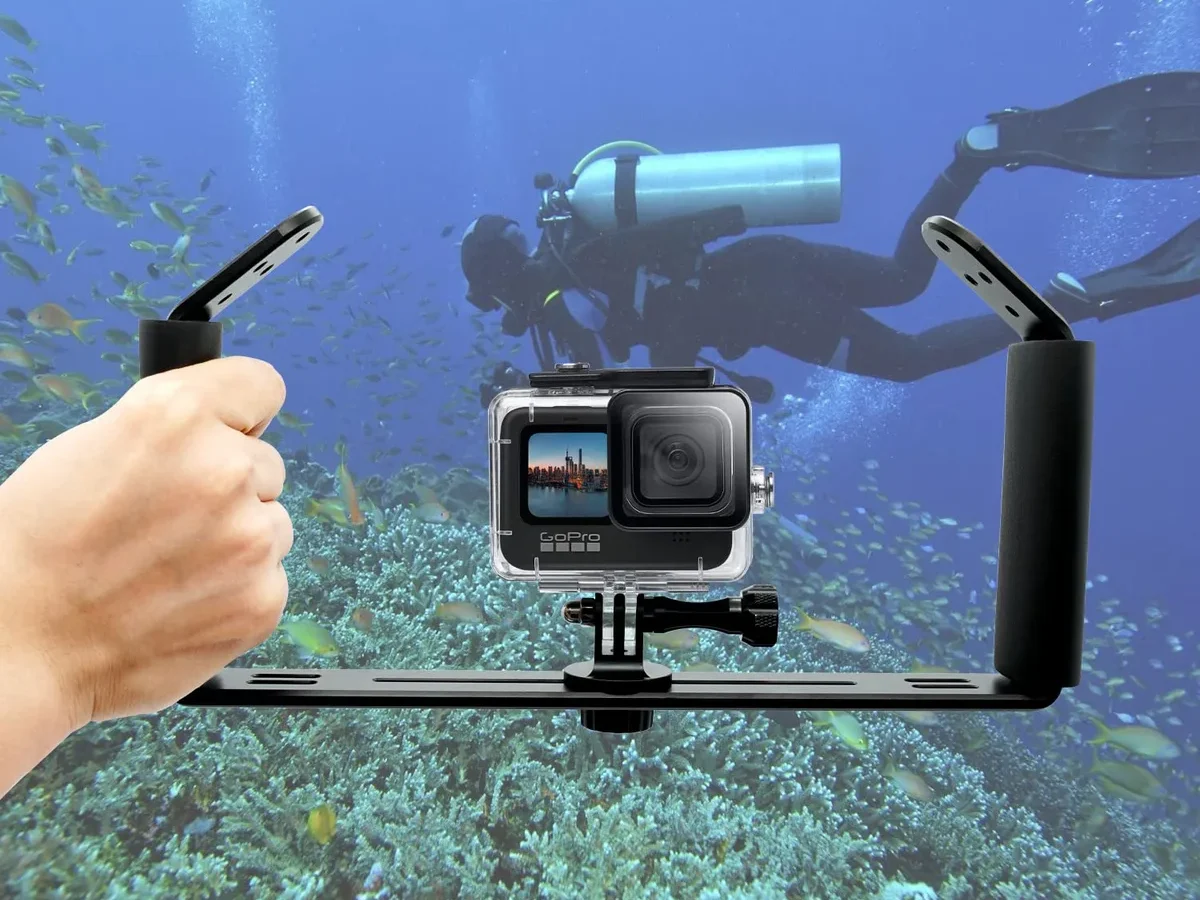
The right camera depends on how you dive and what you want to capture. If you mostly do recreational dives to 18, 30 metres and want simple video, an action camera like a GoPro Hero in a dedicated housing works fine. It's small, rugged, and depth-rated without a case to about 10 metres.
Drop it into a rigid housing and you're good to 60 metres plus.
If you prefer stills, especially macro shots of nudibranchs or tiny shrimp, a compact underwater camera such as the OM System TG series is a smarter choice. It gives you manual control over aperture and ISO, raw files, and a true macro mode that focuses centimetres away. The sensor is small, but with good strobe placement it outperforms most action cameras for colour and sharpness.
For serious wide-angle or wreck photography, a mirrorless or DSLR in a professional housing is the gold standard. You get full control over depth of field, interchangeable lenses, and much better low-light performance. It's also noticeably heavier and requires extra buoyancy compensation.
Action Camera vs Compact vs Full Rig: How to Choose Based on Your Diving Style
| Dive style | Best camera type | Why |
|---|---|---|
| Casual reef, snorkelling, freediving | Action camera (GoPro, DJI Osmo Action) | Lightweight, stabilised video, simple controls |
| Travel diver, mixed subjects | Compact (OM System TG, SeaLife DC) | Manual controls, macro mode, raw files |
| Dedicated photographer, wreck, deep | Mirrorless/DSLR in housing | Interchangeable lenses, full exposure control |
| Night diving | Compact or full rig with video light | Manual focus and continuous light needed |
If you're new to underwater photography, start with an action camera. The learning curve is shallow and you can practise buoyancy with a small rig. Once you're comfortable holding a camera and still managing your dive profile, move to a compact.
As of 2026, compact underwater cameras still offer the best upgrade path without breaking the bank.
One practical tip: buy a dedicated underwater housing even if the camera is rated waterproof. The housing adds a spare O-ring and a shutter button that's easier to press with gloves. Many divers have flooded a naked GoPro because the seal degraded.
Housing depth ratings also exceed the camera's, so you can take it deeper.
When to Skip the Camera Entirely (Seriously)
Not every dive needs a camera. In our research, the most common regret from underwater photographers is missing safety stops or losing track of their buddy because they were framing a shot. If you're still working on neutral buoyancy, if you find yourself flapping your hands or kicking the reef, leave the camera on the boat.
Diving in strong current, low visibility (under 3 metres), or with a new buddy who isn't used to camera-diver signals? Camera fiddling adds real risk. A freediver finning hard with a heavy rig can also strain their neck and shorten bottom time.
Use that dive to practise hovering over a sandy patch instead. Once you can hold position for a full minute without finning, you're ready to add a camera. The same logic applies below 30 metres.
Narcosis affects fine motor control, and toggling buttons becomes frustrating. Safer to leave the camera on the boat and enjoy the dive.
Build Your Rig for the Dive You're Planning
Your rig needs to match the depth, light conditions, and subject. For shallow reef dives (5, 15 metres) in clear tropical water, a red or magenta filter on an action camera works well because ambient light still carries enough red wavelengths. Add a small video light for fill, and you're set.
For deeper dives (15, 30 metres), ambient light loses most warm colours. You need a strobe or a strong video light. A single strobe mounted on an articulating arm at a 45-degree angle from the camera reduces backscatter.
If you're shooting macro, you want a strobe that can light a narrow field without blowing out the subject.
For wrecks and caverns where ambient light is almost zero, use two video lights: one for wide fill, one for rim lighting. Strobes work too, but you'll need to manually set power levels because TTL metering struggles with dark backgrounds.
Check the recycle time on your strobe. If you're shooting fast-moving fish, a strobe that takes 3 seconds to recycle means you miss every other shot. Aim for under 1.5 seconds.
Also consider the buoyancy of your rig. A full mirrorless setup with twin strobes and heavy housing will be negatively buoyant. You may need to add float arms or use a larger wing to compensate.
Many experienced divers use a small flotation block near the tray to keep the rig neutral when submerged.
Pre-Dive Setup: The 15 Minutes That Save Your Footage
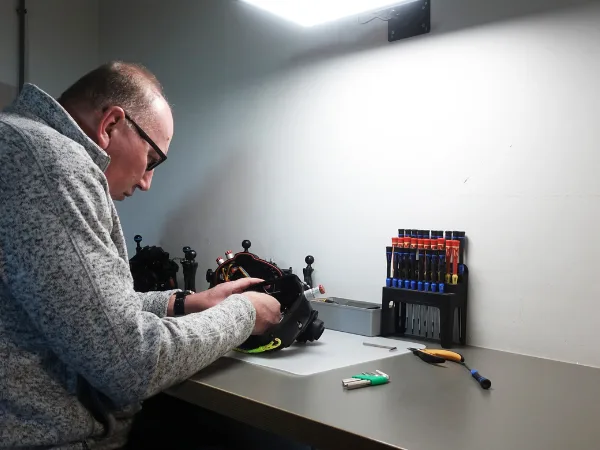
Image source: Web (Bing) / uwcamerastore.com (Web image (fair-use with source credit))
You don't want to find a leak at 20 metres. Before every dive, inspect the O-rings on your housing. Run a clean finger along the ring to feel for grit, nicks, or dried-out rubber.
If it's cracked or stretched, replace it. Use a thin layer of silicone grease, not too much, or the ring won't seat properly.
Then seal the housing and close the latch. Give the housing a pressure test by pressing the shutter button underwater in a bucket or the ocean shallows. If bubbles appear, you have a failed seal.
As of 2026, most housings include an optional vacuum valve that shows a stable seal before you enter the water. Use it if your housing has one.
Set your white balance next. The easiest method: point your camera at a white slate or your palm at the same depth you'll be shooting. Hold the white balance lock button for a few seconds.
This corrects the blue-green cast instantly.
Configure your exposure based on depth and ambient light. For shallow dives in sun, use ISO 200, aperture f/5.6 to f/8, and shutter speed 1/125 second. For deeper or darker water, increase ISO to 800 or 1600 and open the aperture to f/2.8 if your lens allows.
Don't go below 1/100 second unless you have a strobe freezing the action.
Finally, format your memory card and charge your battery fully. Cold water drains batteries faster. Bring a spare in a dry bag inside your wetsuit to keep it warm.
Set autofocus to continuous (AF-C) for moving subjects, and single-shot (AF-S) for macro.
For more on keeping your camera running in the field, check out our advice on protecting your gear from moisture. The same principles apply to both trail cameras and underwater housings: keep seals clean, store dry, and replace batteries often.
Using the Camera Underwater: The Workflow That Keeps You Calm
Once you're in the water, your priority shifts from settings to stability. The biggest mistake new underwater photographers make is chasing the subject. Fish don't cooperate.
Instead, pick a spot, hover, and let the marine life come to you.
Stabilize Yourself First: Buoyancy, Trim, and Kicking
Before you raise the camera to your eye, check your buoyancy. You should be neutrally buoyant at your shooting depth. If you're sinking, add a small burst of air to your BCD.
If you're floating up, vent a little. Your fins should be still. A slow frog kick or modified flutter kick keeps you from stirring up sand.
A good drill: find a sandy patch at 10 metres. Hover without moving your fins for 30 seconds. If you can do that, you're ready to shoot.
If you're finning constantly, you'll kick up sediment and ruin your own shot. Many divers find that improving detection and response on land translates to better awareness underwater. You learn to anticipate movement rather than react to it.
Shooting Wide-Angle vs Macro: Different Subjects, Different Moves
Wide-angle shots need you to get close, physically close. The water between you and the subject reduces contrast and colour. Get within one metre of a reef wall or a large animal.
Shoot upward slightly to include the surface for a dramatic background. Use a wide aperture (f/4 to f/5.6) to blur the background and separate the subject.
Macro shots are the opposite. You want to be 5 to 15 centimetres from the subject. Switch to manual focus and use focus peaking if your camera has it.
Small subjects move fast, so pre-focus on a spot and wait for the creature to enter the frame. A single strobe pointed at a 45-degree angle from above lights the subject without casting harsh shadows.
For both approaches, shoot in bursts. Underwater, you'll get motion blur, backscatter, or a tail-out-of-frame in at least half your shots. A burst of 3 to 5 frames gives you a better chance at a keeper.
Watching Your Air, Depth, and Buddy While You Shoot
This is the non-negotiable part. Never let the viewfinder become your only focus. Glance at your dive computer every 30 seconds.
Know your air pressure. If you're below 100 bar, stop shooting and start your ascent. Divers Alert Network tracks dive accident data, and their guidance is clear: monitor your air continuously.
Establish a buddy signal before the dive. A simple tap on the tank means "look at me." Pointing at your computer means "check your air." If your buddy gives you a signal, respond immediately, even if you're mid-shot. The ocean rewards patience, not stubbornness.
For wreck divers, maintain awareness of your depth relative to the deck or ceiling. Narcosis can make you think you're fine when you're actually descending. Set a depth alarm on your computer if it has one.
Never swim into an overhead environment without a redundant light source and a guideline.
Common Underwater Camera Mistakes and How to Avoid Them
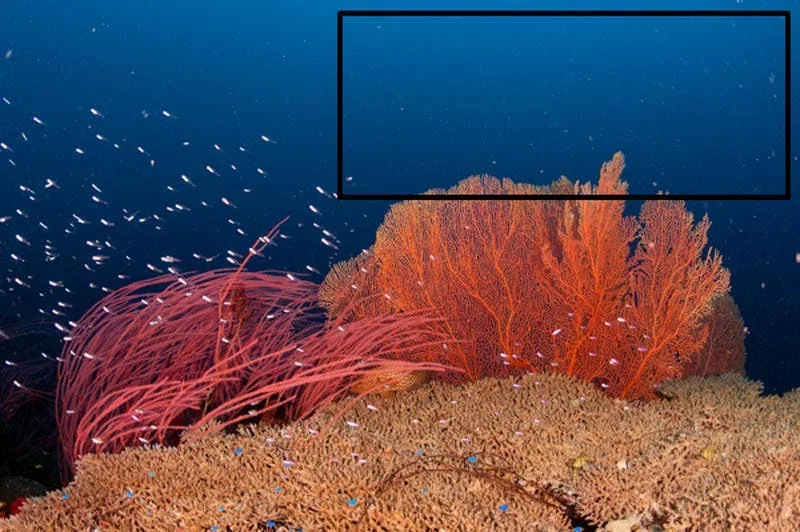
Image source: Web (Bing) / adorama.com (Web image (fair-use with source credit))
Even experienced divers make these errors. Spot them early and you'll save a lot of disappointing footage.
Backscatter is the most common. It happens when your strobe or video light illuminates particles in the water, such as sand, plankton, or silt, that reflect back into the lens. The fix: position your strobe on an arm 20 to 30 centimetres away from the housing, angled outward.
This puts the light beam at an angle that skims past the particles instead of lighting them head-on. If you're shooting without a strobe in murky water, backscatter is unavoidable. Switch to available-light shooting and correct the colour in post.
Fogged lenses happen when warm, humid air inside the housing meets cold water. The solution is preventive: insert a silica gel packet inside the housing before sealing it. Assemble the housing in a cool, dry area instead.
If fogging happens during the dive, press the lens against the housing glass for a few seconds. The glass warms up and clears the fog temporarily. The same keeping moisture out approach works for any sealed camera housing.
Fumbling with buttons is a frustration everyone faces. The dials on a compact camera are small, and thick gloves make them tricky. The workaround: set your exposure and focus mode before the dive, and only change one setting underwater.
If you need to switch from photo to video, practise the motion on land first. Many housings have a dedicated button for video recording. Use that instead of scrolling through menus.
Missing the shot because you're adjusting is the most painful error. You see a turtle, raise the camera, and spend five seconds fiddling with the white balance. By the time you look up, the turtle is gone.
The fix: accept that not every shot will be perfect. Shoot first, adjust later. A slightly off-white image is fixable in post-processing.
A missed image is gone forever.
Post-Dive Maintenance: Make Your Gear Last Longer Than Your Dive Log
The moment you're back on the boat or shore, start the maintenance routine. Saltwater is aggressive. It will corrode metal contacts, degrade O-rings, and jam buttons within hours if left untreated.
Rinsing, Drying, and Storing the Housing
Rinse the entire housing in fresh water for at least 5 minutes. Use a large bucket or a dedicated rinsing tank. Activate every button and dial while submerged, this flushes salt crystals out of the mechanisms.
If you have a detachable strobe or video light, remove it and rinse it separately.
Dry the housing with a microfiber cloth. Open the latch and remove the camera. Wipe the inside of the housing dry, including the O-ring groove.
Do not leave the housing sealed with a wet interior, that's how mould starts.
Store the housing with the latch open and the O-ring exposed to air. Some divers store O-rings in a sealed bag with a little silicone grease, but the most important thing is to keep them out of direct sunlight. UV light accelerates rubber degradation.
When to Replace O-Rings and Service the Camera
O-rings are consumables. Replace them every 12 months if you dive regularly, or every 18 months if you dive a few times a year. If you see any cracking, flattening, or permanent deformation, replace them immediately.
A failed O-ring at depth is a catastrophic failure.
Every 3 to 6 months, service the housing according to the manufacturer's instructions. For most brands, this means cleaning the threads, reapplying grease to the O-ring, and checking the vacuum valve if your housing has one. Some manufacturers recommend a full service every 2 years that includes replacing all seals and pressure-testing the housing.
For the camera itself, remove the battery and memory card after every dive. Dry the battery compartment with a cotton swab. If you notice corrosion on the battery contacts, clean them with a soft eraser or isopropyl alcohol.
Replace the battery if it shows signs of swelling. Basic lens care follows the same rules for both camera types: use a blower first, then a microfiber cloth.
To keep your entire workflow running smoothly, check out our guide on recovering files from a camera. The same file recovery principles apply whether you're dealing with a trail camera or an underwater housing.
Frequently Asked Questions
What's the best shutter speed for underwater photos?
Use at least 1/100 second for moving fish. For slow subjects like sea fans or anemones, 1/60 second works if you're stable. Faster shutter speeds like 1/250 second freeze motion but need more strobe power or higher ISO.
Do I need a strobe for shallow dives?
You don't need one in the top 5 metres of clear water. Sunlight still carries enough red and orange. Below 5 metres, a strobe or video light makes a big difference.
Without it, your images will look blue or green.
Can I use a GoPro without a housing?
GoPro cameras are rated to 10 metres without a case. If you dive deeper than that, you need a dedicated housing. Even at 10 metres, the seal can degrade over time.
A housing adds protection and a better shutter button for gloved hands.
How do I stop my lens from fogging?
Insert a silica gel packet inside the housing before sealing it. Assemble the housing in a cool, dry area. If fogging happens during the dive, press the lens against the housing glass for a few seconds to clear it.
How often should I replace O-rings?
Replace them every 12 months if you dive regularly. Check them before every dive for cracks, nicks, or flattening. A stretched O-ring is a leak waiting to happen.
Keep spare O-rings in your kit bag.
Can I fix backscatter in editing software?
You can reduce it, but you can't remove it completely. The best fix is prevention: aim your strobe at a 45-degree angle away from the lens. In post-processing, use the spot removal tool or clone stamp for small particles.
Large backscatter patches mean the image is lost.
Final Verdict: The Best First Camera Is the One You'll Actually Take Down
The best camera for underwater diving is the one you'll carry on every dive. If a full mirrorless rig feels too heavy or too precious, you'll leave it on the boat. You'll miss the shots entirely.
Start with an action camera or a compact underwater camera. Learn buoyancy first. Get comfortable with basic settings.
As you improve, add a small strobe or a video light. The gear grows with you.
For most recreational divers, a compact like the OM System TG series hits the sweet spot. It's small enough to pack in a BCD pocket, tough enough for 15 metres without a housing, and gives you manual controls and raw files. Add a single strobe and a focus light, and you'll produce images that look like they came from a much bigger rig.
The workflow matters more than the gear. Inspect your O-rings. Set your white balance before the dive.
Keep your buoyancy neutral. Shoot in bursts. Rinse your housing after every dive.
Do those things consistently, and you'll get strong results from any camera.
Now go get wet. The ocean is waiting.

Similar Posts
































