How to Charge an Action Camera
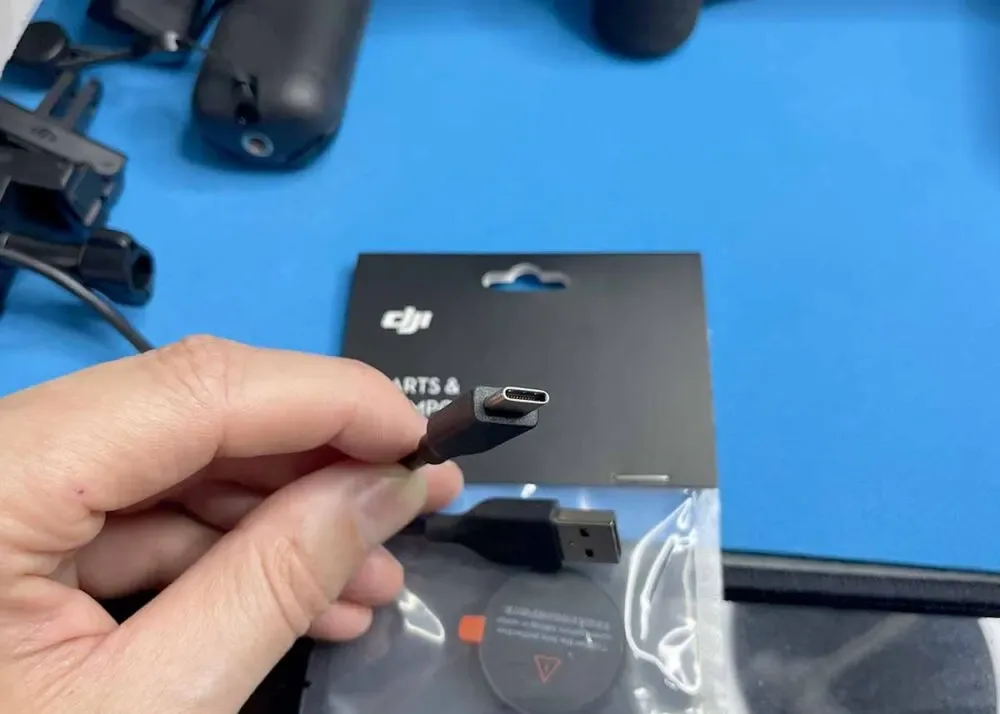
You just got back from a day of shooting, and your action camera is dead. Now you need to know how to charge an action camera the right way, without damaging the battery or the port. It's not as simple as plugging it into any charger you find.
The wrong method can shorten battery life or even cause a safety risk.
Most modern action cameras use a 5V USB input, but the amperage they accept varies. As of 2026, some models support USB Power Delivery for faster charging, while others cap out at 1A. The key is knowing which method fits your specific camera.
That's why understanding the charging differences matters.
Image source: Bing (Web (fair-use with source credit))
Why Charging Your Action Camera Isn't One-Size-Fits-All
The first thing to understand is that there are two main types of action camera batteries: removable and sealed. Each requires a different charging approach. If you have a camera with a removable battery, you can take it out and charge it in an external dock.
If your camera has a sealed battery, you must charge it through the USB port.
The charging port itself varies. Most modern cameras use USB-C, but older models still use Micro-USB. USB-C is faster and more durable, but it doesn't guarantee fast charging.
Your camera's manual will tell you the exact input specs.
Aggregate user reviews show that many people damage their charging port by forcing a cable in the wrong way. Always check the shape of the port before plugging in. A bent pin can ruin the port permanently.
Another variable is the power source. A wall adapter provides steady power. A laptop USB port delivers less power and charges slower.
A power bank is great for travel, but not all power banks deliver enough amperage.
Manufacturer specifications indicate that using a charger rated for higher amperage than your camera needs is safe. The camera only draws what it can handle. But a low-quality adapter can cause voltage spikes.
Quick Answer
To charge an action camera, connect it to a power source with the correct cable. Use the original charger or a certified alternative. Charge until the LED indicator turns solid.
Avoid charging a wet camera. Never leave it unattended overnight.
Removable vs. Sealed Battery: The First Fork in the Road
Your first decision is whether your camera has a removable battery or a sealed one. This changes everything about how you charge.
If your camera has a removable battery
You can take the battery out and charge it in an external charger. This is the fastest method. You can also buy a spare battery and swap them on the go.
External chargers often charge two batteries at once. They also reduce wear on the camera's USB port.
Most external chargers plug into a wall outlet. Some charge via USB. The charging time is usually 2 to 3 hours.
The LED on the charger shows when it's full.
If your camera has a sealed battery
You must charge through the USB port. This means your camera is unusable during charging. The charge time is often longer.
You also risk wearing out the port over time.
Some cameras support pass-through charging. This means you can record while plugged in. This is useful for long timelapses or live streams.
But it generates heat, which can degrade the battery.
Which is better?
Removable batteries are more flexible. You can carry spares and never wait for a charge. Sealed batteries are more weather-resistant.
They are common in smaller, waterproof models.
Our research shows that most action cameras with removable batteries have a longer overall lifespan. The battery is the first component to fail. Being able to replace it is a big advantage.
If you are shopping on a tight budget, look at the best budget action camera options that still offer removable batteries.
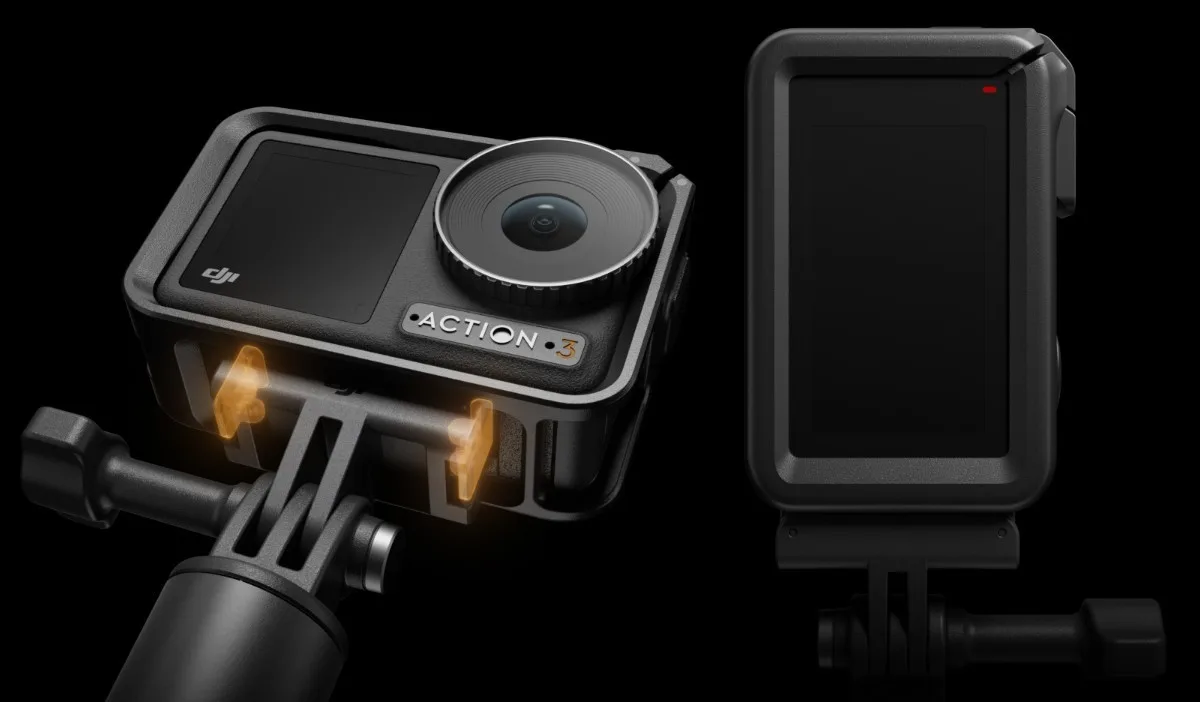
Image source: Web (Bing) / gsmarena.com (Web image (fair-use with source credit))
The Complete Charging Decision Guide
Here is a quick reference table for the most common charging scenarios.
| Battery Type | Charging Method | Best For | Charge Time (approx) |
|---|---|---|---|
| Removable | External charger | Fast charging, carrying spares | 1.5 to 3 hours |
| Sealed | USB port (camera off) | Casual use, occasional charging | 2 to 4 hours |
| Sealed | USB pass-through | Long recordings, timelapses | 2+ hours (varies) |
| Removable | USB port (in camera) | Backup, when no charger is available | 2 to 4 hours |
Step-by-step for USB charging
- Check that the camera is dry. Any moisture in the port can cause a short circuit.
- Open the port cover. Be gentle, the rubber flaps are fragile.
- Plug in the cable. It should fit snugly with no resistance.
- Connect the power source. A wall adapter is best. A power bank is fine for travel.
- Check the LED. A blinking red light means charging. A solid green light means full.
- Unplug and close the port cover. This prevents dust and water from entering.
Step-by-step for external charging
- Remove the battery from the camera. Press the latch and slide it out.
- Insert the battery into the charger. Match the metal contacts.
- Plug the charger into a wall outlet. The LED should light up.
- Wait for the LED to turn green. This usually takes 1.5 to 3 hours.
- Remove the battery and insert it back into the camera.
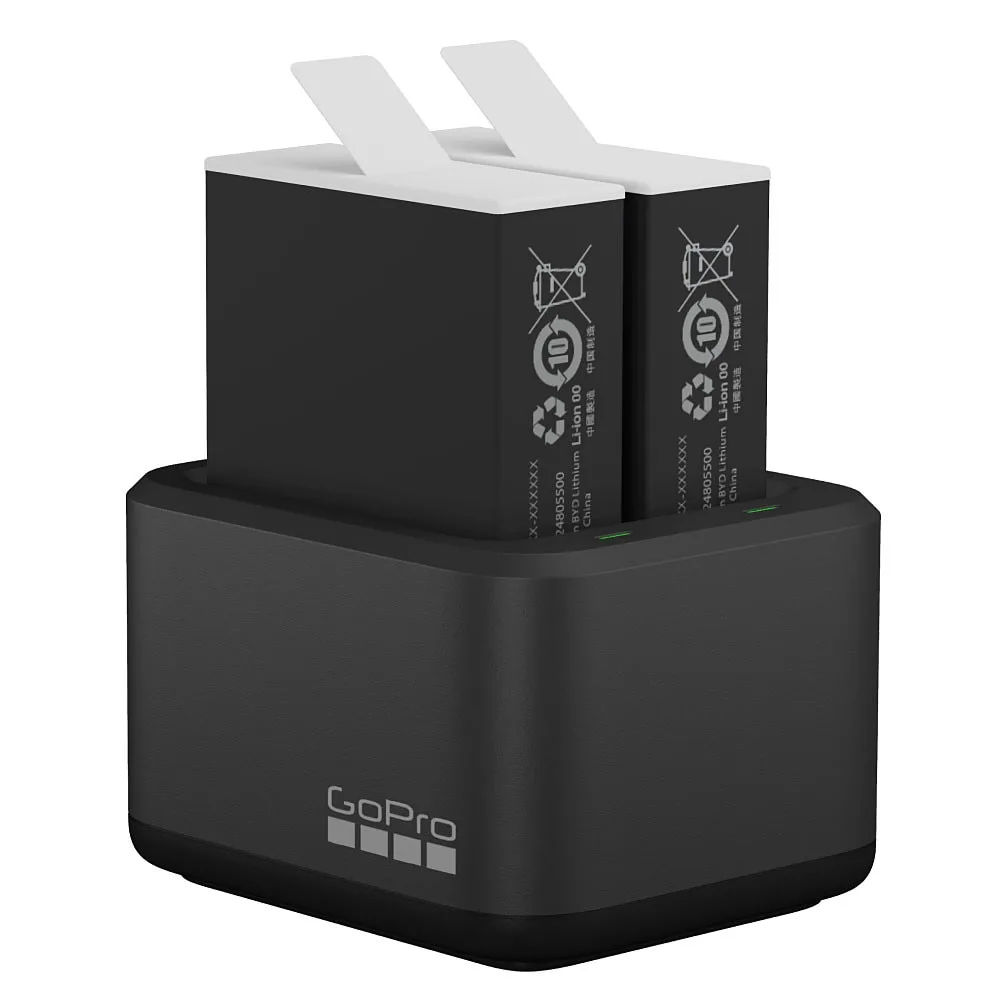
Image source: Web (Bing) / backscatter.com (Web image (fair-use with source credit))
Common Charging Mistakes That Shorten Battery Life
Even experienced users make these mistakes. Avoid them to keep your battery healthy.
Charging a wet camera
This is the number one cause of port damage. If your camera has been in water or rain, let it dry completely. Per manufacturer guidelines, wait at least 2 hours before charging.
Use a microfiber cloth to dry the port area.
Using a cheap charger
Not all USB chargers are created equal. Some cheap ones deliver unstable voltage. This can damage the battery or the camera's charging circuit.
Always use the original charger or a certified third-party one.
Overcharging
Modern batteries have protection circuits that stop charging when full. But leaving a battery on a charger for days can still stress it. Unplug it once it's full.
Charging in extreme temperatures
Lithium-ion batteries should be charged between 0°C and 45°C. Charging in direct sunlight or a hot car can cause swelling. Avoid charging in freezing conditions as well.
Using the wrong cable
A damaged or low-quality USB cable can cause slow charging or intermittent connection. Use the cable that came with the camera. If you need a replacement, get one that supports data and charging.
Not removing the battery for long-term storage
If you are not using the camera for a month or more, remove the battery. Store it at about 50% charge in a cool, dry place. This prevents deep discharge and swelling.
The same principles apply when you learn how to store a mirrorless camera for extended periods.
For travel, spare lithium batteries must be in carry-on luggage per FAA guidelines for lithium batteries.
Ignoring the LED indicators
The LED on your camera or charger tells you what's happening. A blinking red light usually means charging. A solid green light means full.
If the LED never turns solid, the battery may be faulty or the charger might be failing. Consult your camera's manual for the exact pattern.
Pro Tips for Faster Charging and Better Battery Health
You can improve your charging routine without buying expensive gear. Here are the most effective strategies.
Use a high-quality wall adapter
A standard phone charger works, but a dedicated camera charger is better. Look for one that matches the camera's input specs. A 5V 2A adapter is usually safe and faster than a 1A adapter.
The camera controls how much current it draws.
Charge with the camera off
Charging with the camera on takes longer. The camera uses power to run the screen and processor. Turn it off for the fastest charging time.
If you need pass-through charging, expect it to take 30 to 50 percent longer.
Invest in a dual battery charger
If you use your camera heavily, a dual charger is worth it. You can charge one battery while using another. This cuts your downtime to zero.
Look for a charger that includes overcharge protection.
Keep spare batteries
Spare batteries are the best solution for long shoots. You can swap them in seconds. Keep them in a protective case to prevent short circuits.
Avoid buying very cheap third-party batteries as they may not have safety circuits.
Monitor battery temperature
A warm battery during charging is normal. A hot battery is a problem. If the battery feels hot to the touch, unplug it.
Let it cool down before trying again. Overheating can cause permanent capacity loss.
Calibrate the battery occasionally
Lithium-ion batteries don't need calibration like older types. But if you notice the battery meter showing inaccurate readings, do a full cycle. Drain it completely, then charge it fully.
This resets the internal gauge.
Safety, Travel Rules, and When to Retire a Battery
Lithium-ion batteries are generally safe, but they require respect. The risks are real, and the rules are clear.
Safety warnings
Never charge a battery that is swollen, cracked, or leaking. Dispose of it at a recycling center. Do not throw it in the trash.
Swelling is a sign of internal damage and can lead to fire.
Always charge on a hard, flat surface. Avoid charging on soft surfaces like beds or couches. They trap heat and increase fire risk.
Never leave a battery charging overnight unattended.
Travel rules
The FAA and IATA require spare lithium batteries to be in carry-on luggage. This applies to action camera batteries. You cannot put them in checked bags.
The limit is usually 100 watt-hours per battery, which is far above any action camera battery.
Each battery must be individually protected. Use original packaging or tape over the terminals. Loose batteries can short circuit against keys or coins.
This is a serious fire hazard.
When to retire a battery
Most action camera batteries last 300 to 500 charge cycles. After that, the capacity drops noticeably. You will notice shorter recording times.
Replace the battery when it no longer holds a useful charge.
Signs of end-of-life include swelling, rapid draining, and the camera shutting down unexpectedly. A swollen battery is dangerous. Stop using it immediately.
If you are troubleshooting other issues, the same logic applies when you troubleshoot a mirrorless camera for battery-related problems.
Frequently Asked Questions
Can I use a phone charger to charge my action camera?
Yes, in most cases. A standard phone charger with a USB-A port works as long as the voltage is 5V. The camera will only draw the current it needs.
Avoid using a fast charger that outputs more than 5V unless your camera supports USB Power Delivery.
How long does it take to charge an action camera?
It depends on the battery capacity and the charger. A typical 1300mAh battery charges in 2 to 3 hours via USB. An external charger can do it in 1.5 to 2 hours.
USB PD fast charging on supported models takes about 1 hour.
Is it bad to charge my action camera overnight?
While most modern batteries have overcharge protection, it is not recommended. Charging overnight adds cycle wear and risks overheating. Unplug the camera once the LED shows a full charge.
Use a timer or charge during the day.
Can I charge my action camera while recording?
Yes, if your camera supports pass-through charging. Not all models do. Check your manual.
Pass-through charging generates extra heat, which can shorten battery life over time. It is best for short sessions or stationary setups.
Why is my action camera battery not charging?
The most common causes are a faulty cable, a dirty port, or a dead battery. Try a different cable and power source. Clean the charging port gently with a dry toothpick.
If the battery has been deeply discharged, it may need a special recovery charger.
How should I store my action camera battery long-term?
Store it at about 50 percent charge in a cool, dry place. The ideal temperature is 10 to 20 degrees Celsius. Remove it from the camera.
Check the charge every few months and top it up to 50 percent if needed.

Similar Posts
































