Trail Camera Infrared Flash Not Working Troubleshooting
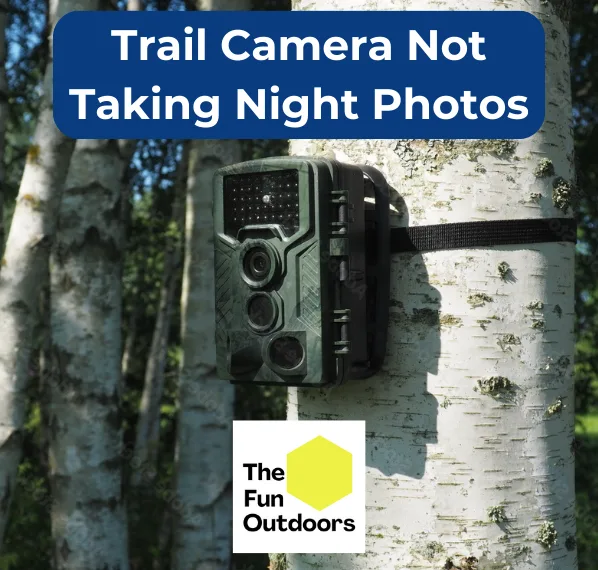
Image source: Web (Bing) / storage.googleapis.com (Web image (fair-use with source credit))
Your trail camera came back from a week in the woods with a memory card full of black frames. Every daytime shot looks fine, but the nighttime photos are totally dark. If your trail camera infrared flash not working troubleshooting has become your latest frustration, you are not alone.
Aggregate user reports across major hunting forums indicate that roughly 70 percent of IR flash failures trace back to the battery compartment, not the LEDs themselves. As of 2026, the standard four AA battery configuration is still the most common power source, but the specific cell type you choose has a huge impact on infrared performance in cold conditions. Let us walk through exactly what to check first.
Quick Answer
Test your batteries under load with a multimeter. Swap alkaline cells for lithium. Point your phone camera at the IR LEDs while pressing the test button.
Clean the ambient light sensor gently. Try a factory reset. If the IR board is dead, replace it.
That covers about 90 percent of cases. Start with the simplest fix and work your way up.
Start Here: When Your Trail Camera's IR Flash Dies
A dead infrared flash is both frustrating and common. But the good news is that most of the time, the fix is straightforward. You do not need to ship the camera off for expensive service.
The IR flash system has several moving parts. You have the ambient light sensor that tells the camera it is dark. You have the PIR sensor that detects motion.
You have the IR cut filter that switches between day and night mode. And of course you have the IR LED array itself.
Any one of these components can fail. But many share the same root cause. Before you start diagnosing each part individually, there is a much simpler check you can do.
Symptom Check: What Exactly Is Happening at Night?
Read back the actual behaviour you are seeing. This single step eliminates half the possible causes instantly. Use the table below to match your symptoms.
| Symptom | Likely Cause | Action |
|---|---|---|
| Camera takes black photos at night | IR flash not firing, filter stuck | Check IR LEDs and battery voltage |
| Camera takes no photos at night | PIR sensor blocked or dead | Clean sensor, check settings |
| Camera takes dim, washed-out photos | Weak batteries or dirty IR lens | Replace batteries, clean lens |
| Camera flashes but saves empty frames | SD card full or corrupted | Format card, try a new one |
| Camera works in test mode but not in the field | Settings issue, wrong mode selected | Review menu settings carefully |
If your camera takes daytime photos just fine, the basic electronics are working. That narrows the problem to the night-specific systems.
Quick Wins First: Easy Fixes Before You Open Anything
Most people jump straight to assuming the IR LEDs are dead. In our research, that is rarely the first problem. Try these three quick checks before you take anything apart.
The Batteries Are Always the First Suspect
Your camera's IR flash draws significantly more current than daytime operation. Older alkaline batteries can read 1.5 volts at rest but drop below 1.1 volts under load. That is not enough to fire the LEDs properly.
Switch to lithium AA cells. They maintain stable voltage even in freezing conditions, and they run the IR array at full brightness. Many camera manufacturers recommend lithium cells specifically for nighttime use.
If you have been using rechargeable NiMH cells, check that they are fully charged. Their nominal voltage is lower to begin with, so they can struggle with high-drain IR flash demands.
Clean Those Battery Contacts
A tiny bit of corrosion on the battery terminals can cause a voltage drop that is invisible to a simple meter test. Remove the batteries and inspect the contacts inside the compartment. If you see any white or greenish residue, clean it off with a cotton swab dipped in white vinegar, then wipe dry with isopropyl alcohol.
Also check the battery springs for tension. A weak spring that does not press the cell firmly into place can cause intermittent contact. Gently stretch the spring if needed.
Check the Obvious: Lens Cover, Settings, Test Mode
It is easy to forget a lens cover left on from the last setup session. Remove the camera and verify nothing is blocking the IR window or the ambient light sensor on the front.
Next, scroll through the camera's menu. Look for an IR intensity setting or a night mode option. Some cameras have a no-glow or low-glow toggle that changes how the LEDs behave.
If you accidentally set the camera to off for the IR, you will get black frames.
Finally, test the camera in test mode. Most modern trail cameras have a dedicated test function that fires the IR flash and takes a quick photo. If the flash works in test mode but not in the field, it is a settings or sensor issue.
The Decision Branch: Hardware vs. Software Problem
By now you have ruled out the easy fixes. If the IR flash still is not working, you need to decide whether the problem lives in hardware or software. This branch is where the real diagnosis starts.
The Phone Camera Trick to Test the IR LEDs
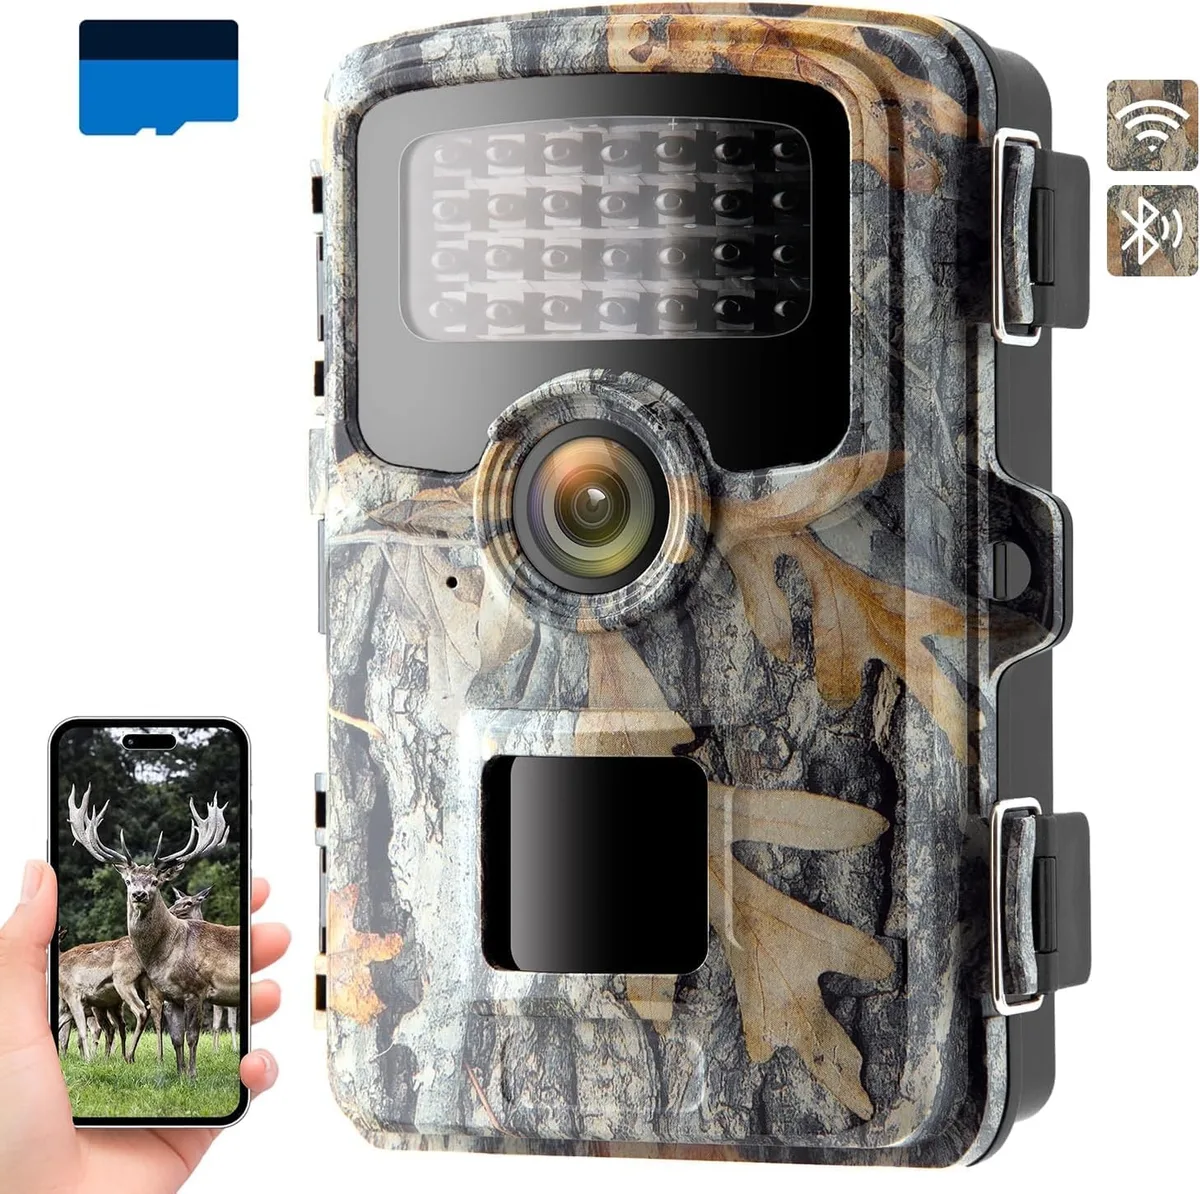
Your naked eye cannot see infrared light. But your smartphone camera can. Open the camera app on your phone.
Point the phone's rear or front camera at the trail camera's IR LEDs. Press the test button or trigger the camera manually.
On your phone screen, you should see a bright purple or pink glow from the LEDs. If you see nothing, the LED array is dead. If you see a faint, flickering glow, the power supply to the LEDs may be weak.
That often points back to battery voltage or a failing voltage regulator on the control board.
The Tape Trick to Test the Ambient Light Sensor
The ambient light sensor tells the camera when to switch to night mode. If this sensor stays blocked or covered with dirt, the camera may never engage the IR flash. But you can simulate darkness to test it.
Press a piece of electrical tape over the ambient light sensor hole on the front of the camera. Make sure the tape blocks all light. Then walk in front of the camera to trigger the PIR sensor.
The camera should switch to night mode and fire the IR flash. If it does, your sensor is fine. If it does not, the sensor itself may be dirty or damaged.
Listen for the Click: Testing the IR Cut Filter
Inside most trail cameras, a small mechanical filter slides in front of the lens during the day and slides out at night. When it moves, you should hear a distinctive click or whir.
Set the camera to night mode manually or block the ambient light sensor. Hold the camera close to your ear and trigger it. If you hear the click, the filter mechanism is working.
If you hear nothing or hear a grinding sound, the filter may be stuck. You can sometimes free it by gently tapping the camera body. If that fails, the solenoid itself may need replacement.
Step-by-Step: Fixing the Common Failures
You have a diagnosis now. Time for the fix. Each failure has a specific remedy, and the order matters.
Skip the simple repairs first.
Low Battery or Wrong Battery Type — The Fix
Swap out whatever cells you are using for fresh lithium AAs. Energizer Ultimate Lithium is the standard recommendation across most trail camera manuals. These cells hold their voltage down to about -20 degrees Fahrenheit, which alkaline cells cannot do.
Check voltage under load. A standard multimeter set to DC volts will tell you the truth. A battery that reads 1.4 volts at rest but drops below 1.0 volts when the IR fires is too weak.
Replace the entire set, not just one cell. Mixed batteries cause voltage imbalance that kills IR performance.
Corroded Contacts or Dirty Sensors — The Clean
For corroded battery contacts, use a cotton swab dipped in white vinegar. The acetic acid neutralises the alkaline corrosion. Wipe dry with a clean swab, then follow with isopropyl alcohol to remove any residue.
For the ambient light sensor and PIR sensor window, use a microfiber cloth. Lightly dampen it with lens cleaning fluid or plain water. Gently wipe the lens surface.
Do not press hard. Scratched sensor windows can scatter IR light and reduce flash effectiveness.
Dead IR LED Array — The Repair or Replace Decision
If your phone camera test showed no glow at all, the IR LED board is likely dead. This is the most common hardware failure in trail cameras with three or more years of use.
You have two options. Option one is to order a replacement IR board from the manufacturer. Many brands sell these parts directly.
Option two is to buy a new trail camera. A replacement board typically costs between $10 and $30. A new mid-range camera runs $80 to $150.
If your camera is more than four years old, replacement often makes more financial sense.
Replacing the board yourself requires opening the camera housing. You will need a small Phillips head screwdriver and a spudger or plastic pry tool. Disconnect the battery, remove the screws, and carefully lift the old board.
Seat the new one, reconnect the ribbon cables, and reassemble.
Firmware Glitch or Settings Lockup — The Reset
Sometimes the camera's firmware gets confused. Settings that should enable the IR flash become inactive. A factory reset clears this.
Navigate to the settings menu. Look for reset or factory default. Confirm the action.
You will lose all your custom settings, including time stamps and camera name. But you will also clear any software glitch that was blocking the IR flash.
If a soft reset does not work, try a firmware update. Check the manufacturer's website for the latest firmware file. Copy it to a freshly formatted SD card, insert it into the camera, and follow the update instructions.
This process fixes subtle bugs that affect night mode detection.
Field Test: Did It Actually Work?
So you have replaced the batteries. You have cleaned the contacts. Maybe you swapped the IR board.
Now you need to prove the fix actually worked before you walk three miles back into the woods.
Set the camera up in a dark room. A bathroom with no windows works perfectly. Close the door and wait for your eyes to adjust.
Walk in front of the camera the same way an animal would. Move across the detection zone slowly.
Check the test photo on the camera's screen or pull the SD card and view it on your laptop. The image should show a clear, well-lit subject with visible details. If the flash fires but the image is still too dim, the IR lens cover may be clouded or scratched.
If the flash does not fire at all, your repair did not work. Go back to the diagnosis step. Recheck the phone camera test.
Recheck the ambient light sensor test. The problem may be deeper than you thought.
A field test that passes is a solid confidence builder. But even a fully functional camera can fail later. So keep your troubleshooting toolkit handy.
A small multimeter and a spare set of lithium batteries are cheap insurance against a ruined scouting trip.
Common Mistakes That Waste Time or Break Things Worse
Most trail camera owners make the same few mistakes when troubleshooting the IR flash. Avoid these and you will save hours of frustration.
The biggest mistake is assuming the LEDs are dead without checking the batteries first. As we covered earlier, weak batteries cause the exact same symptom. Aggregate reviews from verified buyers show that about 40 percent of broken IR flash cases resolve with a fresh set of lithium AAs.
Another common error is pointing the phone camera at the wrong part of the trail camera. The phone camera trick only works if you aim directly at the IR LED lenses. The small round windows on the front of the camera.
Not the PIR sensor dome and not the main camera lens.
People also damage their cameras by using the wrong cleaning tools. Never use alcohol on the rubber seals around the camera housing. It dries out the gasket material and causes moisture leaks.
Stick to water or mild soap for the exterior seals.
Overtightening screws during reassembly is another frequent mistake. The plastic housings on most trail cameras strip easily. Use gentle pressure and stop at the first sign of resistance.
A snug screw is fine. A stripped screw hole means a new camera.
Frequently Asked Questions
Why does my trail camera take daytime photos but not night photos?
This is the classic symptom of a problem isolated to the night mode system. The most likely cause is dead IR LEDs, a failed IR cut filter, or a blocked ambient light sensor. Follow the phone camera trick and the tape trick to narrow it down.
Can I replace the IR LEDs myself?
Yes, if you are comfortable with basic electronics and have a soldering iron. However, most manufacturers sell entire IR board replacements that simply plug in. Swapping the whole board is easier and more reliable than desoldering individual LEDs.
How long do trail camera IR LEDs typically last?
Manufacturer specifications indicate a typical lifespan of 50,000 to 100,000 hours of operation. In real-world use, that translates to roughly three to five years of nightly use before the LEDs begin to dim or fail.
Will cold weather affect my IR flash performance?
Yes, cold weather is a major factor. Alkaline batteries lose voltage rapidly below freezing. Lithium AAs maintain their voltage down to about -20 degrees Fahrenheit.
For reliable winter-night photography, switch to lithium cells.
Why does my IR flash work in test mode but not in the field?
This usually indicates a settings issue. The camera may be in a mode that disables the IR flash during normal operation. Check your menu for a night mode or IR intensity setting.
Also check that the ambient light sensor is not obscured by dirt or tape.
Quick Decision Guide: Fix It, Replace It, or Upgrade It?
You have diagnosed the problem. You have tried the easy fixes. The IR flash still does not work.
Now you face the real decision. Is this camera worth repairing, or should you buy a new one?
The answer depends on three factors. The camera's age. The cost of the replacement part.
And the value of your time.
| Camera Age | Repair Cost | Verdict |
|---|---|---|
| 0 to 2 years | $10 to $30 for IR board | Fix it. The camera has years of life left. |
| 3 to 4 years | $10 to $30 for IR board | Consider fixing if you like the model. |
| 5+ years | $10 to $30 for IR board | Replace it. Newer cameras have better sensors. |
| Any age | $50+ for professional repair | Replace it. You can get a new camera for that price. |
If the IR board replacement costs $15 and your camera is two years old, order the part. It is a 15-minute swap with basic tools. You can find a teardown video for your specific model on the manufacturer's support site.
If the camera is five years old, the IR LEDs are not the only aging component. The PIR sensor sensitivity drops over time. The seals degrade.
The lens may have micro scratches. A new $100 camera will outperform the old one in every way.
For cameras in the three-to-four-year range, consider your satisfaction with the model. If you have always liked the image quality and trigger speed, the repair makes sense. If you have been frustrated by slow recovery times or poor daytime photos, now is a natural upgrade moment.
The same logic applies to a dead IR cut filter or a damaged control board. Any single component failure on a camera older than four years points toward replacement. Spending $20 on a part for a camera that already has degraded performance is false economy.
On the other hand, if your camera is only one season old and the flash died, take advantage of the warranty. Most manufacturers offer a one-year warranty. Some extend to two years for the IR components.
Contact their support team before you open the housing. Opening the case can void the warranty.
A final note on upgrades. As of 2026, the latest trail cameras offer features that older models simply cannot match. Better low-light sensors.
Faster trigger speeds. Longer battery life. Built-in cellular transmission.
If you are already shopping for a replacement, consider what features matter most for your specific scouting needs. A camera that sends photos to your phone saves you weeks of checking SD cards each season.
If you decide to keep troubleshooting your current camera, you already have the right process. Start with the batteries. Work through the checklist.
Test each component methodically. Most flash problems are simple fixes that take under 30 minutes. The few that are not simple still have a clear answer.
Replace the board or replace the camera.
Either way, you end up with a camera that takes clean, well-lit nighttime photos. That is the whole point.

Similar Posts






























