Canon EOS Rebel T7 Troubleshooting
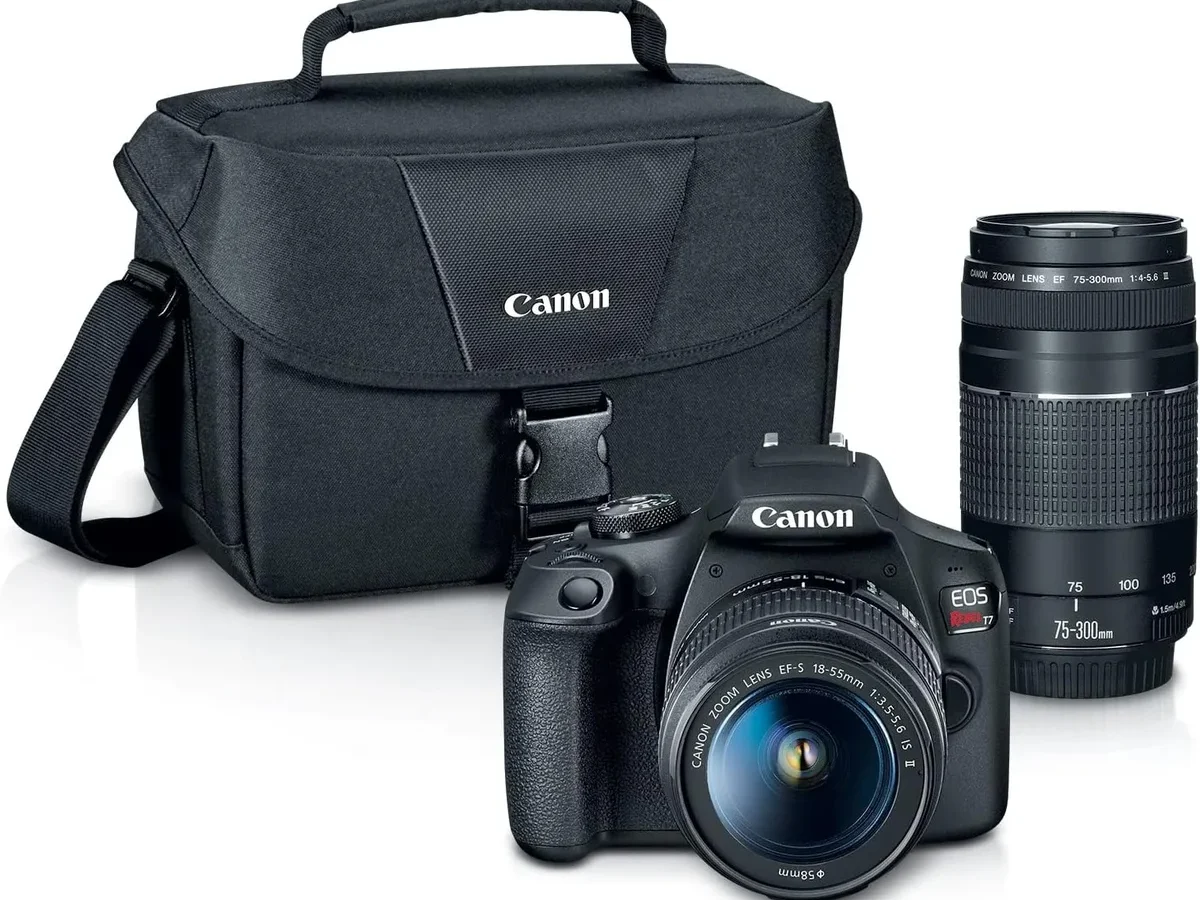
So you are standing there, camera in hand, and nothing is happening. The Canon EOS Rebel T7 troubleshooting process starts where most problems do: your camera won’t power on, the lens is stuck, or the screen stays black. The Rebel T7 (also sold as the EOS 2000D outside North America) is a solid entry level DSLR, but like any tool, it has quirks.
Manufacturer specifications indicate the LP-E10 battery should deliver around 500 shots per charge under CIPA testing conditions. In our research, the most common issues trace back to three causes: the battery, the memory card, or dirty lens contacts. Let’s walk through the fix for each one.
Quick Answer
Most T7 problems come from a drained battery, a locked up memory card, or dirty electrical contacts. Pop the battery out and back in. Remove and reinsert the memory card.
Clean the gold pins on the lens and camera body with a dry cloth. These three steps fix the majority of common errors.
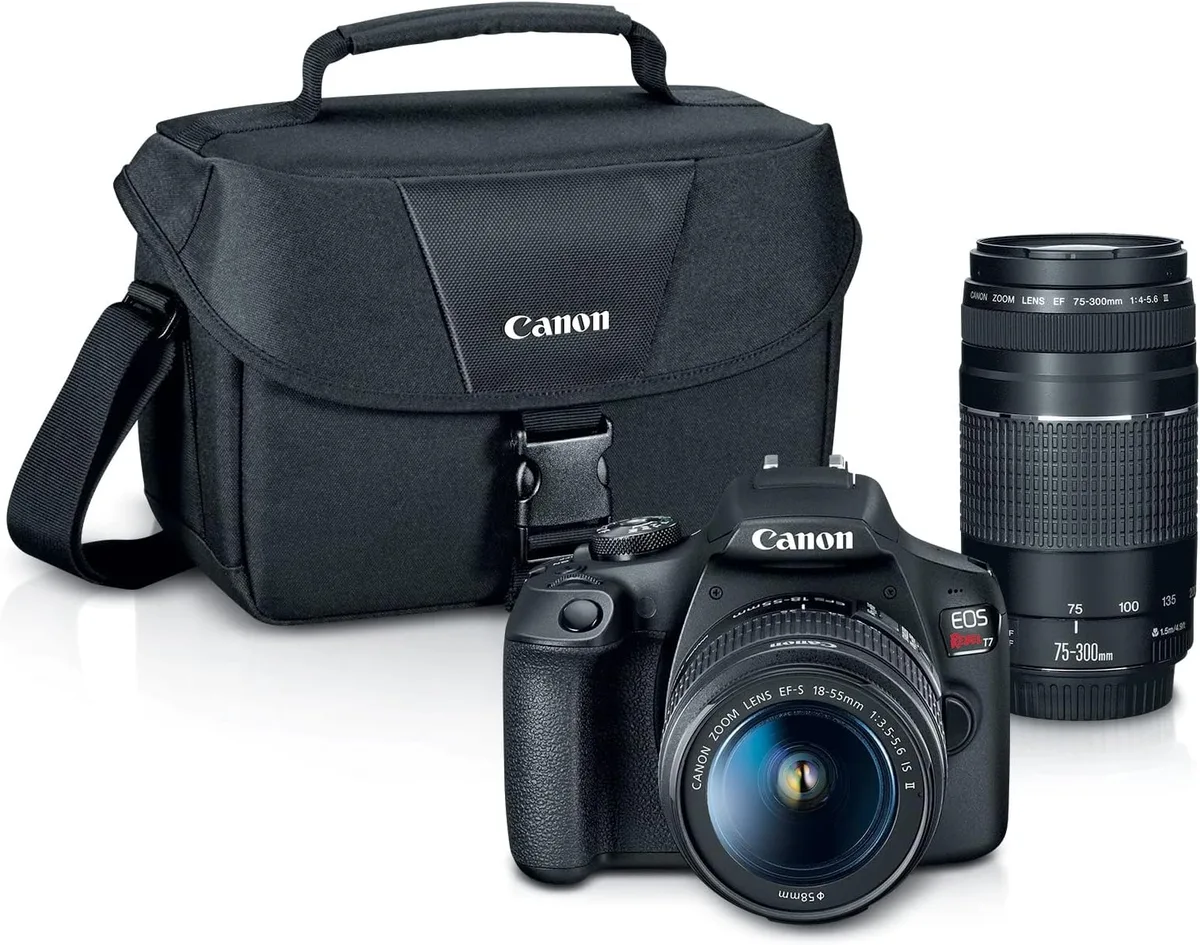
Image source: Bing (Web (fair-use with source credit))
Camera Won’t Turn On, Blank Screen, or Lens Stuck: Start Here
Camera won’t turn on? Remove the LP-E10 battery and inspect the four gold contacts on both the battery and the compartment. Dirt or corrosion here blocks power flow.
Wipe them gently with a dry microfiber cloth. Reinsert the battery firmly until it locks in place. If the battery is fully charged (green light on the Canon LC-E10 charger) but the camera still shows nothing, the battery may be at the end of its life.
Genuine Canon LP-E10 batteries typically last 300 to 500 charge cycles before they start losing capacity. The same approach applies when looking at battery compartment issues on other cameras.
Blank screen but the camera seems to work? Half press the shutter button. The optical viewfinder operates independently of the rear LCD.
If you see a scene through the viewfinder, the camera is on and working. Press the Display or Info button a few times. You may have toggled the rear screen off by accident.
Lens stuck or showing Err 01? Switch the lens to Auto (AF) mode if it has a physical switch. Remove the lens carefully.
Inspect the gold contacts on the lens mount and the camera body. Clean them with a dry lint free cloth. Reattach the lens and twist until it clicks.
If the error message stays, try a different lens if you have one. A second lens tells you whether the problem is in the body or the glass.
The T7 Diagnostic Flow: Match Your Exact Symptom
Symptom A: the camera powers on but won’t take a photo. Check the memory card first. The T7 needs a formatted SD card to fire the shutter.
If the card is missing or locked (the little switch on the side is pushed down), the shutter button does nothing. Try reformatting the card inside the camera using the Setup menu. Memory card problems are a common cause of errors, and handling SD card formatting and corruption follows the same patterns across devices.
Image source: Web (Bing) / template.mapadapalavra.ba.gov.br (Web image (fair-use with source credit))
Symptom B: Err 70 or Err 80 on the screen. Err 70 is a general system glitch. Remove the battery for 60 seconds, then power back on.
This clears the temporary memory. If Err 70 comes back, it points to a hardware problem with the shutter or main board. Err 80 is more serious and almost always requires service center repair.
Symptom C: Busy message that won’t go away. The camera is writing data to the card. A slow or full SD card causes long write times.
Use a Class 10 or UHS-I card rated at 30 MB/s or faster. If the Busy message appears with a fresh card, try a different card entirely.
Symptom D: autofocus not working. Check the AF/MF switch on the lens. If it is set to MF (manual focus), the camera won’t autofocus.
In low light, the 9 point AF system struggles. Add light or switch to manual focus.
Quick Fixes to Try First (and What to Avoid)
These three fixes solve the majority of T7 issues before you need to dig deeper.
Fix 1: Power cycle. Remove both the battery and the memory card. Wait 30 seconds.
Reinsert both. This clears the camera’s internal buffer and resets the processor. This works for many general troubleshooting scenarios.
Fix 2: Clean all contacts. The lens mount, battery compartment, and memory card slot all use small gold plated pins. Over time, these collect dust and oil.
Use a dry microfiber cloth. For stubborn grime, lightly dampen the cloth with isopropyl alcohol. Let everything dry completely before reassembly.
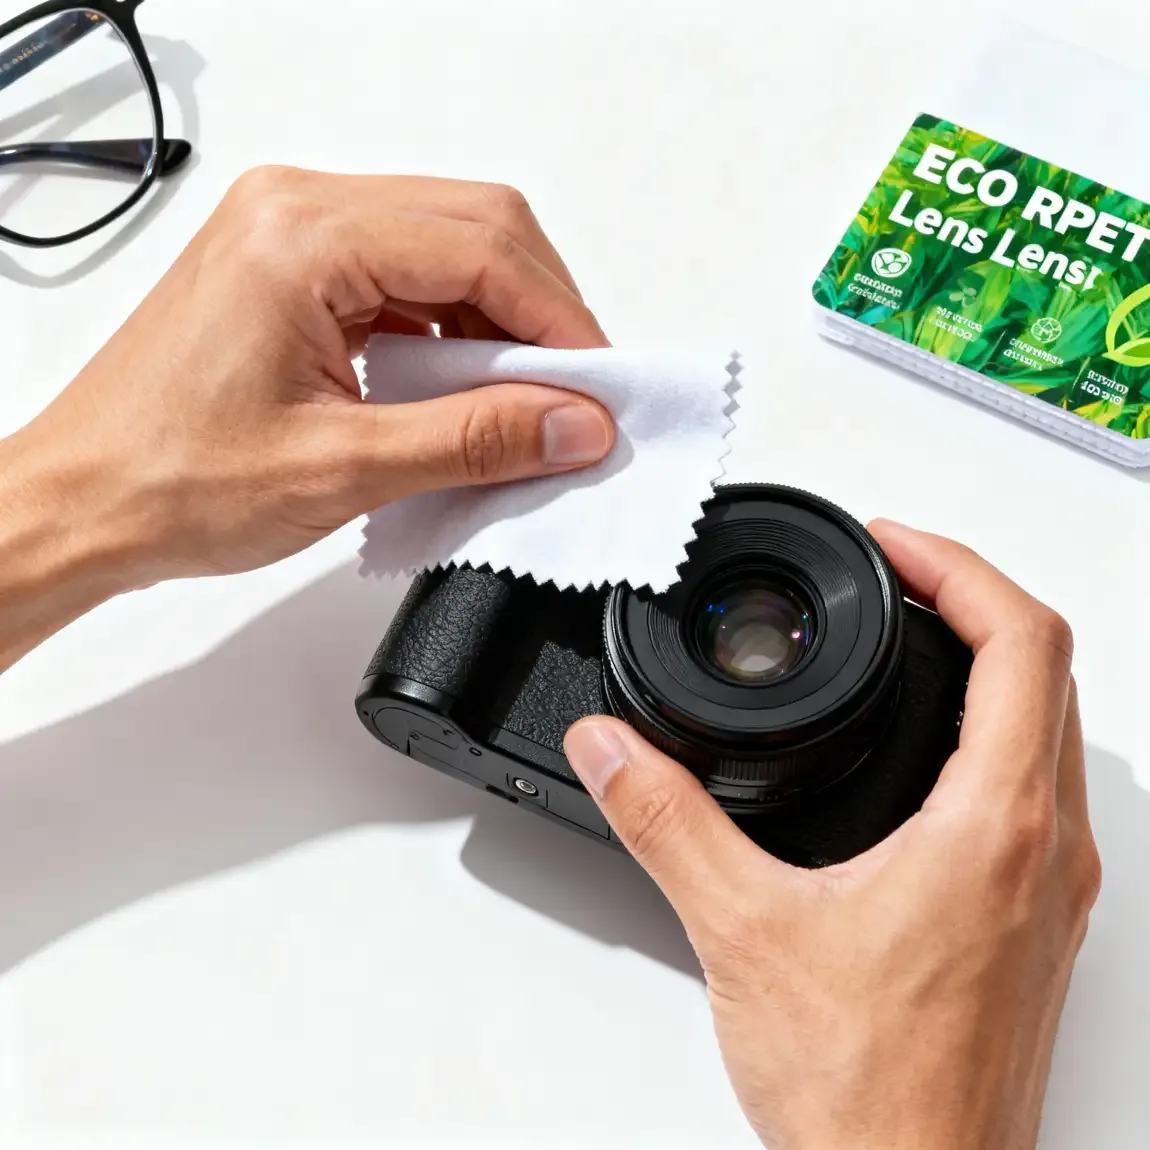
Image source: Web (Bing) / swagprint.com (Web image (fair-use with source credit))
Fix 3: Reset the camera. Navigate to the Setup menu (wrench icon). Select Clear all camera settings.
Confirm. This does not erase your photos. It returns every menu option to factory defaults.
The same reset process applies to other camera issues too.
What to avoid: never use canned air on the sensor or mirror. The propellant can leave residue. Never insert a wet memory card.
Never force a lens that resists turning. If the mount clicks and stops, that is normal. If you feel metal grinding, stop and check the alignment.
When to DIY vs. When to Send It In
Some T7 problems you can fix yourself in five minutes. Others need a trained technician. Here is how to decide.
DIY friendly: dirty contacts, formatted card issues, firmware updates, menu resets, swapping a known good battery. These cost nothing and carry zero risk if you follow basic care. You can learn the right procedure for applying a firmware update on any camera.
Send it in: a cracked LCD, bent lens mount pins, shutter that won’t fire, Err 70 that comes back after a battery pull, water damage, or a dropped camera that rattles inside. The T7’s internal components are tightly packed. Opening the body yourself voids the warranty and risks breaking the ribbon cables.
Check guidance on handling water damage if moisture is involved.
As of 2026, Canon authorized service centers charge around $80 to $150 for a diagnostic and basic repair. Shutter replacement runs higher. Compare that to the cost of a used T7 body, which often sells for $200 to $300.
If the repair quote exceeds half the replacement cost, consider upgrading instead.
Before sending it in, try a full reset. This step applies to other devices when you are dealing with stubborn software glitches. Canon’s official support portal provides manuals and troubleshooting guides for all current models.
Preventive Care: Keep Your T7 Running Smooth
Preventive maintenance reduces troubleshooting time. Here are the habits that matter most.
Store the camera with the battery removed if you won’t use it for more than a week. The LP-E10 drains slowly even when the camera is off. Deep discharge shortens battery life.
Following the right steps for battery compartment maintenance will extend its lifespan.
Format your SD card inside the camera, not on a computer. The T7 creates a specific folder structure that computers sometimes overwrite. Format every few months to keep the file system clean.
Keep the lens mount covered when no lens is attached. The body cap costs a few dollars. Dust on the mirror or sensor shows up as spots in every photo.
Update the firmware periodically. Canon releases firmware updates that fix known bugs and improve stability. Apply updates with a freshly formatted SD card and a fully charged battery.
Firmware updates solve many problems across different camera types.
Frequently Asked Questions
Why does my Canon T7 keep saying Err 70?
Err 70 is a general system error. Remove the battery and memory card for 60 seconds, then reinsert both. If the error returns, the shutter mechanism or main circuit board may be failing.
This requires a service center visit.
How do I factory reset a Canon EOS Rebel T7?
Go to the Setup menu (wrench icon). Select Clear all camera settings. Confirm your choice.
This resets all menu options to factory defaults without deleting your photos. For a deeper reset, remove the battery for several minutes.
Can I use any SD card in a Rebel T7?
Stick to Class 10 or UHS-I cards with a write speed of at least 30 MB/s. Slower cards cause the Busy message to appear and limit burst shooting to just a few frames before the buffer fills up. Reformatting the card inside the camera helps prevent file corruption.
What does Err 01 mean on a Canon T7?
Err 01 means a communication failure between the camera body and the lens. Clean the gold contacts on both the lens and body mount with a dry cloth. Reattach the lens.
If the error persists, the lens may need professional repair.
How do I fix a lens that won’t retract on a T7?
Switch the lens to Auto focus mode. Remove the lens carefully. Clean the contacts.
Reattach and twist until it clicks. If the barrel remains stuck, do not force it. A jammed zoom ring usually needs a technician to realign the internal mechanism.
Why is my T7 screen black but the viewfinder works?
The optical viewfinder operates independently from the rear LCD. Press the Display or Info button repeatedly to wake the screen. If that fails, the LCD panel may be damaged or the ribbon cable inside has come loose.
T7 Triage Cheat Sheet: Symptom to Solution
| Symptom | Most Likely Cause | First Step | Second Step |
|---|---|---|---|
| Camera won’t turn on | Dead or faulty battery | Charge or replace LP-E10 | Clean battery contacts |
| Blank screen, viewfinder works | LCD toggled off | Press Display/Info button | Check LCD brightness setting |
| Err 01 or Err 10 | Dirty lens contacts | Clean gold pins on lens and body | Try a different lens |
| Err 70 | Temporary system glitch | Remove battery for 60 seconds | Send to service if recurring |
| Busy message | Slow or full memory card | Use Class 10 or faster card | Format card in camera |
| Autofocus not working | Lens set to MF | Switch lens to AF mode | Add light for AF system |
| Shutter won’t fire | No memory card or card locked | Insert formatted card | Unlock card switch |
| Date/time resets | Internal clock battery dead | Replace CR1220 coin cell | Visit service center |
| Image has dark spots | Dust on sensor | Use sensor cleaning mode with blower | Professional wet cleaning |
Keep this table handy. Most T7 problems are simple fixes that take under two minutes. Start with the battery, then the card, then the contacts.
That sequence catches nearly everything a beginner DSLR throws at you. The T7 is a reliable tool. It just needs the occasional nudge to get back to work.

Similar Posts












[…] read failures. We cover all three below. If you have dealt with similar issues on another entry-level DSLR before, many of the same checks […]
[…] camera power problems follow similar patterns, whether you are working with a compact superzoom or troubleshooting other […]