Action Camera Color Problems Troubleshooting
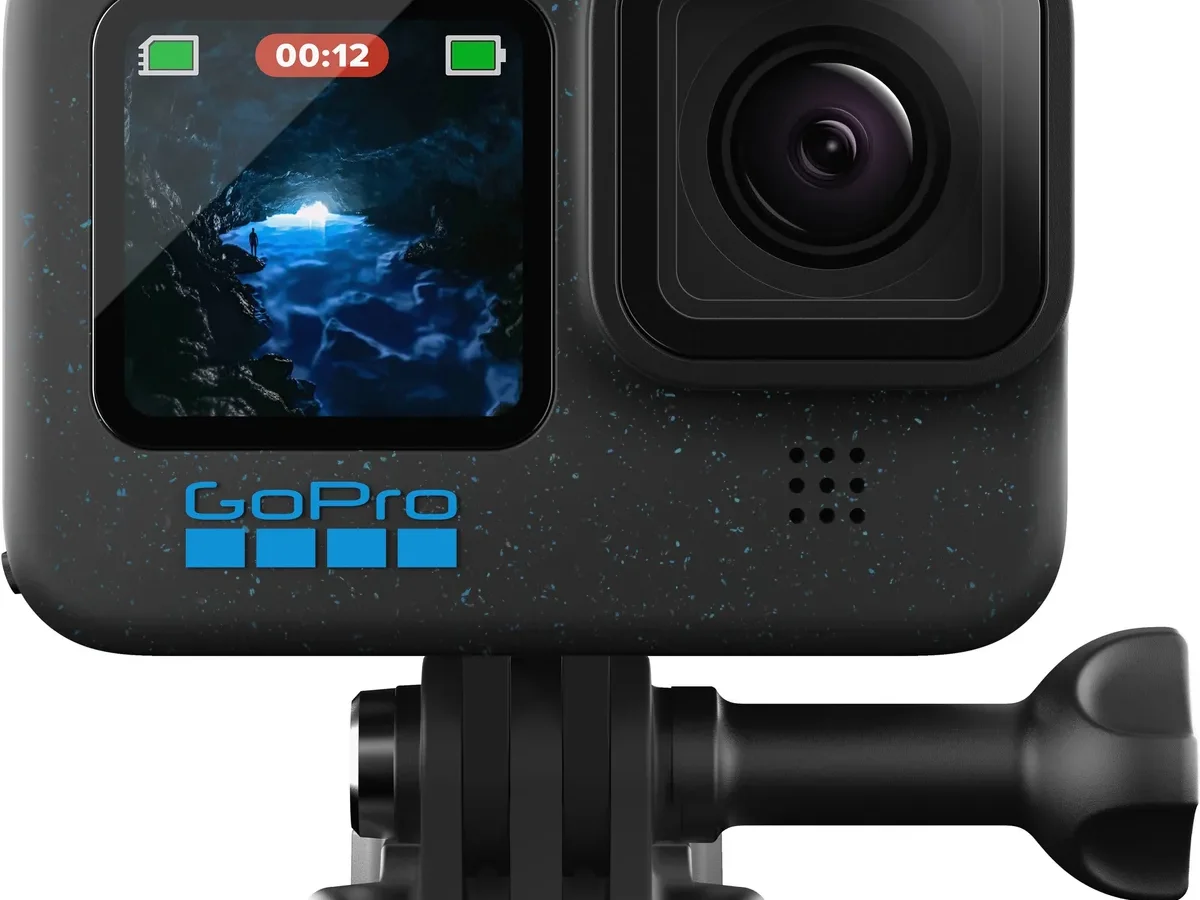
If you've pulled your action camera footage off the card and the colors look wrong, you're not alone. Action camera color problems troubleshooting is a common headache for anyone shooting with a GoPro, DJI Osmo Action, or Insta360. The fix starts with knowing what you're looking at.
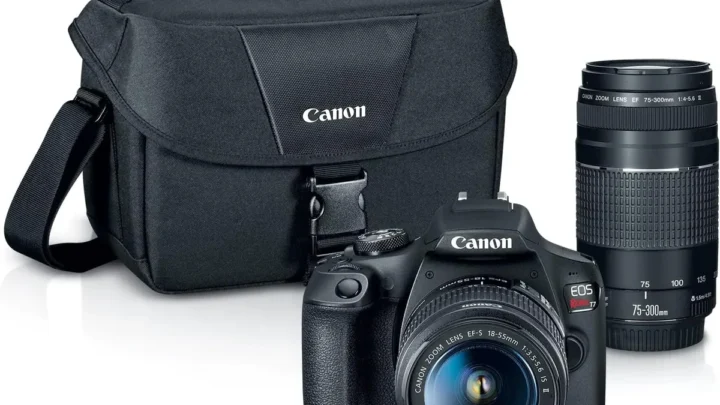
Image source: Web (Bing) / bestbuy.com (Web image (fair-use with source credit))
Different light sources cause different color casts. Tungsten bulbs throw a warm orange-yellow. Fluorescent lights add a greenish tint.
Underwater, the reds vanish at about 5 meters (16 feet). We'll walk through how to diagnose and solve each scenario step by step.
Quick Answer
Action camera color problems troubleshooting starts with identifying your symptom. Check the dominant color cast. Check your lighting.
Check your camera settings. Match your white balance to the light source. Use a gray card for accuracy.
Update firmware for known color bugs.
Quick Symptom Check – What Kind of Color Problem Are You Seeing?
Before you change any settings, pin down exactly what you're dealing with. The wrong diagnosis leads to the wrong fix every time. Look at your footage and ask one question: what color dominates?
Blue or cool cast. This usually means your white balance is set too cool for the light. It's common in shade, overcast skies, or underwater. The camera thinks the scene is warmer than it really is.
Yellow or orange cast. Classic tungsten light problem. Indoor bulbs and warm LEDs push this color. Your camera's auto white balance is struggling with the warmth.
Greenish tint. Fluorescent or cheap LED lights cause this. The camera can't compensate for the green spike in the spectrum.
Washed out or desaturated. Overexposure is the usual culprit. The sensor has no color information in blown highlights. Check your exposure levels.
Inconsistent color between clips. Auto white balance is changing as you pan or move. You're getting a different color temperature every few seconds.
Pink or magenta cast. Some LED lights and certain underwater conditions produce this. It's less common but very noticeable.
Each symptom points to a different fix. The next section helps you decide which branch to follow. If you're dealing with unexpected color shifts across the board, look closely at your camera's picture settings first.
Decision Tree – 3 Conditions That Change Your Fix
Now we match symptoms to solutions. The right fix depends on three conditions. Run through these questions in order.
Condition 1: What's your lighting situation?
Are you indoors under artificial lights? Outside in natural sun? Shooting in mixed conditions?
This is the single biggest variable. Indoor tungsten needs a warm white balance (around 3200K). Daylight needs something cooler (around 5600K).
Mixed light is a headache best solved with manual white balance.
Condition 2: Are you underwater or in extreme conditions?
Water absorbs red light first, then orange, then yellow. By 10 meters, your footage is basically blue-green. The fix here is a physical red filter or a custom underwater white balance setting in post.
Snowy scenes throw things the other direction: the auto white balance tries to make snow neutral, often giving everything a blue or magenta tint.
Condition 3: Does the color look wrong on the camera screen but fine on a monitor?
Your camera's screen is small and often poorly calibrated. What looks like a color problem might just be a screen issue. Check the histogram and waveform instead.
If the scopes look healthy, the footage is probably fine.
Once you identify your condition, jump to the relevant branch below. Each branch gives you the step-by-step workflow for that specific situation. When you're dealing with persistent color issues that change between shoots, it's worth running through a full general diagnosis.
Branch One – White Balance Fixes for Different Lighting
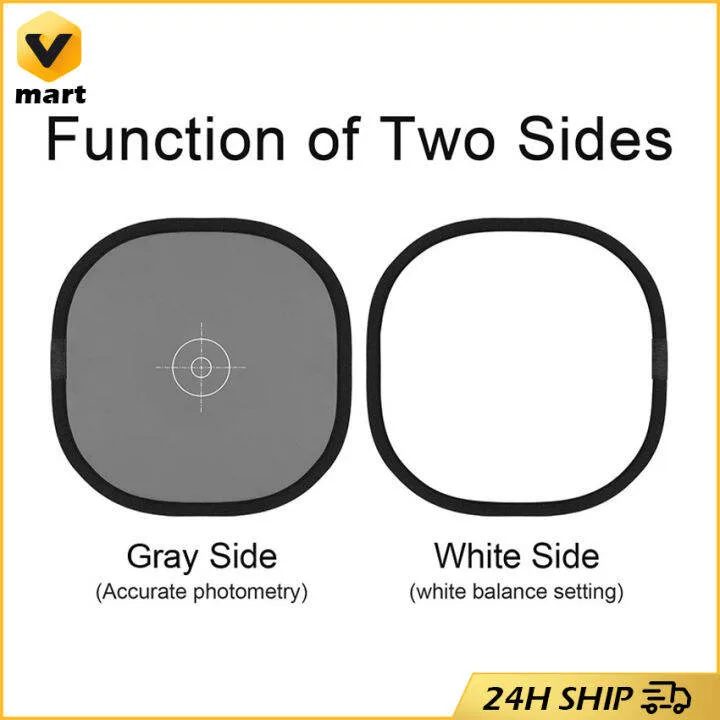
Image source: Web (Bing) / lazada.com.ph (Web image (fair-use with source credit))
White balance is the most common cause of color problems. It's also the easiest to fix once you know the trick. Here's the breakdown by light source.
Tungsten / warm indoor light (yellow-orange cast).
Set your white balance to Tungsten or Incandescent (around 3200K). If you're shooting in manual, drop the color temperature to around 3200K in your camera settings. If your camera has a custom Kelvin range, start there and adjust down until the orange disappears.
Fluorescent / LED light (greenish cast).
Use the Fluorescent white balance preset. This adds magenta to cancel the green. If no preset exists, dial in a tint adjustment of +10 to +15 toward magenta.
Check on a monitor or smartphone screen.
Daylight / overcast (blue cast with shadows).
Set white balance to Daylight (5600K) or Cloudy (6000K) if it's overcast. The Cloudy preset adds warmth. Overcast scenes need that extra warmth to keep skin tones natural.
Mixed light (indoor and window light).
This is your hardest situation. Auto white balance will constantly shift. Use manual white balance with a gray card.
Hold the card in front of the lens, set a custom white balance, and lock it. Your entire scene will be balanced to that one neutral point.
Quick test. If you're not sure what preset to use, shoot a few seconds of each preset and check the result on your camera screen. One of them will look obviously better. Then lock that in and keep shooting.
For precise control in tricky mixed lighting, dialing in the white balance manually is more reliable than relying on presets.
Branch Two – Underwater and Extreme Conditions
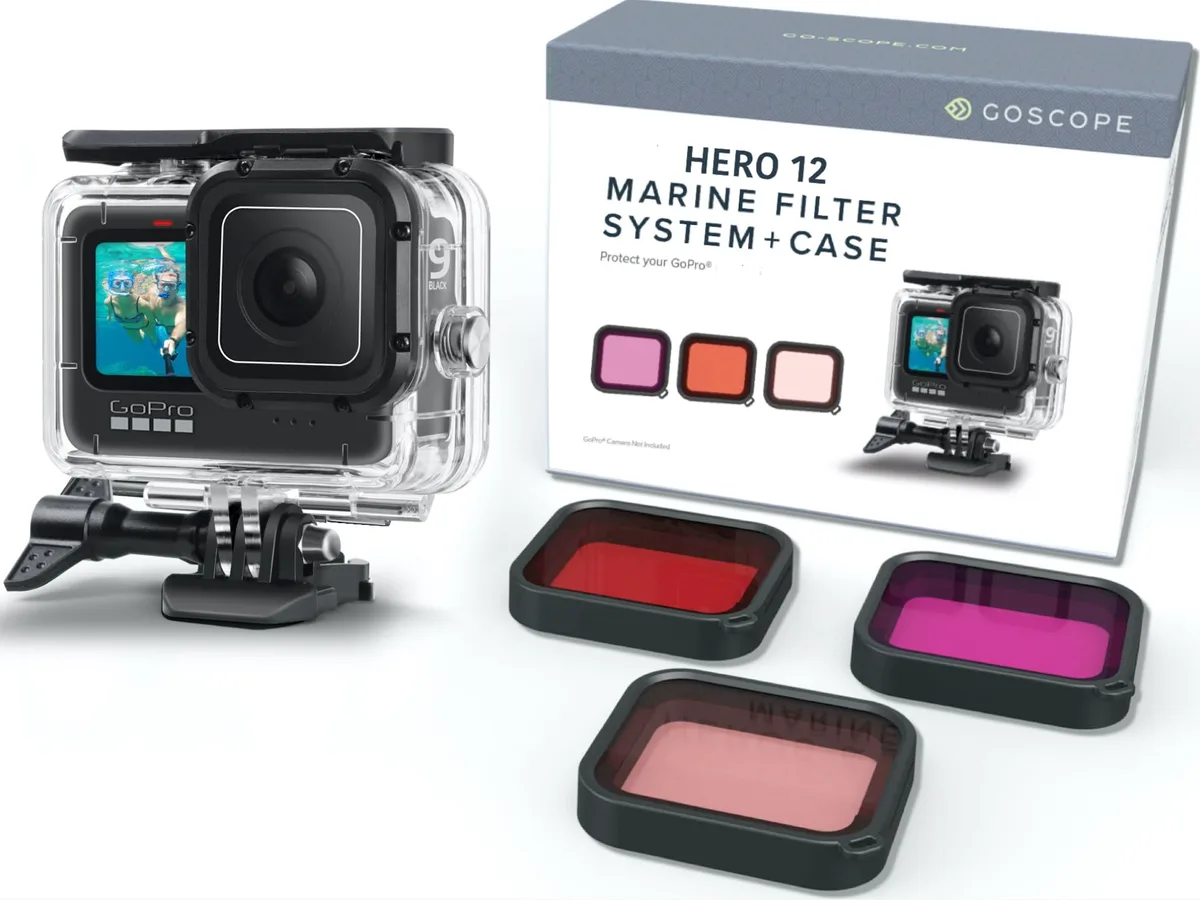
Image source: Bing (Web (fair-use with source credit))
Underwater footage is the most extreme color scenario you'll face. Water acts like a natural filter. Red disappears first at around 5 meters.
Orange goes by 10 meters. By 15 meters, you're shooting in a blue-green world.
The physical red filter solution.
A red filter screws on over your housing lens. It physically adds red back before the light hits the sensor. This gives you better color straight out of camera.
It's the most reliable option for serious divers. The downside is you need to remove it for shallow water or surface shots.
The custom white balance workaround.
Some action cameras let you set an underwater white balance preset. On a GoPro, the Underwater mode adds red and removes blue. On DJI Osmo Action, you can set a custom Kelvin value around 5000K and add a positive tint shift.
Test a sample shot at depth before committing to a full dive. Per GoPro's official support documentation, the Underwater preset works best between 3 and 15 meters.
Post-production grading.
If you shot flat (Protune or D-Cinelike), you can fix color in software. Pull down the blue channel. Add warmth to the red and orange channels.
Use a vectorscope to make sure skin tones land on the correct line. This takes time but gives the most control.
Snow and extreme sun.
Bright snow scenes confuse the auto white balance. The camera tries to correct the whites to neutral, which pushes everything blue or magenta. Set manual white balance to Cloudy or Shade.
This adds warmth and keeps the snow looking natural.
Desert and sand.
Sand reflects warm tones. Auto white balance may push the image too cool. Use Daylight preset or manual Kelvin around 5800K.
Check skin tones. If they look pale, warm it up slightly.
Branch Three – In-Camera Profiles vs Post-Production
Every action camera has a choice: shoot a processed look or shoot a flat profile for grading later. Each approach has a time and place. Here's how to decide.
Shooting with an in-camera color profile.
Camera presets like GoPro's Vibrant or Natural, DJI's D-Cinelike, and Insta360's Standard are designed for immediate use. Vibrant boosts saturation. Natural keeps things accurate.
D-Cinelike is a flat profile that captures more data for grading.
| Profile | Best for | Trade-off |
|---|---|---|
| Natural / Standard | Quick edits, social clips | Less flexibility in post |
| Vibrant / Vivid | Outdoor POV, sports | Can look artificial in mixed light |
| Flat / Log (e.g., D-Cinelike) | Color grading, cinema | Needs editing; looks washed raw |
When to use a flat profile.
Shoot flat when you know you'll grade later. Flat profiles preserve more shadow and highlight detail. They're ideal for underwater footage, interviews with mixed light, and projects where color accuracy matters.
When to use a processed profile.
If you're sharing clips straight from the camera, use a processed profile. No one wants to see flat, desaturated footage on social media. Natural or Standard gives you a good balance.
You can still tweak it slightly in editing.
Bit depth matters for grading.
Shooting 8-bit flat can actually hurt color. You have less room to push and pull without banding. If your camera supports 10-bit recording, use it for any serious grading work.
The best middle ground.
Shoot in a profile like GoPro's Natural with Protune active. You control white balance, ISO, and sharpness while keeping a processed color base. This gives you the best of both worlds without a full grading session.
Common Mistakes That Make Color Problems Worse
Let's be honest. Most color problems happen before you press record. Here are the ones we see over and over.
Trusting the camera screen. That little LCD is not calibrated. It's small and bright. What looks great on the camera often looks wrong on a monitor.
Always check the histogram before you walk away from a shot. If the histogram looks healthy, the color is probably fine.
Using auto white balance in mixed scenes. Auto WB works in stable light. The moment you pan from shade to sun or indoor to outdoor, it shifts. That shift happens mid-clip.
You get two different colors in the same shot. Lock in manual white balance for any scene with mixed light.
Shooting JPEG with the wrong color profile. A flat profile on an 8-bit JPEG gives you nothing but trouble. You lose data to compression. Grading flat JPEGs causes banding fast.
If you want to grade, shoot in a format that actually captures the data. Use a higher bit rate or a raw-like format if your camera supports it.
Forgetting about firmware updates. Manufacturers fix color bugs in firmware releases. A known issue with pink frames on early GoPro Hero 12 units got patched in version 2.10. Check your camera's current firmware.
As of 2026, most manufacturers have patched known color bugs through firmware updates. Keeping the firmware current is a reliable way to resolve unexpected color issues.
Skipping the gray card. It takes thirty seconds. You get perfect white balance for the whole scene. Yet most people don't bother.
Buy a foldable gray card and keep it in your camera case.
Final Decision Guide – One-Time Setup for Consistent Color
You don't need to solve this puzzle every shoot. Set up once and adjust for conditions. Here's the workflow.
Indoor tungsten shooting. Set manual white balance to 3200K. Drop tint to zero. Lock it.
Done.
Outdoor daylight. Set white balance to Daylight or 5600K. Tint at zero. Shoot.
Overcast or shade. Set white balance to Cloudy or 6000K. Add +5 tint for warmth.
Underwater (shallow, under 5m). Use Underwater preset or 5000K with +10 tint.
Underwater (deep, over 5m). Attach a physical red filter. Set white balance to Daylight.
Mixed indoor/outdoor. Use a gray card to set custom white balance. Lock it for the whole shoot.
| Scenario | White Balance Setting | Tint Adjustment | Notes |
|---|---|---|---|
| Tungsten indoor | 3200K (Manual) | 0 | Lock, do not use Auto |
| Daylight outdoor | 5600K (Daylight) | 0 | Fine for sunny scenes |
| Overcast / Shade | 6000-6500K (Cloudy) | +5 | Adds warmth |
| Underwater shallow | Underwater preset | +10 | Adjust for local water |
| Underwater deep | Daylight + red filter | 0 | Filter does the work |
| Mixed light | Custom via gray card | 0 | Hold card, set, lock |
This table covers 90% of real-world shooting. Print it. Tape it to your camera case.
You'll never guess again. For detailed exposure matching alongside your color settings, reviewing your exposure workflow will help you get consistent results across different lighting conditions.
Frequently Asked Questions
Why does my action camera footage look blue underwater?
Water absorbs red light first. At 5 meters, red is mostly gone. At 10 meters, the image naturally looks blue-green.
Use a red filter or set an underwater white balance preset to add red back.
Can I fix a yellow tint in post-production easily?
Yes. Open your editing software. Adjust the temperature slider toward blue (lower Kelvin).
Adjust the tint slider slightly toward magenta if needed. Use a vectorscope to check skin tones fall on the correct line.
Does the camera screen show accurate colors?
No. The camera screen is small and not calibrated. It's useful for framing but not for judging color.
Check the histogram. Compare footage on your computer monitor instead.
What is a firmware update and does it affect color?
Firmware is software that runs your camera. Manufacturers release updates that fix bugs, including color processing errors. Check your camera's support page for the latest firmware.
Apply it with a fully charged battery.
Should I always shoot in a flat color profile?
Only if you plan to grade in post. Flat profiles give you more flexibility but require editing. If you share clips straight from the camera, use Natural or Standard.
They look good immediately.
What's the fastest way to get consistent color across multiple cameras?
Use a gray card on every camera. Set custom white balance from the same card in the same light. Match your exposure settings across cameras.
Grade from a single reference clip.

Similar Posts