Action Camera Focus Problems Troubleshooting
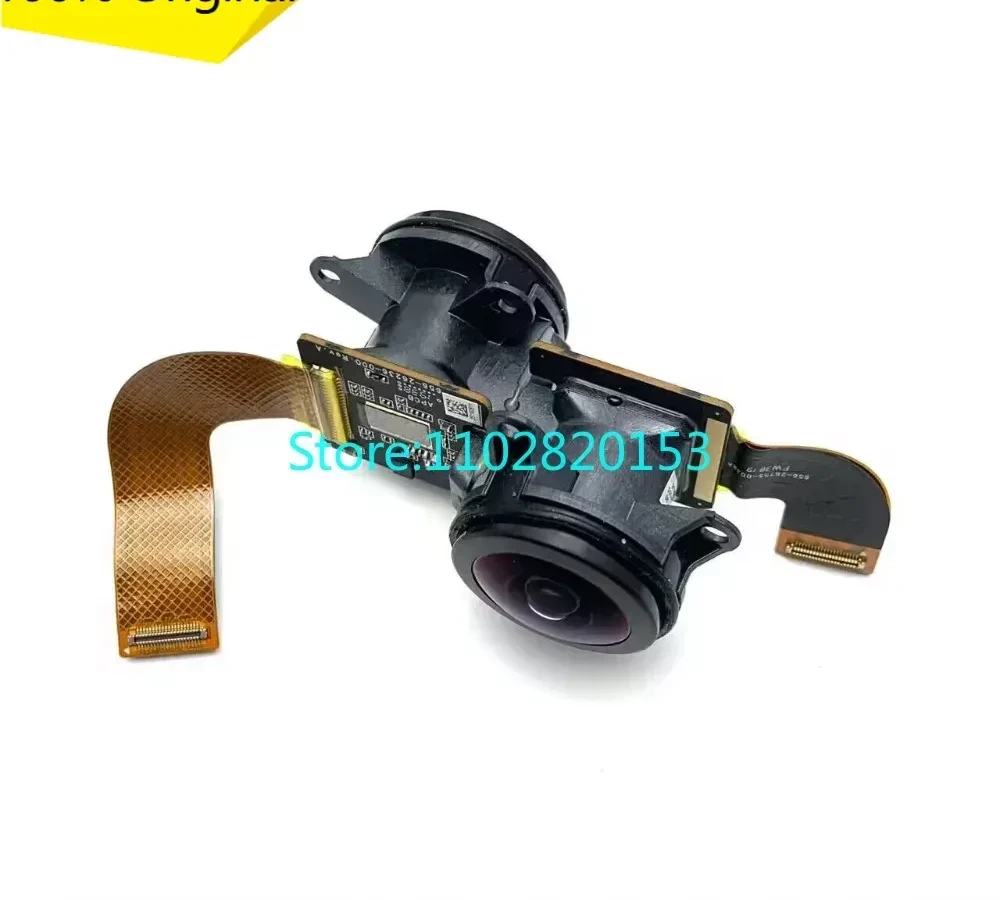
If your action camera footage suddenly looks foggy or soft, you are likely dealing with a common fixed-focus lens issue. Action camera focus problems troubleshooting is simpler than you think once you understand these cameras have no moving focus parts. As of 2026, most action cameras use a hyperfocal lens design that keeps everything from about 50 cm to infinity sharp.
When that clarity disappears, something physical or environmental is almost always the culprit.
Manufacturer specifications for models like the GoPro Hero series and DJI Osmo Action confirm this fixed-focus architecture. The lens is glued or locked in place at the factory for a specific depth of field. Nothing adjusts electronically.
If your video is soft at every distance, you are not dealing with a settings problem. You are dealing with a mechanical or environmental issue. Let's start with what's gone wrong and what you can actually fix.
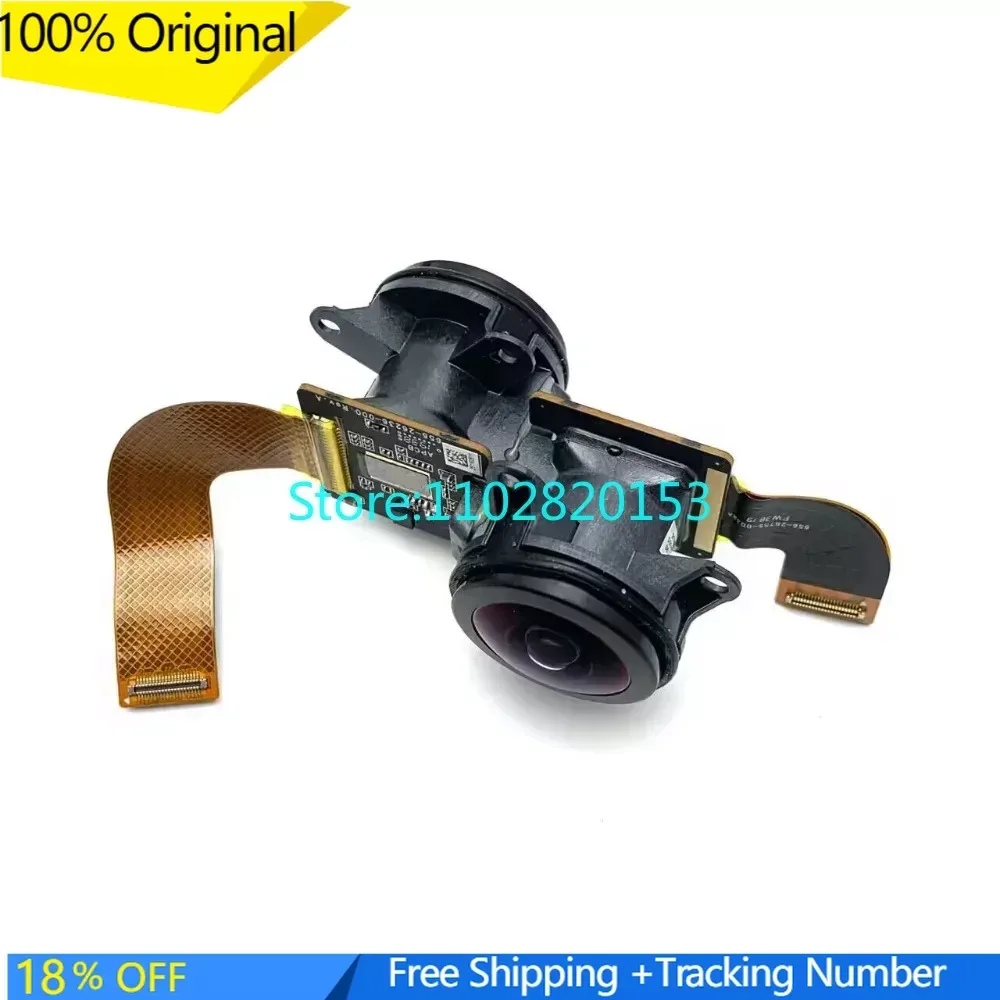
Image source: Web (Bing) / aliexpress.com (Web image (fair-use with source credit))
Quick Answer
Check for physical damage first. Clean the outer lens glass thoroughly. Update the camera firmware to the latest version.
If blur persists, the lens module may have shifted. A professional repair is often the safest final step.
Why Fixed-Focus Action Cameras Get Blurry (and What to Look For)
Fixed-focus lenses have no autofocus motor and no movable elements. They rely on a fixed distance from the lens to the image sensor. That distance is set at the factory using a threaded ring or adhesive.
If that distance changes, even by half a millimeter, the entire frame goes soft.
There are four main causes for this:
- Impact damage. A drop or hard knock can shift the lens assembly. This is the most common cause of sudden blur. The camera might look perfect on the outside while the lens ring has twisted a fraction of a degree.
- Moisture or condensation. Water vapor inside the housing or inside the camera body can create a foggy, low-contrast image that mimics a focus problem. This often happens after a dive, a rainy shoot, or moving from cold air into a warm room.
- Dust or debris on the sensor. If debris lands on the sensor surface behind the lens, it appears as a fixed blurry spot in the same part of every frame. This is less common on action cameras due to sealed housings, but it happens.
- Firmware or processing issues. Rarely, a buggy firmware update or corrupted settings can cause the image processor to apply heavy digital noise reduction that makes footage look unnaturally soft. This is the only cause unrelated to lens hardware.
The simple test is to shoot a 10-second clip at your usual distance, then film something close (30 cm away) and something far (10 meters away). If all three are equally blurry, the lens alignment is off. If only close subjects are blurry, your camera is likely calibrated to factory spec but you are inside the minimum focus distance.
Before You Open Anything: The 2-Minute Diagnostic Checklist
Do not grab a screwdriver yet. Run through this checklist first to rule out simple causes. It saves you from cracking a camera open unnecessarily.
| Step | What to Do | What It Tells You |
|---|---|---|
| 1 | Clean the lens glass gently with a microfiber cloth | A smudge or water spot can cause softness |
| 2 | Shoot video at three distances: 0.3 m, 1 m, 10 m | Pinpoints if the issue is distance-dependent |
| 3 | Inspect the lens window for internal fog or condensation | Indicates moisture inside the housing |
| 4 | Try a factory reset (Settings > Reset) | Rules out a corrupted software profile |
| 5 | Shoot a test in a different location with different lighting | Confirms the blur is not a low-light processing artifact |
If cleaning and a reset do not change the image, you have a hardware issue. At this point, you need to decide whether to attempt a fix or send the camera to a service center. A related guide on common issues with similar cameras covers the basics of diagnosing blurry footage in more detail.
The Main Decision Tree: Your Camera’s History Tells You Everything
The fastest path to a fix depends entirely on what happened before the blur started. Your camera's recent history is the most valuable diagnostic tool you have.
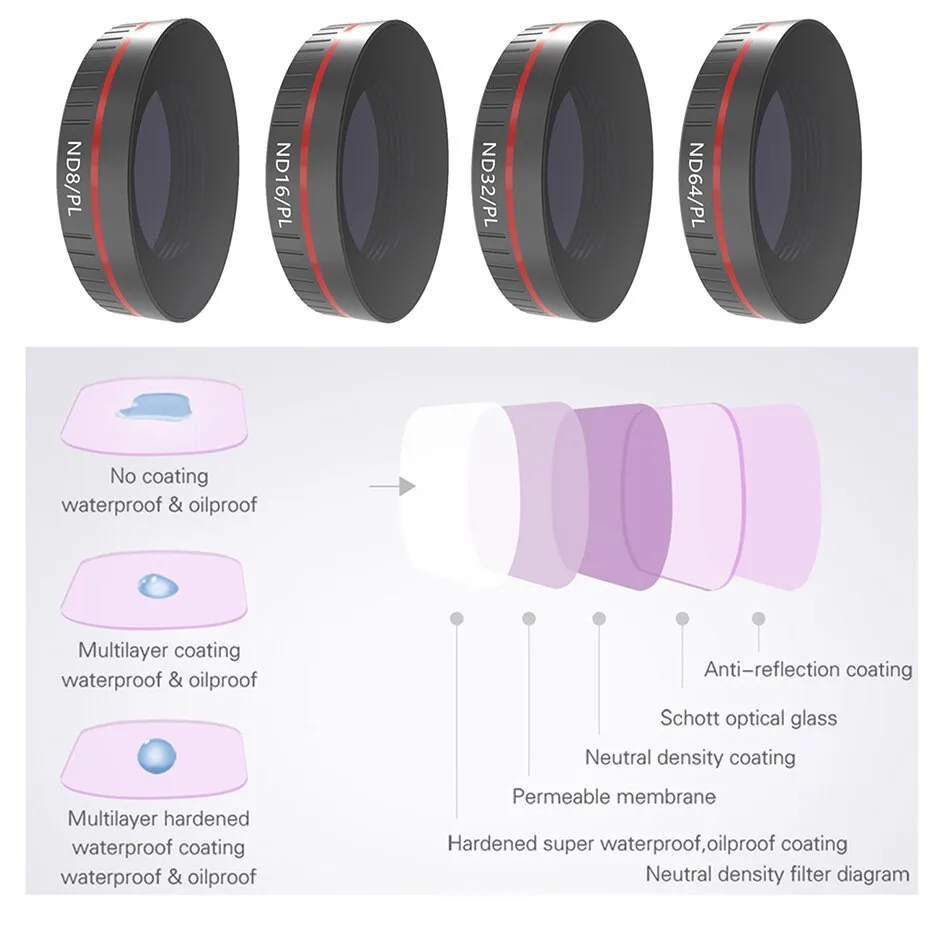
Image source: Web (Bing) / irl.grandado.com (Web image (fair-use with source credit))
If you dropped the camera: The lens ring likely shifted. This is the most common failure mode. You will need to check whether the retaining ring can be rotated back into focus.
This requires opening the front housing and turning the ring carefully while watching a live video feed. It is a delicate process but doable with steady hands.
If you used the camera in rain, diving, or high humidity: Moisture is the likely problem. Do not open the camera immediately. Place it in a warm dry spot with silica gel packets for 24 to 48 hours.
If the fog clears and sharpness returns, you avoided hardware damage. The camera's waterproof seals may need replacing after that.
If you see a fixed blurry spot in the same location of every shot: That is almost certainly dust on the sensor. You will need to open the front housing and use a sensor cleaning kit. This is higher risk because you expose the sensor directly.
Follow a steady approach and avoid touching the sensor surface.
If the blur appeared after a firmware update: Reflash the firmware to a stable version. Download the update file from the manufacturer's official support page and install it fresh. A corrupted update can alter image processing parameters.
If the blur stays, it was a coincidence, not the cause.
If none of the above applies: The blur may be gradual lens wear from microscratches or coating degradation. This is rare on action cameras under two years old. It usually requires a lens module replacement.
Step-by-Step Fixes for Each Cause (Drop, Moisture, Dust, Software)
Each cause has a specific fix that works most of the time. Work through the one that matches your diagnosis. Do not skip steps or try a fix that does not match your symptom.
Fixing a shifted lens after a drop
This is the fix most people search for. You need to access the lens retaining ring inside the front housing. For most GoPro and DJI models, you remove the front bezel with a plastic pry tool.
The ring is visible underneath. It might have a notch or two small holes for a spanner tool.
- Use a lens spanner or a fine-tipped tool to rotate the ring slightly.
- Rotate clockwise or counterclockwise while the camera records a test chart or a detailed object 1 meter away.
- Watch the image on a monitor or the camera app for peak sharpness.
- When it looks crisp, secure the ring with a tiny drop of thread-locker (finger-tight, not glued solid).
Most users report success after 15 to 30 minutes of careful adjustment. If the lens will not move or the image never sharpens, the sensor itself may have shifted. That is a more complex repair.
Fixing moisture-related softness
Moisture inside the camera creates a hazy image because water vapor scatters light on the sensor. Do not apply heat directly with a hair dryer. Place the camera in a sealed container with silica gel desiccant.
Leave it for 24 hours. If the haze clears, your camera is fine. If it does not, the moisture may have left mineral deposits on the sensor or lens.
That requires opening the camera and cleaning with a sensor swab and cleaning fluid.
Fixing sensor dust
This is identical to dealing with dust on a mirrorless camera sensor. Use a blower first. If the dust is stubborn, use a sensor cleaning swab with methanol-based cleaning fluid.
Gently wipe the sensor surface in one direction. Do not press hard. Do not reuse a swab.
Check the image after each pass.
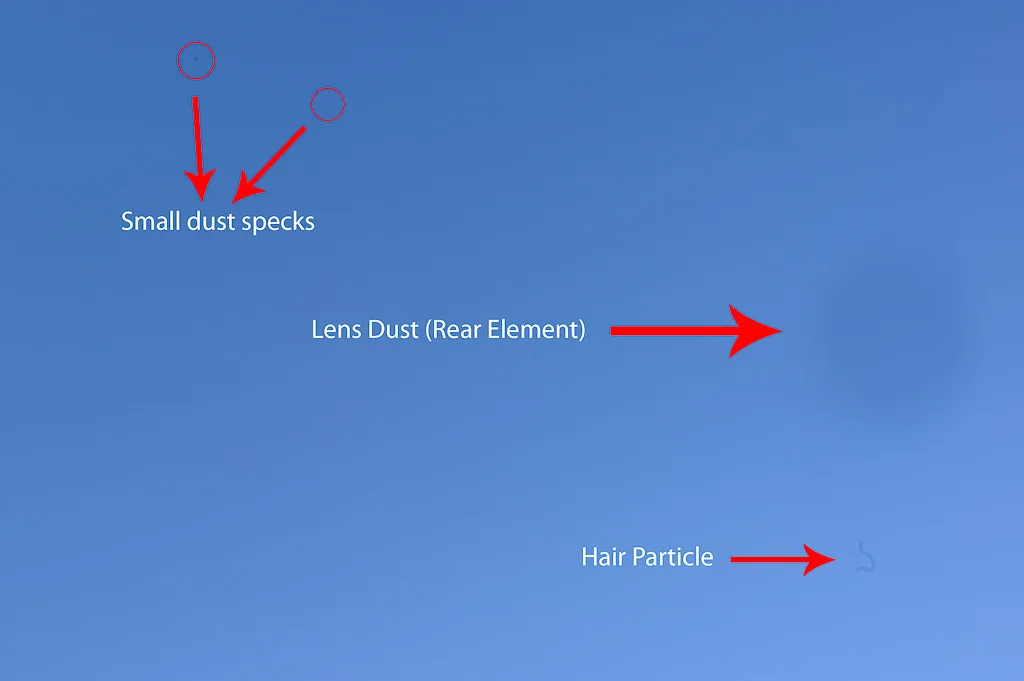
Image source: Web (Bing) / photographylife.com (Web image (fair-use with source credit))
If you are comfortable cleaning a mirrorless camera sensor, you can handle an action camera sensor. The sensor is smaller and more exposed, so work in a clean room or a still bathroom to minimize airborne dust.
Fixing software-induced blur
A firmware bug that softens the image is rarer now than it was in 2020, but it still happens. Check the manufacturer's support forum for reports of blur after a specific firmware version. If you find them, downgrade to the previous version.
Follow the factory's official firmware update instructions for your model. A factory reset may be necessary before and after the update.
When to Stop DIY: What’s Too Risky or Better Left to a Pro
Some problems do not have a safe DIY fix. Knowing when to stop prevents you from turning a $50 repair into a $400 camera replacement.
Do not attempt DIY repair if:
- The camera is under warranty. Opening it voids the waterproof seal and the warranty. Send it to the manufacturer instead.
- You see a cracked lens element or broken internal bracket. These require parts you cannot order easily.
- The lens will not move during alignment attempts. Forcing it can snap the retaining ring or crack the lens mount.
- You are not comfortable working with delicate ribbon cables. The sensor ribbon is thin and tears easily.
For these situations, a professional camera repair shop can handle the replacement. Expect to pay between $60 and $120 for a lens module swap, including labor. That is usually cheaper than buying a new camera.
A related breakdown of resolving sensor cleaning issues on other cameras may help you decide if you are up for this task. If you are unsure, the safest choice is to get a quote from a local repair shop before attempting anything permanent.
5 Mistakes That Ruin Action Cameras During Fix Attempts
Most action cameras get permanently damaged during a repair attempt, not during the crash that caused the blur. These five mistakes are the ones we see most often in repair forums and shop logs.
Mistake 1: Using the wrong tool to open the housing. Plastic pry tools are fine. Metal screwdrivers gouge the housing and crack waterproof seals. Use a nylon spudger or a guitar pick.
One slip with a metal blade can pierce a ribbon cable or scratch the sensor filter.
Mistake 2: Rotating the lens ring without marking the starting position. If you turn the ring blindly and the image gets worse, you have no reference point to return. Use a fine-tip marker to draw a line across the ring and the camera body before you touch it. That way you can always reset if the first attempt fails.
Mistake 3: Applying too much force on the retaining ring. The ring is small and threaded into a plastic or thin metal mount. Excessive torque strips the threads or cracks the mount. If the ring resists, apply heat gently with a hair dryer to soften any factory adhesive.
Never reef on it.
Mistake 4: Touching the sensor surface with bare skin or dirty tools. The sensor is an exposed electronic component. Finger oil leaves permanent marks. Dust from a dirty tool embeds in the filter layer.
If you need to clean the sensor, use a dedicated sensor cleaning kit with a blower and swabs. Do not use canned air, which can spray propellant onto the sensor.
Mistake 5: Reassembling without testing the waterproof seal. A perfect lens alignment is useless if the camera floods on the next dive. After any repair that opens the front housing, replace the main seal gasket. Apply a thin layer of silicone grease to the new seal.
Test the camera in a shallow bowl of water for five minutes before trusting it on a real outing.
Frequently Asked Questions
Can a firmware update really fix blurry action camera footage?
Yes, but only in rare cases. A corrupted or buggy firmware image can cause the processor to apply overly aggressive noise reduction. This makes footage look soft even when the lens is sharp.
Update to the latest stable release from the manufacturer's support page. Then test again.
How much does a professional action camera repair cost?
Lens module replacement typically runs between $60 and $120 including labor. A full sensor replacement costs more, usually $100 to $200. Compare that to a new action camera at $250 to $500.
Most repairs are worth it unless the camera body is also damaged.
Can I use a smartphone to check if my action camera is in focus?
Yes. Connect the camera to its companion app on your phone. Point the camera at a detailed object one meter away.
The live preview on your phone screen is large enough to judge sharpness. Zoom into the preview if the app supports it.
Will opening the camera void the warranty?
Yes, almost always. Opening the front housing breaks the watertight seal. Manufacturers treat this as user damage.
If your camera is still under warranty, send it to the authorized service center instead of attempting any DIY repair.
How long does a DIY lens alignment usually take?
Expect 15 to 30 minutes for the first attempt. The actual turning takes seconds, but you will need several test shots to find the sharpest position. Work slowly.
Rushing is what leads to stripped threads or damaged ribbon cables.
Is it worth repairing an older action camera with focus problems?
If the camera is more than three years old, compare the repair cost to a new entry-level model. A repair over $100 may not make sense for a camera worth $150 used. For premium models still in production, repair is usually the better financial choice.

Similar Posts